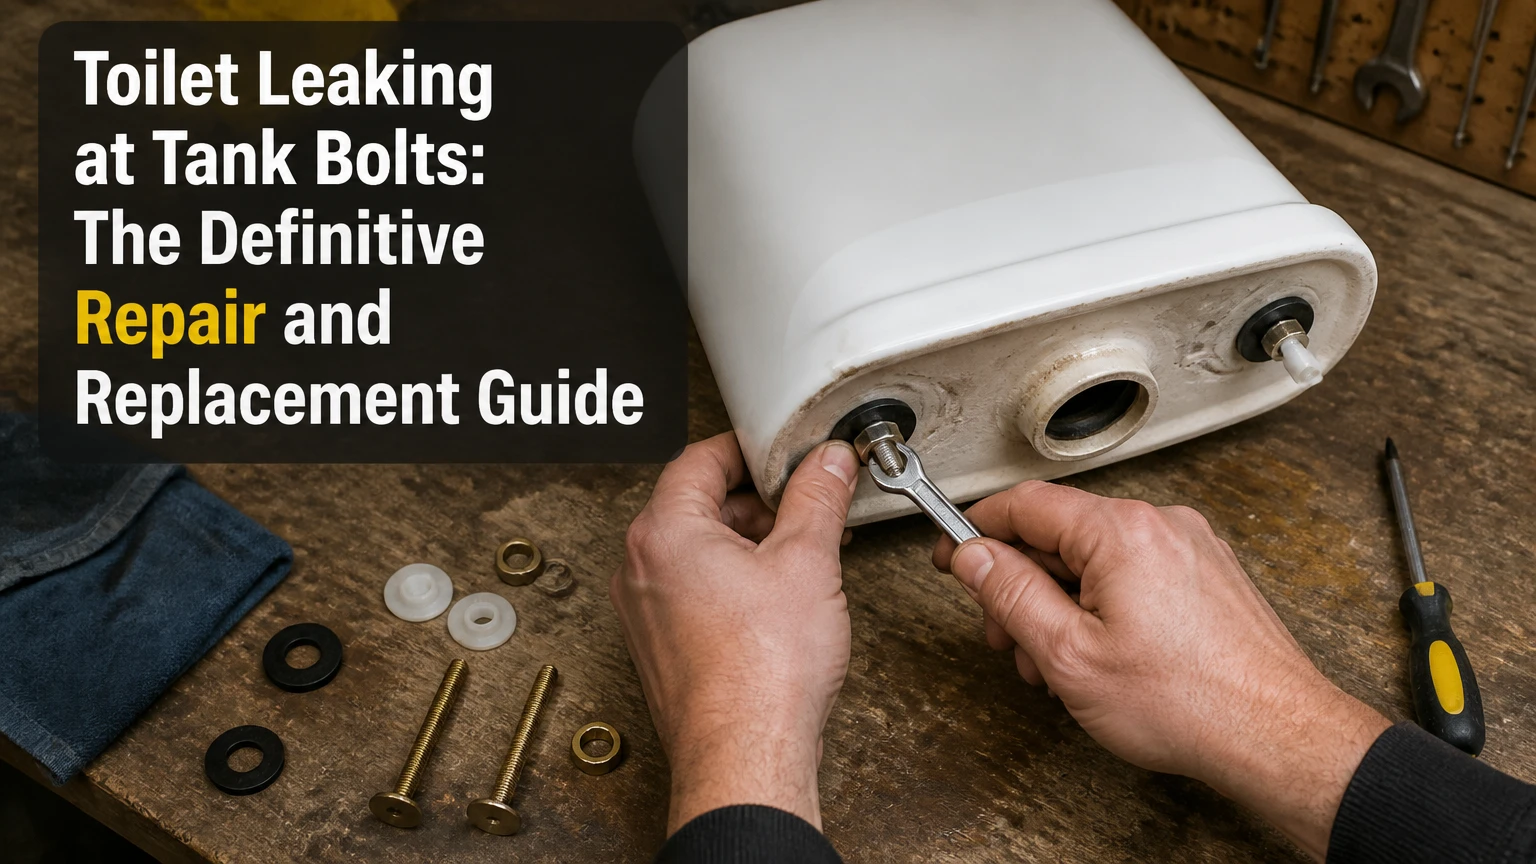
A toilet leaking at the tank bolts occurs when water bypasses degraded rubber washers inside or underneath the porcelain tank, escaping through the connection holes where the tank mounts to the bowl. This common plumbing failure is driven by constant chemical exposure, mineral buildup, and structural shifting, which breaks the watertight compression seal.
Key Facts at a Glance
- Primary Cause: Degraded rubber cone washers, flattened flat washers, or loose hex nuts on the tank-to-bowl hardware kit.
- Standard Bolt Dimensions: Typically 5/16-inch or 1/4-inch diameter bolts, ranging from 2.5 to 3 inches in length.
- Project Cost: 400 to 1,700 BDT for DIY parts; 3,500 to 8,000 BDT for professional plumbing labor.
- Time Requirement: 30 to 45 minutes for a complete hardware replacement.
- Average Lifespan: 5 to 8 years before rubber washers lose their elasticity and structural integrity.
Why Do Toilet Tank Bolts Leak?
Understanding the mechanical failure points prevents recurring leaks and ensures proper hardware selection during repair. A toilet tank is secured to the bowl using a multi-component tank-to-bowl bolt kit. Each connection relies on precise mechanical compression between metal fasteners and rubber seals.
The inner rubber washers sit directly over the bolt holes inside the tank. When the lower hex nuts are tightened, the rubber compresses and expands radially, filling the clearance gap around the metal shaft to block water from escaping. Over time, municipal water additives, chloramine disinfectants, and calcium carbonate mineral deposits degrade the polymer chains in the rubber. Once the rubber loses its memory and elasticity, microscopic gaps open up around the bolt threads, resulting in a slow continuous drip or puddling underneath the tank.
Comparison of Tank Bolt Materials
Selecting the correct replacement hardware prevents future leaks, resists corrosion from aggressive water chemistry, and simplifies future maintenance.
| Bolt Material | Typical Price (Kit) | Pros | Cons | Best For |
| Solid Brass | 1,000 – 1,700 BDT | 100% rustproof; highly durable; easy to remove later. | More expensive; softer metal can strip if over-tightened. | Standard DIYers & Professionals |
| Stainless Steel | 800 – 1,400 BDT | Very strong; highly resistant to corrosion and snapping. | Can still corrode in highly chlorinated water. | High-pressure systems |
| Brass-Plated Steel | 400 – 600 BDT | Very cheap; highly available. | Coating wears off quickly; rusts completely; requires cutting to remove later. | Emergency / Temporary fixes |
Before You Start: Project Specifications
- Difficulty Level: Beginner to Intermediate.
- Total Time: 30 to 45 minutes.
- Estimated Cost: 400 to 1,700 BDT.
- Required Tools & Materials:
- New tank-to-bowl bolt kit (solid brass recommended)
- New tank-to-bowl spud gasket (sponge gasket)
- Adjustable wrench or deep socket wrench set
- Flathead screwdriver
- Sponge and bucket
- Penetrating oil (WD-40) for rusted hardware
- Non-scratch scouring pad
Step 1: Isolation and Complete Drainage
Isolating the water supply and completely emptying the ceramic tank prevents water spillage during hardware removal.
- Locate the shutoff valve on the wall behind the toilet and turn it clockwise until it stops completely.
- Flush the toilet and hold down the trip lever to drain all water from the tank into the bowl.
- Use a squeezed-out sponge or an old towel to soak up the remaining two inches of standing water at the bottom of the tank around the bolt heads.
- Success Check: You will know it is ready when the interior of the tank is completely dry and no water pools around the bolt heads.
- Common Mistake: Failing to soak up the last remaining water at the bottom of the tank, which will spill onto the bathroom floor as soon as the bolts are unfastened.
Step 2: Remove the Old Hardware
Removing corroded or seized fasteners requires steady control to avoid placing excessive rotational stress on the fragile porcelain tank.
- Insert a flathead screwdriver into the slot of the bolt head inside the tank to keep it from spinning.
- Use an adjustable wrench or deep socket wrench underneath the tank to counter-rotate and unscrew the lower hex nut.
- Troubleshooting Rusted Bolts: If the bolts are completely rusted and spin in place inside the tank, spray the threads underneath with penetrating oil. Wait 15 minutes for it to penetrate. If they still refuse to budge, carefully cut them off from underneath using a mini-hacksaw blade or a rotary cutting tool.
- Success Check: You will know it is ready when both bolts are completely removed and the tank can be lifted free from the bowl if a spud gasket replacement is also being performed.
- Common Mistake: Applying brute force with a large wrench without holding the upper bolt head, which can crack the porcelain tank wall.
Step 3: Clean the Porcelain Sealing Area
Debris, rust scales, and degraded rubber residue prevent new washers from forming a watertight seal.
- Remove the old rubber washers and discard them along with the old metal hardware.
- Scrub the porcelain surface around the bolt holes inside and underneath the tank using a non-scratch scouring pad and warm soapy water.
- Remove all calcium scaling, rust stains, and old rubber residue down to the bare ceramic surface.
- Success Check: You will know it is ready when the porcelain surface around the holes is completely smooth, clean, and free of grit.
- Common Mistake: Leaving crusty mineral deposits or old rubber fragments behind, which creates uneven gaps that will leak immediately upon refilling.
Step 4: Assemble and Install the New Bolts
The order of hardware staking is critical to prevent porcelain cracking and establish a permanent seal. Follow this exact sequence from top to bottom:
- Bolt Head (Placed inside the bottom of the tank)
- Metal Washer (Inside the tank, resting flat against the bolt head)
- Rubber Cone or Flat Washer (Inside the tank, with the tapered side facing down into the bolt hole)
- Drop the assembled bolt straight down through the tank floor hole.
- Rubber Washer (Installed underneath the exterior of the tank floor)
- Metal Washer (Installed underneath the exterior of the tank floor)
- Hex Nut (Tightened against the metal washer to sandwich the tank wall securely before mounting)
- Place the tank-to-bowl sponge gasket over the central plastic locking nut underneath the tank.
- Carefully lower the tank onto the bowl shelf, guiding the two protruding bolts through the matching mounting holes on the bowl.
- Rubber or Plastic Washer (Installed underneath the rear ledge of the bowl)
- Metal Washer (Installed underneath the rear ledge of the bowl)
- Final Wingnut or Hex Nut (Tightened gently to secure the tank to the bowl).
- Success Check: You will know it is correct when every rubber component is compressed uniformly without pinching or distorting.
- Common Mistake: Placing a metal washer directly against the porcelain surface without an intervening rubber buffer, which creates a hard point contact that shatters the tank when tightened.
Step 5: Tightening and Testing the Assembly
Proper torque distribution ensures the tank remains level and leak-free without over-stressing the ceramic structure.
- Tighten the left and right mounting nuts alternating side to side, turning each nut three rotations at a time to keep the tank level.
- Tighten until hand-tight, then use a wrench to turn an additional quarter to half turn. Stop immediately when you feel firm resistance.
- Turn the water supply valve counter-clockwise to reopen it, allow the tank to fill completely, and wipe all exterior bolts and joints dry with a clean tissue to inspect for moisture.
- Success Check: You will know it is fixed when the tank remains completely dry after multiple consecutive flushes over a 30-minute observation window.
- Common Mistake: Over-tightening the nuts in an attempt to make it extra secure, which instantly fractures the porcelain tank or bowl and requires a complete toilet replacement.
Common Mistakes and How to Fix Them
- Over-Tightening the Hardware: Porcelain is rigid and brittle. Forcing the hex nuts past the point of firm resistance causes immediate stress fractures. Recovery: If the tank cracks, the entire toilet must be replaced. Always use hand-tight plus a quarter turn.
- Reusing Old Spud Gaskets: When removing the tank to replace bolts, homeowners often reuse the large center sponge gasket. This compressed gasket rarely reseals properly. Recovery: Always replace the center spud gasket alongside the bolt kit.
- Using Chemical Tank Tablets: In-tank bleach cleaning tablets degrade rubber components rapidly, causing washers to dissolve or harden within months. Recovery: Switch to in-bowl cleaning methods or drop-in tablets that do not sit directly in the tank water chamber.
- Uneven Tank Alignment: Tightening one bolt completely before touching the other causes the tank to tilt, creating a permanent gap on one side. Recovery: Loosen both nuts completely, level the tank by hand, and alternate tightening turns equally on both sides.
Troubleshooting Matrix
| Symptom | Probable Cause | Immediate Action |
| Drip occurs only immediately after a flush. | The leak is originating from the center tank-to-bowl spud gasket, not the bolts. | Remove the tank and replace the large sponge center gasket. |
| Continuous slow drip when the toilet is idle. | The inner rubber bolt washer is degraded, misaligned, or insufficiently tightened. | Try tightening the lower nut one-quarter turn. If seepage persists, replace the bolt kit. |
| Bolt head spins completely inside the tank. | The bolt threads are stripped, or corrosion has seized the nut to the shaft. | Use locking pliers underneath to grip the shaft and cut the bolt head off with a mini-hacksaw. |
| Tank rocks back and forth after installation. | The bolts were tightened unevenly or the spud gasket is too thick for the alignment. | Loosen both sides and tighten them incrementally while applying downward pressure on the tank. |
Frequently Asked Questions
Can I fix a leaking toilet tank bolt without draining the water?
No, you cannot fix a tank bolt leak without completely draining the water from the toilet tank. Because the bolts sit below the waterline inside the tank, any water left inside will pour through the bolt holes as soon as the hardware is loosened. Shut off the supply valve, flush, and sponge out the remaining water before starting.
Why do my toilet tank bolts keep loosening over time?
Toilet tank bolts loosen over time due to constant structural micro-vibrations from flushing, combined with the natural degradation and shrinking of rubber washers under pressure. When the rubber loses its elasticity, the tension holding the hardware in place slackens, creating tiny gaps that eventually allow water to seep through.
How tight should toilet tank bolts be?
Toilet tank bolts should be tightened until hand-tight, plus an additional one-quarter to one-half turn using a wrench. Never torque them down as hard as possible. The goal is to compress the rubber washer enough to form a watertight seal against the porcelain without exceeding the tensile strength limit of the ceramic material.
What is the difference between a two-bolt and three-bolt toilet tank?
A two-bolt toilet tank uses two connection points located on the left and right sides of the tank bottom, which is the most common standard design in residential homes. A three-bolt configuration adds a third central stabilization bolt near the center spud gasket, often found on older or commercial-grade toilets to provide enhanced stability against rocking.
Should I use silicone sealant on toilet tank bolts?
You should not rely on silicone sealant or plumbing putty to fix leaking tank bolts as a permanent solution. While silicone can temporarily stem a leak on degraded hardware, it cannot stop the underlying structural shift or rubber decay. The correct fix is to replace the entire bolt and washer kit to restore proper mechanical compression.