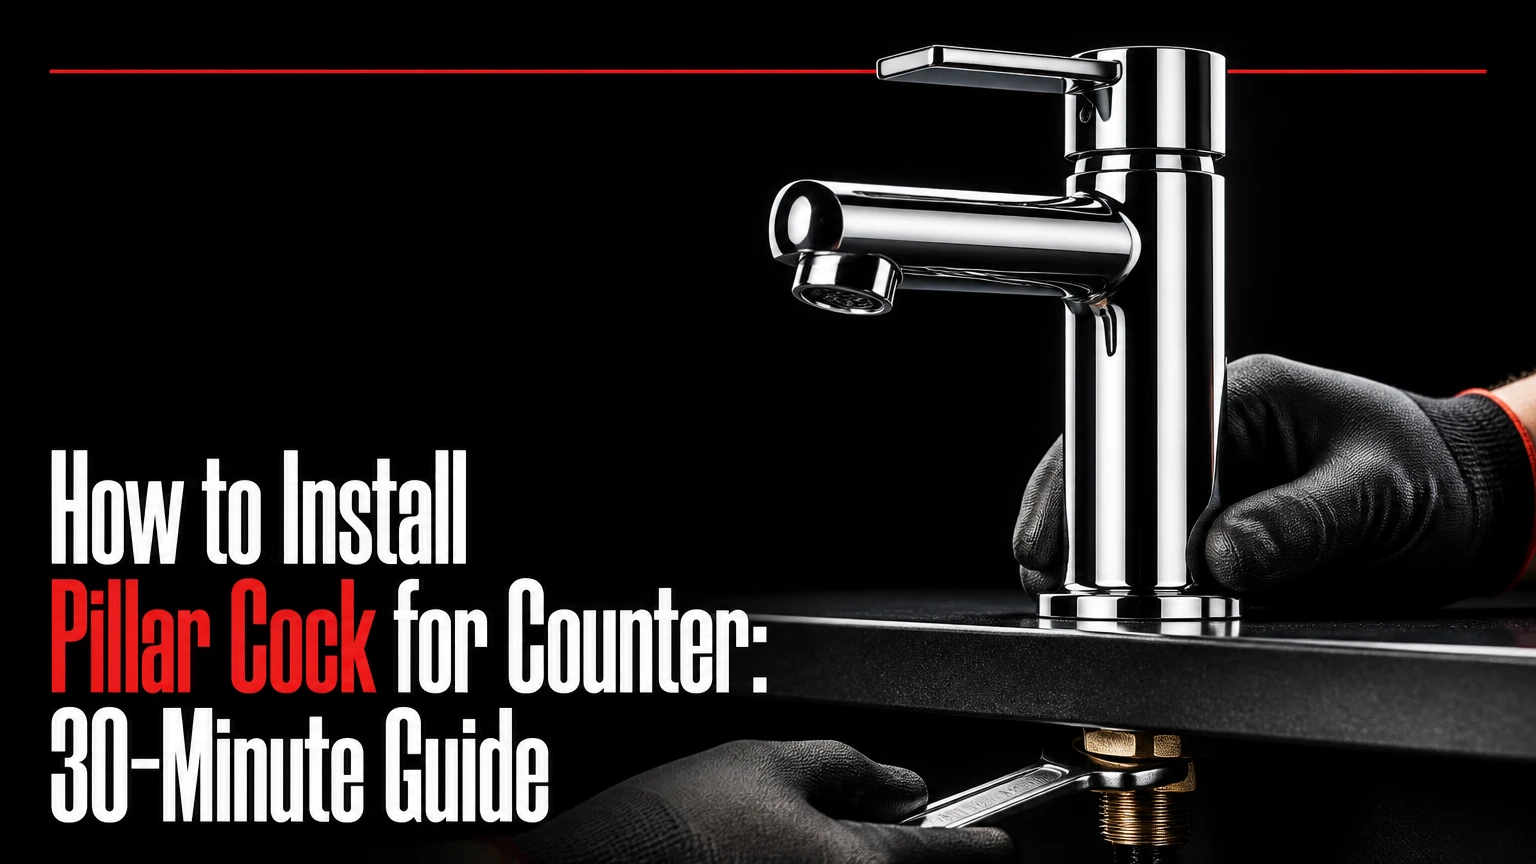
To install a pillar cock for a counter, isolate the water, place the faucet through a compatible 32-35 mm mounting hole, seal and tighten the underside washer and checknut, connect a 1/2-inch supply hose, then flush and test every joint. A typical replacement takes 15-30 minutes when the isolation valve and access space are available.
Key Facts at a Glance
- A pillar cock is a vertical, deck-mounted faucet installed through a counter or basin hole.
- Most basin pillar cocks require a 32-35 mm mounting hole and a 1/2-inch supply connection.
- The faucet must be supported underneath by the supplied washer, mounting plate, and checknut.
- An integrated rubber gasket is preferable to a thick layer of putty beneath the decorative flange.
- PTFE tape belongs on compatible tapered pipe threads, not on flat-seal hose connectors.
- A normal installation needs 15-30 minutes, but drilling, seized valves, and poor access increase the duration.
What Is a Pillar Cock for a Counter?
A pillar cock is a single-outlet, vertical faucet fixed through a horizontal deck, countertop, or washbasin rim. The threaded shank passes through the mounting hole, while an underside washer and checknut clamp the body against the surface. Standard models usually supply cold water or a premixed line.
The term “pillar tap” is common in the United Kingdom, India, Bangladesh, and other markets. A pillar cock differs from a wall-mounted bib cock because the water outlet rises from the counter rather than projecting from a wall. A basin mixer differs again because it generally combines hot and cold water through two supply lines.
Inside the body, a traditional compression tap closes a rubber washer against a valve seat. Many current models use a quarter-turn ceramic cartridge, whose two ceramic discs regulate water through aligned openings. The installation method remains broadly similar, although cartridge replacement requires the exact model or cartridge dimensions.
How Does the Installation Assembly Work?
The faucet body and decorative flange sit above the counter. A rubber gasket seals the upper surface, and the threaded inlet shank extends below the deck. Underneath, a large washer or horseshoe bracket spreads the clamping load before the checknut is tightened onto the shank.
The supply hose then connects the faucet inlet to an angle stop valve. The faucet does not become stable because the hose is tight. Stability comes from the mounting hardware, so a missing washer can produce movement, surface damage, and repeated leaks.
Which Pillar Cock Type Fits Your Counter?
The correct pillar cock depends on the basin height, hole arrangement, water supply, spout reach, and available space below the counter. A short standard body suits an integrated basin, while a high-neck model is usually necessary for an above-counter vessel basin.
| Type | Typical dimension or feature | Suitable installation | Main limitation |
|---|---|---|---|
| Standard basin pillar cock | 100-180 mm overall height | Recessed basin or pedestal basin | Often too short for vessel bowls |
| High-neck pillar cock | 200-300 mm overall height | Above-counter vessel basin | Can splash from excessive drop height |
| Swivel-spout pillar cock | 90-360 degree rotation | Wide or double-bowl counter | Moving seals need periodic attention |
| Single-lever model | Quarter-turn cartridge | One-handed bathroom use | Cartridge replacement must match model |
| Cross-handle model | Multi-turn or quarter-turn valve | Traditional bathroom styling | Requires more hand movement |
| Dual pillar arrangement | Two separate supply points | Independent hot and cold control | Needs two holes and two water lines |
Measure from the counter surface to the basin rim before purchasing a high-neck faucet. The outlet should direct water into the bowl without striking the outer rim. A tall faucet with a shallow vessel basin can produce splash even when the connection is perfectly installed.
What Hole Size Does a Pillar Cock Need?
Most pillar cocks use a 32-35 mm hole, but the product specification controls the final measurement. A 1/2-inch BSP water connection does not mean the counter hole should be 1/2 inch, because the mounting shank is wider than the internal water passage.
Measure an existing opening at several points with calipers or a ruler. A hole smaller than the shank will not accept the faucet, while an oversized hole may prevent the gasket from sealing and can allow the body to rotate. Do not enlarge a stone, porcelain, or glass counter with a general-purpose drill bit.
What Water Pressure and Connection Are Typical?
The supplied overview identifies 0.5-3.0 bar as a typical operating range for many pillar cocks, but the faucet manufacturer and local plumbing system determine the actual limits. Gravity-fed systems below approximately 0.5 bar may produce weak flow, particularly through restrictive aerators.
A common connection is 1/2-inch BSP, but North American products may use 1/2-inch NPT or a different compression fitting. BSP and NPT threads are not interchangeable merely because both are described as 1/2 inch. Confirm the thread standard, hose length, and valve-end fitting before starting.
What Do You Need Before Installation?
A normal replacement requires an adjustable wrench, cloth, measuring tool, bucket, flashlight, and the manufacturer-supplied mounting parts. Add a basin wrench when the checknut is difficult to reach, and use a suitable diamond bit only when a new stone or porcelain hole must be drilled.
| Item | Typical quantity | Purpose | Selection detail |
|---|---|---|---|
| Adjustable wrench | 1 | Tighten hose and checknut | Jaw opening must fit the supplied nut |
| Basin wrench | 1 | Reach confined underside | Useful with 40-60 mm access gaps |
| Braided supply hose | 1 | Connect faucet to valve | Match 1/2-inch ends and required length |
| Rubber washer or gasket | 1-2 | Spread load and seal | Use the supplied profile first |
| PTFE tape | 1 roll | Seal compatible pipe threads | Wrap 5-6 clockwise turns |
| Plumber’s putty or silicone | Small amount | Supplement a missing base seal | Use only if material manufacturer permits |
| Bucket and rag | 1 each | Catch and wipe residual water | Keep below every connection |
Before You Start
- Typical time: 15-30 minutes for a replacement; 1-3 hours if drilling is required.
- Difficulty: Moderate for a replacement, advanced for drilling stone or porcelain.
- Typical faucet cost: ৳150-600 for economy plastic and ৳1,500-4,500 for brass or stainless models in the supplied Bangladesh market examples.
- Typical labor: ৳300-600 where local plumber pricing matches the supplied overview.
- Prerequisites: A serviceable isolation valve, a sound counter, a suitable hole, and enough underside clearance.
- Safety condition: Do not work on a pressurized connection or a cracked basin.
Take a photograph of the existing hose routing before removing an old tap. Confirm that the replacement shank is long enough to pass through the deck while leaving sufficient thread for the washer and checknut.
How to Install Pillar Cock for Counter
The six-step process is: isolate water, prepare the hole, position the faucet, install the underside hardware, connect the hose, and flush-test the assembly. The factor that most determines success is correct alignment of the gasket, washer, and checknut without overtightening the counter.
Step 1: Isolate the Water Supply
Close the angle stop valve below the counter by turning it clockwise until it stops, then open the old faucet to release pressure. If no local valve exists, close the property’s main shutoff and tell other occupants that water will be unavailable.
Place a bucket beneath the hose connection and wipe the counter hole clean. Remove old silicone, mineral scale, rust, and loose debris from both surfaces.
You’ll know it worked when: Opening the faucet produces no continuing water flow after the line drains.
Common mistake: Assuming a seized or damaged angle valve is closed. Test the valve before disconnecting the hose.
Step 2: Check the Hole and Faucet Components
Remove the old faucet if present and inspect the opening for cracks, movement, or excessive diameter. Dry-fit the new pillar cock without sealant, checking that the shank passes through freely and the spout can face the basin center.
Identify the upper gasket, decorative flange, underside rubber washer, mounting bracket, and checknut. Photograph the hardware layout if the parts are unfamiliar.
You’ll know it worked when: The faucet body sits flat and the shank extends below the counter far enough for every supplied part.
Common mistake: Treating a thin decorative escutcheon as the structural washer. The underside washer carries the clamping load.
Step 3: Seal and Position the Faucet
Fit the manufacturer’s rubber O-ring or base gasket into its groove beneath the faucet body. Slide the decorative flange onto the body if the design requires it, then lower the threaded shank vertically through the hole.
If no gasket is supplied, apply a thin, continuous bead of neutral-cure sanitary silicone around the base, or use a small amount of plumber’s putty where the counter material and faucet instructions permit it. Do not create a thick sealant mound that prevents the body from sitting level.
You’ll know it worked when: The gasket remains centered, the flange contacts the counter evenly, and the spout points toward the basin.
Common mistake: Applying PTFE tape to the mounting shank to stop a deck leak. Deck sealing occurs at the gasket or base seal, not at the clamping threads.
Step 4: Fit the Washer and Tighten the Checknut
Move underneath the counter and place the broad rubber washer against the underside. Add the metal washer, horseshoe bracket, or mounting plate in the orientation shown by the manufacturer, then thread the checknut onto the shank by hand.
Ask a helper to hold the faucet straight while you tighten the nut. Use an adjustable wrench or basin wrench for the final tightening, stopping when the body is stable and the gasket is compressed.
You’ll know it worked when: Moderate hand pressure cannot rotate the faucet, and the counter shows no cracking or distortion.
Common mistake: Tightening until the faucet body cannot move at all under heavy force. Excessive torque can split plastic shanks, crush gaskets, or crack ceramic.
Step 5: Connect the Flexible Supply Hose
Inspect the hose ends before connection. A hose with a captive rubber washer uses the washer as its seal, so do not cover that flat-sealing nut with PTFE tape; tape is appropriate only for compatible tapered male pipe threads.
Connect the hose to the pillar cock inlet and the angle stop valve. Tighten each female nut by hand, then add about one-quarter turn with a wrench while preventing the valve or faucet from twisting.
You’ll know it worked when: Both nuts seat squarely, the hose bends in a smooth loop, and neither fitting requires cross-threading or force.
Common mistake: Using a hose that is too short or sharply kinked. Replace it with a longer certified braided hose rather than stretching it across the connection.
Step 6: Flush and Test the Installation
Remove the aerator if it can be unscrewed without damaging the finish. Open the faucet, then slowly turn the angle stop valve counterclockwise. Let water run for approximately 30-60 seconds to clear installation debris before reinstalling the aerator.
Dry the base, checknut, hose ends, and valve with a clean tissue. Watch each area for at least two minutes, then close and reopen the faucet several times.
You’ll know it worked when: The stream is even, the faucet remains aligned, and no tissue picks up moisture at any joint.
Common mistake: Opening the isolation valve fully in one movement. A sudden pressure surge can disturb a poorly seated washer and makes the first leak harder to identify.
Which Installation Details Change by Counter Material?
Counter material changes the acceptable drilling method and tightening force, but the plumbing sequence remains the same. Ceramic and porcelain need crack protection, natural stone needs the correct diamond bit and dust control, and laminate needs careful sealing around the exposed core.
| Counter material | Hole method | Seal approach | Main risk |
|---|---|---|---|
| Vitreous ceramic basin | Existing factory hole preferred | Supplied rubber gasket | Hairline cracking from overtightening |
| Porcelain slab | Wet diamond core bit | Neutral sanitary silicone if specified | Chipping at the glazed surface |
| Granite or marble | Diamond hole saw, controlled speed | Rubber gasket plus approved silicone | Stone cracking or unsupported edge |
| Laminate countertop | Carbide hole saw | Seal exposed core against moisture | Swelling beneath the faucet |
| Solid-surface acrylic | Manufacturer-approved hole saw | Gasket, with thin silicone if required | Distortion from excessive clamp force |
| Stainless counter | Step bit or punch | Rubber gasket | Scratches and oversized opening |
Drilling is not a routine part of a faucet replacement. A professional should handle a new hole in tempered glass, engineered stone near an edge, or a basin that cannot be removed for support.
What Are the Alternatives to a Single Pillar Cock?
A single pillar cock is the simplest choice when one water line and one mounting hole are available. A basin mixer is better when hot and cold water must blend at one outlet, while a wall-mounted tap is appropriate when the counter cannot be drilled or the plumbing is already in the wall.
| Faucet arrangement | Holes required | Supply lines | Typical use | Installation complexity |
|---|---|---|---|---|
| Single pillar cock | 1 | 1 | Cold-water basin | Low |
| Two pillar cocks | 2 | 2 | Separate hot and cold controls | Moderate |
| Basin mixer | 1 or 3 | 2 | Blended hot and cold water | Moderate |
| Wall-mounted bib cock | 0 in counter | 1 in wall | Utility basin or exposed plumbing | Moderate |
| High-neck vessel tap | 1 | 1 | Above-counter bowl | Low to moderate |
| Pull-out kitchen faucet | 1 | 2 or 3 | Kitchen sink with spray function | Moderate to high |
A pillar cock is not a substitute for a thermostatic mixer, a kitchen pull-out faucet, or a wall-mounted fitting with concealed pipework. Choosing the wrong category creates alignment and supply problems that tightening cannot solve.
What Common Problems Occur After Installation?
Most post-installation faults come from a missing washer, incorrect thread treatment, poor alignment, debris in the aerator, or a worn internal cartridge. Diagnose the location of the water first, because a leak at the base requires a different repair from a drip at the spout.
| Symptom | Probable cause | Corrective action | Typical effort |
|---|---|---|---|
| Water leaks around base | Misaligned gasket or damaged O-ring | Isolate, lift faucet, clean, reseat gasket | 15-30 minutes |
| Faucet rotates | Loose checknut or missing bracket | Re-align and tighten underside hardware | 10-20 minutes |
| Drip from spout when closed | Worn cartridge or valve washer | Replace matching cartridge or washer | 30-90 minutes |
| Weak or spluttering stream | Blocked aerator or supply screen | Remove, rinse, descale, and refit | 5-15 minutes |
| Leak at hose nut | Missing flat washer or cross-threading | Replace washer and reconnect squarely | 10-20 minutes |
| Leak at taped thread | Wrong thread type or poor wrapping | Remove tape and use correct connector | 15-30 minutes |
A base leak that appears only when the faucet is splashed usually indicates a deck-seal problem. A hose leak that appears even with the faucet closed indicates a pressurized connection problem and should be repaired before using the basin.
Why Is the Water Flow Weak?
Weak flow usually comes from a blocked aerator, partially closed angle valve, kinked hose, low supply pressure, or debris in the cartridge inlet. Remove the aerator first because it is the fastest and least invasive diagnostic step.
If flow improves without the aerator, clean its screen with water and a suitable descaling solution. If flow remains poor, compare the faucet with another nearby outlet and inspect the hose for flattened sections. A whole-property pressure issue needs plumbing diagnosis rather than a new pillar cock.
Why Does the Faucet Keep Moving?
A moving faucet normally has an under-tightened checknut, a missing mounting plate, a compressed rubber washer, or an oversized counter hole. Reposition the body from above, then tighten the complete hardware stack underneath while keeping the spout aligned.
Do not compensate for a large hole with excessive torque. A repair plate, manufacturer-approved adapter, or replacement counter may be safer than forcing the faucet against unsupported material.
What Do Installation Cost and Time Usually Involve?
A straightforward replacement typically takes 15-30 minutes and costs the faucet price plus approximately ৳300-600 in local labor where the supplied Bangladesh pricing applies. Drilling, seized valves, replacement hoses, concealed leaks, and restricted access can increase both labor and materials.
| Installation scenario | Faucet or material cost | Labor range | Typical duration |
|---|---|---|---|
| Economy ABS replacement | ৳150-600 | ৳300-600 | 10-20 minutes |
| Brass or stainless replacement | ৳1,500-4,500 | ৳300-600 | 15-30 minutes |
| Two pillar cocks | ৳300-9,000 combined | ৳600-1,200 | 30-60 minutes |
| New hole in laminate | ৳100-500 consumables | ৳500-1,500 | 45-90 minutes |
| New hole in stone or porcelain | ৳500-2,500 bit and protection | ৳1,500-4,000 | 1-3 hours |
These figures are typical planning ranges, not fixed quotations. Local labor rates, faucet brand, replacement valves, access, and counter material determine the final price.
When Should a Plumber Install It?
A competent DIY installer can replace a pillar cock when the hole already exists, the isolation valve works, and the underside is accessible. Hire a plumber for new stone or porcelain drilling, a leaking concealed pipe, a seized main valve, damaged threads, or a cracked basin.
Stop immediately if water cannot be isolated, the counter flexes, the shank is too short, or the supplied parts do not match the product diagram. A small faucet installation should not become an uncontrolled water release or a damaged countertop repair.
Expert Installation Rules That Prevent Repeat Repairs
- Use the supplied gasket before adding sealant. Excess putty can prevent a flange from sitting flat and may migrate into the basin.
- Treat flat-seal and tapered connections differently. A captive hose washer seals against a face; PTFE tape cannot correct a missing or distorted washer.
- Tighten for stability, not maximum resistance. The correct endpoint is a stable body with a compressed gasket, not a deformed counter.
- Flush before judging cartridge performance. Construction grit can make a new ceramic disc faucet appear defective within minutes of installation.
- Check for movement after 24 hours. Thermal changes, repeated lever use, and gasket compression can reveal a loose checknut that was dry during the first test.
FAQ
Can a pillar cock be installed directly on a countertop?
Yes, a pillar cock can be installed directly on a countertop when the deck has a suitable hole, enough structural support, and access for the underside washer and checknut. The faucet must also have adequate spout height and reach for the basin. A vessel basin usually requires a high-neck model.
Can I use plumber’s putty under a pillar tap?
Plumber’s putty can supplement a missing base seal when the countertop and faucet manufacturer permit it, but the supplied rubber gasket should be used first. Putty is unsuitable for some porous stone surfaces because it can stain. Neutral sanitary silicone is often safer when the product instructions specify it.
Should PTFE tape be used on the faucet supply hose?
PTFE tape should be used only on compatible tapered male pipe threads. Most braided supply hoses seal through a captive rubber washer inside the female nut, so tape on that connection can obstruct seating and create a leak. Confirm the connector design before wrapping anything.
Why does a new pillar cock drip from the spout?
A new pillar cock can drip because debris entered the cartridge during installation, the aerator is misaligned, or the internal valve is defective. Remove and clean the aerator, flush the faucet with it removed, and check whether the drip continues. Persistent dripping usually requires a matching cartridge or warranty replacement.
Can I install a pillar cock without an angle stop valve?
Installation is possible without an angle stop valve only if the main supply can be safely isolated and the faucet can be connected to a suitable branch fitting. Adding an accessible angle stop valve is the better long-term arrangement because future repairs will not require shutting down the entire property.
How do I choose between a pillar cock and a basin mixer?
Choose a pillar cock for one water line, one control, and a simple single-hole installation. Choose a basin mixer when hot and cold supplies must blend through one spout. A mixer also requires compatible dual supply hoses and may need a different hole pattern or mounting plate.
Conclusion: Confirm the Counter, Then Install the Pillar Cock
Installing a pillar cock for counter use is a controlled six-step job when the hole measures approximately 32-35 mm, the supply connection matches, and the underside hardware is complete. Isolate water, seal the upper base, clamp the faucet with the correct washer stack, connect the hose without misusing PTFE tape, then flush and test every joint before regular use.