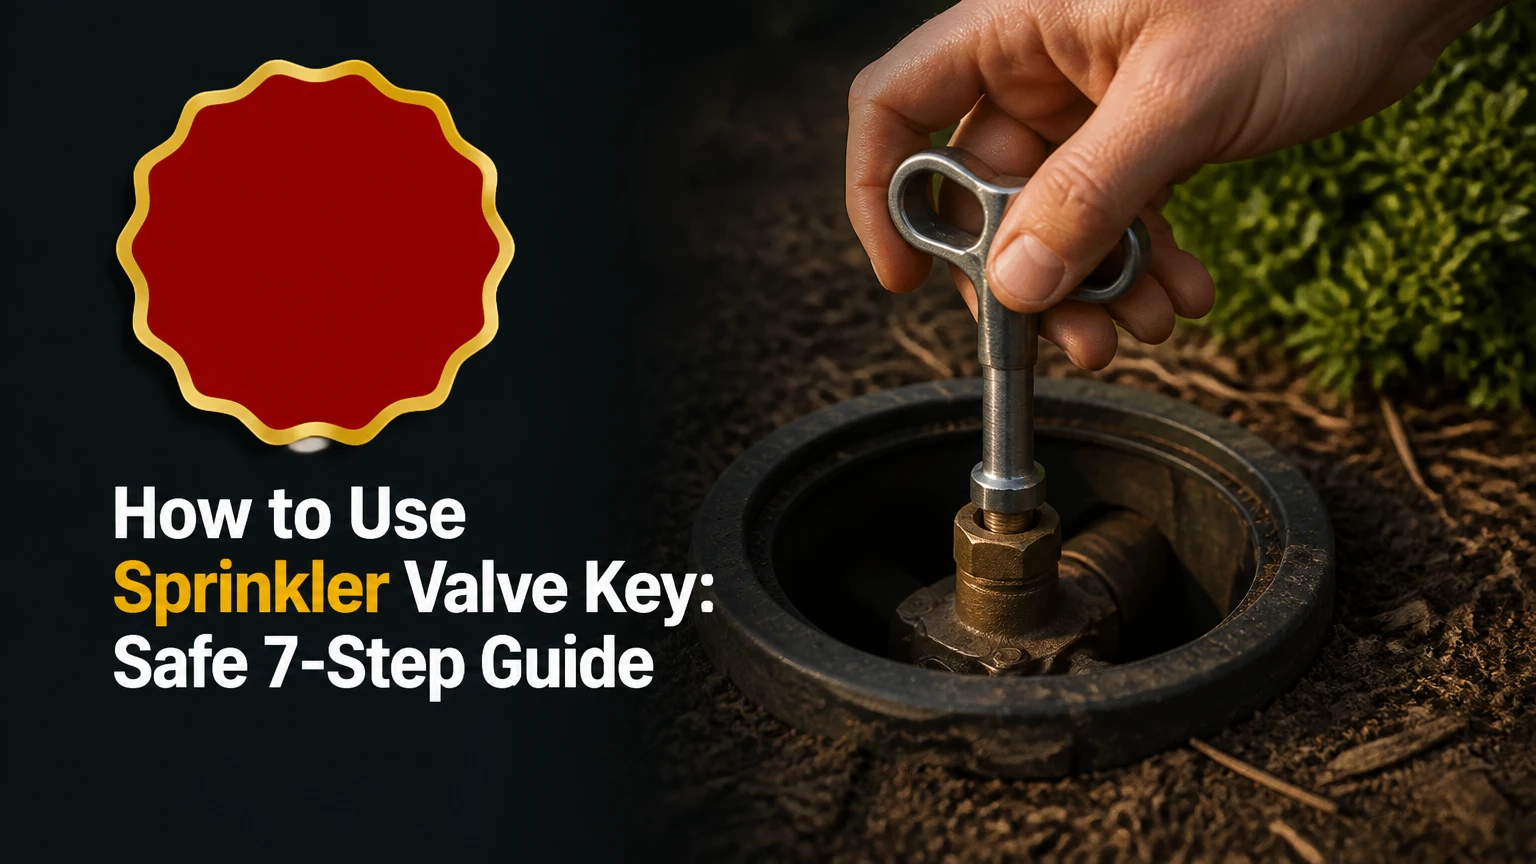
A sprinkler valve key is a long-handled tool for turning manual irrigation shutoff valves inside underground boxes. To use one, expose and identify the valve head, seat the key fully, turn slowly in the marked direction, and verify flow at the sprinklers or meter. The job usually takes 5-15 minutes when the box is accessible.
Key Facts
A standard pronged irrigation valve key usually fits two- or three-lug manual valve heads.
A curb-stop key uses a socket and is intended for a square or rectangular main shutoff.
Clockwise does not always mean closed; follow the arrow or label on the valve.
Never force a partially engaged key because a brass valve stem can shear underground.
A sprinkler valve key generally does not manually open an electric solenoid valve.
Typical residential valve-key prices range from $10-$30, depending on length and construction.
What Is a Sprinkler Valve Key?
A sprinkler valve key is a steel or aluminum hand tool with a long shaft, top handle, and shaped working end. The shaft reaches a manual control valve several inches below a lawn, planting bed, or valve-box opening, allowing the operator to turn the valve while standing above the box.
The most common residential design has a T-handle and a two-prong or three-prong fork. The fork grips lugs on a brass or plastic irrigation shutoff. A curb-stop key has a socket or hook that fits the rectangular operating nut used on many municipal or property-line water valves.
The tool does not usually control sprinkler timing. An irrigation controller sends electrical power to solenoids, while a valve key turns a separate manual shutoff that isolates a zone, manifold, irrigation branch, or entire system.
How Does the Tool Transfer Torque?
The valve key transfers hand torque through its shaft to the valve stem or operating nut. When the bottom end is fully seated, turning the T-handle rotates the valve mechanism, which moves a gate, ball, plug, or other internal closure element.
Manual valve designs behave differently. A gate valve may require several complete turns, while a ball valve often moves through roughly a quarter-turn. A globe-style valve can feel progressively tighter as the internal disc closes. The number of turns and final position depend on the valve, not on the key.
A long handle increases leverage. That helps with reach, but it also makes it easier to exceed the torque a small brass stem can tolerate. The correct operating method is slow rotation with full engagement, not maximum force.
Before You Start
Prepare the access area before applying torque. The following typical values fit a residential irrigation valve box with normal water pressure and no flooding.
| Requirement | Typical value | Practical check |
|---|---|---|
| Operating time | 5-15 minutes | Box lid and valve are accessible |
| Key length | 18-30 inches | Shaft reaches the valve without bending |
| Tool cost | $10-$30 | Standard steel pronged key |
| Cleaning tools | 1 trowel, 1 brush, 1 flashlight | Valve head is visible |
| Verification method | 1 sprinkler zone or 1 water meter | Flow change can be observed |
Before opening the lid, identify nearby electrical equipment, gas-marked lines, drainage channels, and private utility markings. Do not dig deeper around an unknown buried object with a metal tool. If the box is full of water, assume the valve or a nearby fitting may be leaking until inspection proves otherwise.
Turn off the irrigation controller before manually isolating a zone. The controller may energize a solenoid during the test, causing confusing flow changes or unexpected cycling.
Step 1: Locate and Open the Valve Box
Find the underground valve box that contains the manual shutoff or manifold. Common locations include the edge of a lawn, beside the backflow preventer, near the irrigation point of connection, and along the route between the water meter and sprinkler zones.
Lift the lid with a screwdriver or lid hook rather than striking it. Set the cover on stable ground so dirt does not fall into the box. If the cover is buried, remove soil around its edges with a hand trowel.
You will know this step worked when the full box opening is visible and the tool can enter vertically. A common mistake is assuming every green rectangular box contains the shutoff; many contain only solenoid valves and wire connections.
Step 2: Clear Dirt and Identify the Valve
Remove loose soil, roots, leaves, and standing debris from the area above the valve head. Use a hand brush, plastic scoop, or wet-dry vacuum when appropriate. Do not blast pressurized water into an electrical valve box because water can enter wire connectors and force grit into the valve mechanism.
Look for the operating shape. A crossbar or two small lugs usually indicates a pronged irrigation key. A square or rectangular nut indicates a curb-stop or socket-style key. A round wheel may indicate a gate valve that needs a different gripping arrangement.
You will know this step worked when the entire contact surface is visible. A key that grips only one lug can twist the lug sideways and deform it.
Step 3: Match the Key to the Valve Head
Choose a key whose bottom end matches the valve head without rocking. A two-prong fork fits two opposed lugs, while a three-prong fork can engage several common manual valve patterns. A socket must fit around the nut with minimal side play.
| Valve-head appearance | Suitable tool | Typical application |
|---|---|---|
| Two opposed lugs | 2-prong irrigation key | Residential branch shutoff |
| Three-lug cross head | 3-prong irrigation key | Brass manual irrigation valve |
| Square or rectangular nut | Curb-stop socket key | Main or property-line shutoff |
| Small exposed square stem | Adjustable valve wrench | Surface service valve |
| Electric solenoid cap | No valve key for actuation | Automatic zone control |
Do not substitute a four-way utility key for a buried valve merely because one socket appears similar. Compact utility keys are designed for exposed sillcocks, cabinet panels, and service hardware, not for deep valve boxes or high-torque buried shutoffs.
You will know the match is correct when the key drops onto the head and remains centered without hand support. A loose fit is a stop signal, not an invitation to turn harder.
Step 4: Seat the Key Completely
Lower the shaft straight into the box and press the working end fully over the valve head. Keep the shaft aligned with the stem so the force travels vertically through the tool rather than diagonally across the fitting.
Hold a flashlight against the box edge if visibility is poor. For a pronged key, confirm that both or all intended prongs are behind the valve lugs. For a socket key, confirm that the socket surrounds the nut rather than resting on its corners.
You will know the key is seated when it does not lift off during a gentle test movement. A common mistake is beginning rotation while the key is halfway engaged, which can round a square nut or snap a cast lug.
Step 5: Determine the Correct Rotation
Check the valve body, operating nut, nearby tag, or installation documentation for an arrow or open-close marking. Many standard gate valves close clockwise and open counterclockwise, but ball valves, specialty valves, and poorly labeled installations can differ.
If no marking exists, make a small movement in one direction while watching the system. Turn only about one-eighth to one-quarter revolution, then check whether flow changes. Do not assume direction from the position of a nearby valve.
You will know the direction is correct when sprinkler flow, pipe noise, or meter movement changes as expected. A common mistake is continuing to turn after the valve reaches its stop; internal seats and stems can be damaged by repeated force at the end of travel.
Step 6: Turn Slowly and Stop at Resistance
Rotate the T-handle smoothly with both hands and moderate pressure. Use the minimum force needed to produce movement, pause after each quarter-turn, and listen for abrupt metal contact, scraping, or water hammer.
A gate valve may need multiple turns, while a ball valve commonly reaches its open or closed position within 90 degrees. Never add a cheater bar, pipe extension, or vehicle force to a standard sprinkler valve key. The added leverage can break the valve body or shear the stem below grade.
You will know the operation is complete when the valve reaches its normal stop or the expected flow condition appears. If resistance rises suddenly after initial movement, reverse slightly, reseat the key, and inspect the head instead of forcing it.
Step 7: Verify the Water Result
After turning the valve, run the relevant sprinkler zone from the controller or open a downstream test point. Check sprinkler output, exposed pipe joints, the backflow preventer, and the water meter for unintended flow.
Allow 30-90 seconds for pressure to stabilize in a residential irrigation branch. A closed valve should stop or sharply reduce downstream flow, while an open valve should restore normal zone pressure unless another isolation valve remains closed.
You will know the result is correct when the intended zone responds and no fitting leaks. Replace the valve-box lid without pinching wires or packing soil around the stem.
Which Valve Key Should You Choose?
The best key depends on the valve head, depth, and torque requirement. A 24-inch pronged steel key is a practical residential choice for ordinary manual irrigation valves, while a 36-60-inch curb-stop key is more appropriate for a deep main shutoff with a square operating nut.
| Key type | Typical length | Bottom end | Best use |
|---|---|---|---|
| Standard pronged key | 12-30 inches | 2- or 3-prong fork | Residential manual irrigation valve |
| Heavy-duty irrigation key | 24-36 inches | Reinforced fork or hook | Frequent commercial valve operation |
| Curb-stop key | 36-60 inches | Square or rectangular socket | Main water shutoff |
| Four-way utility key | 3-6 inches | Multiple small sockets | Exposed sillcock or service panel |
Longer is not automatically better. A 60-inch tool provides reach and leverage, but it is awkward in a small residential box and can transmit damaging torque to a fragile valve stem. Select the shortest tool that reaches the head while allowing a straight, comfortable operating position.
Can You Use Pliers Instead?
Pliers are suitable only for an exposed, undamaged valve stem that the manufacturer permits you to turn manually. They are a poor substitute for a buried valve key because pliers usually grip off-center, slip under load, and damage square stems or small lugs.
An adjustable wrench can work on a visible square operating nut when the box is shallow and there is enough clearance. A dedicated curb-stop key is safer for a buried main valve because its socket stays aligned with the nut.
Do not use a screwdriver, rebar, shovel handle, or pipe inserted between valve lugs. Improvised tools concentrate force on one edge and can break a lug inside the box, leaving no usable surface for the correct key.
What Are Typical Cost, Time, and Service-Life Ranges?
A standard steel pronged key typically costs $10-$30, a reinforced commercial model costs $25-$60, and a curb-stop key commonly costs $25-$75. These are typical retail ranges, not fixed prices, and stainless steel, telescoping shafts, insulated handles, and professional-grade welds increase the price.
| Equipment or service | Typical cost | Typical time |
|---|---|---|
| 24-inch steel pronged key | $10-$30 | Same-day purchase |
| 48-inch curb-stop key | $25-$75 | Same-day purchase |
| Replacement valve box lid | $10-$40 | 20-45 minutes |
| Irrigation service visit | $75-$200 | 30-90 minutes |
| Manual valve replacement | $100-$400 | 1-3 hours |
A dry, painted steel key can last 10-20 years or longer. Rinse soil from the shaft, dry the tool, and apply a light corrosion inhibitor to bare steel. Store it indoors rather than leaving it in a wet valve box.
Common Mistakes and How to Fix Them
The Key Slips Off
A slipping key usually indicates incomplete seating, the wrong prong pattern, packed dirt, or a damaged valve lug. Stop turning, expose the head, clean its sides, and compare the key against the actual shape.
If the lugs are rounded, do not hammer the key onto them. A valve technician may need to replace the operating stem or valve.
The Valve Will Not Turn
A seized valve may have mineral buildup, corrosion, a damaged stem, or pressure loading on the closure element. First confirm that the key is correct and fully seated, then try a small movement in the opposite direction.
Do not pour penetrating oil into a potable-water shutoff or irrigation valve unless the product is specifically approved for that application. Oil can contaminate water and may damage seals. For persistent resistance, isolate pressure upstream and call an irrigation professional.
Water Leaks Around the Stem
Water emerging around the operating stem often indicates worn packing, a loose packing nut, or a failed valve body seal. A packing nut may accept a small adjustment, commonly one-eighth turn at a time, but overtightening can make the valve difficult to operate.
If water continues to escape, close the upstream isolation valve and arrange repair. A leak from the pipe, fitting, or valve body requires a different repair than seepage around the stem.
The Sprinklers Stay Off After Opening
The manual shutoff may be open while a downstream zone valve remains closed, the controller may be disabled, or the solenoid may have failed. Check the controller schedule, common wire, zone wiring, backflow device, and other isolation valves.
A valve key cannot repair a failed electric solenoid. Automatic zone valves need electrical testing and, in some cases, diaphragm cleaning or replacement.
The Box Fills With Water
Standing water can come from rain, poor drainage, a cracked fitting, or a leaking valve. Pump or remove water carefully, inspect the box after the system is pressurized, and avoid energizing wet electrical connections.
If the water level rises continuously, shut off the system at the upstream manual valve if possible. Persistent flooding warrants professional inspection because the leak may be below the box.
How Do You Operate a Curb Stop?
A curb stop uses a socket-style key rather than the forked key used on many irrigation branch valves. Remove the lid, identify the square or rectangular operating nut, seat the socket fully, and turn according to the utility marking or service instructions.
Curb stops may belong to the water utility. In many municipalities, the property owner may operate the valve during an emergency but may not alter, relocate, or replace it. Contact the local water department before applying force to a seized street-side shutoff.
| Situation | Recommended action | Reason |
|---|---|---|
| Residential branch valve | Use 18-30-inch pronged key | Adequate reach and controlled torque |
| Main valve at property line | Confirm utility rules first | Ownership may be municipal |
| Deep box over 30 inches | Use longer shaft or extension designed for valve | Maintains vertical alignment |
| Valve nut below standing water | Remove water and identify leak | Prevents blind, off-center engagement |
What Changes During Winterization?
Winterization usually requires closing the irrigation supply and draining or blowing water from downstream pipes, but the valve key handles only the isolation step. Closing the manual valve does not remove water trapped in lateral lines, backflow assemblies, filters, or zone valves.
Close the supply valve gradually to limit pressure shock. Then follow the irrigation installer’s air-volume and pressure procedure, because excessive compressed-air pressure can damage sprinkler heads and valve diaphragms.
Keep the valve box accessible after winterization. A buried or frozen lid delays emergency shutoff and encourages operators to use shovels that can damage the valve head.
FAQ
How Deep Can a Sprinkler Valve Key Reach?
A standard residential key reaches about 12-30 inches, while curb-stop models commonly reach 36-60 inches. Measure from the top of the box opening to the valve head, then choose a shaft that allows the working end to seat without forcing the handle against the lid.
Should a Sprinkler Valve Be Fully Open?
Most manual gate valves should be fully open during normal irrigation operation, while a ball valve is normally fully open or fully closed. Partial opening can restrict flow, create turbulence, and make zone pressure inconsistent unless the valve is specifically used for flow regulation.
How Do You Find a Buried Irrigation Valve Box?
Search along the pipe route near the backflow preventer, water connection, property edge, or sprinkler-zone branches. Probe only shallow soil with a hand tool, use old landscape plans, and look for a rectangular or round lid. A professional locator can trace wires or pipes when the box is completely buried.
Can a Valve Key Turn a Sprinkler Solenoid?
A valve key normally cannot operate an electric solenoid because the solenoid is controlled by an electromagnetic coil and diaphragm. A key may turn a separate manual shutoff installed near the automatic valve, but it will not substitute for controller power, wiring, or solenoid repair.
How Much Force Should You Use on a Stuck Valve?
Use only moderate hand force with the key fully seated, and stop when the stem or handle flexes, the tool slips, or resistance increases sharply. A long key already supplies substantial leverage. If gentle rocking does not free the valve, isolate water pressure and obtain professional service rather than adding a pipe extension.
The Bottom Line
To use a sprinkler valve key safely, identify the manual valve head, select the matching fork or socket, clear the box, seat the tool completely, and rotate slowly in the marked direction. Verify the result through sprinkler operation or meter movement, then stop immediately if the key slips, the stem bends, or water leaks.
For most residential systems, a 24-inch two- or three-prong steel key is the practical starting point. Use a curb-stop key for a square main shutoff, and remember that a key does not operate an automatic solenoid. Following those distinctions makes how to use sprinkler valve key a controlled maintenance task rather than a valve-stem replacement.