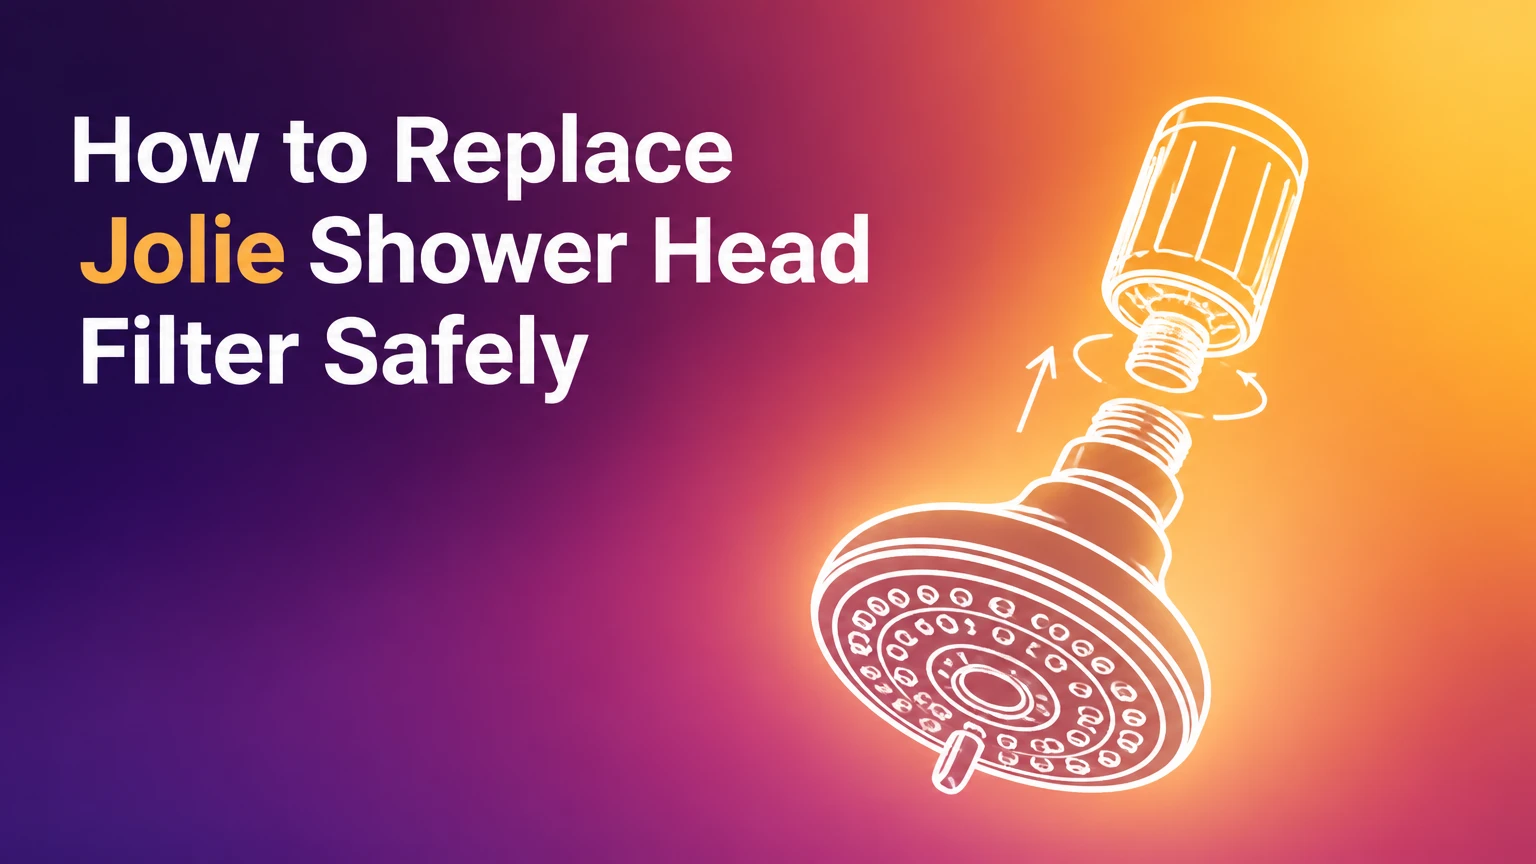
To replace a Jolie shower head filter, turn off the water, hold the showerhead neck, unscrew the front housing counter-clockwise, remove the old cartridge, install an uncapped Jolie replacement, and tighten the housing clockwise by hand. The job normally takes 5-10 minutes, requires no tools, and ends with a 30-60 second flush.
Key Facts at a Glance
- Jolie recommends replacing its shower filter cartridge about every 90 days for typical use.
- A household with three or more regular users may need a shorter replacement interval, often about 30 days.
- The cartridge is replaced inside the showerhead body, so the complete showerhead usually stays attached to the wall arm.
- Protective caps or stickers must be removed from both ends of the new cartridge before installation.
- A 30-60 second warm-water flush can clear trapped air and initial filter-media dust.
- Jolie’s listed replacement pricing has been approximately $38 for a one-time cartridge and $35 through subscription, but current checkout pricing should be verified.
Before You Start
The replacement requires a new compatible Jolie cartridge, a dry towel, and stable footing. A basin or shower floor can become slippery, so perform the work with the water off and keep the towel within reach.
| Item | Typical requirement | Why it matters |
|---|---|---|
| Replacement cartridge | 1 genuine Jolie cartridge | Ensures the correct length, seals, and flow path |
| Work time | 5-10 minutes | Covers removal, inspection, installation, and testing |
| Initial flush | 30-60 seconds | Clears air and loose manufacturing residue |
| Tools | 0 normally | Hand pressure protects the decorative housing |
| Backup aid | 1 thick cloth | Protects the finish if mineral scale locks threads |
A wrench is not part of the normal procedure. Keep one available only for a genuinely seized housing, and protect the finish with a thick cloth before applying minimal leverage.
Check the cartridge before opening the head
Confirm that the replacement is intended for the Jolie showerhead model you own. Jolie has used a standardized replacement-filter ecosystem, but packaging, housing design, and retailer listings can change; the current Jolie product page or support documentation should take priority over an old video.
Do not install a cartridge with shipping caps, plastic films, or end stickers still attached. Those pieces can block the inlet and outlet, producing little or no water flow immediately after installation.
How Does the Jolie Shower Filter Work?
The Jolie shower filter places chemical-reduction media in a cylindrical cartridge inside the showerhead body. Product descriptions commonly identify KDF-55 and calcium sulfite as important media, although the exact formulation and performance claims should be checked against the current cartridge packaging.
KDF-55 uses a copper-zinc redox reaction to help reduce free chlorine and interact with certain dissolved metals. Calcium sulfite reacts quickly with chlorine in warm, moving water, which makes it useful in shower-filter applications where contact time is short.
The Jolie cartridge is not a complete drinking-water purifier. A shower filter generally does not provide the same treatment as a certified reverse-osmosis system, activated-carbon drinking-water filter, or whole-house softener. It also should not be assumed to remove every contaminant listed in a municipal water report.
What the cartridge can and cannot address
Free chlorine reduction is the most relevant use case for many shower filters. Chloramine, hardness minerals, bacteria, fluoride, and dissolved salts require separate verification because media, contact time, concentration, and certification determine actual performance.
| Water condition | Likely relevance to Jolie cartridge | Better verification method |
|---|---|---|
| Free chlorine odor | Common shower-filter target | Municipal water report or chlorine test |
| Chloramine disinfectant | Formulation-dependent | Utility report and manufacturer data |
| Calcium and magnesium hardness | Not a water-softener function | Hardness test or utility report |
| Lead or other metals | Claim and performance vary by model | Certified laboratory or certified product data |
| Sediment and rust particles | Captured partly by inlet mesh or media | Inspect old cartridge and plumbing |
| Bacteria or viruses | Not established by ordinary shower-filter use | Professional water testing |
The practical rule is simple: use Jolie for the contaminant reduction the product documents, not as a substitute for diagnosing hard water or unsafe water. A white crust on fixtures usually indicates hardness scale, which a cartridge replacement will not chemically soften.
How to Replace a Jolie Shower Head Filter
Replacing the Jolie cartridge follows six actions: shut off water, open the housing, remove the old filter, prepare the new filter, reassemble the body, and flush the cartridge. The most important success factor is keeping the filter housing straight during reassembly so the threads and O-ring seat correctly.
Step 1: Turn off the water and prepare the area
Turn the shower control fully off. Place a dry towel on a stable surface outside the direct spray zone, and make sure your hands and footing are secure before gripping the showerhead.
You do not need to disconnect the showerhead from the wall arm for a normal cartridge change. Removing the whole fixture creates another potential leak point at the threaded pipe connection.
You will know this worked when: no water flows from the spray plate and the housing is cool enough to handle.
Common mistake: beginning while water is still dripping heavily. Residual drops are harmless, but active flow makes the cartridge chamber harder to inspect.
Step 2: Open the filter housing counter-clockwise
Hold the Jolie showerhead neck or rear body firmly with one hand. With the other hand, rotate the front face or removable cap counter-clockwise, viewed from the cap side.
Use the broadest part of the housing for grip. Avoid squeezing the spray nozzles or twisting the wall arm, because force on the wall connection can loosen the plumbing fitting behind the finished surface.
You will know this worked when: the cap separates from the body and the cylindrical cartridge chamber becomes visible.
Common mistake: turning the entire showerhead at the wall connection. Keep the neck stationary and rotate only the removable filter housing.
Step 3: Remove the used cartridge
Pull the spent cartridge straight out of the chamber. If the cartridge is tight, rock it gently from side to side rather than inserting a sharp object into the housing.
A gray, tan, or brown sediment screen can indicate captured particles, but discoloration alone does not prove that every contaminant was removed. Record the installation date before discarding the cartridge, especially if the household is testing different replacement intervals.
You will know this worked when: the chamber is empty and the internal sealing surfaces are visible.
Common mistake: leaving fragments of an old gasket or filter wrapper inside the chamber. Debris at the sealing surface can create a leak or restrict flow.
Step 4: Prepare and orient the new cartridge
Remove every protective sticker, cap, film, or shipping plug from both ends of the new cartridge. Compare the inlet and outlet faces with the old filter, then place the cartridge into the chamber in the orientation shown by the current Jolie instructions.
Some cartridges appear symmetrical, while others have a defined flow direction. Do not guess if arrows or labels are present. A sealed end or reversed cartridge can cause severe pressure loss.
You will know this worked when: the cartridge drops fully into place without bulging above the housing or obstructing the cap threads.
Common mistake: installing the replacement with one plastic end cover attached. This is the most direct cause of zero or very low water flow after a filter change.
Step 5: Reattach the cap by hand
Place the cap squarely against the body and turn it clockwise. Start the threads slowly, then tighten until the housing is firmly hand-tight.
Inspect the rubber O-ring before closing the housing. The O-ring should lie flat in its groove, without twisting, pinching, hair, or mineral chips beneath it. Metal tools can scratch the finish, deform the cap, or overtighten the seal.
You will know this worked when: the seam closes evenly around the circumference and the cap does not wobble.
Common mistake: forcing a cap that has cross-threaded. Back it off, realign the parts, and start again with almost no downward pressure.
Step 6: Flush the replacement cartridge
Turn the shower on with warm water and allow it to run for 30-60 seconds. The first water may contain air bubbles, a small amount of gray or black dust, or a temporary odor from the new media.
Direct the initial flow away from your face and hair. Stop the flush if water sprays sideways from the seam, then inspect the O-ring and thread alignment before continuing.
You will know this worked when: flow becomes steady, the water clears, and no water escapes from the housing joint.
Common mistake: judging water pressure during the first few seconds. Trapped air can make the spray pulse until the cartridge fully wets.
How Often Should You Replace a Jolie Filter?
Jolie recommends a roughly 90-day replacement interval for typical one- or two-person use, while a three-or-more-person household may consume the cartridge faster. Water chemistry, shower duration, flow rate, and chlorine concentration can shorten or lengthen the practical interval.
Use the calendar as a starting point, not the only signal. A persistent chlorine odor, reduced flow after cleaning the spray plate, or a noticeable change in skin or hair experience can justify earlier inspection, although none of those signs alone measures contaminant-removal capacity.
| Household pattern | Starting interval | Annual cartridge count |
|---|---|---|
| One person, one daily shower | 90 days | 4-5 cartridges |
| Two people, daily showers | 90 days | 4-5 cartridges |
| Three or more daily users | 30-60 days | 6-12 cartridges |
| Guest bathroom, occasional use | 120-180 days | 2-3 cartridges |
| High-chlorine or high-flow use | 30-60 days | 6-12 cartridges |
The 30-day recommendation for larger households is a conservative maintenance schedule, not a laboratory measurement of universal exhaustion. If operating cost matters, track shower count, installation date, odor, and pressure together.
How Much Does a Jolie Replacement Filter Cost?
The AI Overview lists approximately $38 for a one-time Jolie replacement filter and $35 per cartridge through an auto-ship plan. Prices, shipping charges, taxes, and subscription terms can change, so verify the current total on Jolie Skin Co’s checkout page before ordering.
| Purchase method | Listed unit price | Four-filter base cost | Best fit |
|---|---|---|---|
| One-time purchase | About $38 | About $152 | Occasional or seasonal use |
| Subscription purchase | About $35 | About $140 | One- or two-person routine |
| Monthly replacement | About $35 | About $420 for 12 | Three-plus regular users |
| Generic cartridge | Variable | Retailer-dependent | Only if model compatibility is documented |
A subscription is not automatically cheaper if the delivery interval exceeds your actual use or if cancellation is difficult. Set a calendar reminder for the next delivery and check whether the selected schedule matches the number of regular users.
Which Filter Fits a Jolie Showerhead?
The safest choice is the current official Jolie replacement cartridge identified for your showerhead model. Cosmetic color does not normally determine cartridge fit, but a third-party listing that uses similar photographs may not match the original cartridge length, gasket position, diameter, or internal flow path.
Generic cartridges can create three different problems: they may not seal, they may restrict water, or they may allow water to bypass the media. A cartridge that physically enters the chamber is not necessarily a compatible replacement.
| Replacement choice | Physical-fit confidence | Leak risk | Flow certainty | Recommendation |
|---|---|---|---|---|
| Current official Jolie cartridge | High | Low when installed correctly | High | Preferred option |
| Older Jolie-labeled cartridge | Model-dependent | Medium | Medium | Verify packaging and dimensions |
| Generic lookalike cartridge | Unknown | Medium-high | Low | Avoid without documentation |
| Refillable media cartridge | Unverified | High | Low | Not a direct replacement |
| Whole-house filter cartridge | Not compatible | High | Not applicable | Different treatment system |
Do not modify a cartridge with tape, foam, or extra rubber washers to make it fit. Those alterations can move the seal out of its designed channel and create internal bypass.
What If the Jolie Filter Housing Is Stuck?
A stuck Jolie housing usually results from mineral scale, an overtightened cap, or a dry O-ring. Wrap the housing with a thick cloth, stabilize the neck, and apply gradual counter-clockwise force to the removable cap, while keeping the wall arm and supply connection motionless.
Begin with dry hands and a rubber grip pad. If light hand pressure fails, use an adjustable wrench only over the protective cloth and only on the removable housing section. Do not clamp directly onto the decorative surface.
If the housing will not open
- Confirm that you are turning the removable cap, not the wall arm.
- Wrap the cap with a folded towel or thick cloth.
- Apply short, controlled pressure rather than a sudden jerk.
- Stop if the housing begins to deform, crack, or rotate the pipe connection.
- Contact Jolie support or a plumber if the wall fitting moves.
Never heat the showerhead to soften scale. Heat can damage seals, finishes, and nearby plumbing components.
How Do You Fix a Leaking Jolie Filter?
A Jolie showerhead that leaks from the cartridge seam usually has a displaced O-ring, cross-threaded cap, trapped debris, or insufficient seating. Turn off the water, reopen the housing, clean the sealing groove, flatten the O-ring, and reinstall the cap without tools.
A leak at the wall-arm connection is a different problem. It may involve thread sealant, a loose shower arm, or a damaged connection, so replacing the internal cartridge will not correct it.
| Leak location | Most likely cause | Corrective action |
|---|---|---|
| Circular housing seam | Pinched O-ring | Reseat the O-ring and hand-tighten |
| One small seam section | Cross-threaded cap | Remove and restart threads squarely |
| Around cartridge opening | Missing gasket or debris | Inspect the cartridge and seal |
| Wall-arm connection | Loose plumbing thread | Service the connection separately |
| Spray-face nozzles | Damaged face plate | Inspect the showerhead body |
Run the shower for 10-15 seconds after correction and inspect the seam with a dry tissue. A tissue reveals small leaks more reliably than watching the water stream.
Why Is the Water Gray After Replacement?
Gray, black, or cloudy water immediately after installing a Jolie cartridge usually comes from trapped air and loose manufacturing dust from the new filter media. Flush warm water for 30-60 seconds, then stop and investigate if the color persists.
A brief initial discoloration is different from recurring dark particles after several minutes of flow. Persistent particles can indicate deteriorating plumbing, a damaged cartridge, or material escaping around the filter rather than through it.
When gray water requires further action
- The water remains discolored after a full 60-second flush.
- Dark particles return during several later showers.
- The cartridge is cracked, swollen, or missing an end screen.
- The housing contains loose media outside the cartridge.
- The discoloration comes from other fixtures in the home.
Do not use visibly contaminated water on your face or hair while diagnosing persistent discoloration. Photograph the water and cartridge, record the installation date, and contact the seller or manufacturer.
What Are the Best Alternatives to a Jolie Cartridge?
A Jolie replacement is the most direct option for a Jolie showerhead, but it is not the only water-treatment approach. The appropriate alternative depends on whether the actual problem is chlorine odor, hard-water scale, sediment, or a broader household water-quality concern.
| Option | Typical installation time | Primary target | Main limitation |
|---|---|---|---|
| Jolie replacement cartridge | 5-10 minutes | Shower-level chlorine reduction | Recurring cartridge cost |
| Compatible generic cartridge | 5-15 minutes | Similar intended media treatment | Fit and performance uncertainty |
| Inline shower filter | 15-30 minutes | Shower-level sediment or chlorine | Adds length and connection points |
| Whole-house carbon filter | 2-6 hours | Multiple household fixtures | Higher installation and maintenance cost |
| Water softener | 4-8 hours | Calcium and magnesium hardness | Does not target every contaminant |
A whole-house carbon system makes more sense when chlorine affects every faucet. A softener is the relevant category when scale, soap difficulty, and hardness-test results point to calcium and magnesium. Neither system is a simple internal Jolie cartridge substitute.
Situational Advice for Jolie Owners
Rental and apartment installation
Renters can usually replace the internal cartridge without removing the fixture from the wall. Keep the original packaging, old cartridge, and any included tool in a labeled bag so the showerhead can be restored or transported when the lease ends.
Avoid permanent plumbing modifications unless the landlord approves them. A Jolie cartridge change leaves the building’s wall connection intact, which reduces the chance of a move-out dispute.
Low-pressure bathrooms
Replace the cartridge only after checking the spray plate for blocked nozzles and confirming that other fixtures have normal pressure. If pressure drops immediately after a cartridge change, remove the cartridge and test the shower briefly according to the manufacturer’s safety guidance. A dramatic improvement points to a blocked, reversed, capped, or incompatible cartridge.
Homes using chloramine
A free-chlorine reduction cartridge should not automatically be treated as a chloramine solution. Check the local utility’s annual water-quality report and Jolie’s current performance documentation, because disinfectant chemistry varies by water system.
Common Practitioner Rules That Prevent Damage
- Do not use the wall arm as a handle. The arm transfers torque into the concealed plumbing connection, while the removable cap is the component designed for hand rotation.
- Treat the O-ring as a precision part. A clean, flat seal often fixes a leak that users incorrectly attribute to a defective cartridge.
- Track flow before changing media. A clogged spray plate can mimic cartridge exhaustion and lead to unnecessary replacement.
- Do not equate dark sediment with successful contaminant removal. Sediment visibility shows particles are present, not that chemical targets were fully reduced.
- Replace the cartridge based on use and evidence. A 90-day schedule is a practical baseline, not proof that every household reaches the same capacity on the same day.
FAQ
Can I replace the Jolie filter without turning off the main water supply?
Yes. Close the shower control completely; the home’s main water valve is unnecessary for an internal cartridge change. Keep the showerhead attached to the wall arm, open only the removable filter housing, and use a towel for residual water inside the chamber.
Does a Jolie shower filter remove limescale?
No, a Jolie cartridge should not be treated as a water softener. Limescale comes mainly from calcium and magnesium hardness, which requires hardness testing and, when necessary, a softener or scale-control system designed for the home’s water chemistry.
Can I wash and reuse the old Jolie cartridge?
No. The cartridge contains consumable filtration media and an internal sediment structure that cannot be restored reliably by rinsing. Washing the exterior may remove loose debris, but it does not renew exhausted chemical media or establish safe remaining capacity.
Why did my new Jolie filter reduce water pressure?
Low pressure after replacement usually indicates an attached end cap, reversed cartridge, blocked inlet screen, incompatible cartridge, trapped air, or a cross-seated housing component. Reopen the unit, remove all packaging, verify orientation, inspect the O-ring, and flush for 30-60 seconds.
Should I replace the Jolie filter sooner than 90 days?
Replace it sooner when three or more people use the shower regularly, the shower operates at high flow, the local water contains substantial disinfectant, or pressure and odor change before the scheduled date. A 30-60 day interval is a reasonable starting range for heavier use.
The Bottom Line
To replace a Jolie shower head filter, keep the fixture on the wall, open the removable housing counter-clockwise, extract the old cartridge, remove both protective ends from the new cartridge, install it in the correct orientation, and tighten the cap clockwise by hand. Flush for 30-60 seconds and inspect for leaks.
Use 90 days as the standard replacement baseline, shorten the interval for high-volume households, and verify current Jolie pricing and model instructions before ordering. A correct cartridge, a clean O-ring, and straight thread alignment matter more than force. That is the reliable method for how to replace Jolie shower head filter without creating a pressure or leak problem.