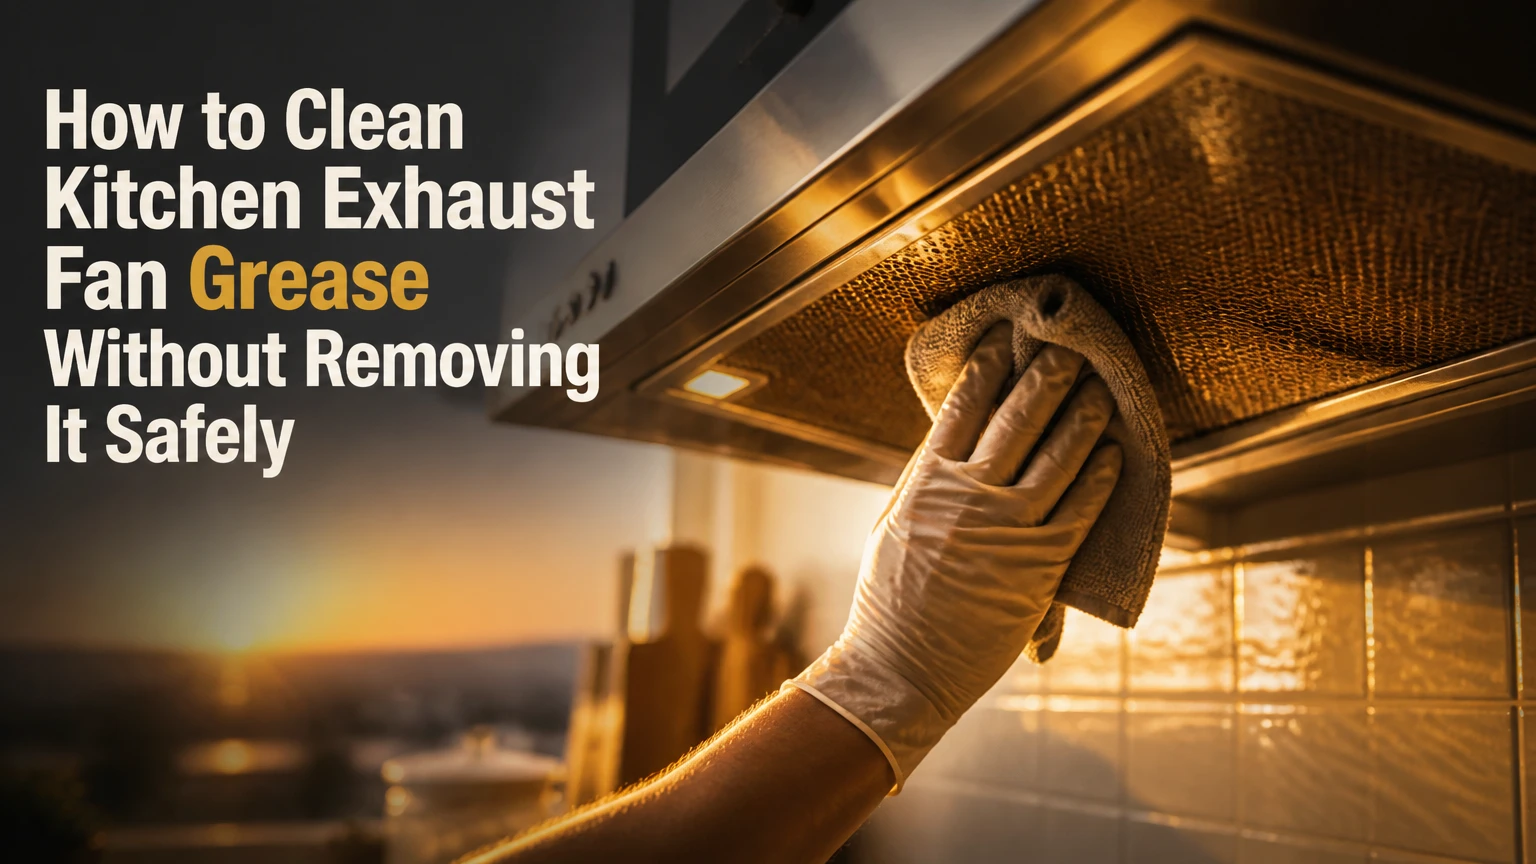
To clean kitchen exhaust fan grease without removing the fan, isolate the electricity, protect the cooking surface, apply a compatible degreaser to cloths or exposed non-electrical parts, scrub with nylon tools, and wipe rather than flood the housing. A light or moderate buildup usually takes 45-60 minutes; hardened deposits may require repeated applications or professional service.
Key Facts
A mounted kitchen exhaust fan must never be sprayed directly into its motor, switch, bearings, or wiring.
Alkaline kitchen degreasers usually outperform vinegar on old cooking oil because alkaline chemistry breaks down fatty deposits.
A 5-15-minute dwell period softens grease, but letting cleaner dry on aluminum, paint, or plastic can cause damage.
The safest in-place method uses damp cloths and controlled brushes, not large amounts of water or boiling liquid.
Typical household supply cost is $10-$30, while a handheld steam cleaner commonly costs $60-$200.
If grease has entered the motor, the fan is electrically unsafe to operate until inspected and fully dried.
What In-Place Exhaust Fan Cleaning Includes
In-place kitchen exhaust cleaning means degreasing accessible fan blades, the front grille, housing, louvers, and nearby hood surfaces while the fan remains mounted. The method does not mean flooding the assembly, dismantling sealed motor parts, or attempting to clean the hidden duct with a household cloth.
Most kitchen exhaust fans contain a motor, rotating blade or blower wheel, protective grille, electrical terminals, and a housing made from coated steel, stainless steel, aluminum, or plastic. Each material tolerates cleaners differently. Painted steel and plastic can lose their finish under strong caustic products, while aluminum can darken or pit when exposed to high-pH oven cleaner.
A manufacturer-designed grease filter is a separate issue. If the owner’s manual says the filter is removable, taking out only that filter may improve the result without violating the “do not remove the fan” requirement. Never force a grille, impeller, or motor cover that is not intended for user removal.
Why Grease Responds to Degreasers
Kitchen degreasers work through surfactant action, emulsification, and, in alkaline formulas, saponification. Surfactants loosen the bond between oil and metal, while emulsification suspends loosened grease so a cloth can carry it away. Alkaline ingredients react with fatty acids and convert part of the deposit into a more water-soluble soap.
Vinegar is acidic, so it is useful for mineral scale and some odors but is usually weak against thick, polymerized cooking oil. Baking soda adds mild abrasion and alkalinity, yet a paste cannot match a purpose-made degreaser on carbonized grease. Never combine vinegar with bleach, ammonia, or commercial cleaners unless the product label explicitly permits the combination.
Before You Start: Time, Tools, and Safety
A typical light-to-moderate cleaning requires 45-60 minutes, $10-$30 in supplies, and moderate access to the fan. Hardened grease can take 90 minutes or more because repeated short applications are safer than one aggressive soaking.
Before You Start Checklist
| Requirement | Typical specification | Why it matters |
|---|---|---|
| Power isolation | Circuit breaker off, 0 volts confirmed if tested | Prevents shock and motor damage |
| Cleaning time | 45-60 minutes for moderate buildup | Allows dwell, scrubbing, rinsing, and drying |
| Degreaser | 16-32 fluid ounces, label-approved | Provides enough product without over-spraying |
| Cloths | 6-10 microfiber or cotton towels | Separates dirty, rinse, and dry wiping |
| Brushes | 1 nylon dish brush, 1 soft toothbrush | Reaches blades, corners, and grille slots |
| Protection | Nitrile or rubber gloves, goggles, plastic bags | Controls chemical contact and runoff |
| Drying | 30-60 minutes after final wipe | Reduces electrical and corrosion risk |
Turn off the fan switch, then switch off the fan’s circuit breaker. Test the wall switch afterward, because a light and fan can be on separate circuits in some range hoods. Allow the fan, cooktop, and nearby metal surfaces to cool completely.
Open a window or operate a separate room ventilator if the cleaner label allows it. Do not use a strong degreaser in a closed kitchen, and do not work from an unstable chair. A small platform ladder with locked steps is safer than leaning sideways over a stove.
What Should Never Get Wet?
The motor housing, capacitor, wiring, switch, control board, lamp socket, and bearing openings must remain dry. Put cleaner on a cloth, sponge, or brush near these parts instead of spraying toward them.
A useful practitioner rule is to keep liquid at least 2 inches away from visible electrical openings and to use a nearly wrung-out cloth around the motor. This is a risk-control rule, not a universal manufacturer specification, so the appliance manual takes priority.
How to Clean Kitchen Exhaust Fan Grease Without Removing It
The safest sequence is isolate, contain, dry-brush, apply cleaner selectively, scrub, wipe with clean water, and dry completely. The process works best when the fan remains still and the operator removes grease in thin layers rather than forcing a saturated cloth into the motor area.
Step 1: Isolate Power and Contain Runoff
Switch off the breaker, verify that the fan cannot start, and cover the cooktop with a thick plastic sheet or flattened trash bags. Tape the sheet to the counter edges, then place absorbent towels along the backsplash and front edge of the stove.
Remove only user-serviceable parts named in the manual, such as a grease filter or snap-in grille. Photograph the arrangement before moving anything so clips and filters return to their original positions.
Success checkpoint: The fan blade does not move when the wall control is operated, and no cleaner can drip into burners, switches, or electrical openings.
Common mistake: Turning off only the wall switch. A switch is not a complete electrical isolation method.
Step 2: Identify the Surface and Choose the Cleaner
Read the fan or range hood manual before selecting a product. Use a mild dish detergent solution for plastic and painted surfaces, a label-approved kitchen degreaser for stainless steel, and an aluminum-safe cleaner for exposed aluminum.
Apply commercial degreaser to a cloth or brush first. For accessible non-electrical surfaces, a light mist can be used only when the label and appliance manual permit it, but direct spraying toward the fan center is unsafe.
| Cleaner or method | Suitable buildup | Typical dwell | Main restriction |
|---|---|---|---|
| Dish detergent, 1 teaspoon per 16 oz water | Light oil film | 3-5 minutes | Requires more wiping |
| Ready-to-use kitchen degreaser | Medium to heavy grease | 5-10 minutes | Check paint and aluminum compatibility |
| Diluted concentrate, label ratio | Thick deposits | 5-15 minutes | Never exceed label strength |
| Baking soda paste, 3:1 powder to water | Small stubborn spots | 10 minutes | Mild abrasion can dull finishes |
| White vinegar, 1:1 with water | Odor or light residue | 5 minutes | Weak against old greasy crust |
| Handheld steam | Local hardened spots | 2-5 seconds per pass | Keep vapor away from motor and controls |
Do not use oven cleaner on aluminum unless the manufacturer specifically approves it. Many oven cleaners contain sodium hydroxide, which can discolor or etch aluminum. Never mix a degreaser with bleach, ammonia, vinegar, or another product.
Success checkpoint: A test patch softens the grease without discoloring, whitening, swelling, or dulling the surface.
Common mistake: Assuming “natural” means material-safe. Vinegar can damage some stone backsplashes, and concentrated baking soda can scratch glossy coatings.
Step 3: Remove Loose Grease Before Wet Cleaning
Use a dry paper towel, plastic scraper, or old loyalty card to lift thick soft deposits from the grille and housing. Work from the outside toward the center and keep removed grease in a disposable container rather than washing it into the sink.
Do not use a knife, screwdriver, steel wool, or metal putty knife. Hard tools can cut paint, expose bare steel, bend a grille, or create an electrical path if the tool contacts a terminal.
Dry removal reduces the amount of sludge that later runs toward the motor. It also lets the degreaser reach the bonded film instead of spending its active chemistry on a thick surface layer.
Success checkpoint: No loose ridge of grease remains thick enough to drip when the fan is wiped.
Common mistake: Starting with wet spray on a heavy crust. That often creates a sticky liquid that travels farther into the housing.
Step 4: Apply Degreaser in Small Sections
Fold a microfiber cloth into quarters, wet one face with the selected cleaner, and press it against one blade or grille area. Work in sections of about 4 by 4 inches, keeping the fan center and motor zone dry.
Leave the cleaner in place for 5-10 minutes, or use the product label’s stated dwell time. Prevent drying by re-wetting the cloth, not by adding a large spray volume. A soft nylon brush can agitate the blade root and grille slots.
For a rotating axial fan, hold the blade hub steady with a clean dry cloth while wiping each blade. Do not spin the blade rapidly, because the fan can act like a pump and carry liquid inward.
Success checkpoint: Grease changes from a firm amber or brown layer to a soft film that lifts with two or three brush passes.
Common mistake: Scrubbing immediately. Without dwell time, the operator uses excessive force and may bend thin blades or scratch coatings.
Step 5: Scrub Blades, Grille, and Housing
Use a nylon dish brush on broad blade surfaces and a soft toothbrush for slots, corners, and blade roots. Brush from the hub outward, following the blade shape, then fold the dirty cloth to expose a clean side.
A plastic scraper handles isolated hardened spots better than abrasive pads. Keep the fan stationary while scrubbing, and support any flexible grille with your free hand to prevent deformation.
If the grease remains hard, repeat the 5-10-minute dwell cycle. Two controlled applications are safer than one highly concentrated application, especially on painted steel, aluminum, and older plastic.
Success checkpoint: A clean white cloth picks up only a faint translucent film after the second wipe.
Common mistake: Using steel wool or a green abrasive pad on a brushed finish. The scratches often remain visible after the grease is gone.
Step 6: Wipe, Rinse, and Neutralize Residue
Use a separate cloth dampened with clean warm water to remove cleaner and emulsified grease. Rinse or replace the cloth repeatedly; a saturated dirty cloth redistributes grease across the housing.
Follow with a second clean-water wipe on areas that contact cooking vapor. Do not pour water into the grille, and do not direct a spray bottle toward the motor. For stainless steel, finish with a dry microfiber cloth in the direction of the grain.
A residue check matters because dried degreaser can leave a tacky alkaline film that attracts new oil. The surface should feel clean and non-slippery, not merely look shiny.
Success checkpoint: The final cloth remains nearly clean, and no foamy or slick residue appears when the surface is touched with a dry glove.
Common mistake: Rinsing by pouring. Controlled wiping removes residue without creating electrical runoff.
Step 7: Dry, Inspect, and Restore Power
Dry all accessible surfaces with a clean towel, then leave the grille open to air-dry for at least 30-60 minutes. If any liquid may have entered the motor housing, do not restore power after 30 minutes; leave the breaker off and arrange inspection or allow a full 24-48 hours of drying in a ventilated, dry environment.
Inspect the blade for bends, confirm that the grille is secure, and rotate the blade gently by hand only when the power is isolated. The blade should turn smoothly without scraping the housing.
Restore power and run the fan for 30 seconds while standing clear of the cooktop. Stop immediately for humming without rotation, burning odor, grinding, sparks, or unusual vibration.
Success checkpoint: The fan starts promptly, reaches its usual speed, and produces no new noise or smell.
Common mistake: Testing the fan while moisture remains near the motor. Electrical damage may occur even when the fan initially appears to run.
Which Cleaning Method Fits the Grease?
A label-approved liquid degreaser is the best general choice for moderate or heavy household grease because it combines predictable dwell time with low equipment cost. Dish detergent is safer for delicate finishes, while steam is useful only for brief, controlled work far from electrical components.
| Condition or material | Preferred method | Avoid | Typical result |
|---|---|---|---|
| Light oil on plastic grille | Dish detergent solution | Strong caustic oven cleaner | 15-25 minutes |
| Medium grease on painted steel | Mild kitchen degreaser on cloth | Long unattended dwell | 30-45 minutes |
| Heavy grease on stainless steel | Compatible alkaline degreaser | Steel wool and chlorine bleach | 45-75 minutes |
| Exposed aluminum blade | Aluminum-safe detergent | Sodium hydroxide oven cleaner | 45-90 minutes |
| Hardened spot away from motor | Short steam pass plus wipe | Continuous vapor stream | 30-60 minutes |
| Grease inside motor housing | Technician inspection | Any liquid or steam | Repair assessment required |
Is Steam Safe for a Mounted Fan?
Steam is safe only for short passes on suitable, non-electrical surfaces when the appliance manufacturer permits it. Keep the nozzle away from the motor, controls, lamp sockets, seams, and wiring, because vapor can condense inside the assembly and cause corrosion or an electrical fault.
A handheld steamer costing approximately $60-$200 is rarely necessary for routine film. Steam can soften a hardened patch, but it does not remove the residue by itself, so the operator still needs immediate wiping and drying. A professional vapor-cleaning service may cost roughly $75-$250 for a household hood, depending on access and local labor rates.
Does Vinegar Remove Kitchen Fan Grease?
Vinegar removes light residue and mineral deposits more effectively than thick cooking grease. A 1:1 mixture of white vinegar and water can be used on compatible surfaces for a short contact period, but vinegar is not a substitute for an alkaline degreaser on polymerized oil.
Do not spray vinegar near electrical components, and never combine it with bleach. Mixing acids with hypochlorite bleach can release chlorine gas, while mixing vinegar with some alkaline cleaners can create heat, splashing, or unpredictable chemical residue.
Costs, Time, and Cleaning Frequency
Typical household in-place cleaning costs $10-$30 when the owner already has cloths and brushes. Buying a degreaser, gloves, goggles, nylon brush, and plastic sheeting usually costs $20-$45, while professional service commonly ranges from $75-$250 for an accessible residential hood.
| Approach | Supplies or service cost | Active time | Best use |
|---|---|---|---|
| Dish detergent and cloths | $5-$15 | 30-60 minutes | Light weekly residue |
| Commercial degreaser | $10-$30 | 45-75 minutes | Moderate household grease |
| Steam cleaner purchase | $60-$200 | 30-60 minutes | Repeated hardened spots |
| Professional residential cleaning | $75-$250 | 60-120 minutes | Difficult access or heavy buildup |
| Commercial hood specialist | $250-$800+ | 2-6 hours | Canopies, ducts, and code-driven service |
Clean a lightly used fan every 2-3 months and inspect it monthly. Homes that fry food, cook with a wok, or use ghee or bacon grease should inspect the grille every 2-4 weeks and clean when a visible film appears.
Frequency should follow grease load rather than a fixed calendar. A thin film cleaned early needs detergent and wiping; a thick deposit demands stronger chemistry, more runoff protection, and greater risk.
Common Problems and Safe Fixes
Sticky paste usually means the cleaner is too weak, the surface is too cold, or too much grease was attacked at once. Remove the paste with a disposable towel, apply a fresh label-diluted degreaser to a small section, wait 5-10 minutes, and wipe before repeating.
A scraping sound after cleaning usually indicates a shifted grille, bent blade, loose fastener, or grease clump near the housing. Disconnect power, inspect the clearance by hand, and do not bend the blade repeatedly because an unbalanced blade can damage the motor bearing.
A humming motor that does not spin requires immediate power isolation. Liquid may have entered the motor, or the grease may have overloaded the starting mechanism. Do not keep toggling the switch, and do not use a hair dryer near the appliance.
| Symptom after cleaning | Likely cause | Immediate action | Escalation point |
|---|---|---|---|
| Humming, no rotation | Moisture or seized bearing | Breaker off, no restart | Technician if unresolved after drying |
| Scraping noise | Bent blade or loose grille | Inspect with power off | Replace damaged blade |
| Strong chemical odor | Residue or over-application | Repeat clean-water wipe | Stop if odor persists |
| New vibration | Uneven grease or blade distortion | Inspect hub and blade | Service for imbalance |
| Fan trips breaker | Short circuit or wet wiring | Leave breaker off | Licensed electrician or appliance repair |
| Weak airflow | Clogged filter or duct | Check user-serviceable filter | Duct inspection if filter is clear |
When In-Place Cleaning Is Not Enough
In-place cleaning is not adequate when grease has entered the motor, the fan cannot be reached safely, the housing contains thick fire-prone deposits, or airflow remains poor after the filter and grille are clean. A household wipe-down also cannot clean the hidden duct, roof termination, or commercial canopy interior.
Commercial kitchen exhaust systems require specialized inspection and cleaning because grease can accumulate inside the hood, filters, fan housing, and ductwork. NFPA 96 addresses commercial cooking ventilation and fire protection, and its inspection frequency depends on cooking volume and fuel type. Residential appliances do not automatically fall under the same service schedule, but commercial requirements illustrate why a visible clean grille does not prove a clean duct.
Replace rather than repeatedly clean a fan when the motor overheats, bearings grind, insulation is damaged, or replacement parts cost more than a comparable new unit. The practical limit of in-place cleaning is access. If a cloth cannot reach the deposit without forcing liquid toward electrical parts, stop.
Maintenance That Prevents Heavy Grease
Wipe the exposed grille and hood lip weekly when cooking produces frequent vapor, and clean removable filters according to the appliance manual. Run the fan during cooking and for 10-15 minutes afterward if the manufacturer permits, because capturing vapor reduces the amount that condenses on the blades.
Use a paper towel to remove fresh grease before it oxidizes and hardens. A two-minute wipe after frying often prevents the 60-minute restoration process required for neglected buildup.
Keep filters installed and correctly seated. Operating a range hood without its grease filter can move oil into the blower and duct, while an overloaded filter reduces airflow and pushes more vapor back into the kitchen.
FAQ
Can I Clean the Fan While It Is Running?
No. A running fan can pull liquid, cloth fibers, or loosened grease into the motor and can injure fingers near the blade. Turn off the circuit breaker, verify that the fan cannot start, and clean only after the blade has stopped and the appliance has cooled.
Can I Use WD-40 to Remove Grease?
WD-40 is not a suitable primary kitchen degreaser because it leaves an oily film and is not intended for food-contact or high-heat cooking surfaces. Use a label-approved kitchen degreaser, then remove all residue with clean water and dry the surface completely.
Should I Remove the Grease Filter?
Remove the grease filter only if the appliance manual identifies it as user-removable. Washing that filter separately can improve airflow without removing the fan, but forcing a fixed filter or grille can damage clips, seals, or wiring.
How Do I Clean a Fan With Aluminum Blades?
Use a mild detergent or an aluminum-safe cleaner, apply it to a cloth, and keep contact brief. Avoid sodium hydroxide, strong oven cleaner, steel wool, and prolonged soaking because alkaline chemicals can darken, pit, or weaken exposed aluminum.
Why Does the Fan Still Smell After Cleaning?
A persistent smell usually comes from residue behind the grille, a saturated filter, grease inside the duct, or motor contamination. Recheck accessible surfaces and the filter first; if the odor is electrical, burnt, or strongest when the fan runs, isolate power and arrange service.
Can I Clean the Duct Without Removing the Fan?
A household in-place wipe cannot reliably clean the full duct because the duct is hidden and may extend through a wall or roof. Clean only accessible sections, and use a qualified technician when airflow is restricted, grease is extensive, or the system serves commercial cooking equipment.
The Bottom Line
The safest way to clean kitchen exhaust fan grease without removing the fan is to isolate power, contain runoff, use a compatible degreaser on cloths and nylon brushes, work in small sections, rinse by wiping, and dry for at least 30-60 minutes. Protect the motor from every liquid. Stop and call a technician when grease, moisture, electrical odor, or mechanical damage reaches the motor.