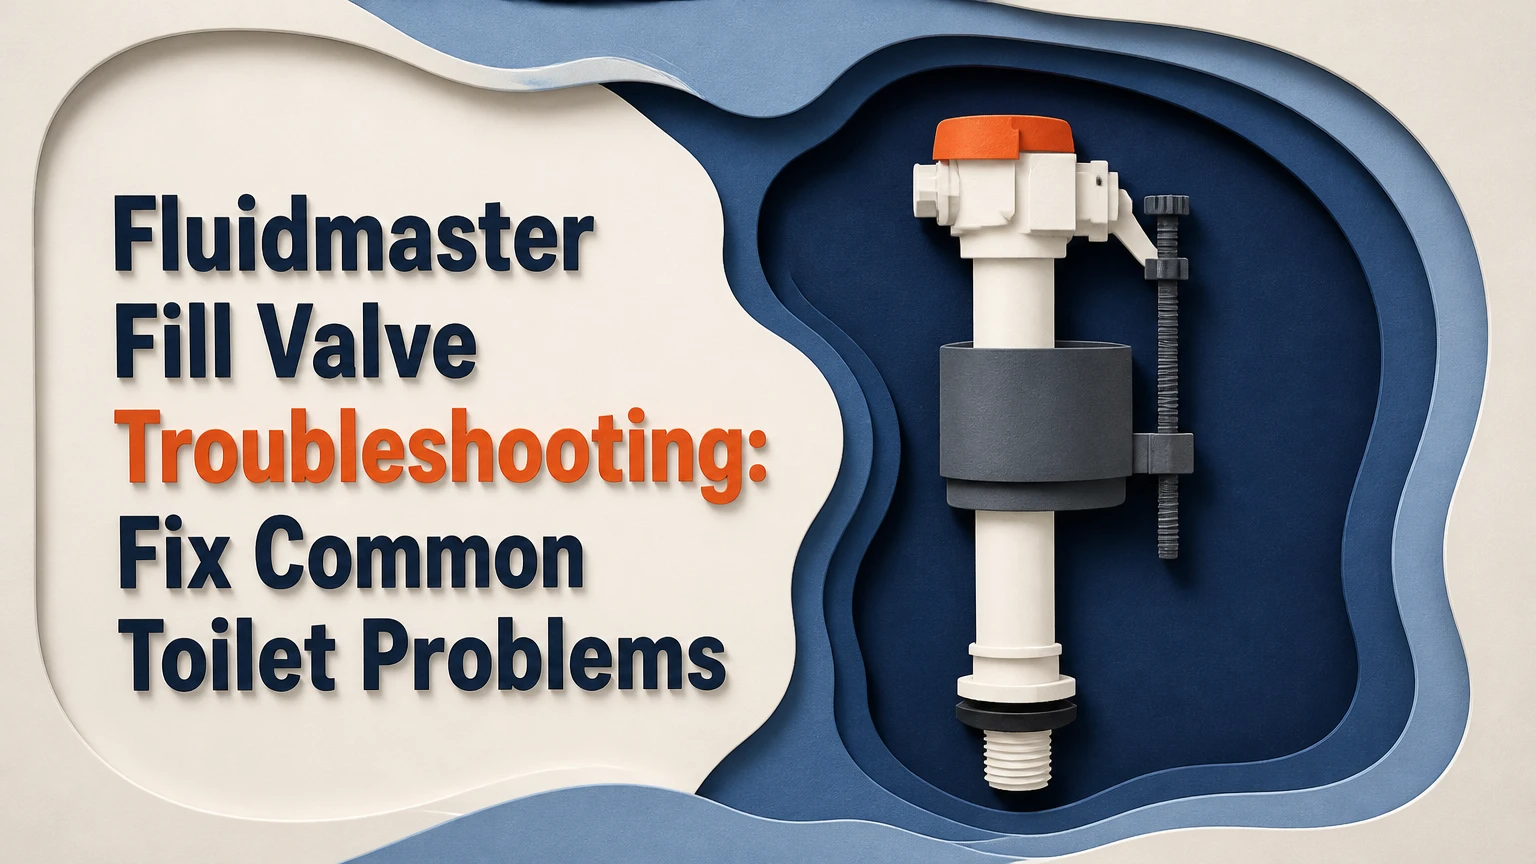
Fluidmaster fill valve troubleshooting begins by identifying whether the valve is misadjusted, clogged, worn, or incorrectly installed. Most running or slow-filling toilets need a water-level adjustment or cap cleaning, while persistent hissing after cleaning usually indicates a worn seal, damaged valve body, bad shutoff valve, or a separate flush-valve leak.
Key Facts at a Glance
- A Fluidmaster fill valve normally mounts on the left side of the toilet tank and refills the tank after flushing.
- The refill tube sends a controlled stream into the overflow tube so the toilet bowl receives its refill water.
- The tank water level should generally sit below the top of the overflow tube, with the valve’s critical-level mark at least 1 inch above that tube.
- Fluidmaster 400A and 400H valves commonly adjust across approximately 9-14 inches, but the installation instructions for the exact model control.
- A clean cap and a new Model 242 seal can repair many 400-series valves without replacing the entire assembly.
- A running toilet is not automatically a fill-valve failure; a leaking flapper or flush valve can produce the same symptom.
What Is a Fluidmaster Fill Valve?
A Fluidmaster fill valve is the tank-mounted inlet valve that admits water after a flush, stops incoming water at the selected level, and supplies refill water to the bowl. The valve connects to the toilet’s cold-water supply through the tank bottom, while a small refill tube clips above the overflow tube.
The assembly includes a valve body, threaded shank, mounting nut, float cup or float mechanism, adjustment screw, cap, internal seal, and anti-siphon opening. The anti-siphon design prevents contaminated tank water from flowing backward into the household water supply when installed with the required air gap.
The fill valve does not create the flush. The flush valve, flapper, canister, or dual-flush mechanism releases tank water into the bowl. That distinction matters because replacing a fill valve will not stop water that leaks through a worn flapper.
How the Valve Controls Tank Water
A Fluidmaster fill valve opens when the float drops and closes when the float rises to the adjusted shutoff height. During a flush, tank water leaves through the flush valve, the float descends, the inlet seal opens, and supply water enters the tank.
The refill tube simultaneously directs water into the overflow tube. When the tank reaches its set level, the float rises, the internal seal closes, and the inlet flow stops. A correctly adjusted valve leaves the refill tube above the overflow tube opening, rather than submerged inside it.
Which Fluidmaster Model Should You Use?
The Fluidmaster 400A is the practical replacement for many standard gravity toilets, while the 400H PerforMAX adds faster refill and separate tank and bowl adjustment. The 703A is a specialty low-profile design for selected Glacier Bay and dual-flush configurations, so model identification must come before purchase.
| Model | Typical height range | Main controls | Typical retail price |
|---|---|---|---|
| Fluidmaster 400A | 9-14 inches | Tank water-level screw | $10-$18 |
| Fluidmaster 400H | 9-14 inches | Tank and bowl adjustment dials | $18-$30 |
| Fluidmaster 703A | Low-profile, model-specific | Compact tank and bowl settings | $15-$30 |
| Fluidmaster PRO45H | Approximately 10-15 inches | High-performance tank and bowl controls | $25-$45 |
Prices are typical US retail ranges and vary by retailer, multipack packaging, region, and replacement kit contents. A 400H may refill faster, but it cannot compensate for a partially closed shutoff valve, a blocked supply line, or inadequate household pressure.
400A Versus 400H
The 400A favors simple adjustment and low purchase cost, whereas the 400H favors faster refill and more precise bowl-water control. The 400A is usually sufficient for a standard 1.28 or 1.6 gallons-per-flush toilet when the existing valve is a conventional universal-height assembly.
| Decision factor | Fluidmaster 400A | Fluidmaster 400H |
|---|---|---|
| Best installation use | Standard gravity toilet | HET or faster-refill application |
| Water adjustment | Single screw | Tank and bowl dials |
| Refill behavior | Conventional rate | Higher advertised refill performance |
| Setup complexity | Lower | Moderate |
| Typical homeowner choice | Budget repair | Noise, speed, or bowl-level tuning |
The 400H is not automatically the better repair. Choose the 400A when compatibility and uncomplicated setup matter more than refill speed, and choose the 400H when the toilet needs independent bowl adjustment or the existing valve refills noticeably slowly despite adequate supply flow.
How Do You Identify Compatibility?
Measure from the tank floor to the top of the valve, inspect the existing refill arrangement, and identify whether the toilet uses a standard gravity tank or a low-profile or dual-flush configuration. The valve must fit without contacting the lid, tank wall, flush handle, float, or internal canister.
Check four points before buying:
- Tank height: The replacement must adjust to the required inlet height.
- Valve clearance: The float must move vertically without rubbing porcelain or flush hardware.
- Refill connection: The included clip must hold the tube above the overflow opening.
- Toilet design: A specialty low-profile or dual-flush tank may require a model-specific valve.
What Tools and Parts Do You Need?
A typical Fluidmaster fill-valve repair takes 15-30 minutes and needs an adjustable wrench, a small bucket, a sponge or towel, and a replacement seal or valve. Needle-nose pliers help with a stubborn supply-line nut, while a flashlight makes tank-wall contact and slow leaks easier to see.
| Item | Quantity | Typical cost | Use |
|---|---|---|---|
| Adjustable wrench | 1 | $10-$25 | Loosen supply and mounting nuts |
| Small bucket | 1 | $3-$8 | Catch water below tank |
| Sponge or absorbent towel | 1-2 | $2-$8 | Empty residual tank water |
| Fluidmaster 242 seal | 1 | $3-$8 | Repair compatible cap leaks |
| Replacement fill valve | 1 | $10-$45 | Replace damaged or aged assembly |
Turn the shutoff valve clockwise before removing any cap or connection. If the shutoff valve does not stop the water, do not remove the fill valve until the building or household main supply is isolated.
Fluidmaster Fill Valve Troubleshooting by Symptom
The fastest diagnosis comes from observing where water goes, not from listening to the sound alone. Water that enters the overflow tube points toward water-level adjustment or a flush-valve leak, while water that never reaches the tank points toward the supply, inlet screen, cap, or valve body.
| Symptom | First inspection | Likely cause | First repair |
|---|---|---|---|
| Runs after flush | Water level and flapper | High level or flush-valve leak | Lower level, then test flapper |
| Hisses continuously | Cap and internal seal | Sediment or worn seal | Clean cap, replace seal |
| Fills slowly | Shutoff, hose, inlet path | Restriction or low pressure | Open supply, flush debris |
| Vibrates or screeches | Cap seal and pressure | Worn seal or turbulence | Replace seal or valve |
| Does not fill | Shutoff and float | Closed supply or stuck float | Open supply, free float |
| Bowl refills poorly | Refill tube and clip | Kink, submerged tube, wrong setting | Reposition tube and adjust flow |
Why Does a Toilet Run After Flushing?
A Fluidmaster toilet commonly runs because the tank water level is too high, the flush valve is leaking, or the fill-valve seal fails to close. Lower the float first, then place a few drops of food coloring in the tank and wait 10-15 minutes without flushing; colored bowl water confirms a flush-valve leak.
Step 1: Adjust the Water Level
Remove the tank lid and observe the water while the valve shuts off. On many 400-series valves, turn the adjustment screw clockwise to lower the float and counterclockwise to raise it, but use the molded directional markings on the installed valve because product revisions differ.
Set the tank level below the overflow-tube opening. Fluidmaster’s 400A instructions state, “The critical level mark must be at least 1 inch above the top of the overflow tube,” which preserves the required anti-siphon air gap.
Success checkpoint: The valve stops completely, the water remains below the overflow opening, and no water flows into the tube except during the intentional bowl refill.
Common mistake: Lowering the float when the real leak is a worn flapper. The tank will still lose water, and the fill valve will continue cycling.
How Do You Clean a Slow or Hissing Fluidmaster Valve?
Clean a slow or hissing Fluidmaster valve by shutting off the supply, removing the cap, covering the open valve with a cup, and briefly opening the supply to flush sediment. This procedure removes grit from the inlet path, but it cannot repair a hardened seal, cracked cap, blocked supply hose, or defective shutoff valve.
Step 2: Flush Sediment From the Cap
- Turn the toilet’s shutoff valve clockwise.
- Lift the float cup or float arm to relieve pressure.
- Twist the cap approximately one-quarter turn counterclockwise, following the model’s release direction.
- Place an inverted cup over the open valve to contain spray.
- Open the shutoff valve for 5-10 seconds.
- Close the supply, inspect the seal and cap, then reinstall the cap.
Fluidmaster’s maintenance guidance recommends flushing the valve to remove sediment from the cap assembly. Hold the cup firmly because household pressure can produce a sharp jet, particularly where municipal pressure approaches 60-80 psi.
Success checkpoint: Water exits the valve at a steady rate, the hissing stops when the float rises, and the cap does not leak around its perimeter.
Common mistake: Removing the cap while the supply remains pressurized. That can eject the seal or spray water across the bathroom.
Why Does the Tank Screech, Vibrate, or Pulse?
A Fluidmaster valve screeches, vibrates, or pulses when water passes an unstable internal seal, a restricted inlet, or a partially open shutoff valve. Cleaning the cap is the first repair, but persistent noise after cleaning usually justifies a new compatible seal or complete valve replacement.
Step 3: Check the Supply Path
Turn the shutoff valve fully counterclockwise, then inspect the flexible supply line for a sharp bend. Disconnect the line only after shutting off the supply and emptying the tank, and check the small inlet screen or washer for rust particles where the model includes one.
Do not use a chemical toilet-tank cleaner to solve noise. Chlorine-based tablets and acidic cleaners can harden or distort rubber components, including the fill-valve seal and flapper.
Success checkpoint: The water stream remains steady during refill, the supply hose stays cool and unrestricted, and the valve shuts without a final burst of vibration.
Common mistake: Replacing the fill valve when a corroded angle stop restricts flow. If the shutoff valve handle turns but flow remains weak, the stop itself may be blocked.
Should You Replace the Model 242 Seal or the Whole Valve?
Replace the Model 242 seal when a compatible 400-series valve has a clean, undamaged cap and a leak isolated to the inlet seal. Replace the complete fill valve when the body is cracked, the float sticks, adjustment threads are damaged, the valve remains noisy after cleaning, or the valve is old and replacement parts are unavailable.
Step 4: Replace the Seal or Valve
For a seal replacement, shut off water, remove the cap, note the seal orientation, lift out the old rubber seal, seat the new seal evenly, and reinstall the cap. Model 242 compatibility should be verified against the valve model and package instructions; not every Fluidmaster valve uses that seal.
For a complete replacement:
- Shut off the supply and flush the toilet.
- Sponge remaining tank water into the bucket.
- Disconnect the supply line beneath the tank.
- Remove the old mounting nut and lift out the valve.
- Set the new valve height according to its instructions.
- Position the critical-level mark at least 1 inch above the overflow tube.
- Hand-tighten the mounting nut, then add only the specified small wrench turn.
- Reconnect the supply line without cross-threading.
- Clip the refill tube above the overflow tube.
- Turn on water slowly and test for leaks.
Success checkpoint: The dry paper towel wrapped around both connections remains dry after three full flushes.
Common mistake: Over-tightening the plastic shank nut. Excessive force can crack the tank, distort the rubber washer, or damage the valve threads.
What If Water Enters the Overflow Tube?
Water entering the overflow tube after the refill cycle means the tank level is too high or the flush valve is allowing water to escape. Lower the Fluidmaster float first; if the valve then stops below the overflow but the toilet still cycles, perform the food-coloring test for a leaking flapper or canister seal.
A refill tube should discharge into the overflow tube without being pushed below the tube’s rim. A submerged tube can create a siphoning path and defeat the intended air gap. Use the supplied clip or a replacement clip that holds the tube securely above the opening.
A small amount of water should enter the overflow tube during refilling because that restores the bowl level. Continuous flow after shutoff is abnormal.
What If the Fluidmaster Valve Does Not Fill?
A Fluidmaster valve that does not fill usually has a closed or failed shutoff valve, a stuck float, blocked inlet, disconnected supply line, or no household water pressure. Confirm supply pressure and open the angle stop before removing the valve cap.
Follow this order:
- Confirm another cold-water fixture has normal flow.
- Turn the toilet shutoff valve fully open.
- Move the float up and down to release a jam.
- Check for a kinked supply line.
- Clean the cap and inlet path.
- Inspect the valve shank and supply connection for blockage.
- Replace the valve if water reaches the inlet but cannot pass through.
Low household pressure can lengthen refill time, especially in upper floors, well systems, or homes with pressure-reducing valves. A higher-performance 400H cannot solve a supply system that cannot deliver adequate flow.
What Installation Mistakes Cause Repeat Failures?
Repeat Fluidmaster failures often result from incorrect height, poor refill-tube routing, excessive tightening, float interference, or an old supply connection. Each mistake can produce a symptom that looks like a defective valve, so inspect installation geometry before buying another part.
- Critical-level mark too low: The anti-siphon protection may not meet the manufacturer’s required air gap.
- Float touching the tank: Porcelain contact can hold the float down and cause continuous filling.
- Refill tube kinked: The bowl receives insufficient refill water even when the tank reaches its level.
- Tube submerged: The air gap is lost and siphoning risk increases.
- Mounting nut overtightened: The tank or plastic shank can crack.
- Old supply line reused: A disturbed, brittle connector can leak after reassembly.
- Valve installed too high: The lid may press on the float or adjustment mechanism.
- Tank cleaner used: Chemical exposure can shorten seal and flapper life.
An experienced installer tests the repair under operating conditions, not only by watching the first refill. Run three flushes, inspect both tank connections, check the bowl level, and listen for cycling during the next 10 minutes.
How Long Does Replacement Take and What Does It Cost?
A homeowner replacement typically takes 15-30 minutes and costs $10-$45 for parts, while a plumber’s service call commonly raises the total to approximately $125-$300 in the United States. Porcelain damage, seized shutoff valves, concealed leaks, and inaccessible installations can increase the labor cost.
| Repair scenario | Parts range | Typical DIY time | Typical service-call total |
|---|---|---|---|
| Cap cleaning | $0-$8 | 5-15 minutes | $100-$200 |
| Model 242 seal | $3-$8 | 10-20 minutes | $125-$225 |
| 400A replacement | $10-$18 | 15-30 minutes | $150-$275 |
| 400H replacement | $18-$30 | 15-30 minutes | $175-$300 |
| Shutoff or supply-line repair | $15-$75 | 30-90 minutes | $200-$450 |
These are typical planning ranges, not a guaranteed quote. A repair remains economical when the tank, shutoff valve, flush mechanism, and supply connection are sound; replacing one valve does not justify ignoring a cracked tank or active wall leak.
Fluidmaster Compared With Other Valve Types
Fluidmaster universal valves are easier to source and service than many proprietary toilet-specific assemblies, but a universal valve is not suitable for every low-profile, pressure-assisted, or integrated dual-flush tank. Compatibility and clearance outweigh brand preference.
| Valve category | Typical tank type | Main advantage | Main limitation |
|---|---|---|---|
| Fluidmaster 400A | Standard gravity | Low cost and broad availability | Basic adjustment |
| Fluidmaster 400H | Standard gravity, HET | Faster refill and bowl control | Higher cost |
| Proprietary manufacturer valve | Specialty toilet | Exact original fit | Fewer local parts |
| Pressure-assist system | Pressure-assisted tank | Different flush technology | Not a universal replacement |
| Dual-flush assembly | Dual-flush tank | Separate flush volumes | Model-specific geometry |
Do not substitute a universal Fluidmaster valve into a pressure-assist tank without confirming the toilet manufacturer’s design. Pressure-assisted toilets use a different operating system and can require branded components.
When Should You Call a Plumber?
Call a plumber when the shutoff valve will not stop water, the tank porcelain is cracked, the supply connection leaks after correct tightening, water is entering the wall or floor, or the toilet continues running after both fill-valve and flush-valve tests. Professional service is also appropriate when the tank uses an unfamiliar proprietary mechanism.
Stop the repair immediately if water sprays from a concealed connection, the tank rocks on the bowl, or the mounting hardware is corroded into the porcelain. A failed fill valve is a small component, but an uncontrolled supply leak can damage flooring and subflooring within minutes.
Frequently Asked Questions
Can a Fluidmaster fill valve fit any toilet?
A Fluidmaster universal valve fits many standard gravity toilets with adjustable tank heights, but it does not fit every specialty or pressure-assisted design. Check tank clearance, overflow-tube height, float movement, refill connection, and the toilet manufacturer’s compatibility guidance before installation.
Why does my toilet fill slowly after replacing the valve?
Slow filling after replacement usually indicates a partly closed angle stop, kinked supply line, clogged inlet, low household pressure, or debris introduced during installation. Open the stop fully, inspect the hose, clean the cap, and compare cold-water flow at another fixture before blaming the new valve.
Can I repair a Fluidmaster fill valve without removing it?
Yes. You can adjust the float, clean the cap, flush sediment, and replace a compatible internal seal without removing the valve from the tank. Remove the entire assembly only when the body is damaged, the shank leaks, adjustment fails, or internal repair does not restore reliable shutoff.
How often should a toilet fill valve be replaced?
Replace a fill valve when it no longer shuts off, refills reliably, or operates quietly after cleaning and adjustment. A typical service life is approximately 5-7 years, but hard water, sediment, high pressure, and chemical tank cleaners can shorten that period substantially.
Is a noisy fill valve dangerous?
Noise alone is usually a maintenance problem rather than an immediate hazard, but a vibrating or screeching valve can indicate seal wear, restriction, or unstable pressure. Repair it promptly if the valve cycles continuously, the tank overflows, or any supply connection becomes wet.
The Bottom Line
Effective Fluidmaster fill valve troubleshooting follows a sequence: check the water level, distinguish a flush-valve leak from an inlet problem, clean the cap, inspect the seal, and replace the valve only when adjustment and cleaning fail. Use a 400A for a straightforward standard-toilet repair, a 400H for added refill and bowl control, and a model-specific valve for specialty tanks. Include the exact keyword in your repair checklist: Fluidmaster fill valve troubleshooting is most successful when the refill tube, critical-level mark, float clearance, shutoff valve, and post-repair leak test are all verified.