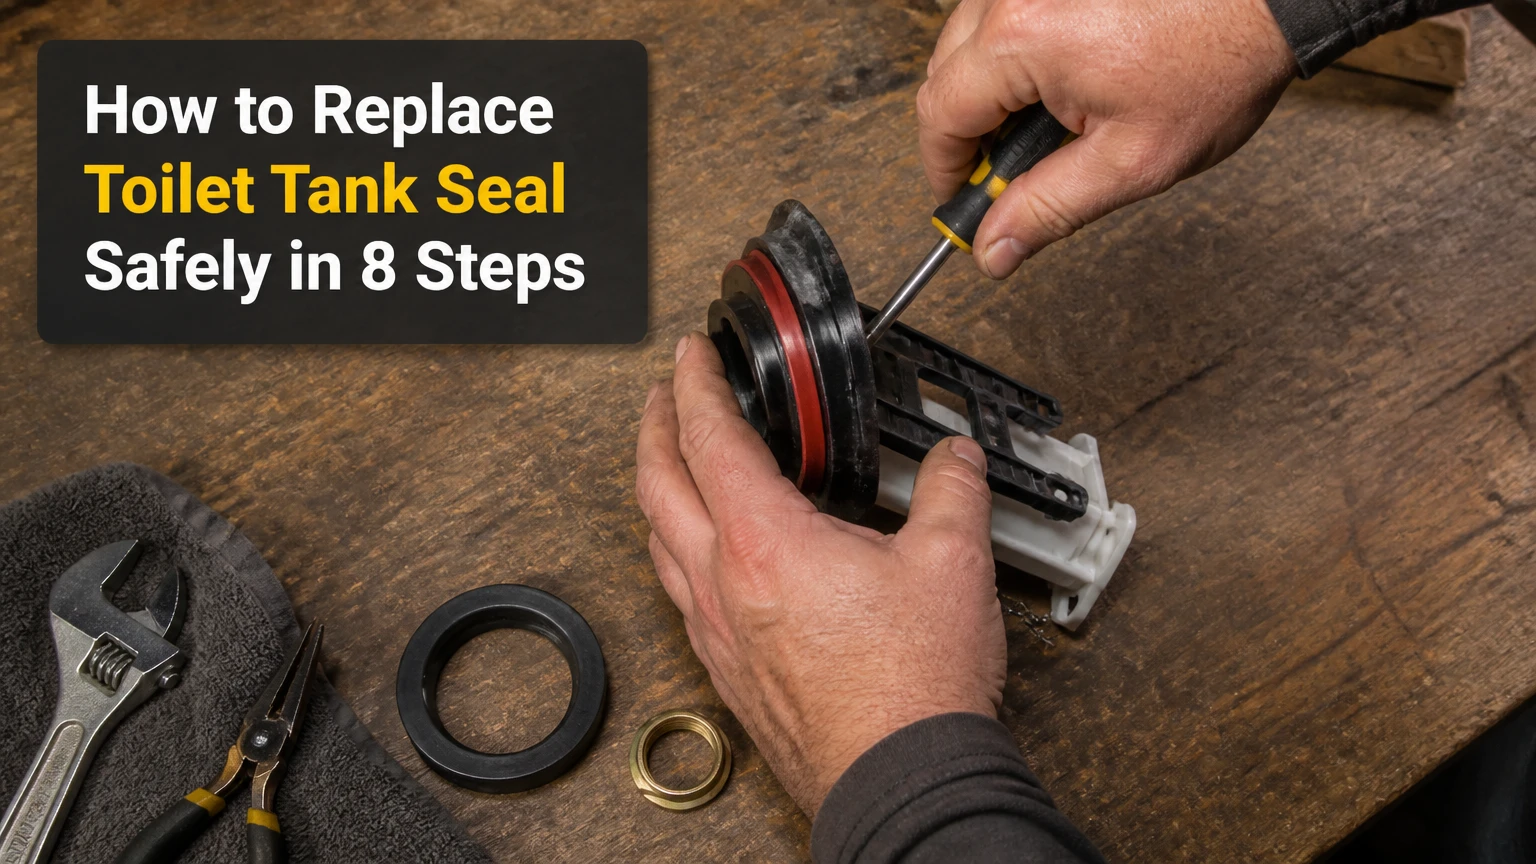
To replace a toilet tank seal, shut off and drain the toilet, disconnect the supply line, remove the tank, install a compatible flush-valve gasket, fit new tank bolts, and tighten the tank evenly. The repair typically takes 45-90 minutes and succeeds when the tank sits level without rocking or leaking after repeated flushes.
Key Facts at a Glance
- A toilet tank seal, also called a flush-valve gasket or spud washer, seals the joint between the tank and bowl.
- Most two-piece toilets use either a nominal 2-inch or 3-inch flush-valve opening, but brand-specific profiles can differ.
- New tank bolts and rubber washers are recommended because corroded hardware can leak or break during removal.
- Tighten tank hardware only until the tank is stable and level; excessive torque can crack porcelain.
- A typical DIY repair costs $8-$30 for a gasket or tank-to-bowl hardware kit.
- A leak at the bolt heads is different from a leak at the large center gasket and requires a different correction.
What Is a Toilet Tank Seal?
A toilet tank seal is a thick rubber, silicone, or closed-cell foam ring fitted around the flush valve at the bottom of a toilet tank. When the tank is bolted to the bowl, the gasket compresses against the bowl’s flush-valve opening and stops water escaping through the tank-to-bowl joint.
The gasket is not the flapper. The flapper seals the flush valve from inside the tank while the toilet is full. The tank seal remains between the tank and bowl and is exposed to compression, water chemistry, temperature changes, and movement caused by uneven bolts.
A failing tank seal usually produces water at the rear or sides of the bowl immediately after flushing. Water may appear as a thin stream, a damp ring, or drops that collect on the floor. A continuously running toilet usually indicates a flapper, fill-valve, or overflow problem instead.
How the seal creates a watertight joint
The flush valve passes through the tank’s large bottom opening. A retaining nut holds that valve against the tank, while the external gasket sits below the tank. The bowl supports the tank and compresses the gasket when the tank bolts are tightened.
The compression must be even. A gasket can be the correct diameter yet leak if the tank is tilted, the porcelain has mineral deposits, or one bolt is tightened much more than the other. Sealant is generally unnecessary and can conceal a poor mechanical fit.
Before You Start
A typical toilet tank seal replacement takes 45-90 minutes, requires moderate DIY plumbing skill, and costs $8-$30 for a gasket or complete tank-to-bowl repair kit. The main success factor is matching the gasket to the flush-valve design rather than choosing a seal by appearance alone.
| Requirement | Typical specification | Why it matters |
|---|---|---|
| Replacement gasket | 1 unit, 2-inch or 3-inch nominal size | The opening and valve profile must match |
| Tank-to-bowl bolts | 2 or 3 bolts, with rubber washers | New hardware reduces corrosion and washer leaks |
| Adjustable wrench | 8-10 inch | Removes supply-line nuts and tank nuts |
| Screwdriver | Flat-head or Phillips, depending on bolt head | Holds the bolt while loosening the nut |
| Sponge and bucket | 1 sponge, 1 bucket of at least 2 L | Removes residual tank water |
| Plastic scraper | 1 nonmetallic scraper | Removes deposits without scoring porcelain |
| Towels or paper towels | 2-4 towels | Protects porcelain and exposes small leaks |
Before buying a part, photograph the inside of the tank and record the toilet brand and model number. The model number may be molded into the porcelain, printed inside the lid, or listed on a label near the rear wall of the tank.
Do not begin if the shutoff valve cannot stop the water, the tank or bowl is cracked, or the tank is too heavy for one person to lift safely. A crack can worsen when the bolts are loosened, and a failed shutoff valve may require the building’s main water supply to be closed.
Which Replacement Seal Should You Buy?
Choose a replacement seal by flush-valve diameter, gasket profile, toilet model, and material. A standard beveled rubber gasket often fits older 2-inch valves, while a 3-inch valve or proprietary dual-flush assembly may require a larger foam, silicone, or manufacturer-specific seal.
Nominal size is not always the same as the outside diameter measured with a ruler. The most reliable approach is to compare the old gasket and flush valve with the packaging’s compatibility chart, then confirm the toilet model when the valve has an unusual shape.
| Seal type | Typical compatible design | Approximate price | Main limitation |
|---|---|---|---|
| Beveled rubber | Older 2-inch flush valves | $3-$7 | Can leak if bevel direction is wrong |
| Closed-cell foam | Many universal 2-inch and 3-inch kits | $4-$9 | Can deform under excessive tightening |
| Silicone or engineered rubber | High-efficiency and brand-specific toilets | $8-$20 | Model compatibility may be narrow |
| Dual-flush molded gasket | Button-operated dual-flush valves | $6-$18 | Generic flat rings may not seat correctly |
A beveled gasket normally has a narrower, tapered side that fits toward the bowl opening, but the manufacturer’s instructions take priority because some designs reverse the profile. Never install a gasket based only on a general rule when the package shows a different orientation.
Universal foam kits are useful when the valve matches the kit’s listed range and the bowl has a conventional tank-mounting pattern. They are poor substitutes for a molded OEM gasket when the original seal has tabs, multiple steps, an integrated O-ring, or a nonstandard dual-flush shape.
How Do You Replace a Toilet Tank Seal?
Replace the gasket in eight controlled steps: diagnose the leak, shut off the water, drain and disconnect the tank, remove the tank, remove the old seal, clean and fit the new gasket, reinstall and level the tank, then refill and test. Keep porcelain supported at every lifting and tightening stage.
Step 1: Confirm the leak source
Dry the outside of the tank, bowl, supply line, and floor with a towel. Flush once while watching the joint between the tank and bowl, the tank bolts, the supply connection, and the fill valve.
Water emerging from the large central joint points toward the tank seal. Drops around a bolt head point toward a bolt washer. Water running down the supply line points toward the connection or hose, while water inside the bowl without an external leak commonly indicates a flapper problem.
Success checkpoint: Water appears only at the suspected location during or immediately after flushing.
Common mistake: Replacing the tank gasket when the actual leak is a cracked supply hose or fill-valve shank.
Step 2: Shut off the water supply
Turn the toilet’s shutoff valve clockwise until it stops. Do not force a corroded valve with pliers because the valve stem or supply pipe can break.
If the valve does not stop the flow, close the home’s main shutoff before disconnecting anything. Leave the toilet unused until the water is isolated.
Success checkpoint: The fill valve stops adding water after one flush.
Common mistake: Assuming a valve is closed because its handle turns, without checking whether water still enters the tank.
Step 3: Empty and dry the tank
Flush while holding the handle down to remove as much water as possible. Sponge the remaining water from the tank into a bucket, then disconnect the supply line from the fill-valve shank.
Keep the bucket under the connection because the hose and valve can retain several hundred milliliters of water. Do not use a wet tank as a work surface because water makes the porcelain slippery.
Success checkpoint: The tank contains only a damp film, not standing water.
Common mistake: Leaving water in the tank, which adds weight and spills when the tank is tilted.
Step 4: Remove the tank bolts
From inside the tank, identify the bolt heads and rubber washers. Hold each bolt steady with a screwdriver while loosening the nut underneath the bowl with an adjustable wrench.
Remove the nuts, metal washers, and old rubber washers. If a nut is rusted solid, penetrating oil can help after the water is removed, but do not twist forcefully against the porcelain. Cutting severely corroded hardware may be safer than transferring torque to the tank.
Success checkpoint: All bolts are free without chipping the tank or bowl.
Common mistake: Turning the bolt head and nut together, which can damage the rubber washer or spin the entire assembly.
Step 5: Lift and support the tank
Ask for help with large or heavy tanks. Lift the tank vertically, keeping the flush valve and bolts from catching on the bowl, and place it upside down on a folded towel or padded surface.
Do not rest the tank directly on a hard floor or on the flush-valve tailpiece. A concentrated load at the porcelain rim or valve opening can create a crack that may not be visible until the tank refills.
Success checkpoint: The tank rests securely with its bottom supported across a padded, stable surface.
Common mistake: Sliding the tank sideways while lifting, which can chip the bowl’s mounting area.
Step 6: Remove, clean, and install the gasket
Pull the old tank seal from the flush-valve retaining nut. Use a plastic scraper and a damp cloth to remove rubber residue, mineral scale, and slime from the tank underside and bowl contact surface.
Avoid metal screwdrivers, abrasive stones, and aggressive solvents. The surfaces should be smooth, dry, and free from grit before the new gasket is fitted.
Push the new seal over the flush-valve nut until it sits evenly around the valve. Follow the package orientation, especially for beveled rubber. A gasket that buckles, twists, or leaves a visible gap is the wrong profile or size.
Success checkpoint: The seal lies flat and concentric with the flush valve, with no folded edge.
Common mistake: Applying silicone or plumber’s putty to compensate for a mismatched gasket. Sealant can prevent proper compression and complicate future removal.
Step 7: Reinstall and level the tank
Place new rubber washers inside the tank over the bolts, unless the kit’s instructions specify a different washer arrangement. Guide the bolts through the tank and bowl, then install the exterior washers and nuts in the order supplied.
Lower the tank straight down so the gasket stays centered. Tighten each nut by hand first, then alternate sides in small increments. Press gently on the tank while tightening only enough to remove rocking and create a stable, level connection.
Korky’s toilet repair guidance gives the practical rule, “Do not overtighten tank bolts.” The rule matters because porcelain does not behave like flexible plastic: additional torque after the tank is stable increases cracking risk more than sealing performance.
Success checkpoint: The tank is level, touches the bowl at its intended supports, and does not rock when pressed lightly.
Common mistake: Tightening one side completely before tightening the other, which can shift or pinch the gasket.
Step 8: Reconnect, fill, and test
Reconnect the supply line by hand, then tighten the connection modestly with a wrench. Turn the shutoff valve counterclockwise slowly and watch the fill-valve connection as the tank fills.
Wipe the entire joint dry. Place a dry paper towel under the tank and around the bolt nuts, then flush at least five times. Check again after 10-15 minutes because a slow seep may appear only after the gasket has been repeatedly compressed.
Success checkpoint: The paper towel remains dry, the tank stays level, and no water appears at the center joint or bolt holes.
Common mistake: Tightening a leaking bolt repeatedly without draining the tank and checking washer placement.
What Should the Tightening Hardware Look Like?
A conventional tank-to-bowl connection uses a bolt head and rubber washer inside the tank, with a metal washer and nut outside the bowl. The rubber washer must contact the porcelain on the water side, while the exterior hardware distributes clamping force below the bowl.
Hardware layouts vary by kit. Follow the included diagram if it differs from the conventional arrangement, and never place a metal washer directly against the wet interior porcelain when the kit provides an internal rubber washer.
| Hardware condition | Observable symptom | Recommended action | Typical result |
|---|---|---|---|
| New brass or stainless kit | Clean threads, flexible washers | Install during gasket replacement | Lowest corrosion risk |
| Rusted mild-steel bolts | Brown staining, swollen threads | Replace both or all bolts | Prevents future seizure |
| Hardened rubber washers | Cracks or flattened edges | Replace washers | Stops bolt-hole seepage |
| Spinning bolt assembly | Bolt turns with nut | Hold bolt head inside tank | Allows controlled removal |
| Seized nut | No movement with moderate force | Cut hardware carefully or call a plumber | Protects porcelain from torque |
Tank bolts are not structural fasteners that require a published high torque value on most residential toilets. The practical limit is mechanical stability: stop when the tank cannot rock and the gasket is compressed evenly.
When Is a Gasket Replacement Enough?
A gasket-only repair is appropriate when the flush valve is intact, the tank and bowl are undamaged, and the leak begins at the central tank-to-bowl joint. Replace the complete flush valve as well when the valve body is cracked, warped, corroded, or unable to hold the new seal securely.
A failed gasket often leaves the flush valve looking serviceable. Conversely, a warped valve can make a new gasket leak immediately, especially when the retaining nut has been overtightened or the plastic has become brittle.
Gasket versus complete flush-valve replacement
| Condition | Gasket-only repair | Replace flush valve too |
|---|---|---|
| Soft, cracked, or flattened ring | Yes | No, unless valve is damaged |
| Cracked plastic valve body | No | Yes |
| Mineral buildup on contact surface | Usually | Only if the surface is warped |
| Leaking retaining nut | Sometimes | Often, if threads are damaged |
| Wrong gasket repeatedly leaks | No | Verify valve and model first |
| Tank-to-bowl joint is dry | No | Diagnose another component |
Drain the tank and inspect the valve opening before ordering parts. A replacement gasket cannot correct a cracked tank, chipped bowl opening, or distorted valve flange.
What Are the Main Seal Types and Trade-Offs?
Beveled rubber provides durable compression on many traditional toilets, foam accommodates modest alignment variation, and molded silicone handles some specialty designs and harsh water conditions better. No material is universally best because compatibility and profile determine sealing more than material alone.
Standard rubber is often the sensible choice for a conventional 2-inch flush valve. Closed-cell foam can be easier to compress, but excessive tightening can permanently deform it. Silicone and engineered elastomers may resist chlorine and temperature changes, although the correct proprietary shape remains essential.
How Much Does Replacement Cost and Take?
A typical DIY tank-seal replacement costs $8-$30 and takes 45-90 minutes, including draining, cleaning, hardware replacement, and leak testing. A plumber’s price varies by region, access, seized hardware, and whether the flush valve or toilet must also be replaced.
| Repair scenario | Typical parts cost | Typical DIY time | Likely complication |
|---|---|---|---|
| Gasket only | $3-$12 | 45-60 minutes | Correct profile required |
| Gasket and bolt kit | $8-$30 | 60-90 minutes | Corroded hardware |
| Gasket and flush valve | $15-$45 | 90-150 minutes | Valve removal and adjustment |
| Plumber service call | $100-$250 typical | 30-90 minutes onsite | Regional labor and access |
| Toilet replacement | $150-$600 parts | 2-4 hours | Floor, flange, or supply repairs |
These are typical consumer and service ranges, not a universal price list. A concealed cistern, wall-mounted toilet, or high-end proprietary system can exceed these figures because access and parts availability change the job.
Common Mistakes and How to Fix Them
The new center gasket leaks immediately
A shifted gasket, wrong bevel direction, dirty porcelain, or uneven tank is the usual cause. Shut off and drain the tank, loosen both bolts, inspect the gasket for a fold, clean the surfaces again, and retighten in alternating increments.
The tank leaks around a bolt
The internal rubber washer may be misaligned, missing, hardened, or installed outside the tank. Drain the tank before correcting it, then place the supplied rubber washer against the interior porcelain and retest.
The tank rocks after tightening
A rocking tank may have uneven bolts, a missing support point, a distorted gasket, or a bowl that does not match the tank. Tighten the loose side by a small increment, but do not force the tank into position with excessive torque.
The porcelain cracks during the repair
Stop using the toilet if the crack reaches the water-holding area. Tank and bowl cracks are not reliably repaired with epoxy because water pressure and repeated thermal movement can reopen the fracture; replacement is usually safer.
The supply connection leaks after reconnection
Inspect the hose washer and ensure the connection is square. A flexible supply line normally seals with its captive washer, so adding thread tape to the compression side may prevent proper seating rather than fix the leak.
The toilet still runs after the gasket is replaced
A tank-to-bowl seal does not control the water level inside the bowl. Check the flapper, flush-valve seat, fill-valve shutoff, overflow-tube height, and chain slack separately.
Toilet Configuration Variations
One-piece toilets
One-piece toilets do not have a removable tank-to-bowl seam because the tank and bowl are cast as one fixture. A visible leak near the rear may come from the fill valve, flush valve, supply connection, or a structural crack, not a replaceable tank gasket.
Dual-flush toilets
Dual-flush toilets often use molded gaskets designed for a specific flush-valve assembly. Record the model and button mechanism before disassembly, and keep the actuator components organized because a generic 2-inch ring may not seal the valve flange.
Concealed or wall-mounted cisterns
Concealed tanks can require an access-panel repair procedure rather than tank lifting. Wall-mounted toilets may use a separate cistern connection and should not be treated as standard gravity-tank assemblies without identifying the manufacturer’s service parts.
Older toilets with seized bolts
A rusted bolt can make tank removal riskier than the gasket replacement itself. Protect the bowl with cardboard, support the tank, and cut the bolt only when the cutting tool can be controlled away from porcelain and water-supply components.
How Can You Extend the Seal’s Life?
Avoid drop-in chlorine tablets unless the toilet manufacturer specifically approves them for the installed materials. Chlorine exposure can accelerate deterioration of rubber components, including flappers and tank gaskets, while hard-water deposits can prevent even compression at the sealing surfaces.
Clean the tank with a mild household cleaner and a soft cloth, then rinse thoroughly. Do not use abrasive tools on the flush-valve opening, and do not retighten tank bolts periodically unless a leak or rocking develops.
A seal that lasts five to ten years is a reasonable typical expectation for many residential toilets, but water chemistry, cleaning chemicals, temperature, gasket material, and tank movement can shorten that interval. Replace the seal when it becomes hard, cracked, flattened, sticky, or visibly deformed rather than replacing it solely on a calendar schedule.
When Should You Call a Plumber?
Call a plumber when the shutoff valve will not isolate the toilet, the tank or bowl is cracked, the bolts are seized against fragile porcelain, or the replacement gasket fails despite correct size and installation. Professional help is also appropriate when the toilet is concealed, wall-mounted, unusually heavy, or connected to inaccessible plumbing.
A plumber can distinguish a gasket leak from a cracked flush valve, damaged bowl opening, leaking supply connection, or structural failure. Continuing to use a toilet with an active tank leak can damage flooring and subfloor materials, particularly when the leak reaches an absorbent wood or laminate surface.
FAQ
Can I replace a toilet tank seal without removing the tank?
Usually no. The tank seal sits between the tank and bowl, so the tank must be lifted to remove the old gasket and clean both sealing surfaces. Some external repair products claim to seal the joint without disassembly, but they do not correct a shifted gasket, damaged valve, or corroded tank hardware.
Should I use plumber’s putty or silicone on the tank gasket?
Normally no. The flush-valve gasket is designed to seal through compression, and sealant can make the gasket slide, hide incorrect sizing, or complicate later service. Use sealant only when the toilet or gasket manufacturer expressly specifies it for that exact connection.
Can I reuse toilet tank bolts?
Reuse is possible only when the bolts are straight, corrosion-free, and paired with flexible, undamaged washers, but replacing them is safer during a gasket repair. New bolts cost little compared with the labor of removing the tank again, and old hardware commonly causes leaks around the bolt holes.
How do I know whether my flush valve is 2 inches or 3 inches?
Measure the valve opening or compare the old gasket with the replacement packaging, then confirm the toilet model. A nominal 2-inch valve commonly has a smaller flush opening than a 3-inch valve, but outside measurements vary, so brand and model information provide a more reliable match.
Why does my toilet leak only after flushing?
Flushing fills and pressurizes the tank-to-bowl path, which can expose a gasket that remains dry while the toilet is idle. If water appears only during flushing, inspect the center gasket, bolt washers, flush-valve connection, and supply line in that order.
Is a leaking tank seal an emergency?
A slow external leak is not usually an immediate plumbing emergency, but the shutoff valve should be closed if water reaches the floor or the leak increases. Stop using the toilet when porcelain is cracked, the tank is unstable, or water cannot be isolated safely.
The Bottom Line
To replace a toilet tank seal, identify the leak, install the correct 2-inch, 3-inch, foam, rubber, silicone, or model-specific gasket, and replace questionable bolts at the same time. The final seal depends on clean porcelain, centered hardware, a level tank, and restrained tightening. After completing the repair, perform repeated flushes and a delayed paper-towel check before returning the toilet to normal use. A correctly installed how to replace toilet tank seal repair should leave the tank stable, the center joint dry, and the bolt holes free of seepage.