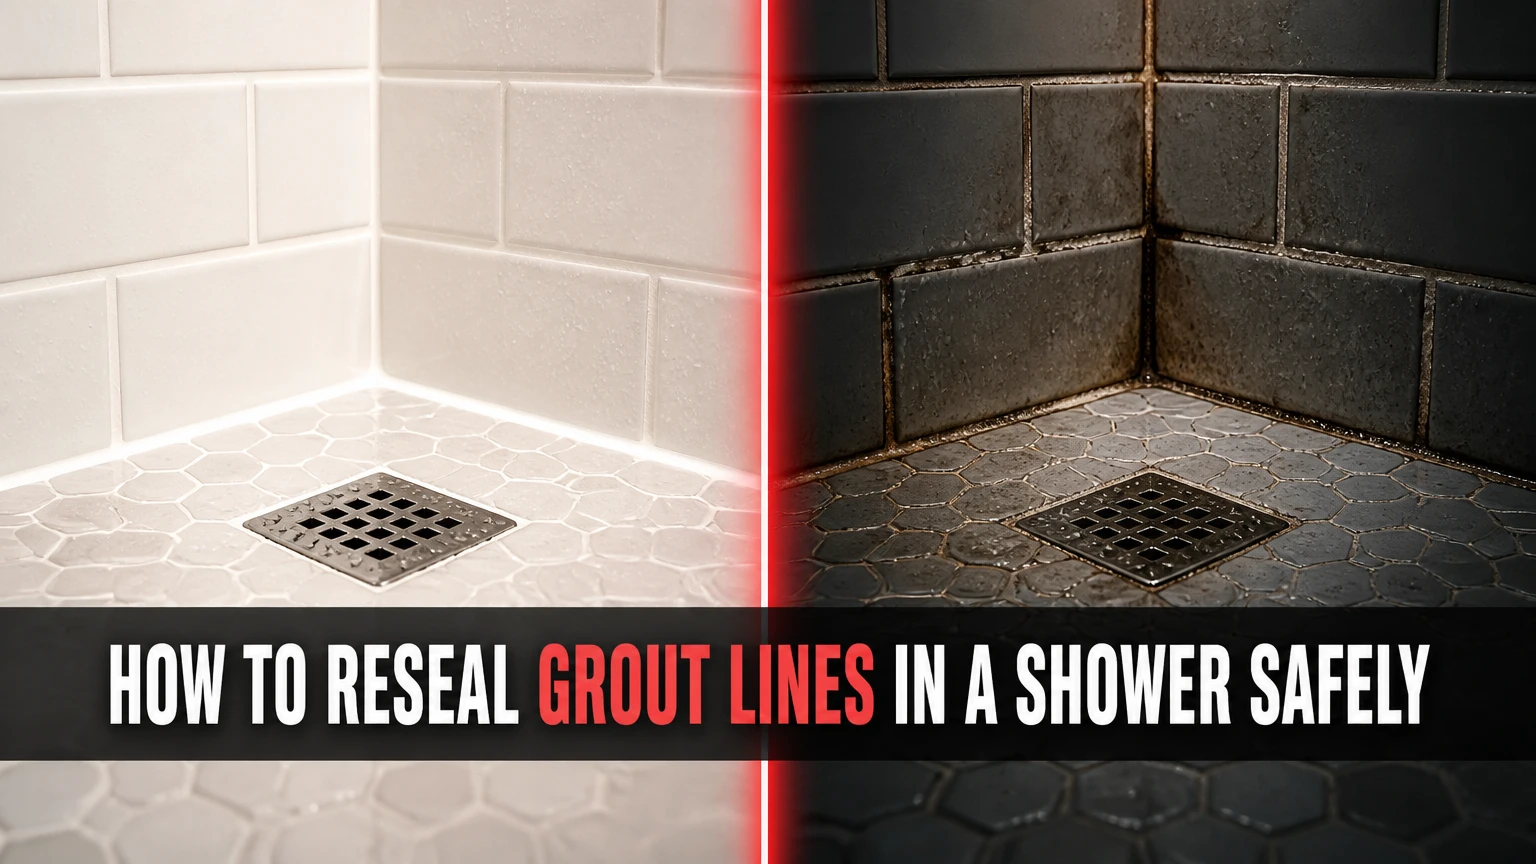
To reseal grout lines in a shower, inspect and repair damaged grout, deep-clean and rinse the joints, dry them completely for 24-48 hours, then apply a penetrating grout sealer and remove excess from the tile. Keep the shower dry for the product’s full cure period. Sealer protects porous grout, but it does not waterproof a failed shower system.
Key Facts
Penetrating sealer is usually the safest choice for cement-based shower grout because it repels moisture without forming a surface film.
Grout must be clean, residue-free, and fully dry before sealing; damp grout can cause clouding, weak penetration, or peeling.
Crumbling grout, open joints, failed silicone, and active leaks require repair before resealing.
Typical DIY material cost is $20-$60, while professional service commonly costs $1.50-$3.50 per square foot with service minimums.
A sealed shower generally needs 24-48 hours before use, but the product label overrides any general timeframe.
Grout sealer reduces absorption and staining. It does not replace the waterproof membrane behind tile.
What Does Grout Sealer Actually Do?
Cement-based grout contains interconnected pores that absorb water, soap residue, oils, and staining compounds. A penetrating or impregnating sealer enters those pores and makes liquid absorption more difficult while leaving the grout surface relatively unchanged and vapor-permeable.
Grout sealer does not create a waterproof shower enclosure. Tile, grout, and cement board are not the complete water-management system; the bonded waterproof membrane, pan, drain, corners, and plumbing connections perform that function. The Tile Council of North America’s long-standing industry principle is commonly summarized as “tile and grout are not waterproof,” which is why sealing cannot cure water entering a wall cavity.
Resealing improves maintenance when the grout is structurally sound. It cannot bond loose material, bridge a moving joint, or stop water traveling through a crack.
Which Shower Grout Needs Sealing?
Most cementitious grout benefits from sealing, especially standard sanded, unsanded, and many polymer-modified cement grouts. Epoxy grout is the main exception because cured epoxy is dense and generally does not require a penetrating sealer.
Read the grout and sealer labels before buying. Some high-performance cement grouts contain water-repellent additives, but that does not automatically mean the finished joint never needs maintenance. Manufacturer instructions control.
Which Sealer Is Best for Shower Grout?
A water-based penetrating sealer is the default choice for most ceramic, porcelain, and natural-stone showers with cement grout. It protects the joint without creating a plastic film that can trap moisture, peel, or become slippery on a frequently scrubbed shower floor.
Solvent-based impregnators can offer strong penetration and may suit some dense stone or heavily porous grout, but they produce more odor and require careful ventilation. Topical sealers create a film and may provide gloss or color enhancement, yet shower walls and floors expose that film to water, cleaners, abrasion, and movement.
Epoxy colorants are different from epoxy grout. A colorant coats and recolors existing grout, while epoxy grout replaces the joint material and is mixed into the tile joints during installation.
| Sealer type | Typical service life | Best location | Main limitation |
|---|---|---|---|
| Water-based penetrating | 1-3 years in a shower | Cement grout on ceramic, porcelain, or stone | Requires clean, dry grout |
| Solvent-based impregnating | 2-5 years, product dependent | Porous stone and cement grout | Odor and ventilation requirements |
| Topical film sealer | 1-2 years in wet areas | Low-moisture shower walls or decorative joints | Can peel, haze, or trap moisture |
| Epoxy grout colorant | 3-10 years, application dependent | Permanently discolored sound grout | Tedious line-by-line application |
| Epoxy grout replacement | Often 5-10+ years | Severe joint deterioration or renovation | Requires removal and skilled installation |
Should You Use a Topical Sealer in a Shower?
Usually, no. A topical coating is a poor default for shower floors because repeated wetting, scrubbing, salts, and foot traffic can wear or delaminate the film.
A topical product may be appropriate for a specific wall application when the manufacturer approves shower use and the substrate is completely dry. A penetrating sealer is more forgiving because it does not depend on a continuous surface film for performance.
Before You Start
Prepare the shower before opening the sealer. The largest cause of premature failure is not the applicator; it is sealing dirty, damp, unstable, or contaminated grout.
| Requirement | Typical specification | Why it matters |
|---|---|---|
| Project time | 2-4 days elapsed | Cleaning, drying, application, and curing are separate stages |
| Active labor | 2-5 hours | Small showers require detailed joint work |
| DIY material cost | $20-$60 | Includes sealer, cleaner, brushes, and cloths |
| Drying period | 24-48 hours | Grout depth and bathroom humidity affect drying |
| Post-seal cure | 24-48 hours | Product label controls final use time |
| Sealer quantity | 1 quart for roughly 50-150 square feet | Small tile and pebble floors consume more product |
Tools and Materials
Use the following basic setup:
- Penetrating grout sealer approved for the grout and tile
- Alkaline tile-and-grout cleaner
- Nylon grout brush, not a metal brush
- White nylon scrub pad
- Clean water and several microfiber cloths
- Foam brush, narrow applicator bottle, or roller-ball grout applicator
- Nitrile gloves and eye protection
- Painter’s tape for sensitive tile edges
- Fan, exhaust fan, or dehumidifier
- Grout repair compound or matching grout if joints are damaged
Avoid using a steel brush, because metal can scratch glazed tile and deposit dark particles into pale grout. On marble, limestone, travertine, or other acid-sensitive stone, avoid vinegar, lemon cleaner, and acidic limescale removers.
Step 1: Inspect the Grout, Caulk, and Shower for Damage
Do not reseal cracked, loose, missing, or crumbling grout. Remove and replace unstable sections first, and replace failed silicone at corners, wall-to-floor joints, niches, and changes of plane because those areas accommodate movement.
Press a fingernail lightly against suspicious grout. Powdering, hollow spots, deep cracks, and joints that shed grains indicate repair rather than resealing. Check the ceiling below the shower, adjacent rooms, baseboards, and plumbing access for dampness or staining.
A musty smell or surface mildew does not automatically prove a hidden leak. Persistent mold, soft drywall, swollen trim, or staining that returns after the shower remains unused suggests a moisture investigation.
You’ll know the inspection passed when: grout is firm, joints are present, silicone is flexible and continuous, and no active leak indicators exist.
Common mistake: sealing over a structural crack. Sealer follows the crack and leaves the underlying failure unchanged.
Step 2: Deep-Clean the Grout Lines
Apply an alkaline grout cleaner according to its label, usually to a small area of approximately 2-4 square feet. Allow the stated dwell time, scrub with a wet nylon brush, and remove soap film, body oils, mineral deposits, and loose residue without flooding the entire shower.
For glazed ceramic or porcelain, a nylon pad can help on tile faces. Natural stone requires a stone-safe, pH-neutral or manufacturer-approved cleaner. Baking soda and hydrogen peroxide mixtures are common household suggestions, but they are not universally safe or effective, and peroxide can affect some dyes or finishes.
Rinse repeatedly with clean water. Cleaner residue can interfere with sealer penetration and may leave a sticky or cloudy surface.
You’ll know it worked when: the grout has an even color after rinsing, no slippery cleaner film remains, and a white cloth wiped over the joint stays clean.
Common mistake: using bleach as the main cleaning solution. Bleach can lighten organic staining, but it does not remove all soap or mineral deposits and can damage some materials with repeated use.
Step 3: Remove Incompatible Old Sealer
Strip an old topical film if it is peeling, flaking, yellowing, or visibly sitting on the surface. Use a grout-sealer stripper approved for the tile, follow the dwell time, and test in an inconspicuous area before treating the whole shower.
A sound penetrating sealer usually does not need complete removal. Penetrating products occupy pores rather than forming a detachable film, so cleaning and drying are normally sufficient before applying another compatible impregnator.
Do not assume every cloudy patch is old sealer. Efflorescence, hard-water scale, cement haze, and soap film require different treatments. Acidic haze removers can etch marble and limestone, so identify the tile before choosing a chemical.
You’ll know it worked when: no soft film lifts from the grout, the joints feel clean rather than waxy, and the test area accepts a small amount of water evenly.
Common mistake: applying a new topical coating over an unknown old coating. The layers may be chemically incompatible and can peel together.
Step 4: Dry the Shower Completely
Allow 24-48 hours of drying after deep cleaning, with the exhaust fan running and the bathroom door open when practical. Dense grout, cool temperatures, poor ventilation, shower-pan water, and high humidity can require longer.
Dry the joints with towels, then leave the enclosure unused. A surface that feels dry can still hold moisture inside the joint. For a more controlled check, tape a small square of clear plastic over a cleaned grout section for several hours; condensation or darkening indicates continued moisture, although the product label remains the final authority.
Do not use a heat gun. Excessive heat can damage sealants, plastic fixtures, painted surfaces, or stone finishes.
You’ll know the shower is ready when: grout has its normal light color, no condensation forms under the plastic test, and the sealer label’s minimum dryness requirement has been met.
Common mistake: drying overnight in a closed bathroom after a hot shower. Humid air slows evaporation and can leave the joint damp below its surface.
Step 5: Apply the Penetrating Sealer
Apply the sealer to a small test patch first, especially on natural stone, dark grout, polished tile, or textured tile. Use a narrow foam brush or applicator bottle to wet the grout line without unnecessarily coating the tile.
Work in manageable sections of about 4-10 square feet. Keep the grout visibly wet for the product’s stated dwell time, often 5-10 minutes, then wipe all excess from tile faces with a clean microfiber cloth before the residue dries. Some products require immediate wiping, so never use a generic dwell time against the label.
If the grout absorbs the first coat rapidly, apply a second coat only at the stated interval, often 30-60 minutes. Dense grout may reject excess product, while porous grout may accept more; puddling does not equal better protection.
You’ll know it worked when: the grout has an even appearance, tile faces are residue-free, and a later water-drop test beads or remains on the surface rather than immediately darkening the joint.
Common mistake: allowing sealer to dry on the tile. On ceramic and porcelain, dried residue can create a stubborn haze that requires reactivation or a manufacturer-approved residue remover.
How Much Sealer Should You Apply?
Use enough product to wet the joint completely, but remove excess from surrounding tile. A typical quart covers 50-150 square feet of tiled area, with the lower end applying to small-format tile, mosaics, and pebble floors because those surfaces contain more grout per square foot.
Coverage is not a performance target. Two thin, properly absorbed coats can outperform one flooded coat that dries on the tile.
How Long Should a Sealed Shower Stay Dry?
Keep the shower dry for at least 24 hours after application and commonly 48 hours before normal use. Product labels differ by chemistry, temperature, humidity, and substrate, so the manufacturer’s cure time takes priority over general guidance.
Do not test the seal immediately by running water. Wait until the minimum cure time has passed, then place a few drops of water on a representative grout joint. Beading suggests repellency, but a water drop alone does not prove the shower membrane or plumbing is watertight.
| Stage | Typical waiting period | Readiness check |
|---|---|---|
| After deep cleaning | 24-48 hours | No damp appearance or plastic-test condensation |
| Between sealer coats | 30-60 minutes | First coat is absorbed, not tacky |
| Before light foot traffic | 12-24 hours | Surface is dry and non-sticky |
| Before shower use | 24-48 hours | Product cure minimum has elapsed |
| Before aggressive cleaning | 3-7 days | Full cure period from product label has elapsed |
What Does Shower Grout Resealing Cost?
DIY resealing typically costs $20-$60 for sealer, cleaner, applicators, gloves, and cloths. Professional cleaning and sealing commonly runs about $1.50-$3.50 per square foot, but a $150-$300 minimum service charge can dominate the price of one small shower.
Repair, regrouting, color sealing, stone restoration, and sealer stripping add labor. A shower with cracked joints may cost more to repair than to seal, while an entire failed installation may require tile removal and waterproofing work.
| Project condition | Typical DIY cost | Typical professional cost | Typical elapsed time |
|---|---|---|---|
| Clean, sound wall grout | $20-$40 | $150-$300 minimum | 2-3 days |
| Porous shower floor grout | $30-$60 | $200-$450 | 2-4 days |
| Stained grout with colorant | $35-$80 | $300-$700 | 2-4 days |
| Partial regrouting and sealing | $40-$100 | $400-$1,000 | 3-5 days |
| Shower rebuild or waterproofing repair | Not a sealer project | $1,500-$6,000+ typical | Several days to weeks |
These are broad North American planning ranges, not guaranteed quotes. Tile size, access, regional labor, stone type, and repair extent change the final price.
When Should You Regrout Instead of Reseal?
Regrout when more than isolated surface discoloration exists. Deep cracks, widespread powdering, missing joints, recurring gaps, and grout that remains soft after drying indicate that a new protective coat cannot restore the material.
Remove cement grout carefully to a substantial portion of the joint depth, then install compatible replacement grout. Follow the grout manufacturer’s cure period, which may be 24-72 hours or longer before sealing. Do not cut into the waterproofing membrane behind the joint.
Replace silicone rather than grout at movement joints. Corners and wall-to-floor transitions should generally use flexible sealant, not rigid cement grout, because rigid material commonly cracks as surfaces move.
Is Epoxy Grout a Permanent Alternative?
Epoxy grout is a dense resin-based joint material that generally does not require sealing, but it is not a universal repair coating. Epoxy installation requires accurate mixing, disciplined cleanup, and suitable temperature conditions; cured residue can be difficult to remove from textured tile and porous stone.
Epoxy grout can suit a renovation where joints are broadly failing and the tile is removed or the old grout can be safely excavated. It cannot correct a failed shower pan, damaged membrane, leaking valve, or movement in the structure.
Situational Variations
Natural Stone Showers
Use a stone-safe cleaner and a penetrating impregnator labeled for the specific stone. Test for darkening, color enhancement, gloss change, and residue on a hidden section before treating marble, limestone, travertine, slate, or honed stone.
Pebble Shower Floors
Pebble floors contain a high grout-to-tile ratio and irregular joint depth, so they consume more sealer and require meticulous wiping. Use a small brush or precision applicator, and prevent liquid from pooling around drain edges.
Permanently Stained but Sound Grout
Clean and dry the grout first. If staining remains but the joint is firm, a compatible grout colorant can change the appearance while adding surface protection; clear sealer alone may preserve the unattractive color.
Moldy Grout
Clean surface mildew, improve ventilation, and determine whether moisture is persistent. Do not seal active mold, wet substrate, or recurring dark growth, because sealing can conceal symptoms while the moisture source continues.
Common Mistakes and How to Fix Them
| Failure | Likely cause | Corrective action |
|---|---|---|
| White haze on tile | Excess sealer dried on the face | Reactivate with fresh compatible sealer, then wipe immediately |
| Peeling film | Topical product on damp or contaminated grout | Strip the film and switch to an approved penetrating sealer |
| Grout darkens instantly | Inadequate coverage or unsealed porous joint | Let dry, then apply another label-approved coat |
| Sticky grout surface | Excess product or incomplete cure | Remove residue according to the manufacturer’s instructions |
| Cracks return quickly | Movement joint or substrate failure | Remove rigid repair, inspect structure, and use appropriate flexible sealant |
| Mold returns | Persistent moisture or poor ventilation | Investigate leaks, improve airflow, and repair the moisture source |
Vinegar and other acids can etch natural stone and may degrade cement-based materials over time. Routine cleaning should use a pH-neutral tile cleaner, soft nylon brush, and adequate rinsing rather than relying on harsh chemistry.
How Often Should Shower Grout Be Resealed?
A typical cement-grout shower needs inspection annually and resealing about every 1-3 years, although heavy use, porous grout, frequent scrubbing, and poor ventilation shorten that interval. Some products and conditions support longer intervals, so performance should be checked rather than resealing by calendar alone.
Place a few drops of water on a clean grout line. If the joint darkens quickly and stays dark after the drop is removed, repellency may have declined. Clean and dry the area before resealing; do not apply sealer over soap film or moisture.
Frequently Asked Questions
Can You Seal Grout Without Removing the Old Sealer?
Yes, when the existing product is a sound penetrating sealer and the grout is clean, dry, and compatible with the new product. Remove a peeling topical film first. If the sealer type is unknown, perform a small test patch and follow the new product manufacturer’s compatibility instructions.
Can Grout Sealer Stop a Shower Leak?
No. Grout sealer can reduce absorption through porous cement grout, but it cannot repair a failed waterproof membrane, shower pan, drain connection, plumbing fitting, or cracked movement joint. Water stains outside the enclosure, swollen drywall, and persistent dampness require leak diagnosis before cosmetic resealing.
Is Sealing Shower-Floor Grout Slippery?
A properly applied penetrating sealer normally does not create a glossy surface film and should not materially change traction. A topical coating can alter surface friction, especially when wet, so avoid film-forming products on shower floors unless the manufacturer specifically approves them for that use.
Can You Reseal Grout That Is Black?
Sometimes. Black grout may contain removable soap, mineral deposits, or mildew, but permanent pigment loss and deep staining can remain after cleaning. Determine whether the grout is structurally sound, then choose clear sealer for acceptable color or a compatible grout colorant when appearance must change.
What Happens If Grout Is Still Damp During Sealing?
Damp grout may reject or dilute the sealer, producing uneven penetration, cloudy residue, weak bonding, or later peeling. Stop the project, remove as much uncured product as the label permits, improve ventilation, and allow the joint to dry fully before attempting another coat.
The Bottom Line
To reseal grout lines in a shower successfully, repair unstable joints first, clean without leaving chemical residue, dry the grout for 24-48 hours, and apply a compatible penetrating sealer in controlled sections. Wipe tile faces before residue dries, respect the full cure period, and remember that grout sealing protects porous joints but cannot replace shower waterproofing or leak repair.