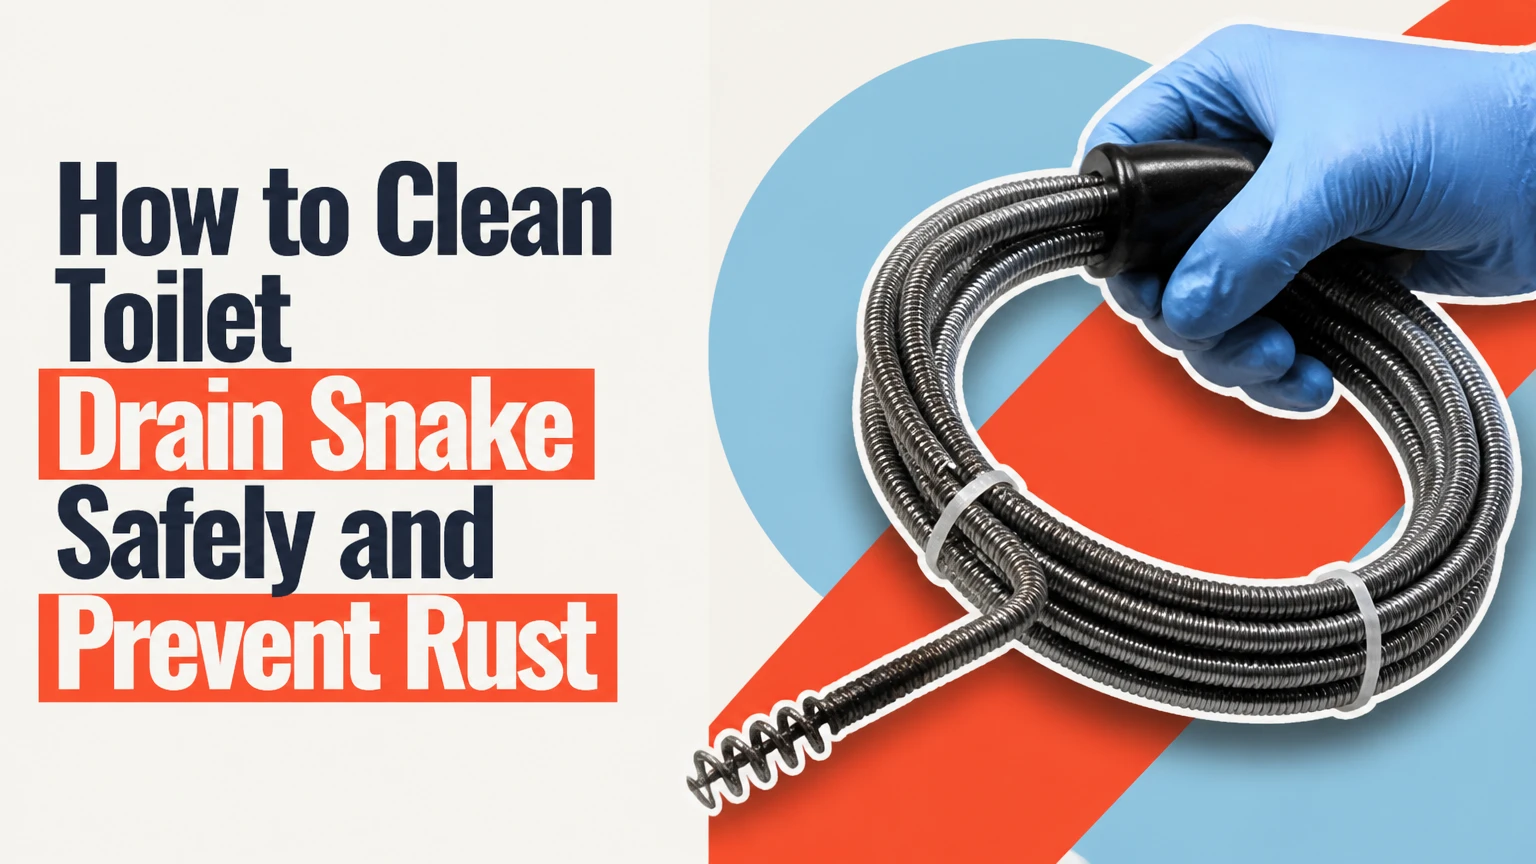
To clean a toilet drain snake, or closet auger, remove trapped debris, wash the cable and guide, disinfect compatible surfaces, rinse away residue, dry every part completely, and apply manufacturer-approved corrosion protection. The practical process takes about 10 minutes of active work plus 30-60 minutes of drying, and thorough drying prevents most rust and odor problems.
Key Facts at a Glance
A toilet auger should be cleaned immediately after every use because its cable may carry sewage bacteria and organic residue.
A porcelain-safe closet auger has a curved guide tube and protective boot; a bare sink snake can scratch the toilet bowl.
Disinfectant must remain wet for the product’s label contact time, commonly 5-10 minutes.
Never mix bleach with toilet cleaner, ammonia, acids, or other disinfectants because the combination can release dangerous gases.
Retract only a completely dry cable, and lubricate it only with a product approved for that auger’s cable or coating.
Replace a cable with deep rust, broken wires, sharp kinks, or a damaged protective boot.
What Is a Toilet Drain Snake?
A toilet drain snake is a specialized auger that clears or retrieves blockages inside a toilet’s trapway. The tool normally consists of a crank, a flexible steel cable, a rigid curved guide tube, a porcelain-protective boot, and a corkscrew or bulb-shaped end.
The curved guide positions the cable through the toilet’s internal bend without dragging bare steel across the glazed bowl. Turning the crank advances or retracts the cable while rotating the tip into paper, wipes, or another obstruction. A closet auger is shorter and more controlled than a long cable snake designed for an open floor drain.
Cleaning the tool is different from unclogging the toilet. Unclogging removes the obstruction from the plumbing; cleaning removes contaminated material from the auger after the plumbing work is finished.
How Does a Toilet Auger Work?
A toilet auger works by combining controlled rotation with forward cable movement. The corkscrew tip can break up a soft obstruction, capture a flexible item, or create a passage through a compacted paper blockage.
A typical homeowner auger reaches 3-6 feet, although effective reach depends on the toilet design and the tool’s cable length. The tool is intended for the trap and nearby branch pipe, not for clearing distant sewer roots or a large main-line obstruction.
The auger should move with steady hand pressure. A sudden hard stop may indicate a foreign object, a trapway limit, a cable knot, or a blockage that requires a different tool.
Which Toilet Drain Snake Should You Clean?
The correct cleaning method depends on the tool’s construction. A basic manual closet auger tolerates hand washing and careful drying, while a drill-powered model needs additional attention around its clutch, adapter, bearings, and cable-drive housing.
| Auger type | Typical reach | Typical price | Cleaning concern | Best use |
|---|---|---|---|---|
| Manual closet auger | 3-6 ft | $10-$60 | Exposed cable and guide residue | Household toilet clogs |
| Drill-powered auger | 6-25 ft | $35-$120 | Water near drill adapter and housing | Repeated or deeper blockages |
| Drop-head commercial auger | 3-6 ft | $60-$180+ | Hinged tip and inner-core cable | Complex commercial traps |
| General sink drum snake | 15-50 ft | $25-$150 | Exposed coil and larger contamination area | Open drains, not toilet bowls |
A manual porcelain-safe auger is usually the best household tool because it gives the operator slow, direct feedback. Drill power reduces fatigue, but excessive speed can kink the cable, whip contaminated water, or damage the tool.
What You Need Before Cleaning
Gather thick waterproof gloves, eye protection, disposable towels, a heavy-duty trash bag, a stiff nylon brush, clean water, and a compatible disinfectant. Add an old towel or plastic sheet to protect the floor, especially when the toilet overflowed or the auger contains visible waste.
| Item | Typical quantity | Purpose | Replacement or safety note |
|---|---|---|---|
| Waterproof gloves | 1 pair | Protect hands from contaminated water | Use thicker utility gloves, not thin food-service gloves |
| Eye protection | 1 set | Prevent splash exposure | Wash and disinfect after use |
| Trash bags | 1-2 | Contain wipes and towels | Tie bags before disposal |
| Clean water | 1-2 gallons | Rinse cable and guide | Use a utility tub or outdoor hose |
| Nylon brush | 1 | Scrub grooves and guide surfaces | Avoid steel brushes on coated cable |
| Disinfectant | Label amount | Reduce microbial contamination | Follow the product label exactly |
| Light lubricant | Small amount | Protect bare steel from corrosion | Use only if the manufacturer permits it |
Work outdoors, over a utility tub, or directly above the toilet when moving the tool is impractical. Keep children and pets away from the area, and do not bring a contaminated auger through living spaces without first placing it in a plastic tray or bag.
How Do You Clean a Toilet Drain Snake?
Clean a toilet drain snake in six stages: isolate the work area, remove debris, rinse the cable, disinfect compatible surfaces, rinse again, and dry before storage. The best sequence prevents dirty material from spreading onto the handle, floor, utility sink, or clean tools.
Step 1: Prepare the Work Area
Put on gloves and eye protection before touching the used auger. Place a plastic sheet or old towel beneath the toilet, or carry the tool outdoors inside a leak-resistant bag.
If the toilet bowl is full, shut off the water supply at the wall and remove enough water to prevent splashing. Do not flush a toilet that is close to overflowing. A controlled water level is safer than trying to produce “clean” rinse water through repeated flushing.
You will know the area is ready when the auger has a contained path from the toilet to the trash bag or wash tub. The common mistake is carrying the wet tool across the bathroom before wrapping or bagging it.
Step 2: Remove Visible Debris
Hold the guide tube over the bowl or trash bag and retract the cable slowly. Use disposable towels to pull off hair, wipes, paper, or other material caught on the corkscrew tip.
Do not twist contaminated towels around the cable with bare hands. Drop each towel directly into the lined bag, then seal the bag when debris removal is complete.
You will know this step is finished when no large solids remain on the tip, cable, or guide. The common mistake is rinsing heavy waste into a sink or bathtub, where the material can contaminate another fixture or contribute to a new blockage.
Step 3: Rinse the Cable and Guide
Extend the cable in sections while rinsing it with clean water. Rotate the crank by hand as water flows over the cable so residue does not remain between coil turns.
A utility tub, bucket, or outdoor hose is preferable to a kitchen sink. Keep drill motors, battery packs, switches, and enclosed drive housings away from running water; remove those components first when the design allows it.
A stiff nylon brush can loosen dried residue from a bare metal guide, but use a soft brush on painted, vinyl-coated, or polymer-covered cables. You will know the rinse is adequate when the water runs clear and no visible film remains. The common mistake is retracting the cable while grit still sits inside the guide tube.
Step 4: Disinfect the Tool
Apply a bathroom disinfectant that is compatible with the auger’s materials, then keep the surface visibly wet for the label’s stated contact time. Many products specify 5-10 minutes, but the label controls because formulas and organisms differ.
For a bare stainless or carbon-steel cable, a correctly diluted bleach solution may be acceptable if the manufacturer permits it. A common household dilution is 1 part regular unscented bleach to 9 parts water, but product concentration varies, so follow the bleach label rather than treating 10 percent as universal.
Disinfect the cable, corkscrew tip, guide tube, boot, crank handle, and any surface touched by contaminated water. Do not soak a drill adapter, sealed bearing, electric motor, or battery connection unless the manufacturer explicitly allows immersion.
Never combine bleach with hydrochloric acid toilet cleaner, ammonia, vinegar, or another disinfectant. Toxic chlorine or chloramine gases can form. You will know disinfection was performed correctly when the entire compatible surface received the required wet dwell time; spraying and wiping immediately is not equivalent.
Step 5: Rinse Chemical Residue Away
Rinse the auger with clean water after the disinfectant’s contact time. Chemical residue can corrode metal, embrittle some plastics, irritate skin, and react with a different cleaner used later.
Flush water through the guide tube if its design permits, then drain the tube with the opening facing downward. Wipe the handle and boot separately because crevices can retain disinfectant.
You will know the rinse is complete when no foam, bleach smell, or slippery film remains on the surface. The common mistake is storing the cable directly after chemical treatment, which traps moisture and residue inside the guide.
Step 6: Dry, Inspect, and Protect the Cable
Wipe the full extended cable with a clean rag, then leave it extended in moving air for at least 30-60 minutes. A longer drying period may be necessary in a humid garage, because moisture hidden between coil turns can rust steel after the outside feels dry.
Inspect the cable for orange rust, black pitting, broken strands, flattened coils, sharp bends, and a loose or missing tip. Check that the porcelain-protective boot is secure and free from embedded grit.
Apply a thin film of manufacturer-approved cable oil to bare steel only. WD-40 is primarily a water-displacing product, not a universal long-term cable lubricant; use it only when the tool maker recommends it. Do not oil a vinyl-coated cable unless the coating manufacturer approves the product.
You will know the auger is ready for storage when the cable is dry, rotates smoothly, and has no sharp wire ends. The common mistake is retracting the cable while damp because the tool appears clean.
How Should You Store a Toilet Auger?
Store a toilet auger dry, lightly protected where appropriate, and separated from household cleaning brushes. Retract the cable only after drying and inspection, then place the tool in a ventilated bin or clean bag that does not trap condensation.
Avoid sealed plastic storage immediately after washing. A breathable container is safer until the tool has reached room temperature and all internal moisture has evaporated. Store the auger above the floor, away from toilet chemicals, fertilizer, salt, and damp concrete.
| Storage condition | Likely result | Recommended action | Typical interval |
|---|---|---|---|
| Wet cable in closed bag | Rust inside coil | Extend, wipe, air-dry | 30-60 minutes minimum |
| Dry bare-steel cable | Lower corrosion risk | Apply approved thin oil film | After each use |
| Damp vinyl-coated cable | Coating degradation | Dry thoroughly, avoid unapproved oil | After each use |
| Bent cable in guide | Permanent set or binding | Store straight or replace | Inspect each use |
| Loose tip or boot | Porcelain and retrieval risk | Tighten or replace part | Before next use |
A properly maintained manual auger can last many years, but a lifespan such as 10-15 years is only a typical possibility, not a guarantee. Cable quality, frequency of use, chemical exposure, and storage humidity determine actual service life.
What Are the Most Common Cleaning Mistakes?
The most damaging mistakes are using the wrong snake, forcing resistance, mixing chemicals, and storing wet steel. Each error creates a different failure: scratched porcelain, a kinked cable, toxic fumes, or hidden corrosion.
- Using a bare sink snake in the toilet: A standard drain snake lacks the curved porcelain guard and can leave scratches or black metal marks. Use a closet auger for bowl entry.
- Forcing a hard stop: Stop advancing when resistance becomes rigid. Reverse the crank slightly, add gentle rotation, and reassess rather than bending the cable against the trap.
- Spinning a drill at high speed: Use the lowest practical speed and short bursts. A fast cable can kink, whip, or drive a tip deeper into a foreign object.
- Cleaning with an incompatible chemical: Strong acids and concentrated bleach can corrode steel and damage coatings. The disinfectant label and tool manual take priority.
- Ignoring the protective boot: Grit under the boot can scratch porcelain even when the auger is the correct type. Rinse around the boot and inspect its edge.
- Putting solids down a household drain: Wipes and captured objects belong in a sealed trash bag. Rinsing them into a sink transfers the plumbing problem.
A practitioner rule of thumb is simple: if the cable no longer retracts smoothly by hand, clean and inspect it before using a drill. Mechanical power can conceal a developing kink until the cable snaps.
How Do You Choose Between Augers and Alternatives?
Choose a toilet auger for a blockage inside the bowl trap, a plunger for a soft obstruction near the bowl opening, and a professional drain machine for a suspected branch-line or sewer problem. Chemical drain cleaners are a poor choice for toilets because they may remain in the bowl and create a splash hazard during plunging or snaking.
| Tool or method | Typical reach | Typical cost | Suitable blockage | Main limitation |
|---|---|---|---|---|
| Flange plunger | 0-2 ft | $8-$25 | Soft paper near bowl | Cannot retrieve solid objects |
| Closet auger | 3-6 ft | $10-$60 | Trapway blockage | Limited reach beyond branch |
| Wet/dry vacuum | 0-2 ft | $60-$250 | Water and loose debris | Requires correct sealed setup |
| Long drain machine | 25-100 ft | $50-$200 rental | Branch-line obstruction | Higher injury and pipe-damage risk |
| Plumber inspection | Property-specific | $100-$500+ typical service range | Recurring or hidden blockage | Requires scheduling |
Do not use a toilet auger to attack tree roots, a collapsed pipe, or a heavy construction object. Those conditions need line inspection, sectional equipment, or professional extraction.
How Much Time and Money Does Cleaning Take?
Cleaning a toilet drain snake typically requires 5-10 minutes of active handling and 30-60 minutes of air-drying. The direct cost is usually under $5 when the homeowner already has gloves, towels, water, and disinfectant.
| Activity | Typical duration | Typical direct cost | Completion standard |
|---|---|---|---|
| Debris removal | 2-5 minutes | $0.50-$2 | No visible solids |
| Rinsing and brushing | 2-5 minutes | $0-$1 | No visible film |
| Disinfection dwell | 5-10 minutes | $0.25-$2 | Surface stays visibly wet |
| Final rinse | 1-3 minutes | Under $1 | No chemical residue |
| Air-drying | 30-60 minutes | $0 | Cable fully dry |
| Lubrication and storage | 1-3 minutes | $0.25-$2 | Smooth cable, protected steel |
A replacement manual auger commonly costs $10-$60, while drill-powered and commercial models often cost $35-$180 or more. Replacing a severely corroded cable is safer than trying to restore sharp, weakened strands.
What If the Cable Is Rusty, Kinked, or Stuck?
A rusty cable may be reusable when it has only light surface discoloration and remains smooth, but deep pitting, broken wires, a permanent kink, or a loose tip warrants replacement. A stuck auger should be released with controlled reverse rotation, never with a violent pull.
Releasing a Stuck Auger
Stop forward pressure and stabilize the guide against the toilet. Turn the crank slowly in reverse while applying gentle outward pressure, then alternate small forward and reverse movements.
If the corkscrew has hooked a wipe or soft obstruction, reverse rotation usually unwinds it. If the tool remains fixed, do not add a wrench or use a drill to force it free, because torque can damage the cable, toilet trap, or user’s hands.
Call a plumber when the guide or cable cannot be removed without force, especially if the toilet rocks, leaks at its base, or shows a crack.
Diagnosing a Handle That Spins Without Cable Movement
A freely spinning handle usually indicates a loose set screw, collar, clutch, or cable connection. Unplug a drill-powered unit, inspect the locking mechanism, and tighten it according to the manufacturer’s instructions before testing by hand.
If the handle still turns without rotating the cable, stop using the auger. A stripped drive mechanism can send unpredictable torque into a weakened cable.
Deciding Whether to Replace the Cable
Replace the cable when any strand protrudes, the tip wobbles, the coil has a sharp permanent bend, or rust has created pits that catch a cloth. Do not grind protruding wires smooth; the remaining cable can still break under rotation and expose sharp metal.
When Should You Call a Plumber?
Call a plumber when multiple fixtures drain slowly, sewage backs up elsewhere, the toilet clogs repeatedly after successful snaking, or the auger cannot pass a fixed obstruction. These symptoms suggest a branch-line blockage, main sewer issue, foreign object, pipe defect, or inadequate toilet flush rather than a simple bowl clog.
Stop DIY work immediately if wastewater contacts eyes, broken skin, or the mouth. Rinse exposed eyes with clean water for 15 minutes and follow local medical or poison-control guidance for chemical exposure.
A recurring clog can result from excessive paper, wipes labeled flushable, low-flow performance, a partial branch blockage, or an object lodged in the trap. Cleaning the auger solves the hygiene problem, not the underlying plumbing diagnosis.
FAQ
Can I Clean a Toilet Snake in the Bathtub?
You can rinse a toilet auger in a utility tub or bathtub only if you disinfect the tub immediately afterward and prevent solids from entering the drain. A utility tub or outdoor hose is preferable because it reduces cross-contamination and keeps captured wipes out of household plumbing.
Can I Use Vinegar to Clean a Toilet Auger?
Vinegar can remove some mineral residue, but it is not a complete disinfectant for a sewage-contaminated tool. Never combine vinegar with bleach or another cleaner. Use a labeled disinfectant, rinse it away, and dry the cable completely.
How Do I Clean a Toilet Auger Without a Hose?
Place the auger over a lined bucket or the toilet, pour clean water over the extended cable, and rotate it slowly by hand. Use a nylon brush for residue, then perform the labeled disinfection and final rinse with a second bucket of clean water.
Is a Toilet Snake Safe for Porcelain?
A closet auger is designed for porcelain toilets when its protective boot is intact and clean. A general-purpose sink snake is not equally safe because its exposed metal coil can drag across the bowl and create permanent scratches.
Should I Use a Drill on a Toilet Auger?
Use a drill only when the auger is specifically designed for drill power and the manufacturer permits it. Select the lowest speed, hold the guide securely, wear eye protection, and stop immediately if the cable binds, whips, or encounters a solid obstruction.
How Often Should I Clean a Toilet Drain Snake?
Clean and dry a toilet drain snake after every use, even when the cable appears clear. Routine cleaning removes invisible organic residue, while inspection after each use identifies corrosion or cable damage before the next blockage.
The Bottom Line
To clean a toilet drain snake safely, remove solids, rinse the extended cable, disinfect compatible surfaces for the label contact time, rinse again, air-dry for 30-60 minutes, inspect for damage, and store it dry. The exact process for how to clean toilet drain snake depends on the cable coating and tool design, so the manufacturer’s chemical and lubrication instructions override generic advice.