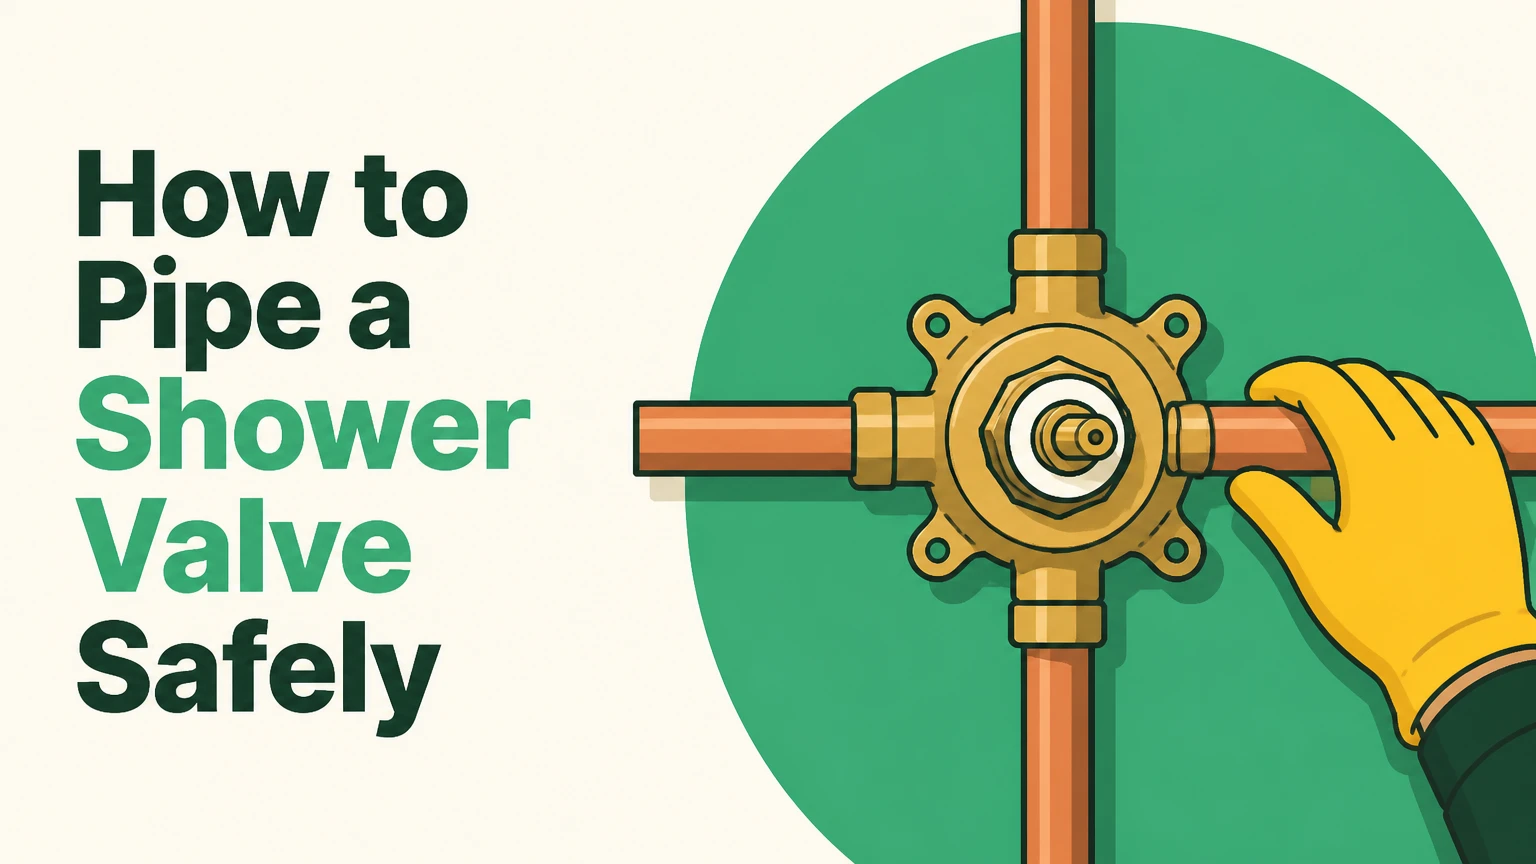
A shower valve is piped by securing the valve to wall blocking, connecting the marked hot and cold inlets, routing the mixed-water outlet to the shower riser, and capping or connecting the tub outlet. The installation normally takes 4-8 hours for an experienced DIYer in an open wall, and the manufacturer’s rough-in depth and local plumbing code determine the final layout.
Key facts at a glance
Hot water normally connects to the valve port marked H, and cold water connects to the port marked C.
A pressure-balancing valve controls temperature and flow with one handle; a thermostatic system separates temperature from volume.
The plaster guard or mud ring, not a generic wall measurement, determines the valve’s finished depth.
A shower-arm drop-ear elbow must be rigidly fastened to structural blocking before the wall is closed.
Typical valve-center height is 38-48 inches above the finished floor, but the trim manufacturer’s instructions control.
Pressure-test every concealed connection before backer board, waterproofing, or tile covers the plumbing.
What a Shower Valve Does
A shower valve mixes hot and cold supply water and sends the tempered water to one or more bathroom outlets. A cartridge, spool, diaphragm, or thermostatic element changes the internal flow paths as the user adjusts temperature and volume.
Most residential valves place the hot inlet on the left and cold inlet on the right when viewed from the front. That arrangement is common, not universal. The stamped letters, arrows, and installation diagram on the specific valve body take priority, especially for reversible or universal rough-in valves.
A shower-only valve usually has hot, cold, and shower-riser connections. A tub-and-shower valve adds a lower outlet for the tub spout. A separate diverter may route mixed water to a handheld shower, body sprays, or a second overhead head, but a diverter does not replace the primary mixing valve unless the product is specifically designed as a combined system.
How the Valve Prevents Scalding
A pressure-balancing cartridge reacts to a pressure change on the hot or cold side and restricts the stronger side. A thermostatic cartridge measures mixed-water temperature and adjusts the hot and cold openings to maintain a selected temperature.
Pressure balancing is common and economical, but changing temperature usually changes flow because one control performs both jobs. Thermostatic systems provide more precise temperature control and commonly add a separate volume control, although they cost more and require compatible trim.
Which Valve Type Fits the Project?
The best valve depends on the number of outlets, desired control, available budget, and required anti-scald performance. Use a pressure-balancing valve for a conventional shower, a thermostatic valve for independent temperature and volume control, and a separate diverter for multiple finished outlets.
| Valve system | Typical controls | Typical outlets | Best application |
|---|---|---|---|
| Pressure-balancing | 1 handle | 1 shower or 1 tub and shower | Standard residential bathroom |
| Thermostatic | 2 controls | 1-3 outlets through compatible controls | Precise temperature and independent volume |
| Diverter | 1 selector | 2-3 mixed-water outlets | Handheld, rain head, or body sprays |
| Thermostatic plus diverter | 3 or more controls | 2-5 planned outlets | Custom multi-feature shower |
A diverter must be sized for the outlets and expected simultaneous flow. A 2-way diverter can alternate between two outlets, while a 3-way model may alternate or share three outlets. Running several fixtures through undersized supply piping can reduce dynamic pressure even when static pressure looks normal.
Pressure-Balancing Versus Thermostatic
Pressure-balancing valves generally cost less and simplify a standard rough-in. Thermostatic valves cost more but prevent temperature swings more precisely and permit separate volume adjustment when the trim system supports it.
| Decision factor | Pressure-balancing | Thermostatic |
|---|---|---|
| Typical rough-in price | $50-$150 | $150-$500 |
| Temperature control | Relative pressure response | Temperature-sensing element |
| Volume control | Usually combined with temperature | Usually separate |
| Common project | Single shower or tub shower | Multi-head or accessibility-focused shower |
| Main limitation | Flow changes during adjustment | Higher cost and more components |
A pressure-balancing valve is a poor choice when the design requires a rain head and handheld wand to run at separate, controlled volumes. A thermostatic valve is a poor budget choice when one basic shower outlet is the only requirement.
Choose the Pipe and Connection Method
Copper, PEX, and threaded adapters can all pipe a shower valve when the valve body and fittings are approved for that connection. The safest choice is the method specified by the valve manufacturer and accepted by local code, not the method requiring the fewest tools.
| Method | Connection equipment | Open-flame risk | Typical concealed-wall use |
|---|---|---|---|
| Copper sweat | Tubing cutter, flux, solder, torch | High | Rigid, traditional installations |
| PEX crimp | Crimp tool, rings, compatible adapters | None | Fast residential rough-ins |
| PEX expansion | Expansion tool, rings, PEX-A fittings | None | Flexible routing and larger fittings |
| Threaded IPS or NPT | Wrench, tape, pipe compound | None | Valves with female threaded ports |
Use brass or bronze transition fittings where required. Do not mix PEX connection systems casually. A PEX-A expansion ring, PEX-B crimp ring, and push-fit fitting use different procedures and approved tubing combinations.
Thread sealant belongs on tapered pipe threads, not on compression threads, union faces, or O-rings. Follow the fitting manufacturer’s direction for tape and compound because excessive sealant can enter the valve cartridge.
What Should You Do Before Cutting Pipe?
Shut off and verify the water supply, expose the entire work area, identify the finished-wall plane, and confirm the valve, trim, pipe system, outlet count, and local permit requirements. A plumbing rough-in becomes expensive when the valve is installed before tile thickness, framing, or trim compatibility is known.
Before You Start
| Requirement | Typical amount or range | Verification |
|---|---|---|
| Work time, open wall | 4-8 hours | Includes testing and corrections |
| Materials | $150-$450 | Valve, adapters, pipe, blocking, plugs |
| Valve rough-in | 1 unit | Must match trim and outlet design |
| Blocking | 2 pieces of 2×4 or 2×6 | One for valve, one for drop ear |
| Test plugs | 1-2 units, 1/2 inch | Match every open outlet |
| Safety equipment | Eye protection and gloves | Required during cutting and soldering |
You also need a measuring tape, level, drill, driver, tubing cutter, deburring tool, adjustable wrench, marker, approved fasteners, and the correct PEX or soldering tools. A dry paper towel helps reveal slow weeping that may not be visible during a quick inspection.
Step 1: Shut Off, Drain, and Identify the Lines
Close the main shutoff or the bathroom branch shutoff, then open a lower faucet to release pressure. Confirm that the hot and cold lines are inactive before cutting, because a partially closed stop can still leave enough pressure to flood the wall.
Label the hot line, cold line, shower riser, tub outlet, and any diverter outlet. Remove the old valve only after the replacement valve and trim have been compared with the existing framing.
You’ll know it worked when: no water emerges after the pipe is cut and the lines are clearly identified.
Common mistake: assuming the left-hand pipe is hot without tracing it. Water-heater routing and previous remodeling can reverse expected positions.
Step 2: Install Structural Blocking
Fasten horizontal blocking between the studs at the valve location and install separate blocking for the shower-arm drop ear. Blocking must resist movement when the handle or shower arm is turned, because pipe friction alone cannot reliably support those components.
Place the valve blocking so the valve face remains level and the manufacturer’s plaster guard can align with the future finished surface. Use corrosion-resistant screws or fasteners suitable for the framing material.
You’ll know it worked when: the blocking is rigid, the valve sits level, and the drop-ear location can be fastened without relying on drywall or backer board.
Common mistake: installing one short block that supports the valve but leaves the shower-arm elbow unsupported.
Step 3: Set Valve Height and Finished Depth
Set the valve center at a practical height, commonly 38-48 inches above the finished floor, then calculate the finished wall thickness before fastening the body. The plaster guard should align with the plane specified by the valve manufacturer, usually flush with or slightly proud of the finished wall reference.
Account for cement board or another backer, waterproofing, thin-set mortar, and tile. A typical tile assembly may add about 3/4-1 inch beyond the framing, but actual assemblies vary.
| Component | Typical thickness | Measurement source |
|---|---|---|
| Cement backer board | 1/2 inch | Board manufacturer |
| Waterproofing layer | 1/16-1/8 inch | Membrane system |
| Thin-set mortar | 1/8-1/4 inch | Installer and tile profile |
| Ceramic or porcelain tile | 1/4-3/8 inch | Tile product |
Do not use the trim plate as a depth gauge. The trim may hide small differences, but an incorrectly placed body can prevent cartridge access, leave the handle loose, or make the escutcheon fail to seal.
You’ll know it worked when: the plaster guard lands at the finished-wall reference and the valve is plumb, level, and firmly attached.
Common mistake: measuring from the subfloor when the instructions specify finished-floor height.
Step 4: Connect Hot and Cold Supply Lines
Connect the hot supply to the port marked H and the cold supply to the port marked C, unless the valve’s instructions specify another orientation. Cut each pipe square, remove burrs, and leave enough straight length for the approved fitting method.
For PEX, push tubing fully over the barb or into the expansion fitting, position the ring according to the system instructions, and use a calibrated tool. For copper, clean and flux only the approved joint surfaces, protect the valve from heat, and remove heat-sensitive cartridges and seals when the manufacturer requires it.
Keep joints accessible during testing. Avoid unnecessary elbows, sharp PEX bends, and unsupported pipe that can transmit vibration to the valve.
You’ll know it worked when: every connection is fully seated, the pipe labels match the valve markings, and the supply lines do not strain the valve body.
Common mistake: making the final connection while the pipe is pulling sideways on the valve. Recut or add a properly supported section instead.
Step 5: Pipe the Shower Riser
Run the mixed-water outlet upward to a 1/2-inch shower riser, unless the valve instructions specify another size. Keep the riser straight and brace it where needed so movement does not transfer to the shower arm.
Terminate the riser in a brass drop-ear elbow. Fasten the drop ear flat against solid blocking with approved screws, and align its threaded opening with the finished wall and shower arm. A typical shower-arm target is 72-80 inches above the finished floor, but user height, showerhead design, and accessibility requirements may change that position.
You’ll know it worked when: the drop ear cannot rotate by hand and the shower arm will project squarely through the finished wall.
Common mistake: leaving the drop ear floating between studs. The shower arm can loosen the concealed connection during ordinary use.
Step 6: Connect or Cap the Tub Outlet
Connect the lower valve outlet to the tub spout with the pipe type and diameter specified by the valve manufacturer. Keep the run short, straight, and unrestricted because a restrictive tub-spout line can divert water toward the shower riser and cause filling delays or showerhead dripping.
Many manufacturers specify rigid copper or a particular PEX system for a tub-spout connection. Standard PEX-B is not automatically prohibited, but its fitting bore, run length, valve design, and manufacturer instructions determine whether it is acceptable.
For a shower-only installation, cap the unused tub outlet with the approved threaded plug or integral valve cap. Do not use a removable test cap as the permanent closure.
| Layout | Valve outlets used | Lower outlet treatment | Typical use |
|---|---|---|---|
| Shower only | 3 | Approved permanent cap | Enclosed shower |
| Tub and shower | 4 | Tub spout connection | Combination fixture |
| Two-outlet shower | 4 or more | Diverter connection | Handheld plus rain head |
| Custom system | Manufacturer-specific | Dedicated diverter or volume valve | Body sprays and multiple heads |
You’ll know it worked when: the tub spout path has no unnecessary restriction and the unused outlet is permanently sealed.
Common mistake: using a long flexible hose or a restrictive adapter between the valve and tub spout.
Step 7: Flush and Pressure-Test the Rough-In
Flush the supply lines before installing the cartridge or trim when the manufacturer permits it. Remove construction debris, solder residue, and pipe shavings before they reach the cartridge or diverter.
Install test plugs in the shower, tub, and other open outlets, then pressurize the system according to the valve instructions and local code. Many residential tests use a period of observation from 30 minutes to 24 hours, while required test pressure and duration vary by jurisdiction.
Inspect every concealed joint with a dry paper towel. A pressure gauge can identify a pressure drop, but it cannot locate a leak by itself.
You’ll know it worked when: the pressure remains stable for the required test period and every joint stays dry.
Common mistake: testing only the supply connections while leaving the tub or shower outlet open. Every concealed branch needs a suitable test closure.
Reference Dimensions for a Typical Installation
The following dimensions are practical starting points, not universal code requirements. Finished-floor elevations, fixture design, accessibility standards, and manufacturer instructions can change each value.
| Location | Typical dimension | Reference point |
|---|---|---|
| Valve center | 38-48 inches | Finished floor |
| Common valve center | About 46 inches | Finished floor |
| Shower-arm outlet | 72-80 inches | Finished floor |
| Tub spout outlet | About 4 inches above tub rim | Tub deck |
| Common supply size | 1/2 inch at valve | Valve connection |
A 3/4-inch trunk may improve available flow in a large home, but downsizing immediately at the valve does not guarantee higher pressure. The valve’s flow coefficient, supply pressure, pipe length, elbows, and simultaneous demand determine performance.
Common Mistakes and How to Fix Them
Reversed Hot and Cold Connections
Reversed supplies can defeat the intended operation of a pressure-balancing cartridge or make the temperature limit stop behave incorrectly. Shut off the water, verify the markings, and correct the piping before adjusting trim.
Incorrect Rough-In Depth
A valve installed too far forward can interfere with the handle and escutcheon. A valve installed too far back can prevent the trim screws from reaching the body. Recalculate the backer, membrane, mortar, and tile assembly before closing the wall.
Solder Damage
Heat can damage cartridges, rubber seals, and plastic pressure-balancing parts. Remove internal components when the valve manufacturer requires it, use a heat shield, and allow the body to cool before reinstalling parts.
Unsupported Shower Arm
A loose drop ear eventually transfers movement into the concealed pipe. Open the wall and add solid blocking rather than tightening the shower arm repeatedly.
Debris in the Cartridge
Low flow after rough-in often comes from solder, PEX shavings, or construction debris. Remove the cartridge according to the manufacturer’s procedure, flush the valve body, clean approved screens, and reinstall the correct component.
Sealed Joints That Cannot Be Serviced
Concealed push-fit or threaded connections may be permitted in some systems, but access requirements vary. Plan an access panel or place serviceable joints where the valve trim can be removed if the manufacturer and local code permit that arrangement.
Variations for Common Projects
Replacing a Valve Through an Open Wall
An open-wall replacement is the simplest case. Match the existing pipe material where practical, replace corroded or damaged sections, and pressure-test before insulation or wallboard returns.
Installing in a Finished Tile Wall
A finished-wall replacement requires tile demolition or rear access. Protect waterproofing, preserve enough opening for the new body and blocking, and budget for membrane repair and tile replacement rather than treating the job as a simple valve swap.
Building a Multi-Head Shower
Calculate the combined flow demand before selecting the valve and pipe size. A thermostatic valve with a separate diverter provides better control than forcing several fixtures through a single standard pressure-balancing outlet, but the home’s supply capacity may still limit simultaneous operation.
Cost, Time, and Permit Planning
A typical open-wall DIY installation costs $150-$450 in materials and takes 4-8 hours. Professional labor commonly ranges from $400-$1,100 for accessible work, while finished-wall demolition, relocation, difficult framing, or specialty fixtures can raise the total toward $1,800 or more.
| Project condition | DIY time | Professional labor range | Main cost driver |
|---|---|---|---|
| Open studs, shower only | 4-6 hours | $400-$800 | Valve and connection method |
| Open studs, tub and shower | 5-8 hours | $600-$1,100 | Tub outlet and testing |
| Finished tile access | 1-2 days | $900-$1,800+ | Demolition and restoration |
| Multi-head system | 1-2 days | $1,000-$2,500+ | Multiple valves and flow demand |
Permit and inspection requirements differ by city, county, and country. Contact the local building department before covering the rough-in, particularly when relocating supply lines, changing a tub to a shower, or modifying an exterior wall.
Safety, Code, and Access
A concealed shower connection can cause prolonged structural damage before a ceiling stain appears. Use listed products, follow the valve manual, protect combustible framing during soldering, and obtain the required inspection before waterproofing or closing the wall.
The rough-in is not the waterproofing system. After plumbing inspection, seal penetrations with the shower manufacturer’s or membrane manufacturer’s approved method. Keep cartridge access possible through the trim opening, and never bury a required service connection behind permanent tile.
Call a licensed plumber when the work involves unknown supply materials, galvanized pipe, a relocated main branch, gas or electrical conflicts, major structural cutting, inadequate pressure, or a jurisdiction that requires licensed plumbing work.
FAQ
Can I Pipe a Shower Valve With PEX?
Yes, a compatible shower valve can be piped with PEX using approved crimp, clamp, expansion, or threaded transition fittings. Confirm the valve rating, tubing system, fitting compatibility, support requirements, and local code. Tub-spout connections deserve special attention because restrictive fittings can cause unwanted flow through the shower riser.
Does the Shower Valve Need to Be Accessible?
The cartridge and trim normally remain accessible from the bathroom side, but concealed service joints may require a separate access panel. Requirements vary by jurisdiction and product. Plan service access before closing the wall, especially when the valve includes diverter cartridges or multiple volume controls.
Why Does a Showerhead Drip After a New Installation?
A new showerhead can drip because the cartridge is not seated, debris is trapped in the valve, the valve is installed incorrectly, or residual water is draining from the riser. Flush the body, inspect the cartridge, verify the trim installation, and replace the cartridge only after eliminating debris and orientation problems.
Should the Shower Valve Be Centered on the Shower Wall?
The shower valve should be placed where the user can operate it safely and where the trim fits the framing and finished wall. Centering often improves appearance, but accessibility, door swing, plumbing access, and the location of the showerhead may justify an offset position.
How Long Should a Pressure Test Last?
Use the duration and pressure specified by local plumbing code and the valve manufacturer. A practical homeowner observation period is 30 minutes to 24 hours with the wall open, while a formal inspection may require a specific gauge reading and test duration that only the local authority can define.
Why Is the Water Only Warm?
A partially closed service stop, reversed supply, restricted hot line, clogged cartridge screen, or incorrectly adjusted rotational limit stop can limit hot water. Verify hot and cold routing first, then flush the valve and adjust the temperature limit according to the trim manufacturer’s instructions.
The Bottom Line
To pipe a shower valve correctly, match the valve to the outlet design, install rigid blocking, connect the marked hot and cold ports, set the body to the finished-wall depth, anchor the shower drop ear, and pressure-test every concealed line before closing the wall. The safest how to pipe a shower valve decision follows the manufacturer’s diagram and local code rather than a generic dimension.