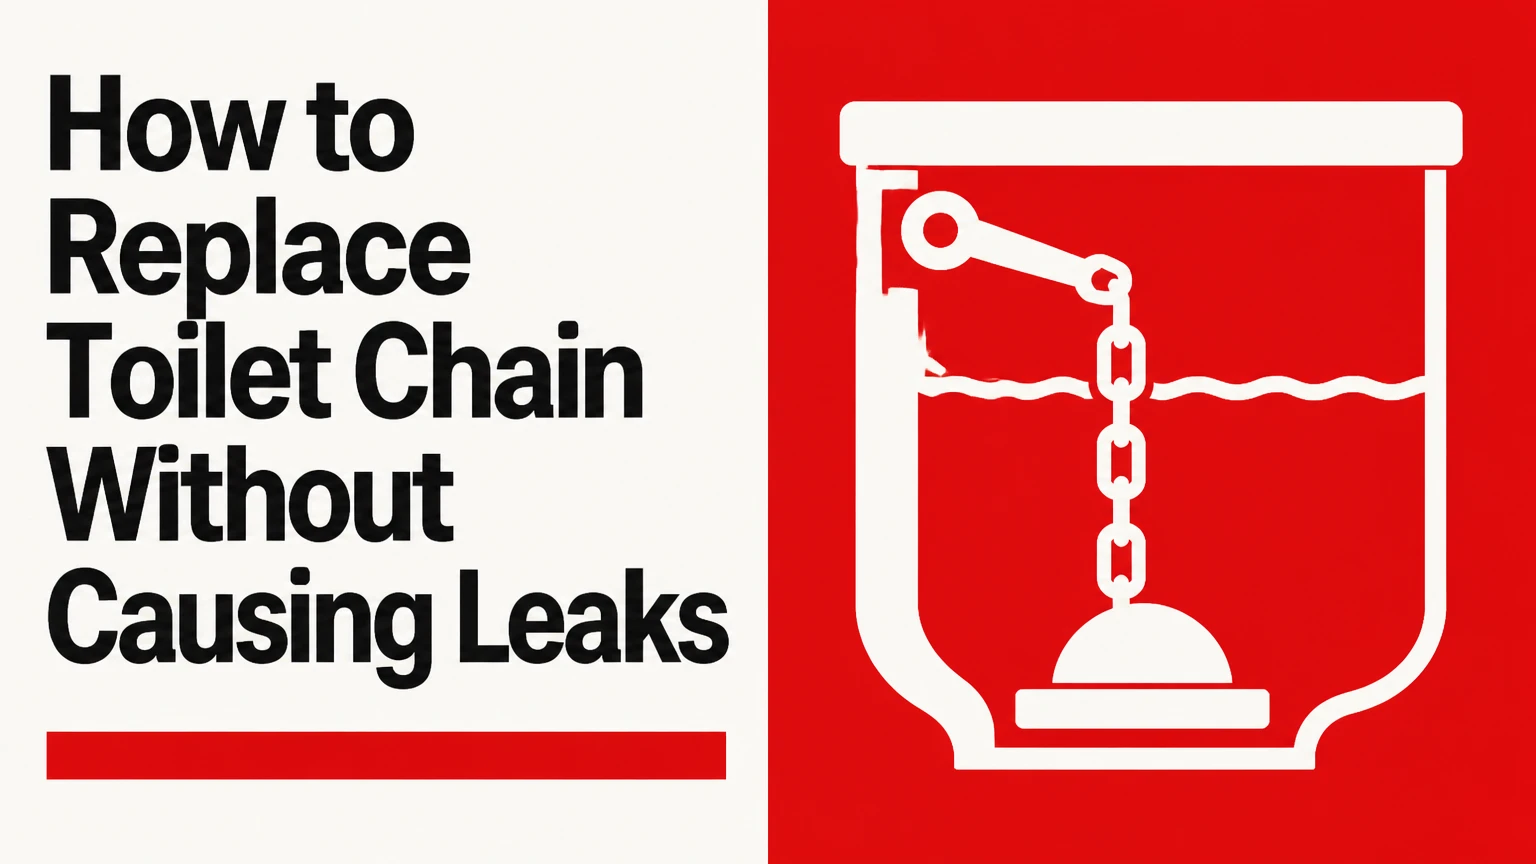
To replace a toilet chain, shut off the toilet’s water supply, drain the tank, disconnect the old chain, attach a compatible replacement to the flapper and trip lever, then adjust the chain until it has slight slack at rest. The repair usually takes 5-15 minutes, and correct chain length matters more than the chain’s advertised size.
Key Facts at a Glance
A toilet chain connects the tank’s trip lever to the flapper or flush valve.
A typical replacement chain costs $2-$8; a flapper-and-chain kit commonly costs $6-$15.
Most standard chain repairs require needle-nose pliers, a towel, and no tank removal.
The chain should normally have about 1/4-1/2 inch of slack when the handle is released.
A chain that is too tight can cause continuous running; a chain that is too loose can cause a weak flush.
A deteriorated flapper must be replaced when its rubber seal remains warped, cracked, sticky, or hardened.
What a Toilet Chain Does
A toilet chain transfers movement from the external flush handle to the rubber flapper inside the tank. The handle rotates a trip lever, the lever lifts the chain, and the chain raises the flapper from the flush valve so tank water can enter the bowl.
A standard gravity toilet has four relevant parts: the flush handle, trip lever, lift chain, and flapper. The flush handle and trip lever are usually sold as one handle assembly, while the chain may attach to a hole or slot near the end of the lever. At the tank bottom, the chain connects to a plastic or metal loop on the flapper.
When the handle returns to its resting position, the chain must stop pulling. The flapper then drops onto the flush-valve seat and creates the seal that allows the tank to refill. A chain is therefore a small part with two jobs: lift the flapper high enough for a complete flush and release it fully enough for a watertight seal.
Which toilets use a chain?
Most conventional gravity toilets with a side-mounted or front-mounted lever use a chain or a short flexible connector. Toilets with a top push button, dual-flush button, canister valve, or pressure-assisted tank may use rods, cables, or a proprietary actuator instead.
Check the tank before buying a chain. If the flush handle moves a cable, a chain-only replacement will not fit. If the tank has a tall canister that rises from the flush valve, the correct part may be a manufacturer-specific lift strap or cable.
Before You Start
A typical toilet chain replacement takes 5-15 minutes, costs $2-$15 in parts, and requires only basic hand tools. The repair assumes the shutoff valve works, the tank lid can be removed, and the toilet uses a conventional flapper connected to a trip lever.
Tools and materials
| Item | Typical quantity or size | Purpose |
|---|---|---|
| Replacement chain | 1 chain, usually 8-11 inches | Connects the lever to the flapper |
| S-hook or connector | 1 included hook | Attaches chain to trip lever |
| C-clip or ring | 1 included connector | Attaches chain to flapper loop |
| Needle-nose pliers | 1 pair, 5-8 inches | Opens hooks and adjusts links |
| Old towel or rag | 1-2 towels, 16-24 inches | Protects lid and absorbs tank water |
| Wire cutters | 1 pair, optional | Removes excess metal links |
| Nitrile gloves | 1 pair, optional | Keeps hands clean during tank work |
Do not use a kitchen knife to cut a metal chain. A knife can slip, damage the porcelain, or leave a sharp chain end. Use pliers for small hook adjustments and wire cutters only when the chain is clearly excess.
Check the repair before removing anything
Lift the tank lid with both hands and place it on a folded towel. Confirm that the broken part is actually the chain. A handle that moves without lifting the flapper can also indicate a disconnected trip lever, a broken flapper loop, or a failed handle assembly.
Inspect the flapper at the same time. If the rubber feels sticky, has cracks, has become misshapen, or leaves black residue on your fingers, replacing the chain alone is unlikely to stop a leak. A complete flapper-and-chain kit is often the more efficient repair.
Which Replacement Chain Is Best?
Stainless steel is the most practical replacement for most standard toilets because it resists ordinary tank moisture and adjusts link by link. A rubber strap is preferable where chemical exposure or chain tangling is a recurring problem, provided the strap matches the flapper and lever geometry.
| Replacement type | Typical price | Main advantage | Main limitation |
|---|---|---|---|
| Stainless steel link chain | $2-$8 | Adjustable links and strong lift | Can corrode in aggressive chemical water |
| Brass chain | $4-$12 | Good corrosion resistance and weight | Higher cost and possible surface patina |
| Plastic link chain | $2-$6 | Rustproof and light | Brittle links and less precise adjustment |
| Rubber or silicone strap | $4-$10 | No metal rust or chain tangling | Can split, stretch, or degrade |
The most important compatibility features are connector style, chain length, link size, and the position of the flapper loop. A universal chain may fit many two-piece toilets, but “universal” does not guarantee the correct angle or travel for every flush valve.
Stainless steel versus plastic
Choose stainless steel for a frequently used household toilet when the tank contains ordinary water and no chemical tablets. Choose plastic when metal corrosion has repeatedly caused failure, but inspect the links for brittleness before installation.
Plastic is not automatically more durable. Chlorine-based tablets can damage rubber components, while plastic avoids rust but may snap at its molded connectors. In a rental property, a rubber strap can reduce tangling, although the strap itself should be checked during routine toilet maintenance.
When should you replace the flapper too?
Replace the flapper with the chain when the rubber is cracked, warped, hardened, sticky, or unable to seal after the chain is correctly adjusted. A new chain cannot repair a damaged flush-valve seat or a flapper that has absorbed chemicals.
A chain-only repair makes sense when the flapper remains flexible and flat, the old chain has simply snapped or corroded, and the toilet otherwise holds water. If the tank loses water while untouched, place a few drops of food coloring in the tank and wait 10-15 minutes without flushing. Colored water in the bowl confirms a leak through the flapper or flush valve.
How to Replace Toilet Chain
Replace a toilet chain by isolating the water supply, emptying the tank, transferring the lower and upper connections, and tuning the chain for complete lift without pressure on the flapper. The lower connection must remain secure, and the chain must hang clear of the overflow tube and flush-valve opening.
Step 1: Turn off the water supply
Find the shutoff valve on the wall or floor behind the toilet. Turn the valve clockwise until it stops, then lift the tank lid and flush once.
A quarter-turn valve usually closes when its handle is perpendicular to the supply pipe. A multi-turn oval valve may require several clockwise turns. Do not force a corroded valve; excessive force can damage the valve or its connection.
Success checkpoint: The tank water level should not rise after flushing.
Common mistake: Closing a nearby sink valve instead of the toilet valve. Follow the small supply line directly to the toilet tank.
Step 2: Drain the tank
Hold the toilet handle down for several seconds so the tank empties as far as possible. Use a towel or sponge to remove the shallow layer of water left around the tank bottom.
The tank does not need to be completely dry for this repair. Removing most of the water prevents splashing and makes the flapper connection easier to see. Keep the tank lid on a padded surface because porcelain lids can crack when placed directly on tile.
Success checkpoint: The flapper should rest on the flush valve, with only a small amount of water remaining in the tank.
Common mistake: Working with the supply valve open. A disconnected chain can move unexpectedly while the tank refills.
Step 3: Remove the broken chain
Trace the old chain from the flapper loop to the trip lever. Use needle-nose pliers to open the upper S-hook or retaining clip, then release the lower ring or hook from the flapper.
If the chain has broken in the middle, remove both remaining pieces. Check whether a fragment is caught around the overflow tube or underneath the flapper. Remove every loose link so no metal or plastic piece can interfere with the seal.
Success checkpoint: The flapper should move freely by hand and close flat against the flush-valve seat.
Common mistake: Pulling the flapper upward by its rubber edge. Use the rigid frame or lift loop instead, because stretching the rubber can deform the seal.
Step 4: Choose the new chain length
Hold the replacement beside the old chain and use the old chain only as an approximation. The correct length depends on the distance between the trip-lever hole and flapper loop, plus the amount of movement needed to lift the flapper.
For many standard toilets, an 8-11 inch chain works. Metal replacement links commonly measure about 1.5-2.0 millimeters in thickness, but link diameter alone does not determine compatibility.
Attach the lower end temporarily, let the chain hang naturally, and identify the trip-lever hole that produces slight slack when the handle is released. The chain should pull mostly vertically rather than diagonally across the tank.
Success checkpoint: The chain reaches the lever without stretching, bending the flapper loop, or touching the overflow tube.
Common mistake: Matching the old chain’s total length without checking its attachment holes. The previous chain may have been installed incorrectly.
Step 5: Attach the chain to the flapper
Fasten the replacement chain’s lower ring, C-clip, or hook through the flapper’s lift loop. Close the connector with pliers if the design permits it, but do not crush the flapper loop or force a connector that is too small.
The lower connection must remain attached when the flapper drops. If the replacement kit includes several hooks, select the connector that fits the loop without rubbing against the rubber.
Success checkpoint: Gently lift the chain by hand. The flapper should rise smoothly, and the connector should not slide through the loop.
Common mistake: Attaching the chain to a nearby hinge or overflow component. The lift chain belongs on the flapper’s dedicated loop.
Step 6: Attach the chain to the trip lever
Hook the upper S-hook through a suitable hole in the trip lever. Most levers have multiple holes, allowing the installer to change the pull distance and slack without cutting the chain.
Keep the chain on the side of the lever that allows a straight drop. A side-mounted handle can pull the chain at an angle, so the best hole may not be the one closest to the lever end.
Success checkpoint: With the handle released, the chain should hang with about 1/4-1/2 inch of visible slack. The lever should not press continuously against the chain.
Common mistake: Closing the S-hook around the porcelain tank wall or overflow tube. The hook should connect only to the trip lever.
Step 7: Set the correct slack
Adjust the chain one link at a time until the flapper closes fully at rest and lifts high enough when the handle is pressed. The 1/4-1/2 inch range is a useful starting point, not an absolute specification for every toilet.
Too much slack delays flapper movement and reduces lift. Too little slack holds the flapper slightly open, which lets water leak continuously into the bowl. The flapper should have no upward tension once the handle has returned.
Press the handle slowly while watching the flapper. The flapper should rise enough to remain open through the main flush, then settle without the chain wrapping around the valve.
Success checkpoint: The handle feels firm but not forced, and the flapper reaches a clearly open position.
Common mistake: Adjusting slack while the handle is partially depressed. Measure with the handle fully released and the tank empty.
Step 8: Secure or trim excess chain
Leave only a short, controlled tail below the lever. Hook extra links onto an unused upper lever hole if the kit provides one, or remove excess metal links with wire cutters.
A long tail can loop under the flapper as it closes. Even a small trapped link can create a slow leak that is difficult to hear. Do not trim the chain until the flush has been tested, because removing links is less reversible than moving the hook.
Success checkpoint: No chain section can pass beneath the flapper’s sealing edge or wrap around the overflow tube.
Common mistake: Cutting the chain flush against the hook. Preserve enough length to make a future adjustment.
Step 9: Restore water and test
Turn the shutoff valve counterclockwise to reopen the supply. Let the tank fill to its normal level, then flush at least three times while watching the chain and flapper.
Check the tank for a steady fill, the bowl for continuous rippling, and the handle for normal return. If the toilet continues running, gently press the flapper closed. If the running stops, the chain is probably too tight, misrouted, or trapped beneath the seal.
Success checkpoint: The tank stops filling, the bowl surface becomes still, and the flapper closes without catching.
Common mistake: Testing only one flush. A chain can behave correctly once and then tangle on the next cycle.
What Slack Should a Toilet Chain Have?
A typical toilet chain needs approximately 1/4-1/2 inch of slack when the flush handle is at rest, although the manufacturer’s flapper and trip-lever geometry controls the final adjustment. The chain must release all tension before the flapper reaches its closed position.
| Symptom after adjustment | Likely chain condition | Corrective action |
|---|---|---|
| Handle feels loose and flapper barely rises | Too much slack | Move hook one or two links closer |
| Toilet runs immediately after refill | Too little slack | Add one or two links of slack |
| Flapper lifts but flush is weak | Excess slack or low lift | Shorten chain or use another lever hole |
| Chain wraps around overflow tube | Misaligned path | Move hook and keep chain vertical |
| Flapper closes, then toilet runs randomly | Tail trapped or flapper damaged | Remove tail, then inspect flapper seal |
The correct setting is functional rather than purely numerical. A toilet with a light flapper may need less movement than one with a heavy adjustable flapper, and a lever with a long arm may require a different hole than a short arm.
Common Problems and How to Fix Them
The replacement chain keeps coming off
A chain that repeatedly detaches usually has an open S-hook, an incorrectly sized C-clip, or a damaged flapper loop. Close the metal hook slightly with pliers, then confirm that the connector cannot slide sideways through the loop.
If the flapper loop has broken, replace the flapper. Do not tie the chain to the rubber body, because the knot can distort the seal and fail during flushing.
The toilet runs after chain replacement
A running toilet after chain replacement usually results from insufficient slack, a chain caught below the flapper, or a flapper that no longer seals. First, add one link of slack and observe whether the flapper rests flat.
If the bowl still ripples, inspect the rubber seal and flush-valve seat. A worn flapper, mineral deposits, or an incompatible replacement can allow water past even when the chain is correctly installed.
The flush remains weak
A weak flush can result from excessive chain slack, an incorrectly positioned lever hole, a low tank water level, or a partially blocked flush valve. Shorten the chain gradually, but do not remove so much slack that the flapper remains lifted.
The tank water should reach the manufacturer’s marked fill line or remain below the top of the overflow tube. If the level is correct and the flapper opens fully, the chain is probably not the main cause.
The chain catches on the overflow tube
A catching chain usually hangs at an angle because the upper hook is in the wrong lever hole. Move the hook to a position that places the chain between the lever and flapper without crossing the overflow tube.
A long chain tail can also create the loop. Secure or trim the tail only after confirming the toilet flushes properly.
The handle feels stuck or will not return
A stiff handle may indicate a corroded handle shaft, a trip lever rubbing the tank, or a chain that is too short. Disconnect the chain and move the handle by itself. If the lever remains stiff, replace or clean the handle assembly rather than tightening the chain.
Do not force a stiff handle. Porcelain tank lids and trip-lever fittings can crack under side pressure.
Can You Replace Only the Chain?
You can replace only the chain when the flapper is flexible, intact, correctly seated, and free of chemical damage. Replace the complete flapper-and-chain assembly when the flapper is cracked, warped, sticky, discolored, or older rubber that no longer returns to its original shape.
| Observed condition | Recommended repair | Typical part cost | Typical time |
|---|---|---|---|
| Chain snapped, flapper flexible | Chain only | $2-$8 | 5-15 minutes |
| Chain rusted and flapper worn | Flapper-and-chain kit | $6-$15 | 10-20 minutes |
| Flapper loop broken | Flapper replacement | $5-$20 | 10-20 minutes |
| Trip lever bent or corroded | Handle and lever assembly | $8-$25 | 15-30 minutes |
| Flush valve cracked or leaking | Flush-valve repair | $15-$40 in parts | 30-90 minutes |
Replacing a chain will not fix a leaking flush-valve seat, a cracked overflow tube, a defective fill valve, or a tank that is overfilling into the overflow tube. Diagnose the water path before buying multiple parts.
Special Situations and Alternatives
What if the toilet has a push button?
A top-button toilet often uses two vertical rods or a cable rather than a chain. Remove the lid carefully and identify the actuator connection before ordering parts. A standard flapper chain may be incompatible with the dual-flush mechanism.
What if the tank has a canister valve?
A canister flush valve commonly uses a lift rod, strap, or proprietary connection. If the canister rises when the button is pressed, replace the manufacturer’s actuator component rather than converting it to a loose chain.
What if the shutoff valve will not close?
Do not force a seized shutoff valve with a wrench while the toilet is connected to a rigid supply line. Turn off the home’s main water supply, complete the repair cautiously, and arrange replacement of the defective toilet valve.
Are in-tank bleach tablets safe?
In-tank bleach tablets can accelerate deterioration of rubber flappers, gaskets, and some metal components. A stainless steel chain may survive longer than a rubber flapper in the same tank, so a rust-resistant chain does not make chemical tablets harmless to the flush system.
Time, Cost, and When to Call a Plumber
A straightforward chain replacement typically takes 5-15 minutes and costs $2-$8 for the chain or $6-$15 for a complete kit. A plumber’s minimum service charge commonly falls around $75-$150, but local labor rates, emergency timing, access, and additional parts can change the total.
Call a plumber when the shutoff valve is seized or leaking, the tank porcelain is cracked, the flush valve requires tank removal, the toilet is concealed inside cabinetry, or the repair exposes a larger leak. Professional service is also sensible when the toilet is a commercial pressure-assisted model or a manufacturer-specific system without visible replacement parts.
A chain repair is a suitable DIY task when the tank is accessible and the mechanism is a basic gravity-flush design. Stop if water begins leaking from a threaded tank fitting or supply connection.
The Bottom Line
A toilet chain replacement is a small repair with a simple success test: the flapper must lift fully when the handle moves and seal completely when the handle is released. Use a compatible stainless steel chain for most standard toilets, leave approximately 1/4-1/2 inch of slack as a starting point, keep the chain vertical, and test at least three flushes.
If the toilet still runs after the chain is adjusted, inspect the flapper, flush-valve seat, fill level, and overflow tube instead of shortening the chain further. The right chain cannot compensate for a damaged seal or a failing flush valve.
Frequently Asked Questions
How do I know whether my toilet chain is too short?
A toilet chain is too short when it keeps upward tension on the flapper with the flush handle released. The toilet may run continuously, refill periodically, or show ripples in the bowl. Add one or two links of slack, then confirm that the flapper closes flat and the tank stops filling.
Can I use any small metal chain inside a toilet tank?
Use a chain sold for toilet flappers rather than a general-purpose craft or hardware chain. Toilet chains include suitable hooks, link sizes, and corrosion resistance, while ordinary chain may have sharp edges, unsuitable connectors, or coatings that deteriorate in tank water.
Why does my toilet need the handle held down after replacing the chain?
A handle that must be held down usually indicates excessive chain slack or insufficient flapper lift. Move the upper hook one or two links closer to the lever, or use a different trip-lever hole that provides more effective movement without holding the flapper open after release.
How often should a toilet chain be replaced?
Replace a toilet chain when it breaks, develops heavy corrosion, loses links, or repeatedly tangles. There is no fixed replacement interval because water chemistry, cleaning tablets, flush frequency, and chain material affect service life. Inspect the chain whenever the toilet begins running or the handle action changes.
Is a rubber strap better than a metal toilet chain?
A rubber strap is better when chain tangling or corrosion is the main problem, while stainless steel is usually better for precise adjustment and long-term mechanical strength. Rubber can stretch, split, or degrade in chemically treated tanks, so compatibility with the flapper and lever matters more than material alone.
Why does the toilet still leak with a new chain?
A new chain does not repair a worn flapper, mineral deposits on the flush-valve seat, a cracked flush valve, or an excessive tank water level. Confirm that the chain has slack, remove any trapped tail, and perform a food-coloring test to determine whether water is passing through the flapper seal.