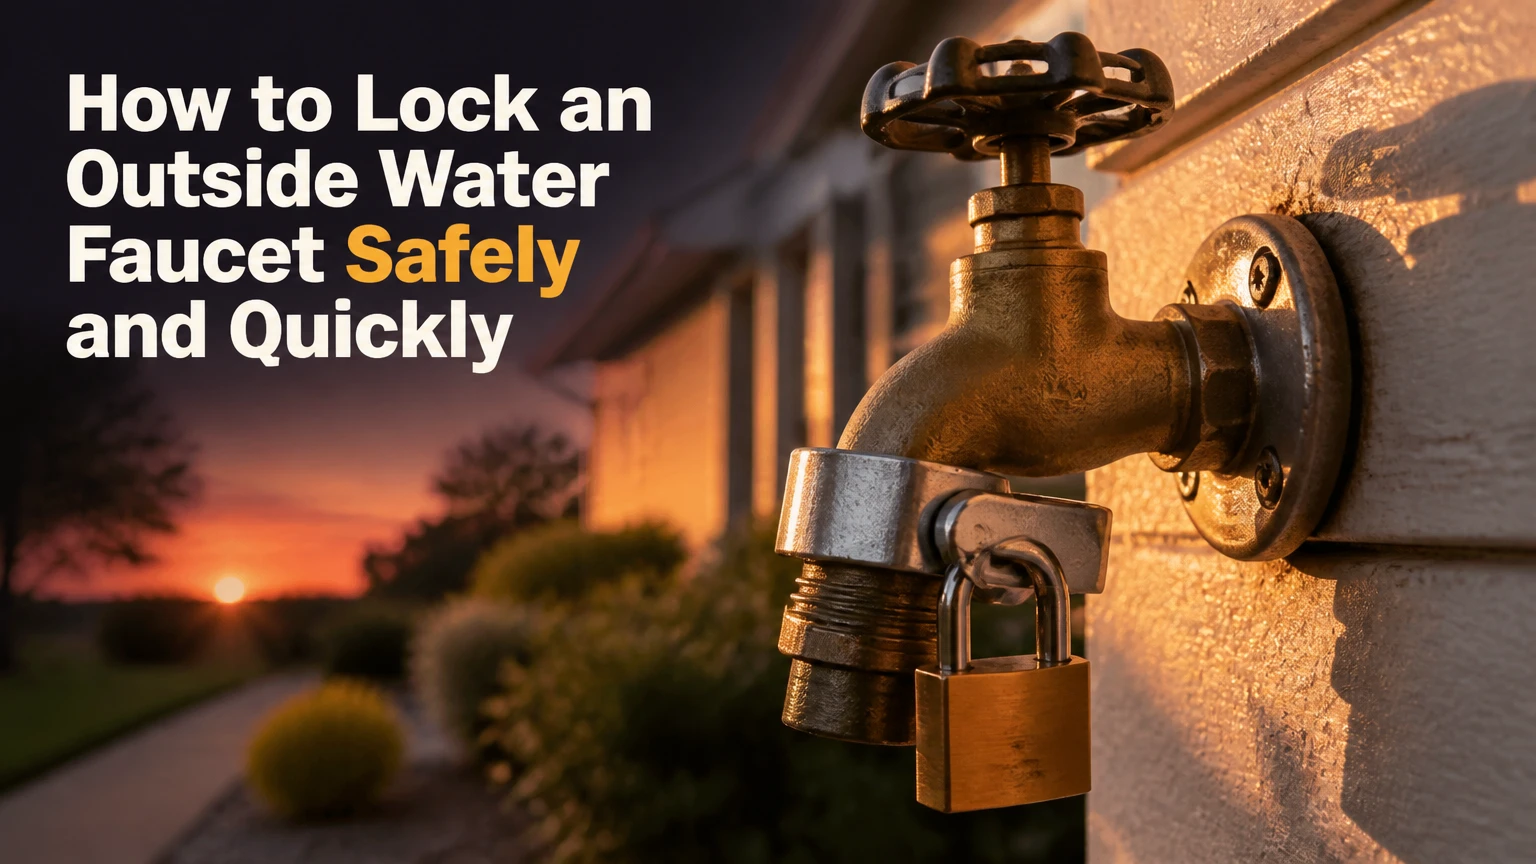
To lock an outside water faucet, first turn the hose bibb handle fully clockwise, then fit either a handle-enclosure lock over the valve or a keyed cap onto the 3/4-inch hose outlet. Secure the device with its padlock or key, confirm that nobody can operate the handle or remove the cap, and test for leaks before leaving it unattended.
Key Facts at a Glance
- A threaded hose bibb lock cap fits the common 3/4-inch garden-hose outlet and usually installs in under one minute.
- A handle-enclosure lock covers the operating handle and normally requires a separate weather-resistant padlock.
- A faucet lock should be installed only after the water valve is fully closed.
- A faucet lock does not prevent freezing, pipe failure, or leaks from a defective hose bibb.
- A typical residential lock costs about $15-$45, while a replacement locking faucet may cost $40-$150 before professional labor.
- Frost-free faucets need winterization even when a lock cap or enclosure is installed.
What Does an Outside Faucet Lock Prevent?
An outside faucet lock prevents unauthorized operation of a hose bibb, casual water theft, tampering, and accidental activation by children or visitors. The device does not secure the pipe inside the wall, repair a leaking valve, or guarantee protection against determined forced entry.
Outdoor faucet locks use one of two physical strategies. An enclosure blocks the handle, while an outlet cap blocks access to the threaded water connection. A person may still see the faucet, but cannot normally turn it on or attach a hose without the key or padlock.
A lock is useful at a rental property, vacant house, community garden, construction site, or side yard exposed to public access. It also provides tamper evidence: a displaced or damaged lock indicates that someone attempted access.
What a Faucet Lock Cannot Do
A locked hose bibb cannot stop water flowing from a valve that is already defective. It also cannot protect against a person cutting the pipe upstream, opening an indoor shutoff, or removing a poorly installed faucet.
The lock is a physical access control, not a plumbing shutoff. For a vacant property, close the interior branch valve as well when one exists, then drain the outdoor line where local conditions require it.
Which Lock Type Fits Your Situation?
The best outside faucet lock depends on the faucet shape, required access, exposure to tampering, and whether the faucet must remain usable during winter. A threaded cap suits most homeowners, while a metal enclosure or replacement locking faucet is better for higher-risk properties.
| Lock type | Typical price | Installation time | Best use | Main limitation |
|---|---|---|---|---|
| Threaded locking cap | $15-$35 | 1-3 minutes | Home water-theft prevention | Requires usable 3/4-inch threads |
| Handle enclosure | $20-$45 | 1-5 minutes | Rentals, vacant buildings, public-facing taps | Needs clearance around handle |
| Magnetic-key cap | $25-$60 | 1-3 minutes | Frequent authorized access | Proprietary key replacement |
| Removable handle | $8-$20 | 1-2 minutes | Simple child or casual-use control | Handle may be replaced or bypassed |
| Locking replacement faucet | $40-$150 | 30-90 minutes | Damaged faucet or new installation | Plumbing work may be required |
Threaded Hose Bibb Lock Cap
A threaded lock cap screws onto the faucet’s male hose threads and uses a free-spinning collar or internal locking mechanism. Once locked, the cap can rotate without backing off, so a hose cannot be connected and water cannot exit through the outlet.
Choose a cap when the faucet has clean, standard 3/4-inch garden-hose threads and you want a small, low-profile device. A cap may not fit a nonstandard outlet, a damaged thread, or a vacuum-breaker assembly with unusual dimensions.
Handle-Enclosure Lock
A handle enclosure surrounds the valve handle and attaches around the faucet neck or pipe. A padlock passes through the enclosure’s locking holes, physically preventing the handle from rotating.
Enclosures are conspicuous and often more suitable for commercial property managers. Measure the handle diameter and the distance from the wall before buying, because a deep vacuum breaker, anti-siphon device, or decorative cover can prevent the box from closing.
Magnetic-Key and Integrated Locks
Magnetic-key caps use a proprietary key or magnetic coupling rather than a conventional exposed keyway. Integrated locking faucets contain a built-in lock, removable operating handle, or keyed control and are most sensible during faucet replacement.
Neither design is automatically “foolproof.” A determined attacker can damage the faucet or pipe. The practical difference is resistance to casual manipulation and the speed of authorized access.
What Should You Check Before Installing the Lock?
Before installing an outdoor spigot lock, identify the faucet type, inspect the threads and handle, and verify that the valve closes completely. The most important measurement is clearance around the faucet, especially on frost-free and anti-siphon models.
Before You Start
| Requirement | Typical value | Why it matters |
|---|---|---|
| Faucet outlet | 3/4-inch hose thread | Determines cap compatibility |
| Preparation time | 5-10 minutes | Includes cleaning and inspection |
| Lock installation | 1-5 minutes | Excludes replacement plumbing |
| Outdoor padlock shackle | 1/4-5/16 inch | Must fit the enclosure holes |
| Basic materials | 1 washer, 1 lubricant, 1 cloth | Supports sealing and maintenance |
| Working temperature | Above freezing | Prevents trapping ice in the assembly |
You may need a cloth, flashlight, tape measure, standard 3/4-inch hose washer, outdoor-rated padlock, and silicone-based lock lubricant. Pliers are usually unnecessary and can crush brass threads or overtighten a cap.
Do not install a cap over a hose, splitter, timer, or backflow attachment unless the lock manufacturer specifically permits that arrangement. Remove those accessories first.
How to Lock an Outside Water Faucet With a Threaded Cap
A threaded cap is the fastest installation method and normally takes one to three minutes after the faucet has been inspected. The cap must seal against the outlet and free-spin only after the locking mechanism is engaged.
Step 1: Turn the Faucet Off
Turn the hose bibb handle clockwise until it stops under normal hand pressure. Do not force a stiff handle, because excessive force can damage the valve stem or packing.
You will know the valve is ready when no water flows from the outlet after several seconds. A small final drip is normal while the outlet drains, but continuous flow indicates a worn washer or valve seat.
The common mistake is locking a cap onto an open faucet. The lock does not shut the valve; it only blocks access to the outlet.
Step 2: Remove Accessories and Clean the Threads
Disconnect the hose, timer, splitter, or vacuum attachment. Wipe the male hose threads with a cloth and remove grit from the end of the outlet.
Inspect for flattened, crossed, or heavily corroded threads. A cap cannot seal reliably on damaged threads, and forcing it can make later faucet replacement harder.
You will know the threads are clean when the cap can start by hand without resistance. Do not use thread-sealing tape on the hose outlet unless the cap instructions call for it, because the cap normally seals with a rubber hose washer.
Step 3: Install the Rubber Washer
Place one standard 3/4-inch garden-hose washer inside the locking cap if the cap does not already contain one. The washer should lie flat in the cap’s internal recess.
A missing or displaced washer is the most common cause of water escaping through a locked cap. Do not stack multiple washers, which can prevent the cap from engaging correctly.
The success checkpoint is a flat washer that remains seated when the cap is turned downward.
Step 4: Thread the Cap Onto the Faucet
Start the cap clockwise by hand and turn it until the washer contacts the faucet outlet. Tighten it hand-tight, usually after four to six full turns depending on the thread design.
Stop if the cap binds immediately. Back it off, realign it, and restart. Metal tools are not required for a correctly matched cap.
You will know the cap is correctly installed when the gap between cap and faucet is small, the cap sits squarely, and the faucet threads are not visible at an angle.
Step 5: Engage the Lock and Test It
Insert the supplied key or magnetic key and engage the locking mechanism. Pull gently on the cap and attempt to turn it counterclockwise.
A properly locked cap may spin or rotate without loosening. Confirm that the faucet handle remains fully closed and inspect the connection for leakage for at least 30 seconds.
Do not leave the key in the cap. Store it in a labeled location away from the faucet, and keep a spare if the product uses a proprietary key.
How Do You Install a Handle-Enclosure Lock?
A handle enclosure installs by placing a metal or reinforced polymer shell around the faucet handle and locking the shell with an outdoor-rated padlock. The enclosure must fit around the handle and behind the valve without pressing against the wall or anti-siphon device.
- Close the hose bibb. Turn the handle fully off and disconnect all accessories.
- Open the enclosure. Release the hinge, latch, or clamshell halves according to the product design.
- Position the shell. Place the enclosure over the handle and slide its rear opening around the faucet neck or pipe.
- Check movement. Confirm that the handle cannot rotate and that the shell does not press against the wall.
- Close and padlock the shell. Insert a brass, stainless-steel, or weather-protected laminated padlock.
- Test the barrier. Pull the enclosure outward and try to turn the handle through the shell.
The lock has succeeded when the padlock cannot be removed without its key and the handle cannot be reached through an opening. A frequent mistake is buying a box sized for a small wheel handle and installing it on a frost-free faucet with a large plastic vacuum breaker.
How Much Does a Faucet Lock Cost and How Long Does It Take?
A typical residential faucet lock costs $15-$60 and takes one to five minutes to install, while replacing the faucet costs roughly $40-$150 for the part and 30-90 minutes of plumbing work. Local labor, access behind the wall, material, and regional prices can change those figures substantially.
| Project | Parts cost, typical | Labor time, typical | Skill level |
|---|---|---|---|
| Threaded cap | $15-$35 | 1-3 minutes | Basic |
| Handle enclosure and padlock | $25-$65 | 2-5 minutes | Basic |
| Removable handle | $8-$20 | 1-2 minutes | Basic |
| Locking frost-free faucet | $60-$180 | 45-120 minutes | Intermediate |
| Standard faucet replacement | $20-$80 | 30-90 minutes | Intermediate |
These are planning ranges rather than guaranteed retail prices. Imported products, keyed-alike commercial locks, stainless hardware, and emergency plumbing visits can raise the total.
A lock cap is inexpensive only when the existing faucet is sound. If the stem leaks, threads are stripped, or the wall connection moves when touched, repair the plumbing before adding security hardware.
Which Alternatives Work Without a Faucet Lock?
Removing the handle, closing an interior shutoff, or replacing the faucet can control access without a separate lock. Each alternative has a different weakness, so the correct choice depends on whether the threat is a child, a neighbor, a tenant, or deliberate vandalism.
| Alternative | Typical cost | Access control | Suitable situation | Bypass risk |
|---|---|---|---|---|
| Remove wheel handle | $0-$10 | Handle cannot turn valve | Short-term child prevention | Replacement handle may fit |
| Interior branch shutoff | $10-$40 | Stops supply upstream | Vacant home or seasonal closure | Requires indoor access |
| Hose-end valve | $8-$20 | Controls attached hose | Temporary garden-use control | Faucet remains operable |
| Locking faucet replacement | $40-$150 | Built-in control restriction | Damaged or exposed faucet | Requires plumbing work |
| Enclosure lock | $20-$45 | Covers handle | Repeated unauthorized use | Poor fit weakens protection |
Removing the handle is not equivalent to securing the faucet. Standard replacement handles are inexpensive and often fit the same stem, so the method is useful for temporary child safety but weak against intentional access.
An interior shutoff is stronger for a vacant property because it removes pressure from the outdoor branch. It does not provide a visible deterrent and may be inconvenient when the outdoor faucet is needed.
How Do You Handle Frost-Free and Anti-Siphon Faucets?
Frost-free and anti-siphon faucets require clearance checks before a lock is installed. A threaded cap may fit the hose outlet, but a handle enclosure can collide with the vacuum breaker, wall flange, or extended body.
Measure these dimensions:
- Handle width and height.
- Distance from the wall to the front of the handle.
- Outside diameter of the anti-siphon or vacuum-breaker body.
- Length of exposed outlet threads.
- Clearance needed to insert the key or padlock.
A frost-free faucet drains through its long body only when the valve closes fully and no hose blocks the outlet. A locked cap does not improve that drainage. Remove the hose and any outlet accessory before freezing weather.
Anti-siphon devices protect against contaminated water being drawn backward into the supply. Do not remove or defeat the vacuum breaker merely to make a lock fit. Select a deeper enclosure or use a compatible cap instead.
Does a Faucet Lock Prevent Freezing?
A faucet lock does not prevent freezing. Winter protection requires removing the hose, closing the indoor shutoff where provided, opening the outdoor faucet to drain, and installing an insulated cover when appropriate.
This distinction matters because a locked cap can trap a hose washer, hose fitting, or water in the faucet outlet. Ice expansion can split the faucet body or the pipe inside the wall, particularly when a hose remains attached to a frost-free bibb.
For a typical cold-weather shutdown:
- Remove the hose and all attachments.
- Close the interior shutoff.
- Open the outdoor faucet to drain residual water.
- Close the outdoor faucet after drainage if the manufacturer specifies that position.
- Install an insulated cover that does not block required drainage.
- Store the lock cap indoors until regular use resumes if the product interferes with the cover.
Local plumbing practice differs for frost-free models, so follow the faucet manufacturer’s winterization instructions.
What Are the Most Common Installation Mistakes?
The most common faucet-lock failures result from a closed lock being mistaken for a closed valve, a poor fit being forced, or seasonal plumbing conditions being ignored. Correcting the underlying installation problem is more reliable than tightening the lock harder.
| Failure | Likely cause | Corrective action | Prevention |
|---|---|---|---|
| Water leaks from locked cap | Missing or crooked washer | Replace with one flat 3/4-inch washer | Inspect washer before locking |
| Cap spins and loosens | Lock not engaged | Unlock, tighten by hand, re-engage | Perform a pull test |
| Key sticks | Dirt or corrosion | Clean and apply silicone lock lubricant | Use a covered keyway |
| Enclosure will not close | Insufficient clearance | Measure and buy a deeper model | Check vacuum-breaker size |
| Faucet still runs | Valve seat or stem failure | Repair or replace faucet | Test flow before installation |
| Lock rusts or seizes | Indoor padlock used outside | Replace with weather-resistant hardware | Choose brass or stainless steel |
Why Is Water Leaking From a Locked Cap?
Water leaking from a locked cap usually indicates an absent, damaged, or misaligned rubber washer, although cross-threading and a faucet that remains open can produce similar symptoms. Unlock the cap, remove it, inspect the washer, and reinstall one correctly sized washer.
If water leaks around the faucet handle instead of the cap, the valve stem packing or internal cartridge may be defective. The cap cannot repair that leak.
Why Will the Key Not Turn?
A stuck key usually results from dirt, corrosion, pressure on the locking mechanism, or a misaligned cap. Remove pressure from the device if possible, clean the keyway, and use a small amount of silicone-based lock lubricant or the lubricant named by the manufacturer.
Avoid forcing a small key with pliers. Avoid relying on general-purpose penetrating oil as a permanent lock lubricant, because residue can collect grit and impair the mechanism.
What Is the Best Choice for Each Property?
A threaded cap is the practical choice for most homeowners, an enclosure is better for visible commercial deterrence, and an integrated locking faucet is appropriate when the existing valve already needs replacement. A removable handle is acceptable for temporary child control but should not be treated as high-security hardware.
Average Homeowner
Choose a keyed threaded cap when the faucet has standard threads, remains structurally sound, and requires occasional authorized use. The low profile reduces snagging, installation takes minutes, and the cap protects the outlet from casual connection.
Landlord or Property Manager
Choose a handle enclosure with a weather-resistant keyed padlock when several people may attempt access or when visible deterrence matters. Record who holds the key, inspect the lock during property visits, and avoid combination locks if unauthorized users could observe the code.
Vacant Home or Remote Cabin
Use an interior branch shutoff together with a lock when the property will be unattended for weeks or months. A lock alone leaves the outdoor line pressurized and does not reveal leaks elsewhere in the plumbing system.
Parent Seeking Child Safety
Use a cap, enclosure, or removable handle according to the faucet design, but also supervise children around hose bibbs. A lock protects one control point, not nearby buckets, hoses, irrigation valves, or indoor access.
How Should You Maintain an Outdoor Spigot Lock?
Inspect the lock at least twice a year and after severe weather. Confirm that the faucet remains fully closed, the washer is flexible, the threads are intact, and the padlock or key mechanism operates without binding.
Keep the lock body clear of mud and standing water. Replace a distorted hose washer rather than adding extra washers, and replace a corroded padlock before it becomes impossible to open.
A useful practitioner rule is to unlock the device before turning the faucet on. That sequence prevents pressure from being trapped behind a cap and makes it easier to notice a valve that does not close correctly.
FAQ
Can I lock an outside faucet with a regular padlock?
A regular padlock works only with a handle enclosure designed for a padlock shackle. Use brass, stainless-steel, or a weather-protected laminated outdoor model with a shackle that fits the enclosure holes. A padlock placed around the hose or handle without a protective enclosure does not reliably prevent operation.
Can someone turn on a faucet with a hose attached?
Yes, unless the lock blocks the handle or the hose connection. A threaded outlet cap prevents a hose from being attached, while a handle enclosure prevents the valve from being turned. A hose-end valve controls only that connected hose and does not secure the faucet itself.
Can I lock a faucet that is already leaking?
You can physically lock it, but the lock will not stop a leak from the stem, valve seat, or pipe connection. Repair the faucet first, especially before leaving the property unattended. Continuous leakage can waste water, damage masonry, and conceal a freeze-related pipe split.
Is a hose bib lock the same as a backflow preventer?
No. A hose bib lock controls physical access, while a backflow preventer or anti-siphon device protects the potable-water supply from reverse flow. Do not remove an anti-siphon vacuum breaker to install a lock. Select compatible hardware that preserves the required plumbing protection.
Should I lock the faucet during winter?
Do not use a lock as winter protection. Remove hoses and attachments, drain the faucet and branch line as appropriate, and use an insulated cover when recommended. If the lock prevents drainage or interferes with the cover, store it indoors until freezing conditions have passed.
What if no commercial lock fits my faucet?
Measure the handle, outlet, wall clearance, and vacuum-breaker body, then try the other lock style. A threaded cap may work when an enclosure does not, while a replacement locking faucet may be necessary for a damaged or nonstandard valve. Do not modify a pressure-bearing faucet with drilled holes or improvised clamps.
The Bottom Line
To lock an outside water faucet, close the valve, remove accessories, install a compatible threaded cap or handle enclosure, engage the key or padlock, and test for movement and leaks. Choose a threaded cap for ordinary residential use, an enclosure for visible deterrence, and an interior shutoff or locking replacement faucet for vacant or higher-risk properties. A faucet lock controls access, but proper repair and winterization still protect the plumbing.