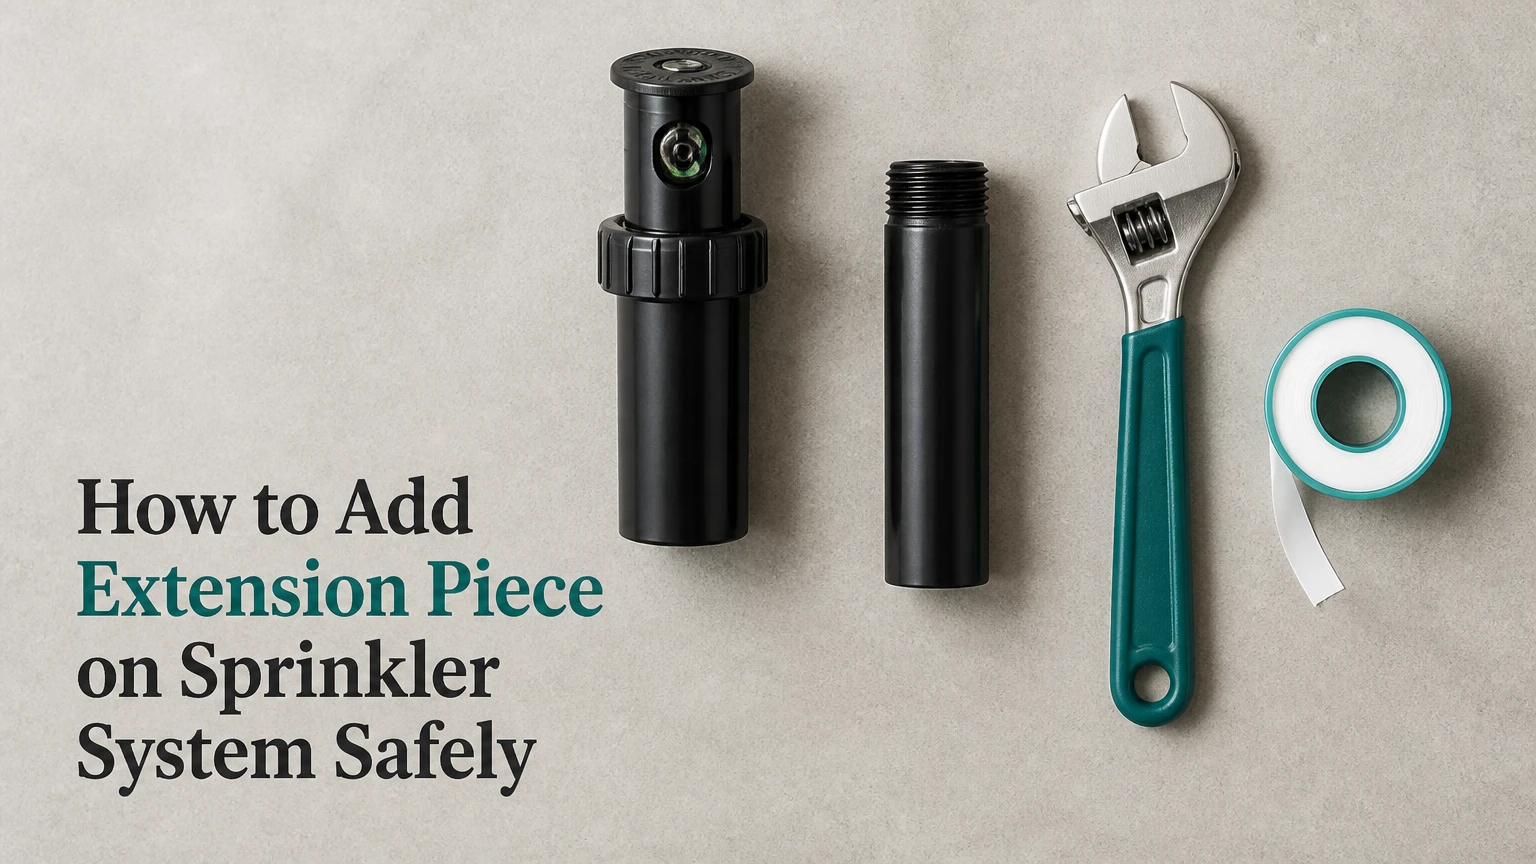
To add an extension piece on a sprinkler system, shut off the irrigation water, expose the sprinkler body, remove the head, install a compatible threaded riser or flexible swing assembly, flush the line, and reset the head at finished grade. The typical repair takes 15-30 minutes per head and requires careful thread alignment.
Key Facts at a Glance
A sprinkler riser extension raises a head above settled soil, mulch, or plant growth.
Common residential connections use 1/2-inch or 3/4-inch male pipe thread, abbreviated MPT.
Flexible swing assemblies tolerate foot traffic and mower impact better than rigid plastic risers.
The sprinkler head should finish level with lawn grade, or slightly above the final mulch surface.
Flush the open line for about 10 seconds before reinstalling the nozzle and filter.
Typical DIY material cost is $0.50-$15 per head, depending on material and construction.
What Is a Sprinkler Extension Piece?
A sprinkler extension piece, also called a riser extension, is a threaded fitting installed between an underground irrigation outlet and a sprinkler head. The fitting raises the nozzle so the water stream clears grass, mulch, settled soil, or low-growing plants without adding a new irrigation zone.
Most lawn repairs involve a short male-threaded riser, a cut-off riser, or a flexible swing joint. The fitting does not increase water volume or pressure. It changes the head’s elevation and, when flexible tubing is used, changes how impact reaches the buried pipe.
A sprinkler extension is appropriate when the head remains in its original location but the finished landscape surface has risen. A thick mulch layer, top dressing, or gradual soil settlement can bury a pop-up head by 1-3 inches. A longer extension may restore clearance, but excessive height creates a mowing hazard and increases the chance of lateral pipe damage.
What an Extension Does Not Do
A riser extension does not correct poor sprinkler spacing, insufficient flow, a damaged valve, or a head installed in the wrong location. It also does not turn a fixed spray head into a rotary nozzle or compensate for a clogged filter.
If the spray pattern misses an entire planting area, relocation may be better than raising the head. If several heads have become buried after grading work, correcting the grade or resetting the boxes may produce a more reliable result than adding multiple long risers.
Before You Start: Tools, Materials, and Measurements
Prepare the replacement fitting, thread seal material, excavation tools, and flushing equipment before opening the irrigation connection. The most important measurement is the vertical distance from the existing outlet to the finished surface, not the current soil level if more mulch or topsoil will be added.
| Item | Typical quantity | Specification or purpose |
|---|---|---|
| Replacement riser | 1 per head | 1/2-inch or 3/4-inch MPT, matched to outlet |
| PTFE thread tape | 15-30 cm | Two or three clockwise wraps on male threads |
| Hand trowel | 1 | Excavates a 6-inch radius without striking pipe |
| Adjustable pliers | 1 | Final tightening, with light pressure only |
| Pipe cutter or utility knife | 1 | Trims polyethylene cut-off riser |
| Clean cloth | 1 | Removes grit from threaded connections |
| Bucket or towel | 1 | Controls muddy water during flushing |
| Replacement nozzle and filter | Optional | Useful if existing parts are clogged or damaged |
Turn off the irrigation zone and, when the valve cannot be identified confidently, close the main irrigation isolation valve. Automatic controllers may still open a valve during the repair, so place the controller in the off, rain, or system-disable mode as well.
How High Should the Sprinkler Head Be?
Set a lawn sprinkler head level with the final soil surface, while a head in a mulch bed can sit approximately 1/2 inch above the expected mulch surface. Do not leave a rigid riser several inches above turf, because mower blades, shoes, and wheeled equipment can bend or snap the fitting.
Measure twice if the area will receive additional material. For example, a head currently buried 1 inch below soil may need a 2-inch extension if another inch of mulch is planned. A pop-up head must still retract freely after installation.
Step 1: Shut Off Water and Expose the Sprinkler
Close the irrigation isolation valve, disable the controller, and dig carefully around the sprinkler body. Clear a working area about 6 inches in radius and deep enough to expose the threaded connection without pulling on the lateral pipe.
Use a hand trowel near the fitting rather than a shovel blade. Soil and gravel falling into an open female outlet can later clog the nozzle or damage the valve. Place excavated soil on cardboard or a tarp so it does not roll back into the hole.
Success checkpoint: The sprinkler body and its connection are visible, and the buried pipe remains supported by undisturbed soil.
Common mistake: Digging only around the cap leaves the connection hidden and forces sideways pressure on the pipe during removal.
Step 2: Remove the Existing Sprinkler Head
Unscrew the sprinkler head counterclockwise from the existing riser. Hold the lower fitting or sprinkler body steady while turning the head so torque does not twist the lateral line underground.
If the head will not move by hand, use pliers on the sprinkler body, not on the cap or nozzle. Avoid crushing the housing. Remove the filter and nozzle if dirt has entered the body, then place those parts on a clean surface.
Inspect the exposed threads for cracks, flattened sections, cross-threading, or mineral buildup. A damaged female outlet may need a new swing joint or a repair coupling rather than another extension.
Success checkpoint: The head separates without rotating or cracking the buried pipe connection.
Common mistake: Gripping the small nozzle stem with pliers can distort the pop-up mechanism and create a permanent spray problem.
Step 3: Measure and Prepare the Extension
Measure from the existing threaded outlet to the desired finished grade, then select the shortest fitting that provides clearance. A rigid cut-off riser can be trimmed in 1/2-inch increments, while a fixed PVC nipple must be purchased in the required length.
Match both thread size and thread type. A 1/2-inch MPT fitting generally fits a 1/2-inch female outlet, but nominal pipe sizes are not measured by the outside diameter. Do not force a 3/4-inch fitting into a 1/2-inch connection.
Wrap PTFE tape around clean male threads in the tightening direction, usually clockwise when viewed from the threaded end. Use two or three snug wraps and leave the first thread mostly clear so loose tape does not enter the water passage.
Success checkpoint: The extension length reaches the intended grade and the tape lies flat without hanging over the fitting opening.
Common mistake: Adding tape counterclockwise causes it to unravel as the fitting enters the outlet.
Step 4: Install the Extension Piece
Thread the extension clockwise into the underground female outlet by hand. The fitting should engage smoothly for several turns; stop immediately if it binds after the first thread or begins to enter at an angle.
Hand-tighten the connection, then use pliers for a small additional turn only when necessary to orient the head. Plastic irrigation fittings can crack when compressed by excessive wrench force. The correct stopping point is leak-resistant and aligned, not mechanically immovable.
For a flexible swing assembly, connect the inlet fitting to the buried outlet, form a broad curve in the swing pipe, and connect the outlet fitting to the sprinkler body. Avoid sharp bends, kinks, and tension that pull the head sideways.
Success checkpoint: The extension remains stable, the head connection points upward, and the fitting does not rotate when the sprinkler body is lightly adjusted.
Common mistake: Tightening until the head points in the wrong direction can damage the outlet. Back off, replace the tape, and realign rather than forcing another full turn.
Step 5: Reattach and Level the Sprinkler Head
Thread the sprinkler head onto the top of the extension or swing assembly. Position the housing vertically and set the top at the correct finished grade before adding soil around it.
For a pop-up spray head, the cap should sit flush with turf grade and remain visible enough to avoid burial. For a rotor, keep the body vertical so the rotation arc remains predictable. For an impact sprinkler or shrub riser, follow the manufacturer’s clearance requirements because the nozzle may need to remain exposed.
Use loose soil to support the body temporarily, then check that no stone presses against the housing. A rigid riser should not be used to compensate for a sharply misaligned underground outlet. Flexible tubing can correct modest alignment problems, while a damaged or displaced lateral line requires excavation and repair.
Success checkpoint: The housing is vertical, the cap is at the planned elevation, and the head can retract or rotate without contacting soil.
Common mistake: Packing soil tightly against a pop-up stem prevents retraction and can make a correctly installed head appear defective.
Step 6: Flush, Test, and Backfill
Remove the nozzle and internal filter, then activate the irrigation zone for approximately 10 seconds. Flushing sends loose soil, tape fragments, and mineral particles away from the open head instead of trapping them in the nozzle.
Turn the zone off, reinstall the clean filter and nozzle, and run the system again. Watch the base of the extension for leaks, check the spray pattern, and confirm that the head rises and retracts normally.
Backfill in thin layers and firm the soil around, rather than on top of, the sprinkler body. Leave enough room for the planned mulch or turf surface. Do not bury the cap while the soil is loose, because settling can lower the head again.
Success checkpoint: The stream clears nearby vegetation, the base remains dry, pressure resembles neighboring heads, and the sprinkler finishes level after retraction.
Common mistake: Testing only the spray arc misses a slow threaded leak that appears after the line reaches operating pressure.
Which Extension Type Is Best?
A flexible swing assembly is usually the safest choice for residential lawn heads exposed to mowers, children, or foot traffic. A rigid cut-off riser suits a protected bed where exact height and low cost matter, while Schedule 80 PVC or brass is more appropriate for specialized rigid installations.
| Extension type | Common sizes and lengths | Impact behavior | Typical material cost | Best application |
|---|---|---|---|---|
| Poly cut-off riser | 1/2-inch or 3/4-inch MPT, up to 6 inches | Rigid and brittle under direct impact | $0.50-$3 | Low-traffic lawn or protected bed |
| Flexible swing assembly | 1/2-inch or 3/4-inch MPT, 6-12 inches | Deflects and absorbs stress | $2-$8 | Mower routes and high-traffic turf |
| Schedule 80 PVC nipple | 1/2-inch-1-inch MPT, 1-12 inches | Rigid, high structural strength | $1-$6 | Commercial or rigid planting beds |
| Brass extension | Commonly 1/2-inch MPT, 1-6 inches | Strong, exposed, and rigid | $5-$15 | Decorative or specialty landscape work |
Rigid Poly Cut-Off Risers
Poly cut-off risers provide precise, inexpensive height adjustment because the installer can trim segmented sections. They work well when the head will remain protected and the required rise is modest.
Rigid poly is a poor choice where a mower wheel can strike the housing or where people regularly step on the head. The rigid connection transfers impact into the female outlet and lateral pipe, which can produce an underground crack that is harder to locate than a broken riser.
Flexible Swing Assemblies
A flexible swing assembly uses thick-wall polyethylene tubing and threaded fittings to create a movable connection. The assembly allows the sprinkler head to shift under impact instead of transferring the entire load directly to buried pipe.
The trade-off is installation space. A swing joint needs a wider excavation and a gentle curve, not a tightly folded loop. Excess tubing can also make the head unstable if the surrounding soil is not packed evenly.
Schedule 80 PVC and Brass
Schedule 80 PVC offers rigid support and better pressure resistance than thin-wall fittings, but pressure strength does not make it impact tolerant. It belongs in protected commercial beds or other locations where vertical stability outweighs flexibility.
Brass extensions tolerate exposed conditions and repeated adjustment, but their $5-$15 typical material price is difficult to justify for ordinary turf. Brass also remains rigid, so it can still transmit a mower strike to the underground connection.
Does the Method Change by Sprinkler Head?
The threaded connection process is similar for pop-up sprays, rotors, and impact sprinklers, but the finished height and alignment requirement changes by head type. Pop-up heads need free retraction, rotors need a vertical body and correct arc alignment, and impact heads need unobstructed nozzle movement.
| Sprinkler head | Extension priority | Finished-position requirement | Main installation risk |
|---|---|---|---|
| Pop-up spray | Short riser or flexible joint | Cap flush with turf, about 1/2 inch above mulch | Stem burial or blocked retraction |
| Rotor | Flexible joint in traffic areas | Body vertical, arc marker aligned | Crooked rotation and uneven coverage |
| Impact sprinkler | Rigid or brass exposed riser | Nozzle and arm remain clear of plants | Arm obstruction and excessive height |
| Shrub or fixed riser head | Schedule 80 PVC or brass | Nozzle above mature foliage | Rigid riser damage from contact |
A pop-up head often needs only 1-2 inches of additional elevation. Raising it much farther can create a visible obstruction and may place the spray above the intended wind-protected zone.
What Are the Alternatives to Adding a Riser?
The main alternatives are removing excess mulch, resetting the head, replacing a damaged outlet, or relocating the sprinkler. Adding a longer extension is the fastest option only when the head location and lateral connection remain correct.
Remove and redistribute mulch when the bed surface has simply become too high. Reset the sprinkler body when soil settlement has lowered the head but the existing riser still has adequate length. Replace the connection when threads are cracked, leaking repeatedly, or no longer support the body.
Relocate the head when shrubs have matured into the spray path or when the original position creates poor head-to-head coverage. Raising a head above mature foliage may clear one obstruction while increasing evaporation and reducing uniformity across the zone.
Common Mistakes and How to Fix Them
The Extension Leaks at the Base
A base leak usually comes from dirty threads, insufficient sealing, cross-threading, or a cracked female outlet. Shut off the zone, remove the extension, clean both threaded surfaces, apply fresh PTFE tape, and reinstall it by hand until the threads engage smoothly.
If water still leaks after careful resealing, replace the fitting. Repeatedly adding tape cannot repair a split outlet or damaged thread.
The Sprinkler Head Sits Crooked
A crooked head usually indicates a misaligned outlet, compacted soil, excessive tubing tension, or an extension that is too long. Reopen the hole, remove pressure from the pipe, and support the body with loose soil while checking vertical alignment.
A flexible swing assembly can correct modest alignment issues. It cannot repair a broken lateral line or an outlet pulled sideways by roots.
Water Pressure Falls After Installation
Low pressure after a riser repair commonly results from dirt trapped in the nozzle, filter basket, or internal screen. Remove the nozzle and filter, rinse both parts, flush the zone with the nozzle removed, and retest the spray.
If neighboring heads also lose pressure, inspect the valve, supply line, and zone demand. A single clogged filter should not be used to explain a system-wide pressure loss.
The Head Sinks Again
A head that sinks after backfilling usually lacks compacted support beneath or beside the body, or the surrounding soil is settling after irrigation. Remove the head, add suitable soil in thin layers, and firm each layer without squeezing the housing.
Avoid placing rocks directly under the sprinkler body. Rocks can create point pressure and tilt the housing when the ground shifts.
The Riser Breaks Repeatedly
Repeated breakage means the material or location is wrong, not necessarily that the installation was poor. Replace a rigid riser with a flexible swing assembly in mower paths, driveway edges, children’s play areas, and frequently walked turf.
Where the head is struck because it sits too high, shorten the extension and adjust the surrounding grade. Flexibility cannot compensate for a head that remains exposed above mowing height.
How Much Time and Money Does the Repair Take?
A single sprinkler extension typically takes 15-30 minutes for a homeowner and costs $0.50-$15 in materials. Professional irrigation labor commonly ranges from $50-$100 per hour, with service-call minimums often making a one-head repair more expensive than the labor time alone.
| Project size | DIY time | Typical DIY material cost | Typical professional labor |
|---|---|---|---|
| One rigid riser | 15-25 minutes | $0.50-$3 | $50-$100 minimum |
| One flexible assembly | 20-35 minutes | $2-$8 | $50-$150 |
| Four lawn heads | 1.5-2.5 hours | $8-$32 | $100-$300 |
| Ten mixed heads | 4-6 hours | $25-$100 | $250-$600 |
These are typical planning ranges, not fixed market prices. Regional labor rates, access conditions, buried utilities, and replacement-head requirements can change the final cost substantially.
Expert Installation Rules That Prevent Repeat Repairs
Treat finished grade as a moving target. If a homeowner plans to add 1 inch of mulch next season, selecting a riser that ends exactly at today’s soil surface guarantees another adjustment. Measure the intended final surface, then keep the head within safe mowing clearance.
Flexibility protects the underground connection, not only the sprinkler. A rigid riser may be cheaper to replace, but a mower strike can crack the female outlet or lateral pipe below ground. A flexible swing joint usually confines the damage to a replaceable head connection.
Flush before diagnosing pressure. Dirt introduced during excavation can mimic a failing valve or undersized zone. Cleaning the filter and flushing the open line should precede pressure measurements when the problem starts immediately after installation.
Use the shortest extension that clears the obstruction. A long riser increases leverage. Even when the plastic does not break, the longer lever applies more force to the buried fitting during an impact or soil movement.
When Should You Call an Irrigation Professional?
Call a professional when the buried lateral pipe twists, the female outlet cracks, several heads lose pressure, or the repair requires excavation near electrical, gas, or communications utilities. Professional help is also sensible when the sprinkler is part of a commercial fire-suppression system, because fire sprinkler piping follows different standards from landscape irrigation.
A landscape irrigation technician can locate valves, identify pipe material, replace a damaged swing joint, test static and dynamic pressure, and evaluate whether the head spacing still meets the zone’s design. Do not treat a fire sprinkler head extension as a landscape riser repair. Fire protection systems require approved components and code-compliant installation.
FAQ
Can I add an extension to any sprinkler head?
Most landscape sprinkler heads can accept an extension when the head and outlet use compatible pipe threads and the connection remains structurally sound. Pop-up sprays, rotors, and impact heads differ in height and clearance needs, so select the fitting by thread size, head type, and exposure rather than by length alone.
Should I use pipe dope or PTFE tape on plastic sprinkler threads?
Use PTFE thread tape unless the fitting manufacturer specifically approves a compatible sealant. Two or three clockwise wraps usually provide adequate sealing, while excessive paste or incompatible chemicals can weaken some plastic components and make later removal difficult.
Can I extend a sprinkler head without digging?
A small height adjustment may be possible by removing the head from the surface, but reliable installation usually requires exposing the threaded connection. Digging prevents lateral pipe twisting, reveals the actual outlet, permits correct alignment, and lets you support the head at finished grade.
How much extension should I add to a buried sprinkler head?
Add only the vertical distance needed to clear the final soil, turf, or mulch surface. A typical lawn correction is 1-2 inches, while a deeper bed may need more. Keep rigid risers from projecting more than about 1/2 inch above the surrounding surface.
Why does my sprinkler leak after adding a riser?
A leak usually results from cross-threading, dirty threads, inadequate tape, over-tightening, or a cracked female outlet. Remove the extension, inspect the threads, apply fresh PTFE tape, and reinstall it by hand. Replace the damaged outlet or swing fitting if resealing does not stop the leak.
Is a flexible sprinkler riser better than a rigid riser?
A flexible riser is better in areas exposed to mowers, foot traffic, or vehicle wheels because it absorbs movement and reduces stress on buried pipe. A rigid riser costs less and provides accurate vertical support in protected beds, where impact is unlikely.
The Bottom Line
To add an extension piece on sprinkler system piping, shut off the irrigation supply, expose and stabilize the head connection, install a correctly sized threaded riser or flexible swing assembly, flush the line, and test before backfilling. Use the shortest extension that clears the final landscape surface, and choose flexible construction where impact could damage the buried pipe.