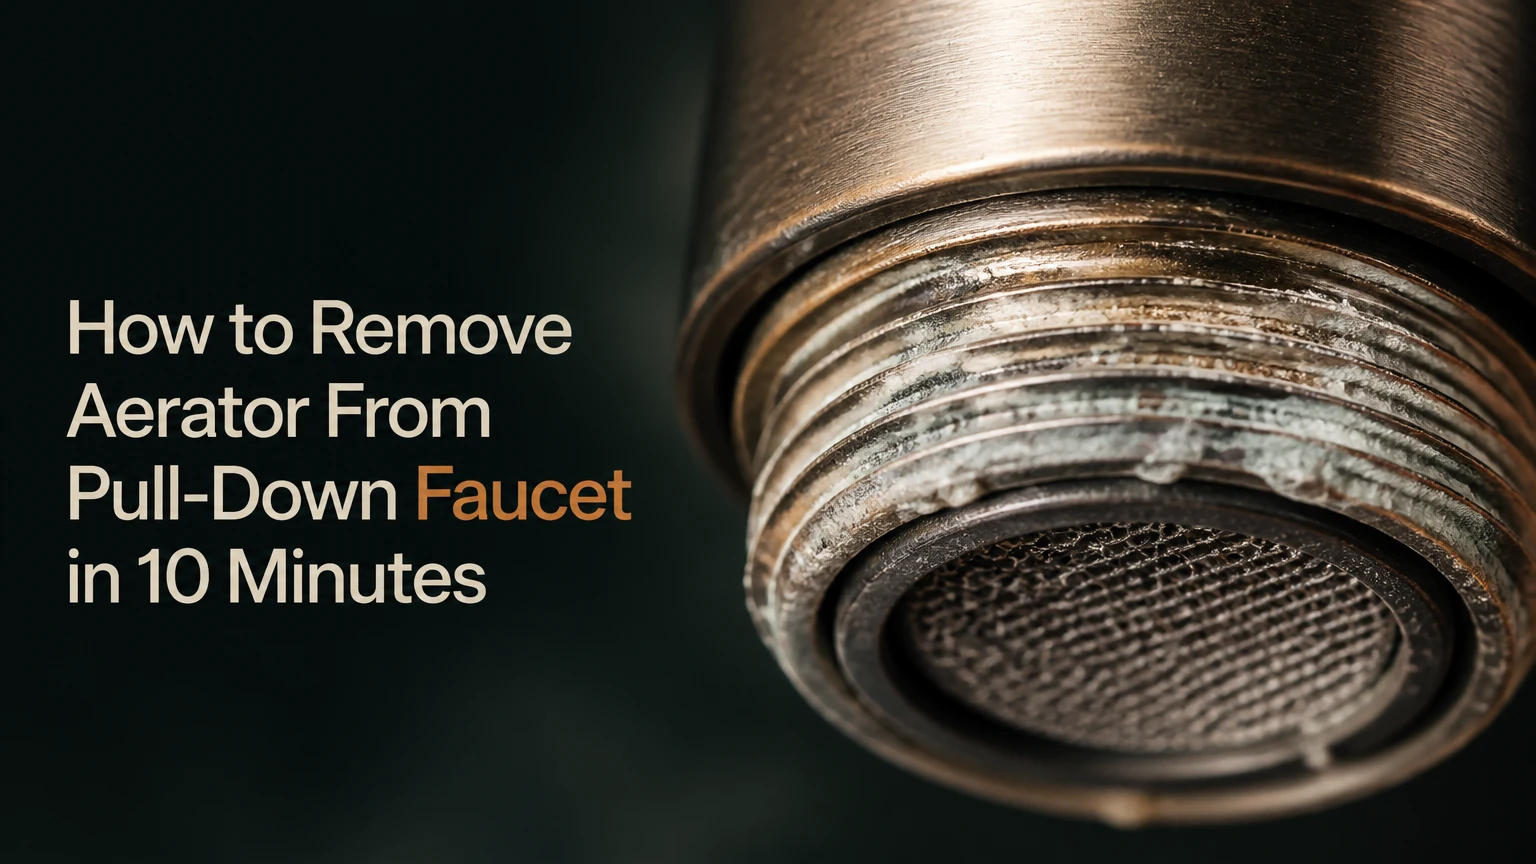
To remove an aerator from a pull-down faucet, pull the spray head down, secure the hose, identify the insert from its underside, and turn the aerator counter-clockwise with the correct cache key, coin, or manufacturer tool. Most removable aerators take 5-15 minutes; integrated spray heads require model-specific service or replacement.
Key Facts at a Glance
A recessed cache aerator requires a toothed plastic key that matches its internal notches.
A coin-slot aerator usually turns with a large coin or correctly sized flat screwdriver.
An integrated aerator may not be removable without replacing the spray wand or head.
Secure the hose gently before disconnecting the spray head so the hose cannot retract into the faucet body.
Typical replacement inserts cost $5-$15, while a complete pull-down spray head commonly costs $30-$80 or more.
White vinegar dissolves mineral scale, but finished, sensor-equipped, or electronic spray heads should not be soaked indiscriminately.
What Is a Pull-Down Faucet Aerator?
A pull-down faucet aerator is the small outlet component that shapes the water stream at the end of the spray head. A mesh screen breaks up turbulence, a flow-control element limits volume, and a rubber washer seals the threaded insert against the wand.
The aerator is not always the part that switches between stream and spray. In many pull-down designs, a button-operated diverter or spray selector changes the outlet path, while the aerator only screens and smooths water at the end of the head. Confusing those parts can lead to buying the wrong replacement.
Mineral scale, sand, pipe debris, and rubber particles can obstruct the screen. Typical symptoms include a weak stream, uneven spray, side leakage, or water that sprays at an angle. A blocked aerator is only one possible cause, so testing the faucet with the head removed can prevent unnecessary parts replacement.
What does the aerator do?
The aerator mixes air into the outlet stream and reduces splashing without necessarily increasing the faucet’s actual water volume. Flow rate is measured in gallons per minute, or GPM, and common kitchen faucet ratings include 1.5, 1.8, and older 2.2 GPM configurations.
The U.S. Environmental Protection Agency’s WaterSense program identifies 1.5 GPM as a maximum flow rate for qualifying bathroom faucet products, while kitchen faucets follow different product requirements and commonly use higher rated flows. The rating belongs to the faucet or insert, not automatically to every screen that looks compatible.
Which Aerator Type Does a Pull-Down Faucet Use?
Pull-down faucet aerators usually fall into three service categories: recessed cache inserts, coin-slot inserts, and integrated spray-head assemblies. Look upward at the outlet face with the water turned off, then match the visible shape before applying torque.
| Aerator type | What you see | Typical tool | Typical service result |
|---|---|---|---|
| Cache insert | Internal teeth or notches | Plastic cache key | Remove insert, washer, and screen |
| Coin-slot insert | Straight slot across face | Nickel, quarter, or flat screwdriver | Turn insert directly |
| Manufacturer-specific insert | Smooth or unusual face | OEM key or thin spanner | Remove only with matching tool |
| Integrated head | No separate removable insert | Manufacturer procedure | Clean head or replace wand assembly |
How can you identify a hidden cache aerator?
A hidden cache aerator sits inside the outlet and has two or more recessed notches around its face. The insert is usually flush with the spray-head housing, so ordinary adjustable pliers cannot grip it without damaging the finish.
Cache keys are sold in several sizes, often corresponding to common Neoperl-style dimensions such as M16.5, M18.5, M21.5, M22, and M24. Those dimensions describe insert families, but visual matching and the faucet model number are more reliable than guessing from diameter alone.
How does a coin-slot aerator differ?
A coin-slot aerator has one straight groove across the outlet face. A thick coin can work when the slot is clean and wide enough, but a correctly sized flat screwdriver gives better control when scale has tightened the insert.
Do not force a thin coin into a narrow slot. A slipping coin can round the groove, and excessive screwdriver torque can crack a plastic insert or deform the spray-head outlet.
When is the aerator integrated into the spray head?
An integrated aerator has no separate insert that can be safely unscrewed from the face. Some models combine the screen, flow regulator, spray selector, and check valve inside a proprietary wand assembly.
Brand names do not determine the design by themselves. Delta, Moen, Kohler, and GROHE each sell models with different head constructions. Use the faucet model number, installation manual, or manufacturer parts diagram before assuming that a generic cache key will work.
What Should You Do Before Removing the Aerator?
Before removing the aerator, prepare a towel, a basin, the correct removal tool, and a gentle way to hold the hose. The job normally takes 5-15 minutes and costs nothing if cleaning is possible, or about $5-$15 for a compatible insert.
| Preparation item | Typical quantity | Purpose | Replacement cost |
|---|---|---|---|
| Microfiber cloth | 1-2 | Protect finish and grip head | $2-$8 |
| Small basin or towel | 1 | Catch washer and debris | $0-$5 |
| Cache-key set | 1 set | Fit recessed inserts | $3-$8 |
| White vinegar | 120-240 mL | Dissolve mineral scale | $1-$4 |
| Replacement aerator | 1 | Replace damaged or worn insert | $5-$15 |
| Silicone faucet grease | Small dab | Condition compatible seal | $4-$10 |
Turn off the faucet handle. The supply valves usually do not need to be closed, but close them if the faucet leaks continuously or another person may operate the handle during the repair.
Pull the spray head down only far enough to work comfortably. Place a folded cloth around the hose, then hold the cloth gently with a spring clamp or chip clip. Avoid locking pliers on the hose, braided line, decorative housing, or finished metal because concentrated pressure can kink the hose or leave marks.
How Do You Remove an Aerator From a Pull-Down Faucet?
Remove the aerator by securing the hose, matching the tool to the outlet face, turning the insert counter-clockwise, and retaining the washer. Stop if the tool slips repeatedly, the housing begins to twist, or the insert appears permanently integrated into the spray head.
Step 1: Pull Down and Secure the Spray Head
Pull the spray head down approximately 10-20 centimeters, or enough to expose the outlet while leaving slack in the hose. Wrap the hose in a microfiber cloth and secure the cloth with a light clamp.
The success checkpoint is simple: the head stays in your hand when you release it briefly. The common mistake is clamping bare locking pliers onto the hose, which can flatten the internal line and create a later leak.
Step 2: Inspect the Outlet Face
Turn the spray head upside down and shine a flashlight into the outlet. Identify teeth, a slot, a smooth face, or a retaining ring before inserting a tool.
| Visible feature | Correct first tool | Force direction | Stop condition |
|---|---|---|---|
| Six or more internal notches | Matching cache key | Straight upward | Key jumps from notches |
| Wide straight groove | Large coin or flat screwdriver | Straight upward | Slot begins rounding |
| Two small opposing slots | OEM or spanner key | Straight upward | Tool does not seat fully |
| Smooth molded face | No generic tool | Consult manual | Face appears integrated |
The success checkpoint is a tool that sits fully inside the notches or slot without rocking. The common mistake is using pliers on the outer spray-head shell instead of engaging the insert.
Step 3: Turn the Insert Counter-Clockwise
Press the tool firmly upward while turning counter-clockwise. Use steady hand pressure rather than a sudden twist, because most cache inserts contain plastic engagement teeth that shear under a misaligned key.
A quarter-turn may be enough to break the initial resistance. Once the insert moves, remove the tool and spin the aerator out with your fingers. Place every layer on the towel in removal order.
The success checkpoint is visible thread movement without housing distortion. The common mistake is applying heat from a torch or hair dryer, which can damage plastic internals, seals, coatings, or the faucet hose.
Step 4: Remove the Washer and Internal Pieces
Keep the black or translucent rubber washer with the aerator. It may remain inside the spray head rather than coming out with the insert, so inspect the opening with a flashlight.
Some inserts contain a screen, diffuser, flow regulator, and retaining cage. Do not separate layered parts unless the manufacturer’s instructions permit disassembly, because reversing a flow-control disc or check valve can change the stream and cause leakage.
The success checkpoint is a clean outlet, an intact washer, and parts arranged in sequence. The common mistake is dropping the washer down the drain or reinstalling it above the wrong component.
Step 5: Clean or Replace the Aerator
Rinse the removed insert from the outlet side and then from the reverse side to dislodge loose sediment. For mineral scale, soak the insert in warm white vinegar for 30-60 minutes, scrub it with a soft toothbrush, and rinse it thoroughly.
A longer soak can help with heavy deposits, but inspect plastic and rubber after 60 minutes. Do not immerse a complete sensor-equipped or electronic spray head unless the manufacturer permits liquid immersion. For a plated or painted head, apply vinegar to a cloth or small cup around the removable insert instead of soaking the whole assembly.
Replace the insert when the screen is torn, the plastic teeth are stripped, the washer is permanently flattened, or the spray remains distorted after cleaning. A new insert is usually more reliable than probing every opening with a needle, which can enlarge the flow paths.
Step 6: Reinstall the Aerator
Place the rubber washer in its original position, align the insert with the spray-head threads, and turn it clockwise by hand. Cross-threading is likely if the insert feels tight during the first two turns.
Hand-tighten the insert, then use the removal key for approximately one-quarter additional turn. Do not use maximum force. The washer creates the seal; excessive torque can deform the insert and make the next service harder.
The success checkpoint is a firm insert with no visible gap around the outlet. The common mistake is omitting the washer, which allows water to bypass the insert and leak around the aerator perimeter.
Step 7: Test the Stream and Hose Retraction
Remove the temporary hose clamp and return the spray head to its dock. Run cold water at low flow for 10 seconds, then increase flow while checking the outlet, spray selector, hose connection, and faucet base.
A successful repair produces a centered stream, normal spray switching, and no water escaping around the aerator. If debris appears, turn the faucet off, remove the insert, and rinse it again rather than pushing the particles farther into the screen.
Which Replacement Aerator Should You Buy?
Buy a replacement aerator by faucet model number whenever the spray head uses a proprietary insert; use diameter, thread family, flow rating, and washer size only as supporting checks. Generic cache inserts are suitable for some standard heads but may produce the wrong flow or fail to seal.
| Replacement route | Typical price | Fit confidence | Best use case | Main risk |
|---|---|---|---|---|
| Clean original insert | $0-$4 | Highest | Intact screen and teeth | Residual scale |
| Generic cache insert | $5-$15 | Medium | Standard recessed outlet | Wrong diameter or flow |
| OEM aerator kit | $10-$30 | High | Branded model with parts listing | Higher cost |
| Complete spray head | $30-$80+ | High if model-matched | Integrated or damaged head | Color mismatch |
| Plumber diagnosis | $75-$200 typical service call | High | Persistent pressure or leak fault | Labor expense |
Check the faucet’s underside, installation paperwork, or manufacturer database for a model code. If no code exists, measure the old insert’s outside diameter with calipers and photograph the face, washer, and internal layers before ordering.
Flow rate is a design choice, not a universal upgrade target. Installing a lower-flow insert can reduce volume, while installing a higher-flow insert may conflict with the faucet’s certification, spray pattern, or internal diverter capacity.
What If the Aerator Is Stuck?
A stuck aerator usually has mineral scale in the threads or a damaged plastic interface. Apply a warm vinegar-soaked cloth around the outlet for 30-60 minutes, then retry with the correctly seated tool while protecting the surrounding finish.
For heavier scale, place a small vinegar-filled bag around only the removable outlet for up to two hours. Keep the solution away from electronic buttons, batteries, sensors, rubberized controls, and vulnerable finishes, then rinse the head thoroughly.
Use a rubber jar-opening pad for extra grip around a metal retaining ring. Do not use bare channel-lock pliers on a decorative housing. If the insert will not move after two controlled attempts, stop before the notches strip.
A professional or manufacturer service procedure is appropriate when the spray head is under warranty, the aerator is integrated, the housing is cracked, or the hose connection begins rotating inside the faucet body.
Why Does the Cache Key Keep Slipping?
A cache key slips when its size is wrong, its teeth are worn, the aerator notches are packed with scale, or the key is not held squarely against the insert. A rubber band may improve friction briefly, but it cannot restore missing plastic teeth.
Try these recovery steps:
- Remove scale from the visible notches with a wooden toothpick.
- Confirm the key size against the insert face and faucet model.
- Press the key straight upward while turning slowly.
- Replace the key if its teeth are rounded.
- Stop if the aerator notches deform.
A flat screwdriver is not a safe substitute for a cache key unless the insert specifically has a slot. Wedge tools can spread the plastic insert and make replacement more difficult.
Why Is Water Pressure Still Low After Cleaning?
Low pressure after aerator cleaning can originate in the supply valve, flexible hose, cartridge, diverter, spray selector, or house plumbing rather than the aerator. Test the faucet with the spray head removed to isolate the fault.
| Test result | Likely fault | Next action |
|---|---|---|
| Strong flow from bare hose | Aerator or spray head blockage | Clean or replace head |
| Weak flow from bare hose | Supply valve, hose, or cartridge | Check valves and hose |
| Strong stream but weak spray mode | Diverter or selector blockage | Inspect selector assembly |
| Pressure drops only on hot water | Hot supply valve or cartridge | Check hot-side components |
| Water leaks around insert | Washer, thread, or cracked housing | Reseat washer or replace part |
| Hose retracts poorly | Weight, hose, or guide obstruction | Inspect under-sink routing |
Open both supply valves fully and check that the pull-down hose is not kinked beneath the sink. If the faucet has an inline screen or check valve, debris may have moved there when the aerator was removed.
Do not push a sewing needle through every screen opening as a first response. A needle can enlarge precision openings, and a blocked cartridge or diverter will remain defective even after the aerator looks clean.
Can You Clean the Aerator Without Removing It?
You can clean mineral deposits from an exposed spray-head outlet without removal, but surface soaking is less effective than cleaning the insert itself. This method is appropriate for renters or for a proprietary head when the correct tool is unavailable.
Wet a cloth with white vinegar and wrap it around the outlet for 30-60 minutes. Use a soft toothbrush on the face, run water briefly, and wipe away residue. Never force a screwdriver into an unknown smooth outlet.
No-removal cleaning cannot clear debris trapped behind the screen, inspect the washer, or verify the internal flow restrictor. If pressure remains poor after this attempt, identify the model and obtain the manufacturer’s service instructions.
How Often Should You Service a Pull-Down Aerator?
Service a pull-down faucet aerator every six months in a hard-water area and about once a year in a lower-scale area, or whenever stream quality changes. Frequent cleaning is preferable to repeated high-force removal after threads have seized.
| Water condition | Suggested interval | Early warning sign | Preventive action |
|---|---|---|---|
| Hard water with visible scale | Every 6 months | White crust on outlet | Wipe outlet monthly |
| Municipal water with sediment | Every 6-12 months | Grit in stream | Flush supply lines after work |
| Filtered household water | Every 12 months | Uneven stream | Rinse screen during service |
| Well water | Every 3-6 months | Brown or sandy debris | Check sediment filtration |
Keep one correctly sized cache key and one spare OEM insert under the sink if the faucet is difficult to service. Record the model number on a label, because the visible brand name is often insufficient for ordering internal spray-head parts.
When Should You Replace the Whole Spray Head?
Replace the complete spray head when the aerator is integrated, the housing is cracked, the selector button leaks internally, or the correct insert is unavailable from the manufacturer. Replacing only a screen cannot repair a damaged diverter, check valve, or threaded housing.
A complete head is also practical when labor and repeated generic parts approach the cost of a model-matched replacement. Typical replacement cost is $30-$80 or more, with premium finishes and branded assemblies reaching higher prices.
The honest limitation is that a new spray head may not restore pressure if the underlying fault is a closed supply valve, blocked cartridge, kinked hose, or low household pressure. Perform the bare-hose test before ordering an expensive assembly.
Common Mistakes and How to Fix Them
| Mistake | Immediate symptom | Safe recovery |
|---|---|---|
| Wrong cache key | Key jumps or spins | Match size and replace damaged key |
| Pliers on finished housing | Scratches or deformation | Stop, wrap with cloth, use an internal tool |
| Missing washer | Side leak around insert | Reinstall original or matching washer |
| Cross-threaded insert | Tightness after one turn | Remove, realign, and start by hand |
| Whole-head vinegar soak | Button or sensor malfunction | Rinse immediately and follow manufacturer care |
| Over-tightened insert | Cracked plastic or future seizure | Replace insert and hand-tighten correctly |
One practitioner rule prevents most damage: if a removal tool does not seat fully before torque is applied, the tool is wrong or the part is not designed for that method. Force does not compensate for poor engagement.
A second rule concerns leaks. Water around the outer edge usually indicates a washer or seating problem, while water from the center usually indicates a damaged screen, selector, or internal passage.
A third rule concerns pressure diagnosis. Always compare flow with the spray head attached and detached; that two-minute test separates a head problem from an upstream faucet problem.
Frequently Asked Questions
Do all pull-down faucets have removable aerators?
No. Many pull-down faucets have removable cache or coin-slot inserts, but some integrate the aerator, diffuser, diverter, and screen into the spray head. Inspect the outlet and confirm the model’s parts diagram before applying a tool. A smooth molded face often indicates a proprietary or integrated design.
Can I use pliers to remove a pull-down faucet aerator?
Use pliers only on a removable metal retaining ring with a protective cloth and controlled pressure. Do not grip the plastic cache insert, hose, plated spray head, or decorative housing directly. Cache keys and slot tools transfer force to the intended part and greatly reduce cosmetic and structural damage.
Which way do I turn a faucet aerator to remove it?
Most threaded faucet aerators loosen counter-clockwise when viewed from the outlet face, which is the normal left-to-right removal direction. Keep the tool square and apply upward pressure because the insert may be recessed. If the part does not move, verify that you are not turning a spray-selector ring.
Can hard water permanently damage an aerator?
Hard water can permanently clog or deform an aerator when mineral deposits seize the threads, corrode metal, or damage the screen. Vinegar can dissolve many calcium deposits, but it cannot repair torn mesh, stripped plastic teeth, or a cracked housing. Those conditions require an accurately matched replacement.
Why does my faucet leak after I reinstall the aerator?
A faucet may leak after aerator reinstallation because the rubber washer is missing, flattened, displaced, or installed above the wrong component. Remove the insert, rinse the threads, place the washer in its original seat, and reinstall by hand. Replace the washer or complete insert if leakage continues.
Should I buy a universal aerator for a branded faucet?
A universal aerator is acceptable only when its dimensions, thread arrangement, washer, and flow rating match the original. Branded pull-down heads often use proprietary inserts, so an OEM part identified by the faucet model is safer. A generic part that threads in can still produce leaks or an incorrect spray pattern.
The Bottom Line
To remove an aerator from a pull-down faucet, secure the hose, inspect the outlet, select the matching cache key or slot tool, turn counter-clockwise, and preserve the washer. Clean an intact insert in warm white vinegar for 30-60 minutes, replace damaged parts, and test flow with the head attached and detached. If the face is integrated or the part remains stuck after controlled attempts, use the manufacturer’s model-specific procedure instead of forcing it. The safest solution to how to remove aerator from pull down faucet is accurate identification before torque.