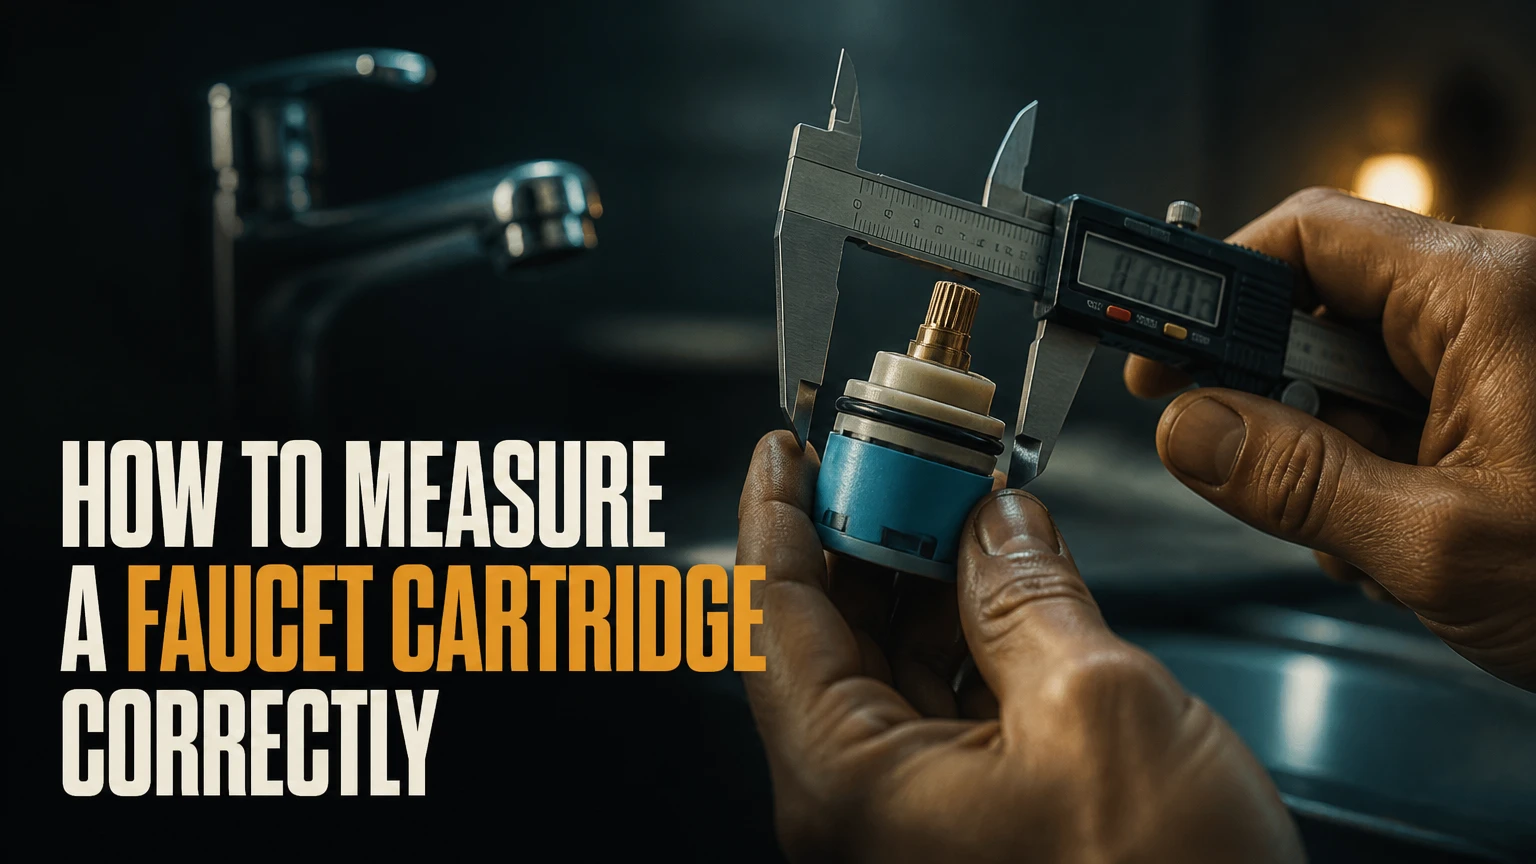
To measure a faucet cartridge, remove it, clean away mineral deposits, and record its total length, barrel diameter, stem dimensions, spline count, and base-seal or port pattern. Match those measurements with the faucet brand, model, cartridge orientation, and retaining method, because two cartridges with the same diameter can still be incompatible.
Key Facts
Measure the cartridge outside the faucet body whenever possible; installed measurements are usually incomplete.
Total cartridge length runs from the stem tip to the flat body base, excluding locator pins.
Barrel diameter, stem broach, base ports, seals, and orientation all affect compatibility.
A 35 mm ceramic cartridge is not automatically interchangeable with every other 35 mm cartridge.
Photograph the cartridge before cleaning or disassembly, especially the bottom seals and alignment tabs.
Typical DIY replacement time is 30-90 minutes, with parts commonly costing $10-$60.
Before You Start Measuring
Faucet-cartridge measurement is usually a 30-90 minute DIY task after the water is isolated. The most important success factor is preserving the cartridge’s orientation and measuring the removed component rather than guessing from the faucet handle.
Tools and Materials
| Tool or material | Typical quantity | Purpose |
|---|---|---|
| Digital caliper | 1, resolution 0.01 mm or 0.001 in | Measures length, diameter, and stem size |
| Phillips or hex key | 1 set, 2-6 mm | Removes handle fasteners |
| Adjustable wrench | 1, jaw capacity up to 30 mm | Loosens bonnet nuts and retaining nuts |
| Smartphone camera | 1 device, 3-5 photos | Records orientation and base layout |
| Marker and paper | 1 each | Labels hot side and measurement values |
| Silicone plumber’s grease | 2-5 g | Lubricates compatible O-rings during installation |
Shut off both stop valves beneath the sink, then open the faucet to release pressure. If the faucet has no local stops, close the home’s main water valve. Cover the drain so a retaining clip or handle screw cannot disappear into the plumbing.
Do not use locking pliers directly on a polished cartridge stem. A distorted stem can make spline identification impossible and can damage the faucet body during extraction.
Record the Faucet Identity First
Look for a logo on the faucet base, escutcheon, handle cap, supply line, or cartridge retaining nut. Photograph the entire faucet, handle connection, cartridge top, and cartridge bottom before taking measurements.
Brand and model information often beats dimensional matching. Moen 1225 and 1222 cartridges, for example, can be recognized by their manufacturer-specific design and application, while many generic 35 mm ceramic cartridges require a full dimensional and base-pattern comparison.
How to Measure a Faucet Cartridge
The reliable method uses five physical checks: overall length, body diameter, stem and broach, base configuration, and retaining features. Record every result in millimeters and inches, because replacement listings may use either unit system.
Step 1: Remove the Cartridge Without Losing Orientation
Turn off the water, drain the faucet, remove the decorative cap, and loosen the handle screw. Remove the handle and any temperature-limit ring, then expose the bonnet nut, retaining clip, or threaded collar that holds the cartridge.
Mark the front of the cartridge and faucet body with a marker before extraction. Many single-handle cartridges must return in the same hot-left, cold-right orientation, and a reversed cartridge can produce cold water when the handle indicates hot.
Use a cartridge puller when mineral deposits prevent hand removal. Pull straight upward, rotating gently only when the manufacturer’s instructions permit rotation. A stuck cartridge can fracture, leaving the sleeve or stem inside the valve body.
Success checkpoint: You will know the cartridge is ready for measurement when the complete body, stem, seals, and alignment features are visible.
Common mistake: Pulling against a still-installed retaining clip or bonnet nut can crack the faucet body.
Step 2: Measure Total Cartridge Length
Place the cartridge upright on a flat surface. Measure from the highest point of the stem to the flat bottom face of the cartridge body, not to the ends of locator pins or flexible seals.
Take two readings with the caliper. If the values differ by more than 0.5 mm, clean the stem, check that the jaws are square, and repeat the measurement.
| Measurement point | Include | Exclude | Typical recording |
|---|---|---|---|
| Stem tip to body base | Solid cartridge height | Locator pins | 52.4 mm |
| Stem tip to lower seal face | Useful catalog cross-check | Flexible O-ring bulge | 54.0 mm |
| Body shoulder to body base | Body-only comparison | Stem and handle adapter | 38.7 mm |
| Pin tip to pin tip | Base-layout reference | Overall length specification | 6.2 mm |
Some sellers describe length differently. One listing may measure from the stem tip to the bottom plastic face, while another may include a fixed shoulder. Write the measurement reference points beside the number, such as “stem tip to flat base, pins excluded.”
Success checkpoint: Your total-length value should remain stable when you rotate the cartridge and repeat the measurement.
Common mistake: Including bottom locator pins creates a replacement that is apparently too long and may prevent the retaining nut from seating.
Step 3: Measure the Barrel Diameter
Remove loose O-rings and wipe scale from the cylindrical body before measuring. Place the caliper across the widest rigid section, using light pressure that does not compress plastic or rubber.
Measure near the top, middle, and bottom of the barrel. A tapered cartridge can produce three different values, and the largest rigid-body diameter is often the dimension that determines whether the cartridge enters the valve housing.
| Body reading | Measurement location | Typical result | What it indicates |
|---|---|---|---|
| Upper diameter | Below the stem collar | 34.8 mm | Upper guide size |
| Middle diameter | Widest cylindrical wall | 35.0 mm | Main housing fit |
| Lower diameter | Above base seals | 34.9 mm | Lower bore fit |
| Seal outside diameter | Over installed O-ring | 36.1 mm | Seal, not body, dimension |
A nominal 35 mm cartridge may measure slightly below 35 mm because of molding tolerance, plating, or worn surfaces. Do not treat 34.8 mm and 35 mm as different cartridge families without checking the complete design.
Success checkpoint: The cleaned rigid barrel readings should usually fall within approximately 0.3 mm of one another on a straight-sided body.
Common mistake: Measuring over a swollen O-ring reports the seal’s outside diameter instead of the cartridge barrel diameter.
Step 4: Measure the Stem and Count the Broach
The broach is the handle connection at the top of the stem. It may have external splines, flat sides, a D-shaped profile, or a proprietary adapter rather than visible teeth.
Count splines by marking one tooth with a pen and counting around the full circumference until you return to the mark. Then measure the maximum outside diameter across the splined section, not the valley diameter between teeth.
| Stem feature | How to record it | Example value | Why it matters |
|---|---|---|---|
| Spline count | Complete teeth around stem | 20 splines | Handle engagement |
| Broach outside diameter | Maximum tip-to-tip width | 7.6 mm | Handle bore fit |
| Stem exposed length | Shoulder to stem tip | 9.4 mm | Handle height and screw alignment |
| Profile | Round, D, flat, keyed | D-shaped | Rotation control |
Common spline counts include 15, 16, 20, and 24, but counts are not universal across brands. A matching spline count does not prove compatibility because the stem height, rotation range, shoulder, and handle screw position may differ.
For a stem with a damaged top, measure the intact lower splines and use the faucet model or cartridge photograph for confirmation. Do not force a handle onto a partly stripped broach.
Success checkpoint: A replacement listing should match spline count, maximum broach diameter, stem height, and profile together.
Common mistake: Eyeballing the spline count misses one or two teeth, particularly when chrome plating or scale obscures the valleys.
Step 5: Document the Cartridge Base
Turn the cartridge upside down and photograph the bottom directly above it. Record the number, shape, and position of rubber seals, water ports, locator pins, notches, and keyed tabs.
Base geometry often decides compatibility more reliably than cartridge color or overall length. Trace the base on paper and mark the front orientation, then compare the tracing with the replacement listing.
| Base feature | Example A | Example B | Compatibility question |
|---|---|---|---|
| Water ports | 2 round ports | 2 kidney-shaped ports | Do openings align with valve seats? |
| Locator pins | 2 pins at 180 degrees | 3 pins at unequal spacing | Do holes accept the pins? |
| Bottom seals | 2 black O-rings | 3 red flat seals | Does the valve body seal correctly? |
| Orientation key | Front notch | Side tab | Does hot and cold orientation match? |
Keep seals in place while photographing them, then remove and inspect them separately. A missing seal can make a correct cartridge appear different from the original, while a swollen seal can make an incorrect cartridge appear similar.
Success checkpoint: You should be able to describe the bottom without relying on color alone, for example, “two kidney ports, two opposite locator pins, three lower O-rings.”
Common mistake: Comparing only the number of holes ignores their diameter, shape, spacing, and sealing surfaces.
Step 6: Check Retaining Features and Rotation
Measure the retaining-clip groove, shoulder width, or threaded collar area if the replacement listing shows those features. Record whether the cartridge uses a horseshoe clip, bonnet nut, threaded sleeve, or faucet-specific retaining ring.
For a single-handle mixing cartridge, note the rotation range from cold to hot. A ceramic cartridge may rotate approximately 90 degrees, while other designs use a narrower or wider operating arc. The exact range varies by manufacturer and should be treated as an identification clue, not a universal specification.
Success checkpoint: The replacement must enter fully, seat against the valve body, and accept the original retaining hardware without force.
Common mistake: Assuming the bonnet nut can compensate for a wrong cartridge height. Excessive tightening can crack plastic parts or distort seals.
Which Cartridge Type Do You Have?
Cartridge type narrows the search, but type alone cannot select a replacement. Ceramic disc, sleeve, piston, and ball mechanisms use different internal designs, and ball faucets are often incorrectly labeled as cartridge faucets in online listings.
| Mechanism | Common application | Visible identification clue | Typical replacement cost |
|---|---|---|---|
| Ceramic disc | Single-handle kitchen or lavatory faucet | Compact plastic body with ceramic-disc assembly | $12-$60 |
| Sleeve cartridge | Moen single-handle sink or shower valve | Long cylindrical sleeve or plastic cartridge | $15-$50 |
| Piston cartridge | Pressure-balanced shower valve | Longer cartridge with temperature-control parts | $30-$150 |
| Ball valve | Older single-handle faucets | Exposed slotted metal or plastic ball | $8-$35 repair kit |
Ceramic cartridge listings commonly use nominal body diameters such as 25, 35, or 40 mm. Those values describe a family dimension, not a complete interchangeability standard.
A ball valve usually has a rotating ball, springs, rubber seats, and a cam. A repair kit may replace those wear parts without replacing a cartridge. Confirm the mechanism before ordering a cartridge-shaped part.
Can You Measure a Cartridge Without Removing It?
You can estimate cartridge size while it remains installed, but you generally cannot confirm total length, base ports, seals, or locator pins accurately. Installed measurements are useful for narrowing a search, not for approving a final purchase.
Measure the exposed stem diameter, handle broach, bonnet-nut diameter, and visible cartridge shoulder if access permits. Then use the faucet brand, model, installation date, and photographs to identify the part.
Two-handle faucets add another complication. Each handle may use a stem-and-washer assembly, ceramic valve, or cartridge, and the hot and cold valves can have different threads or rotation directions. Remove and measure the leaking side rather than assuming both valves match.
Shower valves require additional care. Pressure-balancing and thermostatic cartridges may have temperature stops, balancing spools, long stems, and brand-specific ports that cannot be matched by sink-cartridge dimensions.
Are Faucet Cartridges Universal?
Faucet cartridges are not universally interchangeable. Nominal diameter, such as 35 mm, identifies only one attribute; body length, stem broach, base pattern, rotation, seals, and retaining method must also agree.
Use this compatibility hierarchy when comparing a replacement:
- Match the faucet manufacturer and exact model when available.
- Match the cartridge mechanism and application, such as lavatory or shower.
- Match base ports, seals, pins, and orientation.
- Match total length and barrel diameter.
- Match stem profile, spline count, diameter, and exposed height.
- Confirm the retaining clip, nut, or collar fits the original faucet.
OEM parts cost more, but the model number usually reduces compatibility risk. Aftermarket parts can work well when the seller publishes a dimensioned drawing and clear base photographs. A vague “universal” label is not a substitute for those details.
How Should You Compare Replacement Options?
The best replacement is the part with the highest verified compatibility, not necessarily the lowest price. OEM cartridges are usually the safer choice for proprietary faucets, while dimensioned aftermarket cartridges can be reasonable for common ceramic designs.
| Replacement route | Typical price | Identification evidence | Best use | Main risk |
|---|---|---|---|---|
| OEM cartridge | $25-$60 | Manufacturer model or part number | Branded kitchen and bath faucets | Higher cost |
| Dimensioned aftermarket | $10-$30 | Drawing and base photos | Common 25, 35, or 40 mm ceramic bodies | Small fit variation |
| Repair kit | $8-$35 | Valve mechanism and model match | Ball valves and some stems | Does not fix damaged body |
| Plumber-supplied part | $40-$150 installed | Professional diagnosis | Stuck or inaccessible cartridges | Labor and service charge |
Typical replacement time is 15-30 minutes for an experienced professional, 30-60 minutes for a prepared DIYer, and 45-90 minutes when corrosion or mineral buildup is present. Prices vary by region, brand, and shower-valve complexity.
Manufacturer documentation should take priority over generic charts. Moen, Delta, Kohler, Pfister, and American Standard publish model-specific parts information, but their product families can contain visually similar cartridges with different dimensions.
What If the Cartridge Is Stuck or Damaged?
A stuck cartridge should be extracted with a compatible puller after the retaining hardware is removed. If the stem breaks, stop measuring the damaged stem and identify the cartridge from the body, base, faucet model, and an intact replacement diagram.
Use penetrating lubricant only where the faucet manufacturer permits it, and protect finished surfaces from chemical contact. Vinegar can dissolve some mineral deposits on removable parts, but prolonged soaking may affect plated finishes, rubber, or nearby materials.
A cartridge puller is preferable to levering against the faucet body. A damaged valve housing can turn a $20 cartridge repair into a faucet replacement.
When the cartridge cannot be removed intact, record:
- Remaining body length and diameter.
- Stem fragment diameter and profile.
- Retaining method and clip position.
- Base-port pattern after extraction.
- Faucet brand, model, and photographs.
- Any stamped number on the cartridge or retaining hardware.
Practitioner rule: Never order from the broken stem alone. The stem is the most visible feature, but the base is usually the controlling feature.
Common Measurement Mistakes and Fixes
Most incorrect cartridge orders result from measuring one recognizable feature and ignoring the valve-body interface. The following recovery table addresses the errors that create the most returns.
| Failure mode | Likely consequence | Recovery action | Prevention |
|---|---|---|---|
| O-ring left in measurement | Diameter reads 0.5-2 mm too large | Remove loose seals and measure rigid wall | Take separate body and seal readings |
| Locator pins included | Cartridge appears too long | Re-measure to flat base | Record pin length separately |
| Spline count guessed | Handle will not engage | Mark one tooth and recount | Photograph stem under side lighting |
| Scale left on body | Barrel appears tapered | Clean with nylon brush | Avoid metal scraping |
| Base not photographed | Ports or pins mismatch | Compare valve body and listing | Photograph bottom before cleaning |
| Brand ignored | Correct-size wrong-design part ordered | Search model and OEM catalog | Record every stamped marking |
Do not sand the cartridge body to make it fit. Removing material can reduce sealing pressure, allow bypass leakage, and leave plastic particles inside the valve.
Do not substitute petroleum jelly for silicone plumber’s grease on cartridge seals. Petroleum products can swell some elastomers and make later removal more difficult.
When Should You Replace the Faucet Instead?
Replace the faucet rather than the cartridge when the valve body is cracked, the retaining threads are stripped, replacement parts are discontinued, or the faucet has extensive corrosion around the waterway. A new cartridge cannot repair a damaged housing or misaligned valve seat.
A cartridge replacement is usually worthwhile when the faucet body is sound and a verified part costs $10-$60. A complete faucet replacement becomes more practical when the repair requires a $100-$150 proprietary shower cartridge, several broken mounting parts, or repeated leaks after correct installation.
Before deciding, compare the repair cost with the faucet’s condition, finish, supply-line age, mounting hardware, and accessibility. A cartridge that is hard to measure because the faucet is corroded may signal a wider replacement problem.
How Do You Install and Verify the New Cartridge?
Install the new cartridge with the original orientation, lubricated compatible seals, and clean valve-body surfaces. The cartridge should seat by hand or with light, even pressure before the retaining hardware is tightened.
Reinstall the clip, bonnet nut, handle, and temperature-limit stop. Open the shutoff valves slowly, inspect under the handle and below the sink, then operate the faucet through its full temperature range.
You will know the repair worked when the faucet has no spout or handle-base leak, the handle moves through its intended range, hot and cold positions are correct, and the retaining hardware does not require abnormal force.
If water leaks immediately, shut off the supply and remove the cartridge. Check for a displaced O-ring, debris on the valve seat, incorrect orientation, incomplete seating, or a mismatched base port. Tightening the bonnet nut harder rarely fixes an incorrectly matched cartridge.
What Do the Symptoms Tell You?
A leak from the spout with the handle closed usually indicates worn cartridge seals, damaged ceramic discs, or debris on the valve seat. A leak around the handle more often points to upper O-rings, a loose bonnet nut, or a cracked cartridge body.
A stiff handle commonly indicates mineral scale, damaged seals, excessive retaining-nut pressure, or a cartridge that is not seated squarely. White vinegar may help clean removable mineral deposits, but it is not a repair for cracked ceramic discs or a damaged valve body.
| Symptom | Most likely area | Measurement relevance | First check |
|---|---|---|---|
| Spout drips closed | Cartridge seals or discs | Confirms replacement part | Verify cartridge model |
| Water rises under handle | Upper O-ring or bonnet | Limited | Inspect nut and upper seals |
| Handle binds | Scale, seal, or alignment | Confirms body fit | Check seating and lubrication |
| Hot and cold reversed | Orientation or hose connection | Stem and key position | Recheck front mark |
| Low flow after repair | Debris or blocked port | Base-port match | Flush valve body |
Faucet Cartridge Measurement Worksheet
Write these values down before visiting a hardware store or ordering online. The worksheet prevents memory-based comparisons, especially when several similar cartridges appear in search results.
| Field | Your value | Required comparison |
|---|---|---|
| Faucet brand and model | __________ | Exact manufacturer record |
| Mechanism type | __________ | Ceramic, sleeve, piston, or ball |
| Total length, pins excluded | __________ | Stem tip to flat base |
| Barrel diameter, upper/middle/lower | __________ | Three rigid-body readings |
| Spline count and broach diameter | __________ | Handle connection |
| Base ports and seal layout | __________ | Shape, spacing, and orientation |
| Retaining method | __________ | Clip, nut, collar, or ring |
| Rotation and hot-side position | __________ | Operating direction |
A seller’s product page should provide enough information to compare these fields. If the page gives only a diameter and a stock photograph, contact the seller or choose a documented part instead.
FAQ
Does cartridge color identify the correct replacement?
Cartridge color does not reliably identify a replacement. Manufacturers use white, black, gray, brass, blue, and red plastics across multiple models, while lighting and mineral deposits alter appearance. Use the faucet model, body dimensions, base configuration, stem connection, and retaining method instead of color.
What does a 35 mm faucet cartridge mean?
A 35 mm faucet cartridge usually refers to the nominal diameter of the main cylindrical body. The designation does not specify total height, stem broach, water-port shape, locator pins, rotation, or seal arrangement, so two 35 mm cartridges may not interchange.
Should I replace the seals or the complete cartridge?
Replace seals alone only when the manufacturer provides a matching seal kit and the cartridge body, discs, stem, and valve seat remain undamaged. Replace the complete cartridge when the stem is worn, ceramic discs are scratched, the body is cracked, or the correct seal kit is unavailable.
How many years does a faucet cartridge last?
Typical service life ranges from 5-15 years, but water quality, debris, operating frequency, and cartridge construction change the result. Ceramic cartridges often last longer in clean water, while hard-water scale and sediment can shorten the life of any mechanism.
Can a wrong cartridge damage the faucet?
A wrong cartridge can damage seals, retaining threads, the handle connection, or the valve body if forced into place or over-tightened. Stop when the replacement does not seat by hand, then compare the base pattern, body diameter, length, and orientation against the original.
The Bottom Line
Accurate faucet-cartridge measurement requires more than a barrel diameter or spline count. Remove the cartridge, record the stem-to-base length, measure the rigid barrel at several points, count and measure the broach, document every bottom port and locator pin, and match the retaining method and faucet model.
The exact keyword how to measure a faucet cartridge describes a compatibility process, not merely a caliper exercise. When the faucet body is sound, those measurements can support a low-cost repair; when the model is proprietary or the housing is damaged, an OEM part or complete faucet replacement is usually the safer decision.