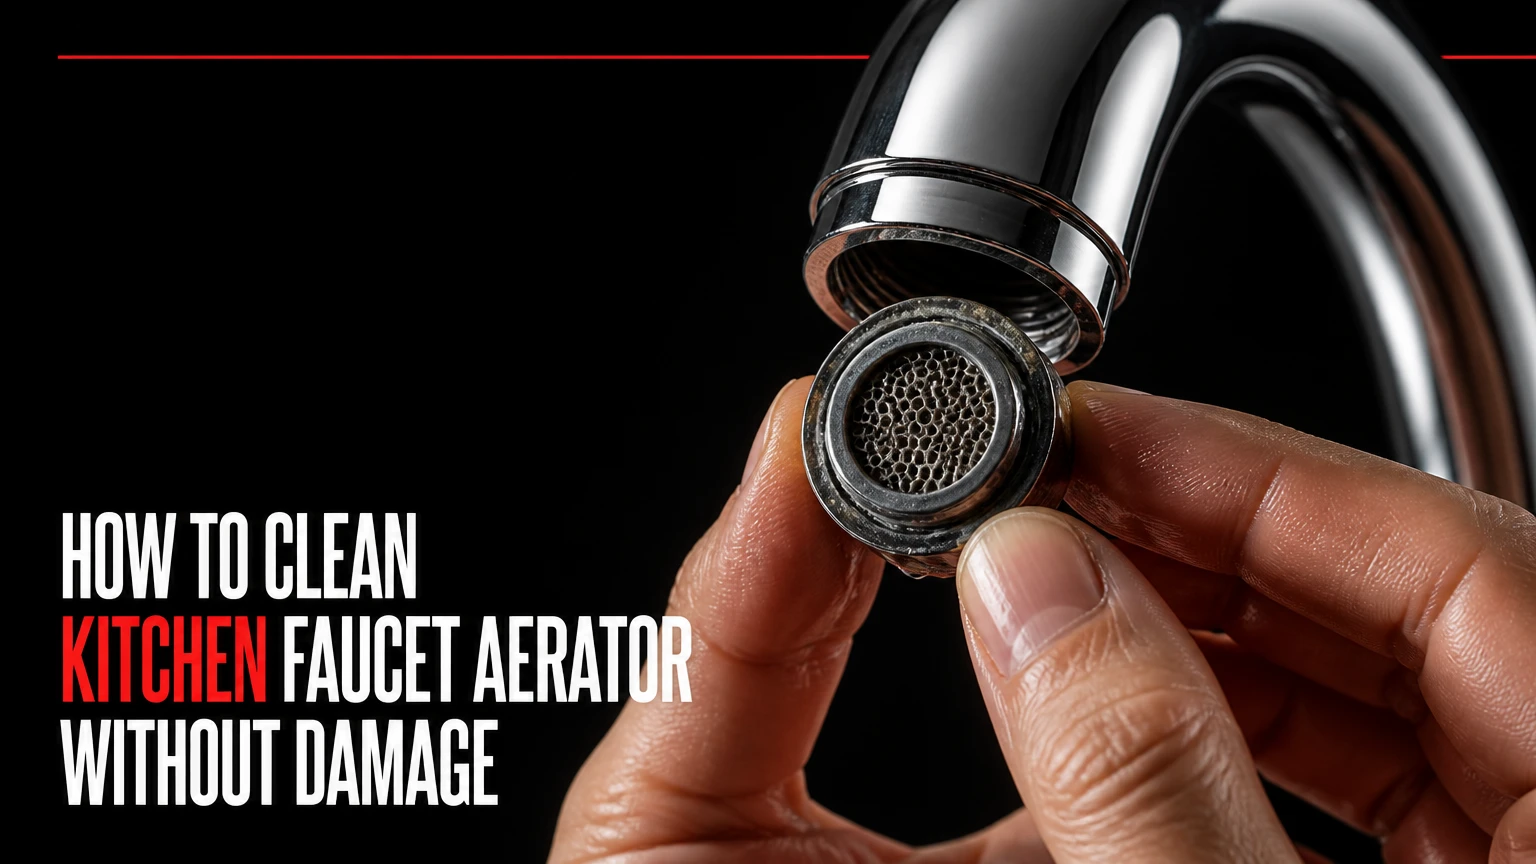
To clean a kitchen faucet aerator, remove the threaded tip, separate or lift out its screen and gasket, soak removable parts in distilled white vinegar for 30-60 minutes, brush away softened scale, rinse thoroughly, and reinstall the parts in their original order. The most important factors are protecting the finish, preserving the rubber washer, and avoiding over-tightening.
Key Facts at a Glance
- A kitchen faucet aerator mixes air with water and shapes the stream through a fine screen.
- A typical cleaning takes 10 minutes of active work plus 30-60 minutes of soaking.
- Distilled white vinegar is suitable for removable metal and plastic parts, but prolonged acid exposure can damage some finishes and seals.
- A standard replacement insert or aerator commonly costs $2-$12, while specialty cache and spray models often cost $4-$15.
- Hard-water homes commonly need aerator cleaning every 3-6 months; low-sediment homes may need it only twice yearly.
- Persistent low flow after cleaning can indicate a clogged cartridge, shutoff valve, supply hose, or faucet-side filter rather than the aerator.
Before You Start
The cleaning process requires a small set of household supplies, a protected work area, and the correct aerator key if the faucet has a hidden insert. Plugging the drain prevents a dropped gasket, screen, or restrictor from entering the trap, where retrieving it can require disassembly.
| Item | Typical quantity or specification | Purpose |
|---|---|---|
| Distilled white vinegar | 120-240 mL | Dissolves calcium carbonate scale |
| Small bowl or cup | 1, 250-500 mL capacity | Holds removable parts during soaking |
| Soft toothbrush | 1, nylon bristle | Loosens softened deposits |
| Rag or microfiber cloth | 1-2 pieces | Protects chrome, brass, and painted finishes |
| Slip-joint pliers | 1 pair, adjustable | Removes a stuck external aerator |
| Aerator key | 1 matching key | Removes a hidden cache aerator |
| Sink stopper or cloth | 1 | Blocks the drain opening |
| Smartphone camera | 1 | Records component order and orientation |
Typical time: 10 minutes of active work and 30-60 minutes of soaking.
Typical cost: $0-$12 if the existing aerator can be cleaned; replacement parts usually cost $2-$15.
Difficulty: Easy for a threaded external aerator, moderate for a hidden cache model or corroded fitting.
Do not begin by turning the faucet on full force. Loose scale can travel into the screen again, and a displaced gasket can fall into the drain before you identify its position.
What Is a Kitchen Faucet Aerator?
A kitchen faucet aerator is the small device fitted to the end of a faucet spout. The assembly normally includes a housing, one or more screens, a flow regulator or restrictor, and a rubber gasket that seals the threaded connection.
The aerator performs three jobs. It introduces air into the water stream, reduces splashing by organizing the flow, and catches particles such as rust flakes, sand, or mineral fragments. Many modern kitchen faucets use flow rates around 1.5-1.8 gallons per minute, while water-efficient models may use 1.0-1.2 gallons per minute.
The screen is a filter for the faucet outlet, not a drinking-water purification device. A clogged aerator can reduce visible flow and create an uneven or sideways spray, but cleaning it does not remove dissolved contaminants, disinfect unsafe water, or repair a failing cartridge.
How does an aerator reduce splashing?
A faucet aerator divides water through small openings and mixes air into the stream, producing a softer column with less concentrated impact at the sink surface. The restrictor controls the volume, while the screen and internal mixer shape the exiting water.
This design explains a common diagnostic clue: a faucet may feel as though it has “pressure” at the handle but deliver little water at the spout because the outlet screen is blocked. Pressure and flow are related, but they are not the same measurement.
How Do You Know the Aerator Is Clogged?
A clogged kitchen faucet aerator usually produces a narrow stream, reduced volume, uneven spray, visible flakes, or water that splashes in several directions. A quick bucket test helps separate an outlet blockage from a broader plumbing problem.
Place a container under the faucet and run the cold side for exactly 15 seconds. Multiply the collected volume by four to estimate gallons per minute, or measure in liters and compare the result before and after cleaning. For example, collecting 0.5 gallon in 15 seconds indicates approximately 2.0 GPM, while 0.2 gallon indicates approximately 0.8 GPM.
| Symptom | Likely aerator cause | Alternative cause to check |
|---|---|---|
| Low flow at one faucet only | Screen blocked by scale | Clogged cartridge or shutoff valve |
| Sideways spray | Gasket displaced or screen damaged | Cracked spout outlet |
| Flow improves when aerator is removed | Aerator restriction confirmed | None at the outlet |
| Low hot and cold flow | Aerator or faucet cartridge | Partially closed supply valves |
| Weak flow throughout the home | Not usually the aerator | Main valve, pressure regulator, or supply issue |
| Sudden flakes after plumbing work | Sediment trapped in screen | Debris in the cartridge or supply hose |
Remove the aerator temporarily and run the faucet into the sink. If water flows strongly without the aerator, clean or replace the outlet assembly. If flow remains weak, the aerator is not the primary restriction.
Which Aerator Type Do You Have?
Standard male aerators have external threads and screw into internal threads inside the faucet spout. Standard female aerators have internal threads and screw onto external threads at the spout. Hidden cache aerators sit inside the outlet and usually require a small plastic key.
Pull-down and pull-out kitchen faucets may use a removable spray head rather than a conventional exposed aerator. Some spray heads have a recessed screen, while others use a manufacturer-specific insert that should not be pried apart.
| Aerator type | Visual identifier | Common tool | Typical replacement cost |
|---|---|---|---|
| Standard male | Threads visible around outer casing | Hand or pliers with cloth | $2-$6 |
| Standard female | Internal threads inside a cap | Hand or adjustable pliers | $2-$6 |
| Cache or hidden | No visible side casing or flats | Matching cache key | $4-$10 |
| Swivel outlet | Hinged or pivoting tip | Hand, sometimes wrench | $6-$15 |
| Pull-down spray screen | Hose-mounted spray head | Manufacturer tool or hand | $8-$30 |
| Laminar insert | Clear, non-aerated stream | Insert tool or hand | $4-$12 |
A flashlight aimed into the spout usually reveals whether the insert has two or more notches for a cache key. Do not force a random key into the opening because incorrect engagement can round the plastic teeth.
How to Clean Kitchen Faucet Aerator Safely
The safest method is to remove the kitchen faucet aerator, document the component order, soak compatible parts in distilled white vinegar, rinse them completely, and reinstall the gasket flat. Most failures happen during removal or reassembly, not during the soak itself.
Step 1: Protect the Sink and Remove the Aerator
Close the drain with a stopper or folded cloth, then wipe the faucet tip dry. Try turning the aerator counterclockwise when viewed from below the spout. External threads normally loosen with a left turn.
If the casing is stuck, wrap it with a rubber grip pad, thick cloth, or several layers of painter’s tape. Apply light pressure with slip-joint pliers, gripping the protected casing rather than the faucet spout. Stop if the entire spout begins to twist or the finish starts to deform.
For a hidden cache aerator, insert the correct key into the internal notches and turn counterclockwise. Some models use a proprietary key, so the faucet manufacturer’s installation guide or replacement-parts diagram may be necessary.
Success checkpoint: The housing separates from the spout without scoring the finish or bending the outlet.
Common mistake: Clamping bare pliers directly onto polished or matte-black metal.
Step 2: Record the Parts and Separate the Insert
Place a towel on the counter and photograph the aerator from both sides before disassembly. Push the internal insert out of the housing with a fingertip or the blunt end of a pencil, but do not stab the screen with a sharp object.
Typical components include a rubber washer, a flow-control disc, a plastic or metal mixer, and one or more screens. Some cartridge-style aerators are factory-assembled and should be soaked as a single insert rather than forced apart.
| Part | Common material | Cleaning treatment | Replacement warning |
|---|---|---|---|
| Housing | Chrome-plated brass or stainless steel | Vinegar soak, then rinse | Finish may dull with prolonged acid |
| Screen | Stainless steel or plastic mesh | Soft brush and running water | Wire brushes can tear or deform mesh |
| Restrictor | Plastic or rubber | Brief soak and gentle rinse | Do not enlarge openings |
| Washer | EPDM or silicone rubber | Rinse with clean water | Replace if cracked, flattened, or brittle |
| Mixer insert | Plastic, nylon, or metal | Vinegar soak if manufacturer permits | Orientation affects stream quality |
Success checkpoint: Every component is visible, and the washer’s position and orientation are documented.
Common mistake: Assuming the black plastic disc is disposable debris and throwing it away.
Step 3: Dissolve Mineral Deposits
Put the removable screen, housing, mixer, and compatible restrictor into a bowl containing enough distilled white vinegar to cover them. Soak for 30-60 minutes, then brush the softened deposits with a soft nylon toothbrush.
Vinegar works best on calcium carbonate scale, the chalky white deposit associated with hard water. It is less effective against grease, organic residue, heavy rust, or corrosion that has eaten through the mesh. If the screen remains blocked after one hour, rinse it and repeat once rather than leaving delicate parts in acid overnight.
Keep rubber washers and painted or specialty-finished parts out of prolonged vinegar unless the faucet manufacturer permits acid exposure. A short rinse is safer for elastomers than an extended soak, particularly when the gasket is already swollen or brittle.
Success checkpoint: Light is visible through most screen openings, and deposits no longer flake off when the part is rinsed.
Common mistake: Scrubbing aggressively while scale is still hard, which stretches mesh and creates permanent spray defects.
Step 4: Rinse and Flush the Faucet Spout
Rinse every soaked component under warm running water until the vinegar odor disappears. Use the toothbrush on the housing threads and the faucet’s exposed outlet, but keep loosened particles from being pushed deeper into the spout.
Before reinstalling the aerator, briefly run the faucet without the outlet assembly. Start with cold water at low flow for 10-15 seconds, then increase flow enough to flush loose debris into the sink. If the faucet has separate hot and cold supply lines, flushing both sides helps remove particles from recent plumbing work.
Success checkpoint: The bare faucet produces a steady stream, and no visible flakes emerge during the flush.
Common mistake: Skipping the flush and immediately sending loosened sediment back through the clean screen.
Step 5: Reassemble and Test the Seal
Rebuild the aerator in the order shown in your photograph. Seat the rubber washer evenly against its sealing surface, then place the screen, mixer, and restrictor in the correct orientation inside the housing.
Thread the aerator onto the spout by hand in a clockwise direction. Hand-tighten until the connection is snug, then turn the water on slowly. If water leaks around the threads, turn the faucet off, remove the housing, verify the washer, and tighten only slightly with pliers over a cloth.
Do not use thread-sealing tape on a faucet aerator unless the manufacturer specifically calls for it. The gasket normally creates the seal, and tape can interfere with seating or leave fragments inside the screen.
Success checkpoint: Water exits in a centered, even stream with no leak at the joint.
Common mistake: Tightening harder when the real problem is a missing, crooked, or damaged gasket.
Can You Clean an Aerator Without Vinegar?
You can clean a faucet aerator without vinegar by using warm water, a soft toothbrush, and a manufacturer-approved mild descaler. Warm water removes loose sediment, while a mild citric-acid solution can address mineral scale when the product label permits use on the aerator’s materials.
Avoid bleach, drain cleaner, oven cleaner, concentrated acids, and abrasive powders. Those products can damage plating, attack rubber, leave residues, or alter the size of delicate screen openings. Boiling water is also a poor default because plastic inserts and elastomeric washers can distort.
For an aerator that cannot be removed, tie a vinegar-dampened cloth around the outlet for 20-30 minutes, then run warm water and wipe the screen with a soft brush. The external-wrap method is less thorough because it cannot clean the rear of the insert or remove trapped particles from internal chambers.
Common Mistakes and How to Fix Them
Most failed aerator cleanings result from a damaged gasket, incorrect component order, excessive tool force, or an incomplete diagnosis. Each failure has a different remedy, so repeating the vinegar soak will not solve every symptom.
| Failure mode | Why it happens | Recovery action |
|---|---|---|
| Water sprays sideways | Washer is missing, crooked, or cracked | Reseat or replace the gasket |
| Aerator will not loosen | Scale or corrosion locks the threads | Apply a vinegar-dampened cloth for 20-30 minutes, then retry |
| Chrome or painted finish is scratched | Bare pliers contacted the casing | Replace damaged housing if appearance matters |
| Flow is worse after cleaning | Screen was installed backward or debris shifted | Remove, rinse, photograph, and rebuild the insert |
| Aerator leaks at the joint | Threads are cross-threaded or washer is damaged | Start by hand again and replace the washer |
| Screen remains blocked | Scale is fused or mesh is distorted | Replace the insert rather than enlarging holes |
A stuck aerator deserves gradual force. First dry the fitting, then protect it, then use a properly sized tool. If corrosion has bonded the aerator to the faucet spout, repeated high force can damage the spout’s internal threads and turn a $5 repair into a faucet replacement.
A missing washer is the most common cause of water escaping around the connection. The washer is not decorative; it compresses between mating surfaces and prevents water from traveling through the threaded gap.
What If Water Pressure Is Still Low?
If the kitchen faucet still has weak flow after the aerator is removed and the spout is flushed, inspect the shutoff valves, supply hoses, cartridge, spray-head filter, and under-sink flow restrictor. Cleaning the aerator cannot restore flow that never reaches the faucet outlet.
Check both shutoff valves under the sink. Each valve should be fully open, but do not force a seized valve because the stem or packing can leak. Examine flexible hoses for sharp bends, crushed sections, or sediment at their inlet screens.
A single-handle faucet may have a clogged cartridge caused by debris released from the water line. Pull-down faucets add another possible restriction in the spray head, hose connection, or diverter. If every fixture has low flow, investigate the main shutoff valve, pressure-reducing valve, or municipal supply rather than the aerator.
When should you replace the aerator instead?
Replace the aerator when the mesh is torn, the housing is corroded, the insert remains blocked after two cleaning cycles, or the correct gasket is unavailable. Replacement is also sensible when the existing part costs only a few dollars and a reliable flow repair matters more than preserving the original insert.
Measure the old part or take it to a plumbing-supply store. Match thread type, outside diameter, height, flow rate, and outlet style. A visually similar aerator can leak or alter the stream if its gasket position and thread standard differ.
Should You Clean or Replace the Aerator?
Cleaning is the better first choice when the housing is intact, the mesh is only scaled, and the faucet uses a readily removable standard aerator. Replacement is usually better when the insert is damaged, permanently clogged, corroded, or incompatible with the faucet’s original flow pattern.
| Decision factor | Clean existing part | Replace with new part |
|---|---|---|
| Typical material cost | $0-$2 for vinegar | $2-$15 for most inserts |
| Active work | 10 minutes | 5-15 minutes |
| Waiting time | 30-60 minutes | None |
| Best condition | White scale, intact mesh | Torn mesh or corrosion |
| Compatibility risk | Very low | Thread and GPM must match |
| Waste generated | No replacement waste | One discarded insert |
| Flow improvement | Depends on screen condition | Usually immediate if correctly matched |
A replacement is not automatically a higher-quality repair. An incorrectly matched low-flow insert can make a healthy faucet feel weak, while removing the flow regulator entirely can increase consumption and produce a harsh, splashy stream.
The U.S. Environmental Protection Agency’s WaterSense program identifies faucet aerators as a way to reduce faucet water use while maintaining usable performance. The practical rule is to preserve the manufacturer’s intended flow rate unless a local plumbing requirement or a specific household need justifies a change.
How Often Should You Clean a Kitchen Faucet Aerator?
Clean a kitchen faucet aerator every six months as a general maintenance interval, or every three months in a hard-water home, after plumbing work, or when visible flow changes occur. Homes with filtered municipal water and little sediment may need less frequent attention.
Cleaning frequency depends on water chemistry and particle load, not calendar time alone. Calcium-rich water forms scale, while galvanized-pipe corrosion and construction debris can clog a screen even where mineral buildup is modest.
| Household condition | Practical cleaning interval | Early warning sign |
|---|---|---|
| Soft water, modern plumbing | Every 9-12 months | Slightly uneven stream |
| Average municipal water | Every 6 months | Reduced volume or splashing |
| Hard water | Every 3 months | White crust around outlet |
| Private well with sediment | Every 1-3 months | Grit or rust flakes |
| Recent plumbing repair | Immediately after work, then 3 months | Sudden flow reduction |
| Commercial or high-use kitchen | Every 2-4 months | Performance changes during use |
A short monthly inspection takes less than one minute. Wipe the outlet, look for chalky deposits, and compare the stream with its normal pattern before the screen becomes fully blocked.
Faucet-Specific Variations
Different kitchen faucet designs change the removal method, but the cleaning principles remain the same: protect the finish, preserve the gasket, remove loose debris, and verify flow before final installation.
Pull-down and pull-out spray heads
Unscrew the spray head from the hose if the manufacturer’s design allows it, then inspect the face screen and inlet filter. Many spray heads contain a small mesh disc behind the inlet connection rather than a conventional tip aerator.
Do not soak the entire hose or spray-head assembly unless the manufacturer permits it. Electronics, selector valves, seals, and internal diverters can react poorly to prolonged immersion.
Hidden cache aerators
Use the matching cache key and turn the insert counterclockwise. Cache aerators often have several internal size standards, so identify the key by matching all notches rather than by forcing the closest-looking tool.
Place a cloth over the sink before removal because the small insert, restrictor, and gasket can fall out together. Photograph the assembly immediately if the parts separate.
Swivel and spray outlets
Swivel aerators may contain extra seals and a pivot joint. Keep the joint aligned during reassembly, and inspect every O-ring for flattening or cuts.
A spray-pattern insert can be clean yet still produce an irregular pattern if its internal diverter is worn. Replacement is usually more reliable than trying to reshape a damaged spray component.
Cleaning, Replacement, and Time Costs
The direct cost of cleaning is usually negligible, but time and compatibility make replacement attractive for some households. Typical retail prices vary by brand, finish, flow rate, and whether the part is a standard insert or a proprietary spray-head component.
| Repair choice | Typical cost | Typical elapsed time | Appropriate use |
|---|---|---|---|
| Vinegar cleaning | $0-$2 | 40-70 minutes | Removable scale on intact parts |
| Standard aerator insert | $2-$6 | 5-15 minutes | Common male or female threads |
| Cache aerator | $4-$10 | 10-20 minutes | Hidden faucet outlet |
| Swivel or spray aerator | $6-$15 | 10-20 minutes | Directional or dual-pattern flow |
| Pull-down spray head | $8-$30 | 10-25 minutes | Damaged or proprietary head |
| Plumber service call | Often $100 or more | Varies by location | Seized fitting or broader flow fault |
Prices are typical consumer ranges, not guaranteed local quotes. A specialty manufacturer part can cost more than a complete standard faucet aerator, particularly when the replacement includes a diverter or electronic selector.
Expert Rules for a Reliable Repair
Use removal difficulty as a diagnostic signal. A fitting that needs extreme force may have corrosion, cross-threading, or a damaged spout. Pliers should provide controlled torque, not brute force.
Do not judge success by pressure alone. A smaller opening can create a forceful-feeling jet while delivering less water. Compare stream shape and timed volume, especially when replacing a flow-regulated insert.
Treat the gasket as a service part. A rubber washer can look intact while remaining flattened from years of compression. If the aerator leaks after correct reassembly, replacing the inexpensive gasket is usually more effective than adding tape.
Keep the old insert until the new one works. The original part provides a reference for thread size, flow rate, screen orientation, and gasket placement. Discarding it before testing the replacement removes useful evidence.
FAQ
Can I use lemon juice to clean a faucet aerator?
Lemon juice can loosen light mineral deposits because it contains citric acid, but distilled white vinegar provides a more predictable and usually less expensive soak. Use either liquid only on compatible removable parts, rinse thoroughly, and avoid prolonged contact with painted finishes, rubber seals, or manufacturer-prohibited materials.
Should I remove the aerator before cleaning the faucet?
Remove the aerator for a complete cleaning because deposits collect on both sides of the screen and inside the restrictor chamber. If the insert cannot be removed, wrap the outlet with a vinegar-dampened cloth for 20-30 minutes and brush the exposed screen, recognizing that the result will be less thorough.
Why does my faucet sputter after aerator cleaning?
A faucet may sputter because air remains trapped in the aerator, the screen is installed incorrectly, or loosened sediment is still inside the mixer. Remove the insert, rinse it again, flush the bare spout for 10-15 seconds, and reinstall the screen and restrictor in their documented order.
Can a dirty aerator cause unsafe drinking water?
A dirty aerator can hold sediment, biofilm, or mineral deposits at the outlet, but cleaning the aerator does not make contaminated source water safe. Rinse the part completely, flush the faucet after reinstallation, and address any separate water-quality concern with an appropriate certified treatment or laboratory test.
How do I identify the correct replacement aerator?
Identify the replacement by matching thread style, diameter, height, gasket location, flow rate, and outlet function. Take the old aerator to a hardware or plumbing-supply store, compare it with the manufacturer’s parts diagram, or measure the spout opening with calipers when the original part is unavailable.
When should a plumber handle the repair?
Contact a plumber when the faucet spout twists during removal, the fitting is severely corroded, the supply connection leaks, or flow remains low with the aerator removed. A professional is also appropriate when low pressure affects multiple fixtures, because the cause may be the main valve, pressure regulator, or building supply.
The Bottom Line
Cleaning a kitchen faucet aerator is usually a 10-minute hands-on repair with a 30-60 minute vinegar soak. Remove the insert carefully, record every component’s order, use a soft brush, flush the bare spout, and reinstall the gasket evenly. If the screen is torn or flow remains low after removal, replace the aerator or investigate the faucet’s cartridge and supply path instead. Include the exact keyword naturally in your maintenance plan: knowing how to clean kitchen faucet aerator components before they fail prevents most spray and flow problems.