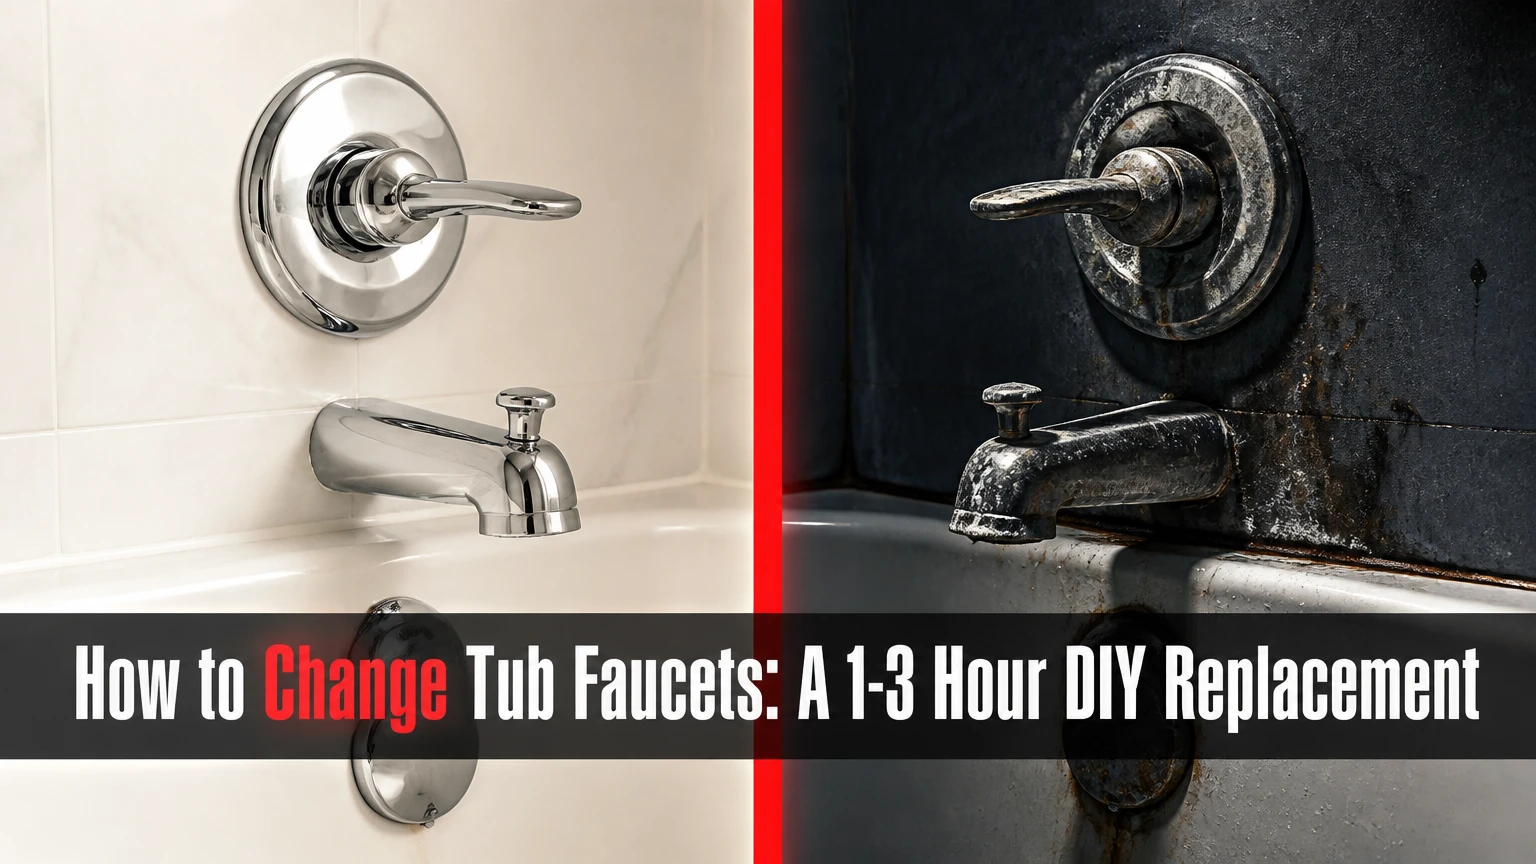
To change tub faucets, shut off the water, identify whether the spout is threaded or slip-on, remove the existing trim, install compatible replacement parts, and test every connection before sealing. A standard spout or trim replacement usually takes 1-3 hours; replacing the concealed valve can take 4-8 hours and may require wall access.
Key Facts
A new tub spout does not fix a drip that continues when the faucet is off; the cartridge or valve stem usually causes that leak.
Most tub-and-shower plumbing uses nominal 1/2-inch supply piping, but faucet compatibility depends on the valve brand and model.
A slip-on spout has an underside set screw; a threaded spout screws onto a male pipe adapter or threaded stub-out.
Typical DIY material cost is $50-$300 for a spout, trim kit, replacement cartridge, sealants, and basic tools.
Caulk the top and sides of an escutcheon, but leave the bottom open so trapped water can drain.
A three-handle-to-single-handle conversion normally requires replacing the valve behind the wall, not merely changing the visible handles.
What Does a Tub Faucet Include?
A tub faucet is the fixture assembly that controls hot and cold water, delivers water through the tub spout, and may divert flow to a showerhead. The visible parts include handles, an escutcheon plate, a cartridge or stem trim, and a spout, while the valve body and supply connections usually sit behind the finished wall.
A single-handle faucet uses one cartridge or ceramic control to regulate volume and temperature. Two-handle faucets use separate hot and cold stems. Older three-handle systems add a dedicated diverter handle between the two supply controls.
The valve body determines the replacement options. A trim kit may fit only the valve family for which it was designed, even when the new escutcheon appears to match the old one. Moen, Delta, Kohler, Pfister, American Standard, and other manufacturers use different valve dimensions and retaining systems.
How Does the Faucet Control Water?
Pressurized hot and cold water enters the valve body, passes through a cartridge or stems, and exits toward the tub spout. Raising or rotating a handle aligns internal openings, while a diverter blocks the spout path when shower flow is selected.
Pressure-balance valves respond to changes in inlet pressure to reduce sudden temperature changes. Thermostatic valves measure temperature more directly and can maintain a selected temperature while volume is controlled separately. Neither system should be assumed from the faucet’s exterior appearance.
Which Tub Faucet Parts Can You Replace?
You can usually replace the spout, handles, escutcheon, and compatible trim without opening the wall. Replacing a cartridge may also avoid wall demolition when the existing valve has a removable front-service cartridge, but a concealed valve body requires plumbing access behind or through the wall.
| Replacement task | Wall access usually needed | Typical time | Typical DIY cost |
|---|---|---|---|
| Tub spout only | No | 20-60 minutes | $25-$100 |
| Handles and escutcheon | No | 45-90 minutes | $40-$180 |
| Compatible cartridge | No, front-service valve | 1-2 hours | $30-$120 |
| Complete matching trim kit | No, compatible valve | 1-3 hours | $80-$300 |
| New concealed valve body | Often yes | 4-8 hours | $150-$500 in parts |
| Three-handle to single-handle conversion | Usually yes | 6-12 hours | $200-$800 in parts |
The phrase “change the faucet” can describe four different jobs. Confirm the leaking or damaged component before buying parts. Replacing a decorative spout cannot repair an internal cartridge, and installing an expensive trim kit cannot make an incompatible valve serviceable.
What Should You Measure Before Buying?
Measure handle center spacing, spout projection, pipe diameter, exposed stub-out length, and the distance from the valve centerline to the tub rim. For two-handle configurations, 8 inches center-to-center is common, but older homes can use unusual spacing.
Record the faucet brand and photograph the cartridge, retaining clip, set screw, and valve markings after removal. Manufacturer parts diagrams are more reliable than visual similarity. A “universal” trim kit often means adaptable mounting hardware, not universal internal-valve compatibility.
How Do You Choose a Compatible Replacement?
Choose a replacement by matching the existing valve brand and model, the spout connection, the handle count, and the diverter location. Style and finish should be selected after mechanical compatibility, because a polished finish cannot compensate for the wrong cartridge or pipe connection.
| Existing configuration | Compatible purchase route | Main limitation | Best replacement choice |
|---|---|---|---|
| Single handle, known brand | Same-brand trim or cartridge | Valve model still matters | Matching trim kit |
| Two handles, 8-inch spacing | Same configuration or renovation plate | Supply spacing may vary | Two-handle trim |
| Three handles with center diverter | Matching three-handle parts | Three valve mechanisms remain | Stem-and-trim set |
| Threaded wall spout | Threaded replacement with correct adapter | Stub-out length and thread type | Compatible threaded spout |
| Slip-on copper spout | Slip-on replacement for measured pipe | Pipe must be round and undamaged | Correct-diameter slip-on spout |
| Unknown old valve | Exposed repair parts or valve replacement | Trim compatibility is uncertain | Service cartridge or plumber assessment |
Single-handle systems offer simpler temperature control and may include pressure-balance protection. Two-handle systems preserve traditional layouts and allow independent adjustment. Three-handle systems can be economical to repair, but they retain more seals and diverter components that can eventually leak.
Roman and freestanding tub faucets are different projects. Roman faucets mount on the tub deck and require access beneath the deck; freestanding models require rigid floor or under-floor supply connections. A wall-mounted tub-and-shower trim kit cannot replace either design.
Before You Start: Tools, Materials, and Safety
Prepare an adjustable wrench, tongue-and-groove pliers, Phillips and flathead screwdrivers, hex keys, a cartridge puller if needed, a flashlight, a plastic scraper, a rag, silicone sealant, and thread sealant approved for the connection. Use a basin or towel to protect the tub finish from dropped tools.
| Item | Quantity or specification | Purpose |
|---|---|---|
| Adjustable wrench | 1, 8-10 inches | Nuts and adapters |
| Tongue-and-groove pliers | 1 pair | Gripping removable spouts or sleeves |
| Hex keys | 1 metric and inch set | Handle and spout set screws |
| Silicone bathroom sealant | 1 tube | Escutcheon and spout perimeter |
| PTFE tape | 1 roll, 1/2-inch width | Male threaded joints when manufacturer permits |
| Replacement cartridge | 1 exact model | Internal flow and temperature control |
| Plastic scraper | 1 | Old caulk removal without tile damage |
| Flashlight and rag | 1 each | Inspection and cleanup |
Before-you-start box
- Time: 1-3 hours for spout and trim; 4-8 hours for a valve.
- Difficulty: Beginner for a spout; intermediate for trim; advanced for concealed piping.
- Cost: $50-$300 for typical DIY trim work.
- Prerequisite: Confirm the water shutoff works and identify the replacement connection.
- Safety: Never rely on a handle position as proof that water is off.
How to Change Tub Faucets Step by Step
The following procedure covers the common wall-mounted tub-and-shower faucet. Follow the replacement manufacturer’s instructions when they conflict with generic dimensions, sealants, or cartridge orientation.
Step 1: Shut Off the Water and Protect the Tub
Close the bathroom’s local shutoff valves if the plumbing provides them. Otherwise close the main house shutoff, open the lowest faucet in the home, and open the tub faucet to release pressure.
Place a folded towel over the drain and a second towel on the tub floor. Confirm the supply is off by opening both hot and cold handles.
You’ll know it worked when: water stops after the residual pressure drains.
Common mistake: assuming the main valve is closed because the handle feels tight. Test the faucet before loosening any connection.
Step 2: Photograph and Identify the Existing Assembly
Photograph the handle orientation, escutcheon screws, cartridge retaining clip, spout underside, and any visible brand marks. Count the handles and note whether the diverter is on the spout, on a center handle, or on a separate wall control.
Measure the spout projection from the finished wall to the outlet and note the pipe material. Copper, galvanized steel, brass, and PEX require different fittings and cannot be treated as interchangeable exposed stub-outs.
You’ll know it worked when: the photographs show every connection that must return to its original position.
Common mistake: removing parts before recording cartridge orientation. A flipped cartridge can reverse hot and cold.
Step 3: Remove the Handle and Escutcheon
Pry off the decorative index cap carefully with a thin flathead screwdriver, then remove the exposed Phillips screw or loosen the handle’s hex set screw. Pull the handle straight outward; rocking it gently is safer than twisting the cartridge stem.
Remove the escutcheon screws and cut the old sealant around the plate with a utility knife or plastic scraper. If the handle is seized, use a faucet-handle puller rather than applying sideways force to the valve stem.
You’ll know it worked when: the valve stem or cartridge retaining hardware is exposed without a bent stem or damaged tile.
Common mistake: forcing the handle against a cartridge stem. A damaged stem can turn a trim replacement into a valve repair.
Step 4: Remove the Tub Spout
Inspect beneath the spout. A small hex set screw indicates a slip-on spout; loosen the screw with the correct hex key and pull the spout straight away from the wall. Do not rotate a slip-on spout aggressively because the copper stub-out can twist inside the wall.
A threaded spout has no underside set screw and turns counterclockwise from the wall. Protect the finish with a thick cloth and use an adjustable wrench or strap wrench, keeping the force close to the wall connection.
You’ll know it worked when: the pipe stub-out remains rigid and the wall fitting does not move.
Common mistake: using a pipe wrench directly on a finished spout. The wrench can crush the metal and leave deep marks.
Step 5: Remove the Cartridge or Valve Stems
For a cartridge replacement, remove the retaining clip, nut, or sleeve specified by the faucet manufacturer. Pull the cartridge with a dedicated extractor if hand force does not work, and keep debris out of the open valve body.
For two-handle or three-handle stems, close the integral stop if present, remove the stem assembly, and compare the old seal, spline, length, and thread pattern with the replacement. A stem that looks similar but has a different spline count may not accept the handle.
You’ll know it worked when: the replacement component matches the old part’s orientation, length, retaining method, and manufacturer model.
Common mistake: prying against the valve body with a screwdriver. Brass valve housings can deform, and plastic service parts can crack.
Step 6: Clean and Inspect the Connection
Scrape away old silicone, mineral deposits, and loose corrosion from the finished wall and pipe. Wipe the surface dry, then inspect the stub-out for flattened copper, damaged threads, galvanic corrosion, or movement inside the wall.
Do not cover a moving pipe with sealant. Movement indicates a loose fitting or inadequate support, and water can travel through the wall even when the exterior joint appears sealed.
You’ll know it worked when: the wall surface is clean, the pipe is dry, and the connection remains stationary under light hand pressure.
Common mistake: applying fresh caulk over old caulk. The new bead may detach with the old layer.
Step 7: Install the New Cartridge or Stems
Apply only the manufacturer-approved silicone faucet lubricant to cartridge seals. Insert the cartridge in the documented orientation, install the retaining clip or nut, and verify that the stem rotates or slides through its full range.
Pressure-balance cartridges often have a marked top, while some models can be reversed for alternate hot-left or hot-right installations. Follow the brand’s diagram instead of relying on the handle’s appearance.
You’ll know it worked when: the cartridge is fully seated, the retaining hardware is installed, and the handle stem moves smoothly without binding.
Common mistake: omitting the retaining clip. Water pressure can eject an unsecured cartridge and cause a major leak.
Step 8: Install the New Spout
For a threaded spout, apply three to four clockwise wraps of PTFE tape to compatible male pipe threads, keeping the first thread mostly clear so loose tape cannot enter the valve. Thread the spout clockwise by hand, then tighten it enough to point downward without forcing the fitting.
For a slip-on spout, slide it over the clean pipe until the back meets the wall, then tighten the underside set screw firmly. Use the supplied O-ring or adapter if the manufacturer specifies one. Do not substitute tape for a slip-on spout’s sealing O-ring.
You’ll know it worked when: the spout is rigid, aligned downward, and flush against the finished wall.
Common mistake: adding tape to a slip-on pipe. Tape cannot seal the O-ring interface and may prevent full seating.
Step 9: Install the Escutcheon and Handles
Fit the escutcheon over the valve and align the screw holes. Install the supplied gasket or seal, then tighten the screws evenly until the plate is stable, not distorted.
Slide each handle onto its stem, align the hot and cold markings, and secure the screw or cap. A handle that sits too far from the wall may indicate an incorrect adapter, missing sleeve, or incompatible trim depth.
You’ll know it worked when: handles operate smoothly and the escutcheon sits flat against the wall.
Common mistake: overtightening decorative screws. Excessive force can crack acrylic trim or strip brass threads.
Step 10: Restore Water, Test, and Seal
Open the water supply slowly while the tub faucet is open. Check the cartridge, stem, escutcheon perimeter, spout connection, diverter, and shower riser for at least five minutes.
Run hot and cold water separately, then operate the diverter. If the system has pressure-balance protection, verify that the temperature remains controlled when another fixture opens.
Apply a bathroom-grade 100% silicone bead around the top and sides of the escutcheon and spout base. Leave the bottom edge open unless the manufacturer specifically directs a complete seal, then allow the sealant to cure according to its label, commonly 24 hours.
You’ll know it worked when: all exposed joints remain dry, the spout delivers water without spraying at the wall, and shower diversion does not leak excessively.
Common mistake: sealing before testing. Silicone can hide a slow leak and make later inspection harder.
How Much Time and Money Should You Expect?
A standard tub faucet change costs $50-$300 for DIY materials and takes 1-3 hours when the existing valve and pipe connections are serviceable. Professional concealed-valve work commonly reaches $250-$800 or more because labor, wall repair, access, and replacement piping dominate the bill.
| Project scope | DIY parts range | Professional typical range | Main cost driver |
|---|---|---|---|
| Replace spout | $25-$100 | $150-$350 | Spout connection and corrosion |
| Replace handles and plate | $40-$180 | $200-$450 | Brand-specific trim |
| Replace cartridge | $30-$120 | $200-$500 | Seized cartridge and access |
| Replace complete valve | $150-$500 | $250-$800+ | Wall opening and pipe work |
| Convert three handles to one | $200-$800 | $600-$1,500+ | Valve conversion and wall repair |
Prices vary by region, finish, brand, and whether the project includes shower trim. Freestanding and Roman tub faucets often cost $300-$1,000 or more before labor because their deck or floor plumbing is specialized.
What Can You Replace Without Opening the Wall?
A tub spout, handle, escutcheon, and front-service cartridge can usually be replaced without opening the wall. A concealed valve, damaged threaded adapter, unsupported pipe, or corroded connection behind the wall generally requires access through an adjacent room, an access panel, or a carefully cut opening.
Use a renovation cover plate when converting a smaller visible opening to a single-handle control. The plate can hide old tile holes, but it cannot correct incompatible valve depth or eliminate the need for new supply connections.
A concealed-valve replacement is not a suitable beginner project. The work may involve soldering copper, crimping or expanding PEX, pressure testing, framing support, waterproofing, and patching tile or drywall.
Can You Change Three Handles to One?
You can change three tub faucet handles to one, but a true conversion normally requires replacing the valve body behind the wall. A single-handle trim kit cannot operate three independent openings unless a manufacturer specifically designed an adapter for that valve.
The conversion also changes temperature safety. A modern pressure-balance or thermostatic valve can provide protection that older three-handle systems may lack, but local plumbing codes may require an approved anti-scald valve during renovation.
Plan for an access opening, new supply connections, valve-depth measurement, waterproofing repair, and possible tile replacement. A large renovation plate can conceal the old opening, reducing cosmetic work, but it does not make the plumbing conversion simple.
Common Mistakes and How to Fix Them
The new spout will not fit
Stop and identify the connection rather than forcing the part. A slip-on spout needs the correct smooth pipe diameter and exposed length; a threaded spout needs the correct male adapter, thread type, and projection.
The spout leaks at the wall
Remove the spout and inspect the threads, tape direction, adapter, and washer. Re-tape only compatible threaded joints, keep tape away from the pipe opening, and replace damaged threads instead of adding excessive wraps.
The faucet still drips when closed
Replace the cartridge, stem washer, or valve seat indicated by the faucet design. The spout is the outlet, not the shutoff mechanism, so changing its exterior cannot stop an internal drip.
Hot and cold water are reversed
Shut off the supply, remove the handle and cartridge, and check the manufacturer’s orientation mark. Some cartridges rotate 180 degrees for alternate installation, while others require a different cartridge or valve configuration.
Water pressure is low after installation
Remove and rinse the spout diverter, screen, cartridge inlet, and showerhead if accessible. Pipe debris can move during service, but persistent low pressure on only one side may indicate a blocked cartridge inlet or damaged valve stop.
The handle is loose or sits too far out
Check the adapter, sleeve, retaining screw, and cartridge depth. Do not compensate with excessive screw tension; a mismatched trim adapter may need replacement.
The pipe moves inside the wall
Stop the project and inspect through an access opening if possible. A moving stub-out can indicate a loose elbow or missing support, and tightening the spout may break the concealed connection.
Three Situations That Change the Procedure
Replacing only a leaking tub spout
If the faucet shuts off correctly and only the spout is corroded or cosmetically damaged, replace the spout alone. Identify slip-on or threaded construction, measure the stub-out, install the correct part, and test the diverter before caulking.
Working in an older home
Older galvanized or heavily corroded plumbing may shear when a threaded spout is removed. Use a strap wrench, support the pipe, and prepare for an adapter or concealed fitting repair; do not apply unlimited torque.
Renting the property
Renters should photograph the leak and notify the property manager before shutting off a building-wide supply or removing the fixture. A tenant-installed replacement may violate the lease, alter the finish, or create responsibility for concealed water damage.
When Should You Call a Plumber?
Call a licensed plumber when the main shutoff fails, the pipe moves, a threaded adapter breaks, the valve body leaks behind the wall, the wall must be opened, or the project requires soldering or new PEX connections. A plumber is also appropriate when local code requires licensed work or when a shower valve lacks reliable anti-scald control.
A professional cannot eliminate every risk. Wall repair, tile matching, water-damage remediation, and discontinued valve parts can still increase cost after the plumbing work is complete. Ask for separate prices for valve replacement, access, waterproofing, trim, and finish repair.
FAQ
How do I know whether my tub spout is slip-on or threaded?
A slip-on tub spout normally has a small hex set screw underneath and slides over a smooth pipe. A threaded spout has no set screw and rotates onto a male threaded adapter. Remove the spout carefully, because a rotating copper stub-out can damage the concealed elbow.
Can I change a tub faucet without turning off the main water?
Only if working local shutoff valves isolate the tub faucet and you verify that they actually stop flow. Close the local valves, open the faucet, and wait for pressure to fall. If water continues, shut off the main supply before removing any component.
Do tub faucet brands use interchangeable cartridges?
Some third-party cartridges fit several valves, but cartridges are not universally interchangeable. Match the manufacturer, valve series, stem length, retaining method, and orientation. A cartridge that fits physically can still produce poor temperature control or fail to seal.
Should I use plumber’s putty or silicone around the tub faucet?
Use bathroom-grade silicone around the wall escutcheon and spout perimeter when the manufacturer specifies a wall seal. Plumber’s putty is commonly used beneath certain drain or deck fittings, but it is not a substitute for thread sealant or a slip-on spout O-ring.
How long should silicone cure before using the tub?
Follow the sealant label, because cure time depends on the product, bead size, humidity, and temperature. Many bathroom silicones require approximately 24 hours before regular water exposure. Keep the bottom of the escutcheon bead open when the installation design calls for drainage.
Is replacing a tub faucet harder than replacing a sink faucet?
A wall-mounted tub faucet can be harder because the valve is concealed and the spout may connect to a rigid pipe inside the wall. A sink faucet usually has accessible supply lines and mounting hardware beneath the basin, while tub work often hides the failure point.
The Bottom Line
To change tub faucets successfully, identify the existing valve and spout connection before buying parts, shut off and test the water supply, replace only components that are mechanically compatible, and inspect every joint before applying silicone. A spout or trim project can fit a 1-3 hour DIY window, while a concealed valve or three-handle conversion belongs to an advanced DIYer or licensed plumber. Knowing how to change tub faucets is less about turning wrenches than preserving the valve, pipe support, waterproofing, and temperature safety.