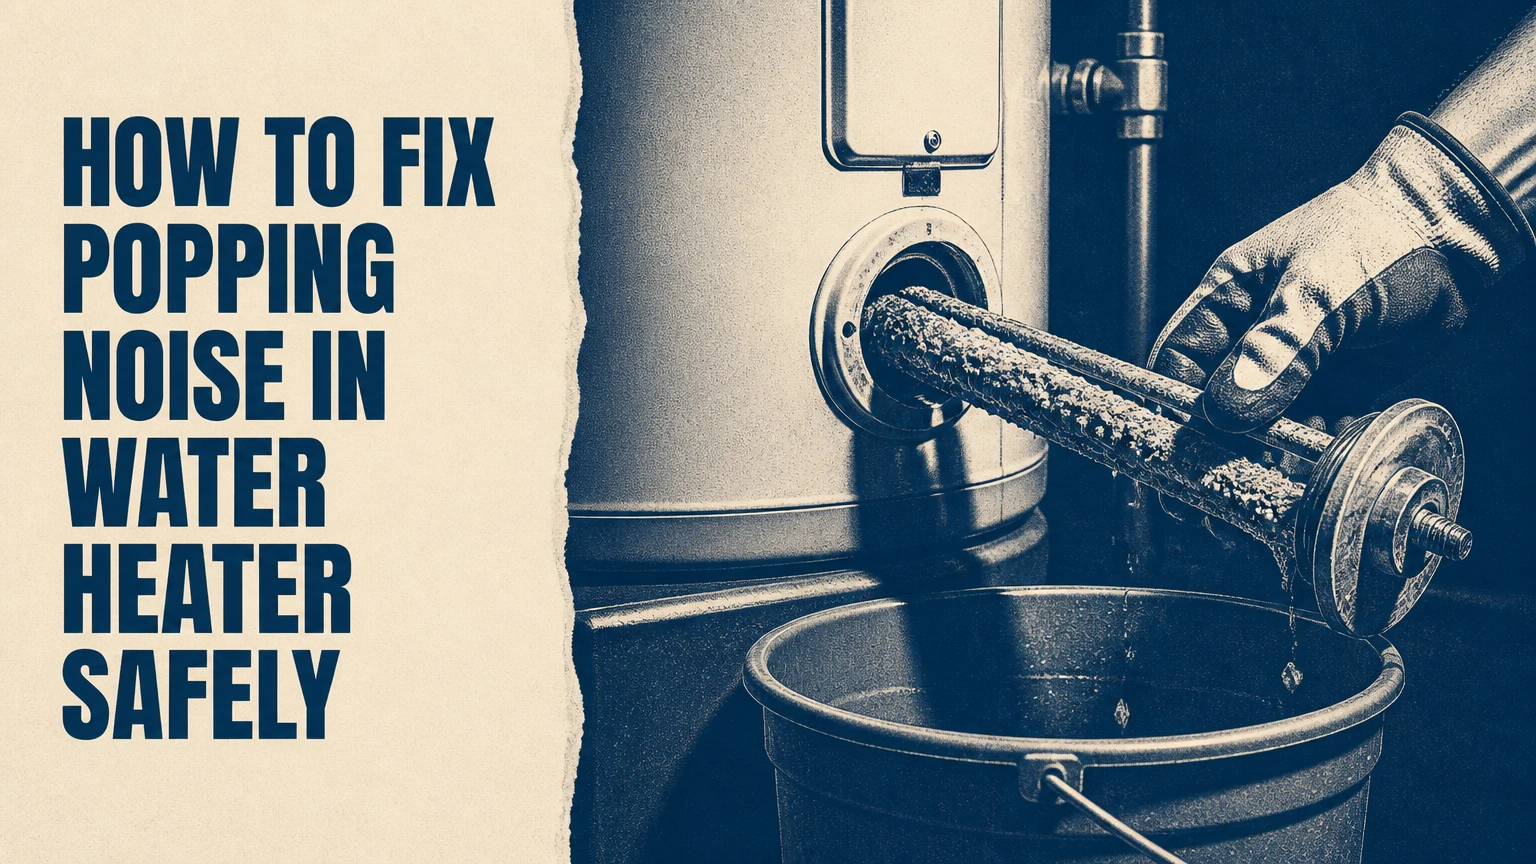
A popping noise in a water heater usually comes from sediment or mineral scale collecting on the tank floor and trapping water above the burner or heating element. Flushing removes loose deposits and often reduces the sound within 1-2 hours, but hardened scale, leaks, failed heating parts, or unsafe valves require professional service.
Key facts
A popping, crackling, or rumbling tank water heater most commonly contains sediment at its bottom.
Sediment can reduce heat transfer and lengthen recovery time, especially in hard-water areas.
Electric water-heater power must remain off until the tank is completely full.
A tank flush removes loose sediment, but it may not dissolve cemented calcium scale.
A leaking tank cannot be repaired by flushing and usually requires replacement.
Typical professional flushing costs range from $150-$400 in the United States.
Why Does a Water Heater Pop?
A water heater pops because trapped water flashes into steam beneath sediment or mineral scale, then escapes through cracks in the deposit layer. Gas burners heat the tank floor directly, while electric elements heat water through immersed resistance elements, so the sound pattern and repair risk differ between the two designs.
Hard water carries dissolved calcium and magnesium. When water is heated, some minerals precipitate and settle inside the tank. A deposit layer can trap small volumes of water against a hot surface. The water rapidly boils, forms steam, and breaks through the sediment with a popping or knocking sound.
Plumbers often call this process thermal kettling. The term describes the same basic mechanism found in a kettle coated with limescale, although a storage water heater has a larger tank, stronger burner or elements, and more serious consequences if maintenance is neglected.
Sediment also acts as insulation. A gas burner may run longer to transfer heat through the deposit, while an electric element can overheat locally if scale surrounds it. The result can include higher energy use, slower hot-water recovery, and premature component failure.
A popping noise is usually a maintenance warning rather than an emergency. Treat it as urgent when the tank leaks, the temperature-pressure relief valve discharges, gas smells appear, the burner flame behaves abnormally, or steam escapes around fittings.
Is the Sound Definitely Sediment?
A repeated pop during heating strongly suggests sediment, but a single sound does not prove scale buildup. Pipe expansion, a leaking relief valve, burner condensation, heat traps, and failed electrical components can produce similar noises and require different repairs.
Use the sound, timing, and location to narrow the cause:
| Sound or symptom | Likely source | Immediate action | Typical repair |
|---|---|---|---|
| Popping or rumbling during heating | Bottom sediment or scale | Schedule a flush | Mechanical flush or descaling |
| Sizzling on a gas unit | Condensation on burner | Inspect for leaks and pooling | Leak repair or burner service |
| Hissing at the top | Relief-valve discharge or leak | Check for hot water around valve | Valve diagnosis or replacement |
| Ticking in connected pipes | Thermal expansion or heat traps | Observe during heating | Secure or insulate piping |
| No hot water with quiet operation | Failed element, thermostat, or gas control | Check energy supply safely | Component diagnosis |
| Water beneath the tank | Corroded tank or fitting leak | Shut off water and energy | Fitting repair or tank replacement |
A normal expansion tick often comes from copper or steel piping moving against framing. That sound usually occurs shortly after heating begins and does not improve after flushing. A low rumble that stops when the burner or element stops points more strongly toward sediment.
Do not remove a burner cover, gas control, heating element, or relief valve merely to identify the noise. Those parts involve combustion, electricity, pressure, or scalding water.
What Should You Check Before Flushing?
Before flushing a water heater, identify its energy source, estimate its age, confirm a safe drain route, and gather equipment that can tolerate hot water. Allow 1-2 hours for a basic flush, and do not begin if the drain valve, hose connection, or discharge path is unsafe.
Before You Start
| Requirement | Typical specification | Why it matters |
|---|---|---|
| Work time | 1-2 hours | Includes draining, sediment agitation, refill, and checks |
| Water temperature | Often 120-140°F | Discharge can cause severe burns |
| Garden hose | 3/4-inch hose, 6-10 feet | Must reach a drain or outdoor discharge point |
| Shutoff valve | Cold inlet above tank | Stops incoming water |
| Energy isolation | Breaker off or gas control off | Prevents heating during drainage |
| Protective equipment | Gloves, eye protection, closed shoes | Reduces burn and splash injuries |
For an electric heater, switch off the dedicated double-pole circuit breaker and verify the heater cannot energize. For a gas heater, set the gas control to Pilot or Off according to the manufacturer’s instructions; turning the gas supply valve off is appropriate when the unit will remain unattended.
Close the cold-water inlet only after energy isolation. Make sure the hose end is secured. A loose hose can whip, discharge scalding water, or flood a room.
Do not flush a tank with an active leak, a visibly bulging shell, a damaged flue, a strong gas odor, or a relief-valve discharge that you cannot explain. Shut off the gas supply and water supply when appropriate, ventilate a suspected gas area without operating electrical switches, and contact a licensed professional.
How Do You Flush a Water Heater?
To flush a tank water heater, isolate the energy, close the cold-water supply, connect a hose, drain the tank, briefly agitate remaining sediment with fresh water, then refill completely before restoring heat. The most important checkpoint is steady water flow from a hot faucet before power or gas returns.
Step 1: Turn Off the Energy
Turn off the electric breaker or place the gas control in Pilot or Off. On gas models, follow the relighting instructions printed on the heater because some controls require a waiting period before ignition.
Success checkpoint: The burner is not firing, and the electric breaker is clearly identified and off.
Common mistake: Turning off only the thermostat does not reliably isolate an electric heater.
Step 2: Close the Cold-Water Inlet
Turn the cold-water shutoff valve clockwise until it stops. The valve is normally installed on the cold pipe entering the top of the tank, but some installations use a lever-style quarter-turn valve.
Success checkpoint: Opening a hot faucet produces a short flow followed by reduced or no pressure.
Common mistake: Closing the wrong valve can leave the tank pressurized and continue the discharge.
Step 3: Attach the Drain Hose
Connect a 3/4-inch garden hose to the drain valve near the tank bottom. Route the hose to a floor drain, utility sink, or outdoor location permitted by local rules, and keep the hose end lower than the tank whenever possible.
Success checkpoint: The connection is tight, and the discharge destination can accept hot water.
Common mistake: A hose rated for cold water may soften or leak when exposed to near-boiling discharge.
Step 4: Open a Hot-Water Faucet
Open a nearby hot faucet, preferably at a higher level than the heater. The open faucet admits air and helps prevent a vacuum as the tank drains.
Success checkpoint: Air enters the system and the faucet remains open during drainage.
Common mistake: Assuming the faucet makes the water safe. The water leaving the hose can remain hot enough to scald.
Step 5: Open the Drain Valve
Open the drain valve slowly and observe the first discharge. If the water is extremely hot, stop and allow the tank to cool before continuing, provided the energy source remains isolated.
Success checkpoint: Water flows continuously through the hose without leaking at the valve connection.
Common mistake: Forcing a brittle plastic valve can break the stem and create an uncontrolled leak.
Step 6: Drain and Agitate Sediment
Let the tank drain fully, which commonly takes 20-45 minutes depending on tank size, hose length, valve condition, and sediment blockage. When flow stops, open the cold-water inlet for 15-30 seconds, close it, and repeat until the discharge becomes relatively clear.
Success checkpoint: The hose emits clear or lightly cloudy water rather than grit, flakes, or rust-colored sediment.
Common mistake: Leaving the inlet open continuously can compact sediment near a restricted drain instead of flushing it out.
Step 7: Close the Drain and Refill
Close the drain valve before opening the cold-water inlet fully. Inspect the hose connection and drain valve for leaks, then leave the hot faucet open while the tank refills.
Success checkpoint: Air sputters from the faucet first, followed by a steady stream without air.
Common mistake: Disconnecting the hose before confirming the drain valve closes can send residual water onto the floor.
Step 8: Restore Energy Only After Full Refill
Keep the electric breaker off until a hot faucet produces a steady, bubble-free stream. For gas heaters, restore the control setting and relight the pilot exactly as the rating plate directs.
Success checkpoint: The tank is full, the drain is dry, and no fitting leaks during heating.
Common mistake: Energizing an empty electric tank can dry-fire and destroy the heating elements within minutes.
A flush may reduce the popping immediately, but sound can persist for several heating cycles while small deposits move or residual scale continues to release. If the noise becomes louder, water turns rusty, or the drain produces large brittle flakes, stop repeated flushing and assess the tank’s condition.
Which Repair Method Fits?
A mechanical flush is the lowest-cost first response for loose sediment, while professional descaling is more appropriate for hardened mineral deposits. Tank replacement becomes more rational when the heater is approximately 10-15 years old, the shell leaks, or repair costs approach half the price of a new installed unit.
| Repair method | Typical cost | Typical time | Best fit | Main limitation |
|---|---|---|---|---|
| DIY mechanical flush | $10-$30 | 1-2 hours | Loose sediment and maintenance | Does not dissolve hard scale |
| Professional flush | $150-$400 | 1-3 hours | Restricted valves or uncertain setup | May not remove bonded deposits |
| Chemical descaling | $50-$150 DIY materials, $200-$500 professional | 2-4 hours | Heavy calcium scale | Requires compatible procedure and disposal |
| Heating-element replacement | $20-$150 parts | 1-2 hours | Electric element failure | Does not remove tank sediment |
| Tank replacement | $1,200-$3,500 installed | 3-6 hours | Leaking or obsolete tank | Highest initial cost |
Prices are typical U.S. ranges, not guaranteed quotes. Local labor rates, access, tank capacity, permits, venting, seismic requirements, and code upgrades can change the final amount substantially.
Chemical descaling requires more caution than many online procedures suggest. A standard glass-lined tank is not automatically compatible with every acid, pump, concentration, or circulation method. Use only a product and procedure approved for the specific heater, and never substitute muriatic acid, drain cleaner, toilet cleaner, or an industrial descaler.
Vinegar can dissolve some mineral deposits, but a household vinegar treatment is often too weak or impractical for a full storage tank. It also does not repair a corroded shell, failed element, defective thermostat, or blocked drain valve.
When Does a Water Heater Need a Professional?
Professional service is appropriate when the tank leaks, the drain valve will not open, the discharge contains heavy rust, the heater has gas-combustion symptoms, or a flush fails after one careful attempt. A professional can test heating elements, thermostats, gas controls, venting, relief valves, and tank integrity without turning diagnosis into a parts gamble.
Call a licensed plumber or qualified water-heater technician for these conditions:
- Gas odor, soot, rollout, delayed ignition, or an unstable burner flame.
- A temperature-pressure relief valve that repeatedly discharges.
- Water leaking from the tank seam, bottom, or concealed insulation.
- A drain valve that is seized, cracked, or clogged with sediment.
- A tank installed in an attic, closet, crawlspace, or location where overflow could cause major damage.
- A chemical descaling procedure requiring a circulation pump or manufacturer-specific equipment.
- An electric heater that trips the breaker or has exposed wiring.
- A heater covered by a warranty where unauthorized work could affect coverage.
A practitioner rule is to avoid repeated drain-valve manipulation on an older tank. The valve may seal during normal operation but fail after sediment is disturbed. Replacing it while the tank is empty can be sensible, but the job becomes difficult if the valve threads are corroded or the tank cannot be drained.
Why Does the Popping Continue After Flushing?
Popping that continues after a clear-water flush usually means hardened scale remains on the tank floor or heating surface, although a different sound source remains possible. A second flush may remove additional loose material, but repeated flushing cannot reliably dissolve cemented calcium deposits.
Use the next symptom to choose the next test:
| Result after flushing | Most likely interpretation | Next step | Avoid |
|---|---|---|---|
| Quieter but not silent | Some loose sediment remains | Monitor one week, then inspect | Immediate chemical treatment |
| Same loud rumble | Hardened scale or wrong diagnosis | Professional inspection | Repeated aggressive flushing |
| No noise but no hot water | Heating component failure | Test element, thermostat, or gas control | Assuming sediment caused all symptoms |
| Rusty flakes from hose | Corrosion or deteriorating anode | Inspect anode and tank age | Treating rust as ordinary scale |
| Water leak appears | Tank or fitting failure | Shut down and obtain repair | Continuing to heat the unit |
| Drain valve will not flow | Blocked outlet or valve failure | Stop and call a plumber | Pressurizing a blocked drain |
On an electric heater, a lower element surrounded by scale can fail even after sediment removal. On a gas heater, a damaged dip tube, burner problem, or excessive condensation can mimic a sediment-related pop.
Sediment is not always the root cause of poor hot-water performance. A bad thermostat, undersized tank, crossover through a mixing valve, or a partially closed supply valve can reduce hot water independently of noise.
Should You Replace the Tank?
Replace a storage water heater when the tank shell leaks, corrosion is advanced, repair costs are disproportionate, or the unit is near the end of its expected service life with repeated failures. A quiet tank is not necessarily healthy, and a noisy tank is not automatically ready for replacement.
| Tank condition | Approximate age | Repair decision | Replacement signal |
|---|---|---|---|
| Popping, no leak, good hot-water output | 0-7 years | Flush and inspect anode | Low |
| Popping, reduced output, heavy scale | 6-12 years | Descale if tank is sound | Moderate |
| Drain valve failure, no shell leak | Any age | Replace valve professionally | Low to moderate |
| Repeated element or thermostat failure | 8-15 years | Compare repair with replacement | High |
| Rust-colored water from hot taps | 10-15 years | Inspect anode and tank | Moderate to high |
| Tank seam or bottom leak | Any age | Shut down heater | Very high |
Typical conventional tank heaters last about 8-12 years, but water chemistry, installation quality, anode maintenance, temperature setting, and usage determine actual life. Manufacturer warranty periods commonly range from 6-12 years and do not mean the tank will fail immediately afterward.
A powered anode rod can reduce corrosion in some installations, but it does not remove existing sediment or fix a leaking tank. A water softener can reduce calcium and magnesium entering the heater, yet it adds equipment, salt or regeneration costs, and maintenance requirements.
How Can You Prevent the Noise?
Prevent water-heater popping by flushing a serviceable tank at least annually, inspecting the anode rod on the manufacturer’s schedule, and addressing hard water before scale becomes thick. Homes with very hard water may need inspection every six months rather than relying on a universal yearly interval.
Maintenance frequency should match water conditions:
| Water condition | Suggested inspection interval | Useful prevention |
|---|---|---|
| Soft municipal water | 12-24 months | Flush and inspect drain valve |
| Moderately hard water | 12 months | Flush and check anode |
| Very hard water | 6-12 months | Test hardness and consider softening |
| Well water with sediment | 6-12 months | Sediment prefilter and tank flush |
| Older tank with rust flakes | 3-6 months | Professional inspection |
| Tankless system | Manufacturer schedule | Annual heat-exchanger descaling |
Do not set the thermostat higher to compensate for a sediment-insulated tank. A higher setting increases scalding risk and may accelerate scale formation. The U.S. Department of Energy commonly identifies 120°F as an efficient household setting, although a household with a circulation system, medical needs, or a specific legionella-control protocol may require professional guidance.
Anode-rod inspection is particularly valuable because the rod protects the steel tank through sacrificial corrosion. If the rod is consumed, the tank loses a major corrosion-control component even when the water still looks clear.
Common Mistakes and How to Fix Them
The most damaging flushing mistake is restoring heat before the tank is full, while the most common plumbing mistake is forcing a stuck drain valve. Correcting the sequence and respecting valve condition prevents dry-fired elements, flooding, scalds, and unnecessary tank damage.
- Dry-firing an electric heater: Turn off the breaker before draining and leave it off until a hot faucet runs steadily.
- Discharging hot water onto unsafe surfaces: Route the hose to a permitted drain or allow the water to cool before controlled discharge.
- Forcing a plastic drain valve: Stop when the handle binds; a plumber can replace the valve without snapping it.
- Using harsh acid: Use a manufacturer-approved descaler or professional service, never drain cleaner or muriatic acid.
- Closing every faucet during drainage: Keep one hot faucet open to admit air and reduce vacuum behavior.
- Assuming clear water means no scale: Hardened deposits can remain attached even after the hose discharge looks clean.
One counterintuitive point matters: a flush can reveal a weak tank rather than cause the leak. Sediment may temporarily plug a small corroded opening, and disturbing the deposit can expose the existing failure. That outcome indicates tank deterioration, not a reason to keep adding sediment.
What Other Water-Heater Sounds Mean
Not every water-heater sound requires a flush. Popping during a heating cycle points toward sediment, but hissing, dripping, clicking, buzzing, and banging require separate checks for combustion, pressure, expansion, and electrical faults.
A hissing sound may indicate a relief valve, a plumbing leak, or steam escaping from an unsafe location. A sizzling gas-heater sound can occur when condensation drips onto the burner, but persistent moisture requires inspection for leaks or venting problems.
A buzzing electric heater can indicate a loose electrical connection or failing element. Turn off the breaker and obtain service rather than opening the electrical access panel while energized.
A clicking or ticking sound often comes from pipes expanding against framing or heat traps changing position. Insulating or securing accessible piping may reduce it, but never cover a combustion vent or relief-valve discharge pipe.
A bang when a faucet closes is usually water hammer in the plumbing system, not thermal kettling inside the tank. Water-hammer arrestors, pressure regulation, and pipe support address that problem more directly than tank flushing.
Frequently Asked Questions
How often should I flush a water heater?
Flush a conventional tank water heater about once every 12 months when the water is moderately hard and the tank is serviceable. Homes on wells, homes with visible sediment, and areas with very hard water may need six-month inspections. Follow the manufacturer’s maintenance instructions when they differ.
Can I flush a water heater without turning off the gas?
Do not drain a gas water heater while its burner is firing. Set the gas control to Pilot or Off according to the label, and keep the burner from operating during the procedure. A technician should handle unfamiliar controls, damaged venting, gas odors, or relighting problems.
Is a popping water heater dangerous?
A sediment-related pop is usually a maintenance warning, not an imminent explosion. The risk increases when the tank leaks, the relief valve discharges, combustion is abnormal, wiring is damaged, or the heater operates without adequate water. Shut down unsafe equipment and arrange professional diagnosis.
Can a tankless water heater make the same noise?
A tankless water heater can make popping, rumbling, or crackling noises from scale on its heat exchanger, but it does not accumulate sediment on a storage-tank floor. Tankless units typically need manufacturer-approved descaling through isolation valves and a circulating pump, often at 12-24-month intervals.
Why is my water heater louder at night?
A water heater may seem louder at night because household background noise is lower and the unit may run after showers replenish the tank. Nighttime popping still indicates a heating-cycle condition, so compare the sound with burner or element operation and inspect for leaks, hissing, or relief-valve discharge.
Does a water softener stop water-heater popping?
A water softener can reduce calcium and magnesium scale formation when hardness is the primary cause, but it does not remove sediment already inside the tank. A softener also does not correct rust, failed heating elements, poor venting, water hammer, or a leaking tank.
The Bottom Line
To fix a popping noise in a water heater, first isolate the gas or electricity, flush loose sediment safely, refill the tank completely, and restore heat only after steady faucet flow confirms a full tank. If the popping persists, the drain is blocked, the tank leaks, or the heater has combustion or electrical symptoms, stop DIY work and arrange professional inspection. That sequence addresses the most common cause without confusing thermal kettling with a failing component or an aging tank.