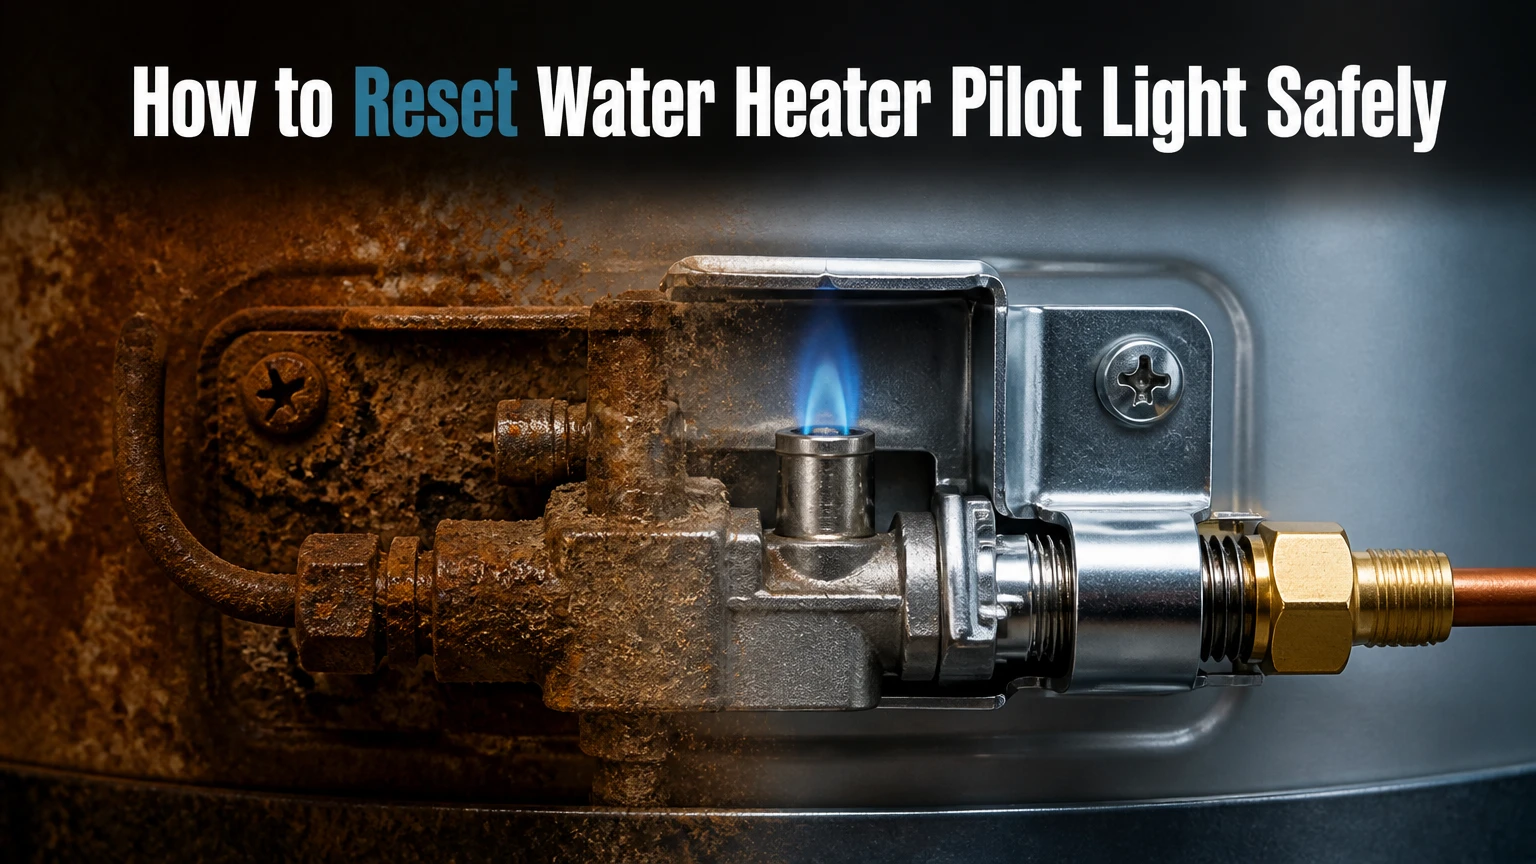
To reset a gas water heater pilot light, turn the gas control to OFF, wait at least five minutes, select PILOT, hold the control down, and use the built-in igniter or a long-reach lighter. Keep holding the control until the thermocouple heats, then release it slowly and turn the valve to ON.
Key Facts at a Glance
- A standing pilot is a small gas flame that ignites the water heater’s main burner.
- A thermocouple or thermopile shuts the gas valve when the pilot flame is absent or too weak.
- A five-minute waiting period is a common minimum after turning the gas control to OFF, but the appliance manual takes priority.
- A piezo igniter creates a spark mechanically, so it normally does not need household electricity.
- A pilot that repeatedly goes out needs diagnosis; repeated resets do not repair a blocked pilot, defective sensor, draft, or unsafe venting condition.
- Tankless heaters and many newer storage heaters use electronic ignition and may have no pilot light to relight.
What Should You Do Before Relighting?
Before relighting a gas water heater, confirm that there is no gas odor, carbon monoxide symptom, water leak, or visible damage. Relighting normally takes 5-10 minutes, requires no replacement parts, and has low mechanical difficulty, but the main safety decision is whether the heater is safe to approach.
Before-start checklist
| Item | Typical requirement | Why it matters |
|---|---|---|
| Appliance manual | Manufacturer-specific | Valve labels and hold times differ |
| Waiting period | At least 5 minutes | Allows unburned gas to disperse |
| Lighting tool | Piezo button or 12-inch-plus lighter | Keeps hands away from the burner |
| Access condition | Dry floor and clear panels | Reduces fire and electrical hazards |
| Venting | Connected, unobstructed vent | Prevents combustion gases entering the room |
Find the manufacturer, model number, and lighting instructions before manipulating the control. Common manufacturers include Rheem, A. O. Smith, Bradford White, State, and Rinnai, but similar-looking gas valves do not guarantee identical procedures.
If you smell rotten-egg gas, do not touch the gas valve, light a flame, operate a light switch, use a phone inside the building, or attempt the reset. Leave immediately, call the gas utility or emergency services from outside, and do not return until the area has been declared safe.
If anyone has headache, dizziness, nausea, unusual tiredness, or confusion while the heater operates, leave the building and seek emergency help. Carbon monoxide has no odor, and a pilot reset cannot correct a blocked flue or combustion problem.
Which Ignition System Does Your Heater Use?
A water heater with a continuously burning flame and a PILOT control uses a standing-pilot system; a heater with a spark button uses piezo ignition, while a unit with a blinking indicator, wiring, or an electronic control module may use intermittent electronic ignition.
| System | Identification clue | Power-outage behavior | Correct action |
|---|---|---|---|
| Standing pilot | Flame remains lit continuously | Usually operates without electricity | Relight through PILOT control |
| Piezo ignition | Red or black push-button spark | Usually operates without household power | Hold control and press igniter |
| Electronic ignition | Wires, control board, or status codes | Often stops during outage | Follow electrical reset procedure |
| Hot-surface ignition | No visible pilot assembly | Requires powered igniter | Do not use a match unless manual says so |
| Tankless ignition | Compact wall-mounted cabinet | Requires control power | Use the manufacturer reset sequence |
A sealed combustion chamber usually has a sight glass and an integrated igniter. An older atmospheric heater may have removable metal access panels and an exposed burner area. Never remove a sealed combustion cover to improvise a lighting method.
A pilot reset is not the same as resetting a breaker. Turning a breaker off and on cannot relight a gas flame unless the appliance specifically uses an electronic ignition control.
How to Reset Water Heater Pilot Light Safely
The standard reset sequence has seven actions: turn the control off, wait, select pilot, hold the valve open, create a spark or flame, heat the safety sensor, and return the control to ON. The thermocouple must sit in the pilot flame, and the heater must remain free of gas odor throughout the process.
Step 1: Locate the gas control and lighting instructions
Find the thermostat and gas control valve near the lower front of the tank. Identify the OFF, PILOT, and ON positions, plus the separate igniter button if the heater has one.
Read the lighting label attached to the heater. A label may specify a 10-minute wait, a 30-second hold, or a different knob sequence.
Success checkpoint: You can identify the control positions without forcing the knob.
Common mistake: Assuming the large temperature dial is the gas shutoff control.
Step 2: Turn the control to OFF and wait
Rotate the gas control to OFF using only your hand. Wait the exact period printed on the appliance label, with five minutes as a common minimum when no different instruction is available.
Do not force a knob that will not turn. A damaged gas valve can leak internally or fail to close correctly.
Success checkpoint: The control is visibly at OFF, and the full waiting period has elapsed.
Common mistake: Turning immediately from OFF to PILOT without allowing residual gas to dissipate.
Step 3: Relight a piezo pilot
Turn the gas control to PILOT. Press and hold the control knob fully down, then press the piezo igniter once per second until the pilot flame appears through the sight glass.
Keep the control depressed for the time specified by the manual. Thirty to sixty seconds is typical, but some valves require longer. Release the knob slowly. If the pilot remains lit, turn the control to ON and listen for the main burner.
Success checkpoint: A stable blue pilot flame remains visible after the knob is released.
Common mistake: Pressing the igniter while the control is still at OFF, or releasing the gas control after only a few seconds.
If the igniter clicks but no spark appears, look through the sight glass only if the manufacturer permits visual inspection. Do not remove a sealed burner cover or reach into the combustion chamber.
Step 4: Relight an older manual pilot
Use this procedure only when the manufacturer’s instructions identify an exposed, match-lit pilot. Turn the control to OFF, wait the required period, then remove the specified outer and inner access panels.
Set the control to PILOT, press and hold it, and place a long fireplace match or long-reach barbecue lighter at the pilot burner. Keep the control depressed for the manual’s specified interval, often 30-60 seconds, then release it gradually and turn the valve to ON if the flame persists.
Success checkpoint: The pilot is steady, predominantly blue, and positioned at the sensor.
Common mistake: Using a short match, leaning over the burner, or replacing panels incorrectly.
Replace access panels exactly as designed. Those panels control combustion airflow and protect occupants from flame contact. If the pilot flame is yellow, lifting, noisy, or unusually large, stop using the heater and arrange a professional inspection.
Step 5: Confirm main-burner operation
After turning the control to ON, the main burner should ignite when the tank thermostat calls for heat. The burner may not start immediately if the water is already above the thermostat setting.
A normal burner flame is generally blue and even across the burner ports. Soot, yellow flames, flame rollout, unusual noise, or exhaust odor indicates a combustion or venting concern rather than a simple pilot reset.
Success checkpoint: The burner ignites normally, the vent remains connected, and no gas or exhaust odor is present.
Common mistake: Turning the temperature dial repeatedly and interpreting the normal delay as ignition failure.
What If the Heater Has Electronic Ignition?
An electronic-ignition water heater usually has no continuously burning pilot and should not be lit with a match. Restore power if appropriate, verify the gas supply is on, check the status code, and follow the exact reset instructions in the owner’s manual.
| Electronic symptom | Likely area | Safe homeowner check | Escalation |
|---|---|---|---|
| No display after outage | Power supply | Check dedicated switch or breaker once | Electrician or technician if it trips again |
| Igniter clicks, no flame | Gas supply or igniter | Confirm valve position and gas service | Licensed technician |
| Flame starts, then stops | Flame sensor or venting | Read status code and inspect exterior vent | Licensed technician |
| Repeated lockout | Stored fault | Record code and perform one manual reset | Service call |
| Water remains cold | Burner, gas, or thermostat | Confirm operating mode | Manufacturer service |
Some electronic systems use an intermittent spark, while others use a hot-surface igniter. Those components operate under control-board supervision, and bypassing the controls can defeat flame-safety protection.
Why Will the Pilot Not Stay Lit?
A pilot that goes out immediately after release usually indicates insufficient sensor heating, weak pilot flame, a damaged thermocouple, a faulty gas valve, or a draft. The often-repeated claim that a bad thermocouple causes 80% of failures is not a dependable universal statistic, because pilot assemblies and failure patterns vary by model.
Thermocouple and thermopile symptoms
A thermocouple is a temperature-sensitive probe that produces a small millivolt signal for the gas valve. Some systems use a thermopile, which produces more electrical output and may power additional controls. Both require a strong flame in the correct position.
Do not automatically replace the sensor. A dirty pilot orifice can produce a flame too small to heat the probe, creating the same symptom as a defective thermocouple.
Read the status light before repeating the reset
Many newer gas valves use LED blink codes. Record the number and timing of flashes, then compare them with the label or manufacturer manual. A code for ignition failure, over-temperature shutdown, or vapor-sensor activation requires a different response from a simple extinguished pilot.
Never clear a code repeatedly without correcting its cause. Lockouts often protect against unsafe combustion, blocked venting, or excessive temperature.
Troubleshooting sequence
| Observation | Probable cause | Homeowner action | Stop condition |
|---|---|---|---|
| No pilot flame appears | Closed gas supply or blocked orifice | Confirm valve position and manual sequence | Gas odor or no gas service |
| Flame is weak and yellow | Dirty orifice or poor combustion | Stop and arrange cleaning | Flame rollout or soot |
| Flame dies on release | Sensor, weak flame, or valve | Repeat once with full hold time | Failure occurs twice |
| Pilot blows out randomly | Draft or venting issue | Check doors, fans, and exterior conditions | Suspected flue problem |
| Igniter clicks without spark | Failed igniter or electrode | Use manual only if approved | Sealed chamber or damaged wire |
| Burner shuts down later | Overheat, vent, or control fault | Record code and symptoms | Carbon monoxide symptoms |
A thermocouple tip should be in the hottest part of the pilot flame, not beside it. Do not bend the probe aggressively, sand it, disconnect it while gas is flowing, or use a universal replacement without confirming thread size, length, and compatibility.
A persistent pilot failure can also result from a blocked pilot tube, inadequate combustion air, a defective gas-control valve, wind entering the flue, or a vent connector problem. Cleaning or replacing one part without checking these conditions can produce a temporary reset followed by another shutdown.
What Are the Most Common Reset Mistakes?
The most dangerous reset errors are lighting while gas is present, bypassing a safety device, and using the wrong procedure for the heater. Correcting those errors requires stopping the sequence, ventilating only when safe, and following the appliance label rather than a generic internet instruction.
- Skipping the purge period: Gas can remain near the burner after an unsuccessful attempt. Turn the valve OFF and wait the full label-specified interval.
- Forcing a stuck gas knob: Use no wrench or pliers. Replace a damaged control through a qualified professional.
- Holding the control too briefly: The sensor cannot generate its required signal instantly. Use the manual’s timing, commonly 30-60 seconds.
- Lighting an electronic heater with a match: Electronic systems may lack a pilot burner and can accumulate gas if operated incorrectly.
- Ignoring a yellow or lifting flame: Flame color and movement can indicate contaminated gas, poor air supply, or combustion problems.
- Operating without access panels: Missing panels can alter combustion airflow and expose occupants to flame or exhaust.
A useful practitioner rule is to allow only one complete repeat after checking the procedure. If the heater fails twice under identical conditions, the next action is diagnosis or service, not faster button presses.
Situational Variations That Change the Procedure
The same reset sequence does not apply to every household or failure condition. A renter, a household after a power outage, and an owner with a leaking or aging heater should make different decisions before touching the gas control.
If you are renting
A renter should limit action to the labeled reset procedure and report repeated failure to the landlord or property manager. Gas-control, burner, thermocouple, and vent repairs can violate a lease, affect liability, or create a dangerous condition if performed without authorization.
If the power recently failed
A piezo standing-pilot heater may continue operating during a power outage because its spark is mechanical. An electronic-ignition heater may remain off until power returns, and resetting the breaker is appropriate only if the manual identifies that control as the reset method.
If water is leaking
Do not relight a heater with active leakage near the burner, gas valve, or electrical components. Shut off the water supply to the tank if safe, shut off gas only if you can do so without exposure to gas odor, and call a qualified plumber.
If the heater is more than 10-15 years old
Age alone does not make a reset unsafe, but repeated ignition failures, corrosion, sediment, and obsolete controls change the repair calculation. Check the serial number for the actual manufacture date, compare repair cost with replacement, and inspect the tank for rust or leakage before buying parts.
If the heater is tankless
A tankless water heater generally has electronic ignition rather than a standing pilot. Use its display code, isolation-valve instructions, and manufacturer reset sequence; do not search for a pilot knob that the appliance does not have.
How Much Does Relighting or Repair Cost?
A no-parts pilot reset costs nothing for a homeowner and typically takes 5-10 minutes. Typical U.S. service pricing is approximately $100-$300 for diagnosis and a minor gas-water-heater repair, while a compatible thermocouple may cost $15-$40 before labor.
| Work item | Typical time | Typical U.S. cost | Main price variable |
|---|---|---|---|
| Homeowner relight | 5-10 minutes | $0 | Existing ignition system |
| Diagnostic service visit | 30-90 minutes | $100-$200 | Region and after-hours timing |
| Thermocouple replacement | 30-60 minutes | $150-$350 installed | Access and valve design |
| Pilot assembly replacement | 1-2 hours | $200-$500 installed | Proprietary part availability |
| Gas valve replacement | 1-3 hours | $300-$800 installed | Model and labor rate |
| Storage-heater replacement | 3-6 hours | $900-$2,500 installed | Capacity, venting, permits |
These are typical planning ranges, not guaranteed quotes. Manufacturer-specific sealed combustion parts, permit requirements, emergency dispatch, and difficult vent access can materially increase the total.
When Should You Stop Resetting?
Stop resetting the water heater when gas odor, carbon monoxide symptoms, flame rollout, soot, a damaged gas valve, water leakage, repeated pilot failure, or an unexplained status code is present. A licensed plumber or qualified gas-appliance technician should inspect the appliance when the fault is not resolved by one correct reset.
Professional service is especially appropriate when:
- The pilot will not light after the manual sequence.
- The flame disappears each time the control is released.
- The igniter, wiring, burner, or sealed chamber is damaged.
- The vent connector is loose, corroded, blocked, or disconnected.
- The heater produces soot, unusual combustion noise, or exhaust odor.
- The gas control knob is stiff, cracked, or impossible to turn by hand.
- The appliance has repeated over-temperature or flame-failure codes.
- The household cannot verify safe combustion-air and venting conditions.
A thermocouple replacement is not automatically a beginner repair. The part may be inexpensive, but incorrect routing, loose fittings, damaged threads, or an improperly reassembled burner compartment can create a gas or combustion hazard.
How Do You Confirm the Reset Worked?
A successful water-heater pilot reset leaves a stable pilot flame, allows the main burner to ignite normally, and produces hot water after the tank reheats. A typical 40-50 gallon gas tank may need 30-60 minutes to recover substantially, depending on burner input, inlet-water temperature, and demand.
Check the heater from a safe distance after several minutes. Confirm that the access panels are installed, the vent remains connected, the burner flame is steady, and no unusual odor or sound develops.
Do not turn the thermostat above its normal setting to accelerate recovery. The U.S. Consumer Product Safety Commission warns that water temperatures around 140°F can cause severe scalding, while many manufacturers recommend a household setting near 120°F, subject to local code and household needs.
Frequently Asked Questions
Can I relight a water-heater pilot without a button?
You can relight some older standing-pilot water heaters with a long-reach match or barbecue lighter, but only when the manufacturer’s label explicitly permits manual lighting. A sealed or electronic-ignition heater requires its specified ignition method, and improvising with a flame can create fire or gas-accumulation hazards.
Why does my water heater pilot keep going out at night?
A pilot that extinguishes overnight may be affected by a draft, insufficient combustion air, a blocked vent, a weak pilot flame, or a failing sensor. Doors, exhaust fans, and furnace operation can change room pressure. Repeated nighttime shutdowns require venting and combustion inspection rather than repeated relighting.
Is it safe to clean a water-heater thermocouple?
A homeowner may wipe a cool, accessible sensor gently with a dry cloth, but aggressive sanding, bending, or disassembly is not a universal manufacturer-approved repair. If the pilot flame is weak or the sensor remains ineffective, have the pilot assembly and gas valve diagnosed together.
How long should I hold the pilot button?
Hold the pilot control for the time printed on the water-heater label. Thirty to sixty seconds is common because the thermocouple needs heat to generate a valve-holding signal, but some models specify longer intervals. Releasing the button early can make a healthy pilot extinguish.
Does resetting the pilot restore hot water immediately?
Resetting the pilot restores the heating process, not instant hot water. A tank that has cooled may need roughly 30-60 minutes to recover, while heavy household demand, a low burner input, or sediment can extend recovery. No recovery after a stable burner starts indicates a separate heating problem.
The Bottom Line
To reset a water heater pilot light, use the appliance label, turn the gas control to OFF, wait at least five minutes, select PILOT, hold the control, ignite the pilot correctly, and keep holding until the thermocouple heats. A single failed attempt may be procedural; repeated failure, abnormal flames, gas odor, leaks, or venting concerns require professional service. Follow the correct procedure for the heater’s ignition system, not a generic reset sequence.