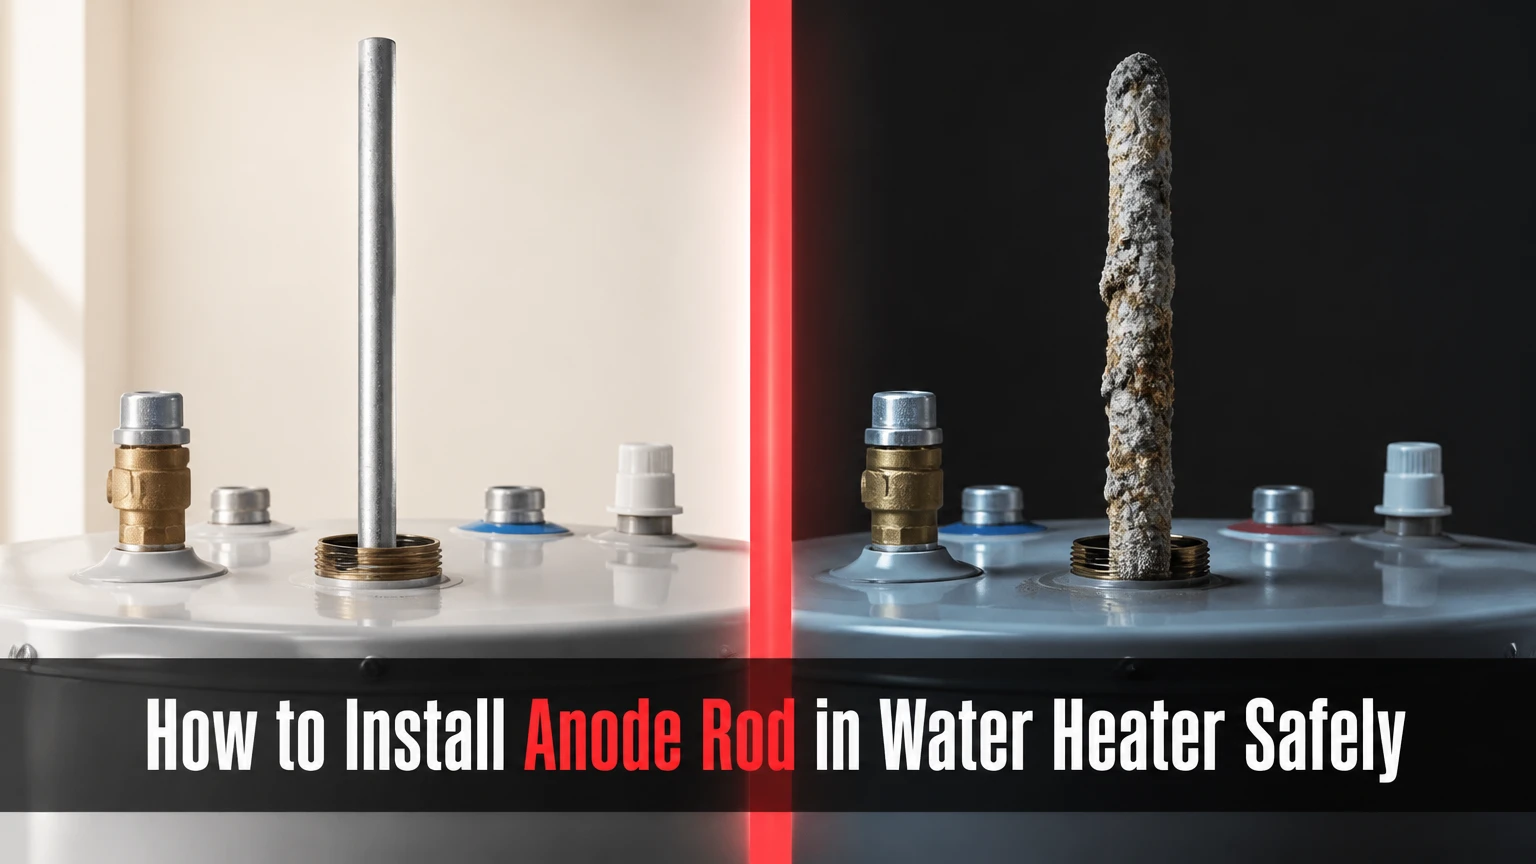
To install an anode rod in a water heater, shut off the heat source, close the cold-water inlet, drain the tank below the anode opening, remove the old rod with a 6-point deep socket, install a correctly sized replacement, refill the tank completely, and restore power or gas only after air leaves the hot faucet. The job typically takes 45-90 minutes when the rod is accessible and not seized.
Key Facts at a Glance
A sacrificial anode rod protects a glass-lined steel tank by corroding before the tank’s steel shell does.
The replacement must match the heater’s thread, length, diameter, and clearance; a 1-1/16-inch hex is common, not universal.
An electric water heater must be completely full before its breaker is restored, or exposed heating elements can burn out.
The water level must fall below the anode port before removal, which can require more than 2-3 gallons of drainage.
Magnesium usually provides strong protection, while aluminum-zinc can be preferable for sulfur odor or certain hard-water conditions.
A powered anode reduces sacrificial-metal replacement but requires compatible installation, electrical power, and periodic electronic inspection.
What does a water heater anode rod do?
A water heater anode rod is a replaceable metal component suspended inside a steel storage tank. Magnesium, aluminum, or an aluminum-zinc alloy corrodes preferentially through galvanic action, reducing the corrosion current that would otherwise attack the tank wall.
Glass lining is protective but contains microscopic imperfections and can crack around fittings or welds. The anode supplies a more chemically active metal at those vulnerable areas. Once most of the rod has disappeared, the steel tank becomes the easier target.
An anode rod is preventive maintenance, not a leak repair. If water is already leaking from the tank shell, replacing the rod will not restore the steel or make the tank pressure-safe. A tank with a shell leak generally requires replacement.
When should you replace the anode rod?
Inspect an anode rod after roughly three years, then every one to two years, because water chemistry changes depletion speed substantially. Replace the rod when its core wire is exposed, the remaining metal is less than approximately 1/2 inch thick, or more than half its original material has dissolved.
Manufacturer schedules take priority. Bradford White, Rheem, A. O. Smith, and other manufacturers may specify different rod materials, lengths, access methods, or inspection intervals. Water softeners, well water, high temperature, recirculation systems, and hot-water demand can accelerate depletion.
Which anode rod material fits your water?
The best anode rod depends on water chemistry, sulfur odor, ceiling clearance, drinking-water preferences, and the heater manufacturer’s specification. Magnesium is often the first choice for ordinary municipal water, aluminum-zinc is useful in some odor-prone systems, flexible rods solve clearance problems, and powered rods trade higher cost for low sacrificial-metal consumption.
| Rod type | Typical price | Best-fit situation | Main limitation |
|---|---|---|---|
| Magnesium | $25-$60 | Municipal water, maximum sacrificial protection | Can deplete quickly in softened or aggressive water |
| Aluminum-zinc | $30-$75 | Hard water or some sulfur-odor complaints | Odor improvement is not guaranteed; alloy composition varies |
| Flexible segmented | $45-$100 | Less than 40 inches of overhead clearance | More joints and higher price than a straight rod |
| Powered titanium | $200-$400 | Aggressive water or recurring odor, with nearby power | Needs a controller and outlet; does not fix every scale problem |
Magnesium generally provides a higher protective potential than aluminum alloys, but higher activity can produce faster consumption. Aluminum-zinc rods may reduce hydrogen sulfide odor in some tanks because zinc changes the biological and chemical conditions that create the smell; the rod is not a universal bacteria treatment.
Powered anodes use a titanium electrode and electronic controller rather than a rapidly consumed metal rod. They can reduce corrosion and odor without introducing a sacrificial alloy into the tank, but installation must follow the product instructions. A powered anode does not make a tank maintenance-free, remove existing sediment, or guarantee scale elimination.
How do you identify the correct replacement?
Use the water heater’s brand, model number, serial number, installation manual, and the old rod’s dimensions before ordering. Confirm the thread diameter and pitch, hex size, total length, rod diameter, bend or segmentation, and whether the port uses a combination nipple-anode assembly.
| Specification | Typical residential value | What to verify |
|---|---|---|
| Hex head | 1-1/16 inches | Manufacturer and actual old fitting |
| Thread | 3/4-inch NPT is common | Thread diameter and pitch |
| Straight-rod length | 39-44 inches | Tank depth and overhead clearance |
| Flexible rod length | 42-54 inches in segments | Segment count and port clearance |
| Rod diameter | 0.7-1.1 inches | Original rod and tank design |
| Installation seal | PTFE tape or approved pipe sealant | Manufacturer’s electrical-contact guidance |
Do not assume that a longer rod is better. A rod that cannot enter the tank without bending against the opening can damage the threads or fail to sit correctly. A shorter replacement may fit physically but protect less tank surface.
What tools and safety preparations are required?
Prepare the correct rod, a 6-point deep socket, a 1/2-inch-drive breaker bar, hose, drain path, bucket, gloves, rags, flashlight, and approved thread sealant. Typical DIY parts and consumables cost $30-$120, excluding tools, while a professional visit commonly costs about $200-$500 depending on access and local labor rates.
Before you start
Time: 45-90 minutes for an accessible rod; 2-3 hours if drainage, access, or seized threads complicate the job.
Difficulty: Moderate to advanced because the factory-installed rod may require high torque.
Tools: 1-1/16-inch 6-point deep socket if specified, 1/2-inch breaker bar, optional impact wrench, hose, bucket, wire brush, flashlight, and torque wrench if the manual provides a value.
Materials: Correct anode rod, PTFE tape or approved pipe-thread sealant, replacement drain-valve cap if needed, and towels.
Prerequisites: Identify the heater type, locate the cold-water shutoff, confirm a safe drain location, and check the manufacturer’s instructions.
Turn off the water heater before touching the anode port. Wear gloves and allow hot water to cool, because draining or loosening fittings can release scalding water. Keep the tank stable; a full tank can weigh hundreds of pounds, but draining too much can make a freestanding unit easier to shift while applying wrench force.
How to Install Anode Rod in Water Heater
The installation sequence has seven stages: shut down heat, cool and isolate the tank, drain below the port, remove the old rod, prepare the threads, install the replacement, and refill before re-energizing. The factor that most often determines success is whether the correct rod can be loosened without twisting the tank’s plumbing connections.
Step 1: Shut off electricity or gas
Turn off the electric heater’s dedicated double-pole breaker and verify that the heater has no voltage with a properly rated tester. For a gas heater, set the control to Pilot or Vacation according to the manual, or turn the gas control off if the manufacturer specifies that procedure.
Do not rely on the thermostat setting as an electrical disconnect. Mark the breaker so nobody restores it during the work. Never use an open flame near drained water, solvent, or a disconnected gas appliance.
Success checkpoint: The electric heater tests de-energized, or the gas control is in the manufacturer-approved shutdown position.
Common mistake: Restoring the breaker before the tank is full. Air around an electric element can cause immediate dry firing and element failure.
Step 2: Close the inlet and relieve pressure
Close the cold-water shutoff valve above the heater. Open a nearby hot-water faucet to relieve pressure and admit air, then leave the faucet open during drainage.
Attach a garden hose to the drain valve and route it to a suitable drain or outdoor location permitted by local rules. Test the hose connection before opening the valve fully. Hot water can soften inexpensive hoses and expose weak connections.
Success checkpoint: Water stops entering the tank, the open faucet produces no continuing flow after pressure falls, and the drain hose remains secure.
Common mistake: Closing every faucet. Without an open hot faucet, a vacuum can slow drainage and leave the water level above the anode opening.
Step 3: Drain the tank below the anode port
Open the drain valve and drain enough water to put the water surface below the anode opening. Two or three gallons may be enough on some heaters, but a top-mounted anode port can require substantially more, so the port location matters more than a fixed gallon target.
Close the drain valve when the water is below the opening, or drain the tank completely if sediment blocks flow or the manufacturer requires full drainage. Do not remove the anode while water remains above the port, because the tank can discharge rapidly through the opening.
Success checkpoint: Little or no water escapes when the anode is loosened, and the tank remains stable while wrench force is applied.
Common mistake: Treating “drain 2-3 gallons” as universal. Measure the actual water level relative to the port.
Step 4: Remove the old anode rod
Remove the plastic cap and insulation that conceal the anode hex head, taking care not to damage wiring or the tank jacket. Seat the correct 6-point deep socket fully on the hex, then apply counter-clockwise force with a breaker bar.
Have a helper stabilize the tank or brace it according to the heater design. Use controlled force rather than sudden body weight. An impact wrench can help a seized fitting, but excessive impact can damage the tank, fittings, or nearby plumbing.
If the hex begins to round, stop. An adjustable wrench or 12-point socket increases the risk of stripping the head. If the tank rocks, supply lines twist, the port deforms, or the rod will not loosen with safe controlled force, call a licensed plumber.
Success checkpoint: The hex turns while the tank, nipples, and copper or PEX connections remain stationary.
Common mistake: Adding a long cheater pipe before anchoring the heater. The leverage can twist the tank or break a water connection.
Step 5: Compare the old rod and prepare the new one
Lay the old rod beside the replacement and compare length, diameter, thread, hex, and material. If the old rod is heavily depleted, photograph it for your maintenance record and inspect the tank opening for loose scale.
Clean damaged debris from the female threads with a nylon or brass brush. Do not force a steel tool deep into the tank or drop pieces into the water. Apply PTFE tape or an approved pipe-thread sealant exactly as the heater or rod manufacturer directs.
Some installers leave the first thread or two clear to support thread engagement and electrical continuity. Other manufacturers permit sealant over the threads. The governing principle is a watertight, electrically continuous connection, so do not assume that a thick layer of PTFE tape is harmless.
Success checkpoint: The new rod starts smoothly by hand for several turns and the thread direction matches the original.
Common mistake: Using excessive tape to compensate for damaged threads. Sealant cannot safely repair cross-threading or a cracked port.
Step 6: Install and tighten the replacement
Guide the rod straight into the opening. For a flexible rod, insert the segments one at a time and keep each joint aligned so the assembly does not snag on the tank opening or dip tube.
Thread the rod by hand before using a socket. Tighten it firmly with the correct socket, following the manufacturer’s torque specification when available. Do not use the breaker bar to force a cross-threaded fitting or crush the tank’s top opening.
A powered anode requires additional steps, such as routing the electrode, connecting the controller, grounding or bonding as specified, and providing a protected electrical supply. Follow the powered unit’s manual rather than treating it like a conventional threaded rod.
Success checkpoint: The hex seats evenly, the rod does not wobble, and no exposed cross-threading or damaged port is visible.
Common mistake: Tightening until the tank jacket deforms. The seal comes from proper thread engagement and sealant, not unlimited force.
Step 7: Refill, inspect, and restore heat
Close the drain valve, remove the hose, and open the cold-water inlet slowly. Keep the hot faucet open until water flows continuously without sputtering. Inspect the anode head, drain valve, and nearby connections for leaks.
For an electric heater, keep the breaker off until the tank is full and water flows steadily from the open faucet. For a gas heater, follow the appliance’s lighting instructions and restore the control only after the tank is full and all work areas are clear.
Success checkpoint: The hot faucet produces a steady stream, the anode connection remains dry for several minutes, and no water appears around the jacket or base.
Common mistake: Closing the faucet and immediately energizing the heater without confirming that the tank has filled. Flow from one hot faucet is the practical confirmation that air has left the tank.
How should water chemistry change your choice?
Softened water, well water, high mineral content, and sulfur odor can change both anode life and the preferred material. A water test provides more reliable guidance than color, taste, or a retailer’s generic recommendation.
| Water condition | First option to evaluate | Reason | Extra check |
|---|---|---|---|
| Municipal water, no odor | Magnesium | Strong protective output at low cost | Inspect after 2-3 years |
| Sulfur or rotten-egg odor | Aluminum-zinc or powered | May reduce odor-producing reactions | Test well water and inspect bacteria sources |
| Water softener feeding heater | Powered or manufacturer-approved alloy | Higher conductivity can accelerate depletion | Check hardness, sodium, and rod condition |
| Very hard water | Aluminum-zinc or powered | Often tolerates mineral-rich conditions better | Flush sediment and inspect scale |
| Household drinks hot water | Manufacturer-approved material | Hot tap water is not normally intended for drinking | Follow local and product guidance |
| Low overhead clearance | Flexible segmented rod | Enters without tilting the heater | Confirm segment length and tank port |
A rotten-egg odor can originate from sulfate-reducing bacteria in the water, a magnesium reaction, a contaminated water source, or a drain trap rather than the rod alone. Replacing magnesium with aluminum-zinc may help, but disinfection, an oxidizing filter, or well treatment may be necessary.
What happens when the anode rod will not come out?
A seized anode usually results from factory torque, corrosion, mineral buildup, or years of thermal cycling. Use a fully seated 6-point socket, a stable tank, penetrating lubricant only where appropriate and safe, and controlled breaker-bar force; stop when the tank or connected piping begins to move.
A helper should watch the top plumbing while force is applied. Heat around a water heater can damage insulation, wiring, the jacket, or nearby combustible materials, so do not use a torch as a default release method.
| Symptom | Likely cause | Safe response |
|---|---|---|
| Socket slips | Wrong size or rounded hex | Stop and use the specified 6-point deep socket |
| Tank rocks | Insufficient stabilization | Stop, stabilize the unit, and reassess |
| Water sprays from port | Water level remains too high | Close the port temporarily and drain lower |
| New rod will not start | Cross-threading or wrong part | Remove, compare specifications, and restart by hand |
| Hex leaks after refill | Damaged or poorly sealed threads | Depressurize, remove, clean, reseal, and inspect |
| No hot water after restart | Breaker, gas control, or element issue | Verify fill, controls, and manufacturer procedure |
An old heater with a severely depleted rod may have already lost tank protection. Removing the rod can reveal a damaged port or cause a marginal fitting to fail. If the tank has rust-colored water, a bulging jacket, repeated leaks, or a leaking base, replacement may be safer than an anode project.
How much does anode replacement cost and how long does it take?
A typical DIY replacement costs $30-$120 for the rod and consumables, while professional replacement commonly totals $200-$500. The work takes 45-90 minutes for a standard accessible tank, but low clearance, full drainage, sediment, or a seized fitting can extend the visit to several hours.
| Cost or time item | Typical range | Main price driver |
|---|---|---|
| Standard magnesium rod | $25-$60 | Length, diameter, brand |
| Flexible segmented rod | $45-$100 | Segment count and alloy |
| Powered anode kit | $200-$400 | Controller and manufacturer compatibility |
| DIY consumables | $5-$25 | Sealant, hose, brush, replacement valve |
| Professional labor | $150-$400 | Local rate and access difficulty |
| Standard replacement time | 45-90 minutes | Rod condition and drainage |
A powered rod has a higher initial cost but can reduce recurring sacrificial-rod purchases in aggressive water. Its controller, electrical connection, and electrode still require inspection, so “permanent” means no routine metal-rod consumption, not zero maintenance.
What maintenance should follow installation?
Record the installation date, rod material, dimensions, water source, and heater model. Inspect the replacement according to the manufacturer’s schedule, commonly after two to three years for the first check, then at one- to two-year intervals based on depletion.
Flush sediment separately when the heater design and local conditions permit. Sediment can reduce capacity, create popping noises, insulate the lower element, and complicate anode removal, but flushing does not replace anode inspection.
Practitioner rules that prevent expensive failures
- Drain by port height, not by a memorized gallon number. Tank geometry varies, and the anode opening may sit well above the amount removed by a short drain.
- The first few socket turns are diagnostic. If the tank moves before the fitting does, stop immediately; plumbing damage can cost more than professional rod replacement.
- A depleted rod is evidence about water chemistry. The pattern of consumption, pitting, and odor helps determine whether the next rod should use magnesium, aluminum-zinc, flexible construction, or powered protection.
- A new rod cannot reverse shell corrosion. If the old rod is gone and the tank already leaks, maintenance has crossed into replacement planning.
Frequently Asked Questions
Can I replace an anode rod without draining the water heater?
No, the water level must be below the anode opening before the rod is removed. A partial drain may be sufficient when the port is high, but some heaters require much more drainage. Shut off the inlet and open a hot faucet first, because trapped pressure can force water through the port.
Can I install a shorter anode rod?
A shorter rod can be acceptable when the manufacturer lists it as compatible, but it protects less tank surface than the original length. Do not shorten a standard rod casually unless the product instructions permit it. A flexible segmented rod is usually the cleaner solution when ceiling clearance prevents straight insertion.
Should I use PTFE tape on an anode rod?
Use PTFE tape or pipe sealant only as directed by the rod or heater manufacturer. The connection must seal water while preserving electrical continuity between the anode and tank. Excessive tape can reduce metal contact, but omitting an approved sealant can cause leakage, so the product instructions control.
Why does the water heater smell like rotten eggs after replacement?
A rotten-egg smell usually involves hydrogen sulfide, sulfate-reducing bacteria, water chemistry, or a reaction between magnesium and the water. Replacing magnesium with an aluminum-zinc rod may reduce the odor, while persistent well-water odor can require testing, disinfection, filtration, or a powered anode.
Is a powered anode rod worth the price?
A powered anode can be worthwhile for a heater supplied by aggressive softened water or for recurring odor when a compatible outlet and controller installation are available. It costs more than a sacrificial rod and does not remove sediment, repair a leaking tank, or guarantee scale prevention, so the water problem must justify the expense.
The Bottom Line
To install an anode rod in a water heater safely, match the replacement to the model, shut down the heat source, drain below the port, use a fully seated 6-point socket, protect the tank connections, seal the threads correctly, and refill completely before restoring heat. Magnesium suits many municipal-water heaters, while aluminum-zinc, flexible, or powered designs fit specific chemistry and clearance problems. Stop when the tank twists, the hex rounds, or the tank shell shows leakage.