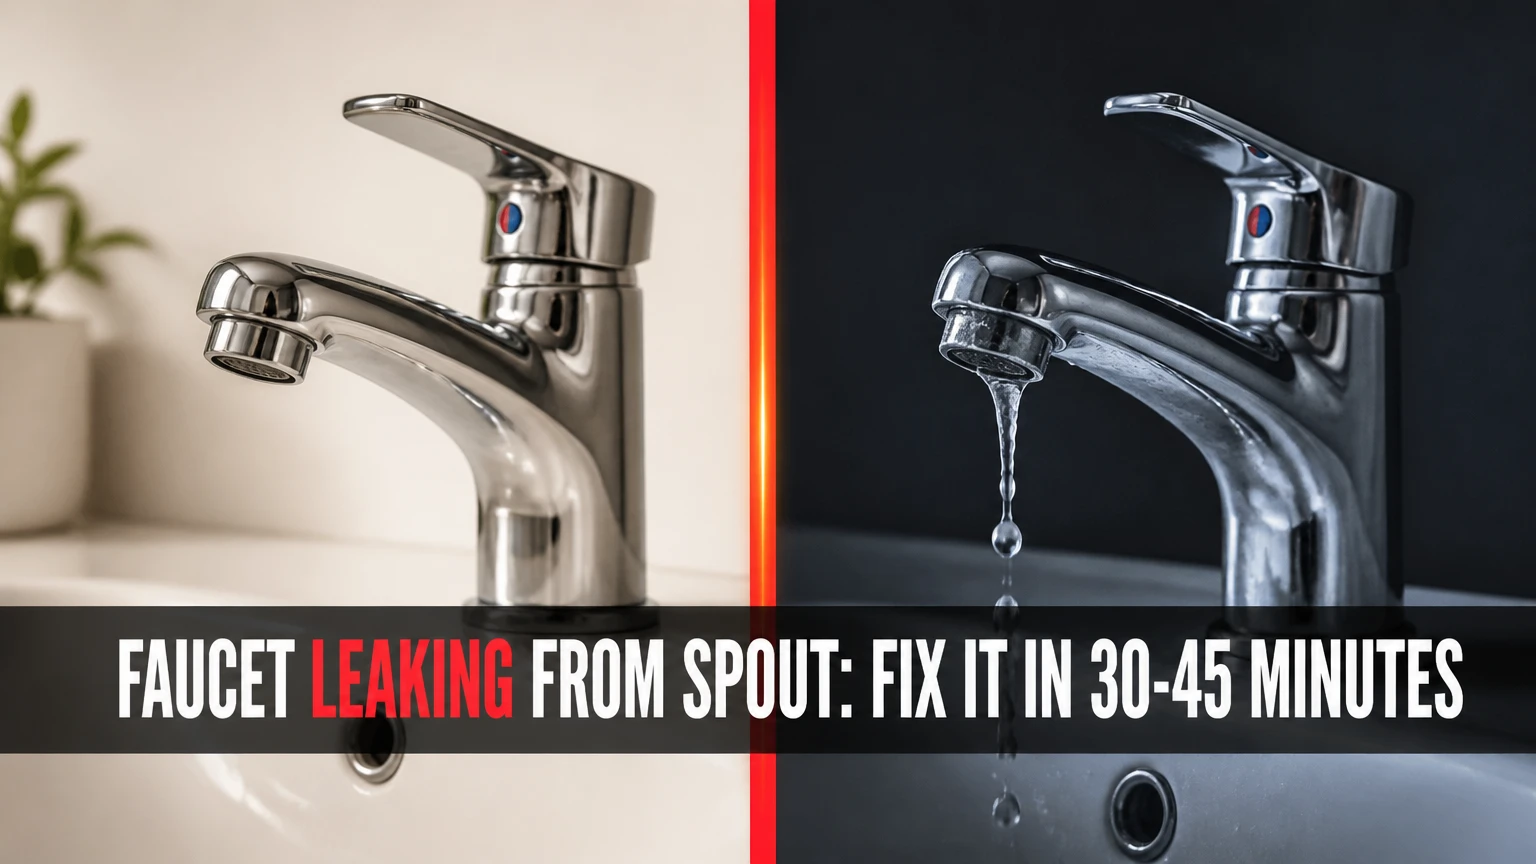
A faucet leaking from its spout usually has a worn washer, cartridge, ball seal, or ceramic-disc seal that no longer blocks pressurized water when the handle is closed. Identify the faucet type, shut off the supply, replace or clean the failed valve component, then restore water slowly and check both the spout and faucet body for leaks.
Key facts
A compression faucet usually needs a replacement rubber washer or valve seat repair.
A cartridge, ball, or ceramic-disc faucet usually needs its specific internal cartridge or seal kit.
Water dripping from the spout is different from water leaking around the handle or underneath the sink.
A typical DIY repair takes 15-45 minutes and costs about $5-$50 for parts, depending on the faucet.
EPA WaterSense states that a faucet dripping once per second can waste more than 3,000 gallons of water per year.
Shutoff valves, faucet brand, model, handle count, and cartridge shape determine the correct repair.
Why Does a Faucet Leak from the Spout?
A faucet leaks from the spout when its internal valve fails to close the water passage completely. Mineral scale, worn rubber, damaged ceramic surfaces, loose seals, and corrosion can leave a small opening through which pressurized water continues to escape.
The faucet handle does not itself block the water. The handle moves a stem, cartridge, ball, or disc assembly inside the faucet body. That assembly must align or compress sealing surfaces tightly enough to withstand the home’s supply pressure, commonly around 40-80 psi.
A slow drip usually indicates a small sealing failure. A thin stream suggests a larger gap, a cracked cartridge, incorrect assembly, or a valve that has not reached its fully closed position. Closing the handle harder rarely solves the underlying problem and can damage a washer or cartridge.
First, confirm where the water originates
Dry the faucet completely with a towel, place a dry tissue under the spout, and watch for several minutes. Water emerging from the aerator confirms a spout-side leak, while water appearing around the handle, faucet base, or supply connections indicates a different seal or plumbing connection.
| Water location | Likely failed component | First diagnostic action |
|---|---|---|
| Spout tip with handle closed | Washer, cartridge, ball seal, or disc seal | Identify faucet valve type |
| Around handle stem | Packing nut, stem O-ring, or cartridge seal | Dry handle base and observe |
| Faucet base on countertop | Body gasket, mounting seal, or hose connection | Check underneath the sink |
| Supply-line connection | Compression nut, braided hose, or shutoff valve | Inspect while water is flowing |
| Pull-out hose or spray head | Hose O-ring, diverter, or spray-head seal | Test main spout and sprayer separately |
How Does a Faucet Valve Stop Water?
A faucet valve stops water by placing a sealing surface across the internal water passage. Compression faucets press a rubber washer against a seat, cartridge faucets align internal ports, ball faucets use spring-loaded rubber seats, and ceramic-disc faucets rotate two polished discs into a closed position.
The distinction matters because the repair part is different. A washer kit cannot repair a cracked cartridge, and replacing a cartridge will not correct a damaged faucet seat unless the new cartridge matches the body and engages its alignment tabs.
The internal mechanism also explains why hard water causes recurring leaks. Calcium and magnesium deposits can scratch metal seats, prevent ceramic discs from closing, or bind a cartridge inside the faucet housing. Sediment left in the supply line can produce the same symptoms immediately after a repair.
Which Faucet Type Is Leaking?
Count the handles and observe the movement before disassembly. Two separate handles with several turns usually indicate compression, a smooth lever often indicates a cartridge or ceramic-disc faucet, and a single lever beneath a rounded dome commonly indicates a ball faucet.
| Faucet type | Typical appearance and movement | Common spout-leak part | Repair difficulty |
|---|---|---|---|
| Compression | Two handles, several clockwise turns | Rubber washer and valve seat | Low |
| Cartridge | One or two handles, smooth lift or rotation | Brand-specific cartridge or O-rings | Moderate |
| Ball | Single lever under rounded dome cap | Rubber seats and springs | Moderate |
| Ceramic disc | Single lever or two quarter-turn handles | Disc cartridge or underside seals | Moderate |
Compression faucet
A compression faucet uses a threaded stem that moves a rubber washer onto a metal valve seat. A flattened, hardened, split, or undersized washer commonly causes the drip.
Compression repairs are inexpensive and mechanically simple, but a deeply grooved valve seat can make a new washer leak within days. If the faucet requires excessive force to stop flowing, the seat or stem may need attention rather than another washer.
Cartridge faucet
A cartridge faucet contains a removable cylinder with internal ports and O-rings. The handle moves the cartridge to regulate flow and temperature. A cartridge leak usually calls for replacement of the exact model, although some models permit O-ring replacement.
Record the brand and photograph the handle, trim, retaining clip, and cartridge orientation. Cartridge dimensions and alignment tabs vary even among faucets from the same manufacturer.
Ball faucet
A ball faucet has a single lever, dome cap, plastic or metal ball, cam, and two spring-loaded rubber seats. Sediment can score the ball or prevent the seats from pressing firmly against it.
Ball repair kits commonly contain two seats, two springs, a cam, and O-rings. The parts are small, so cover the drain and lay components in removal order.
Ceramic-disc faucet
A ceramic-disc faucet uses two flat ceramic discs with matching ports. The discs normally last longer than rubber washers, but grit can prevent full closure and damaged discs require cartridge or cylinder replacement.
Do not sand ceramic discs. Abrasive damage can create a permanent leak path. Flush the valve body and replace the disc assembly when cleaning does not restore a watertight closure.
What Should You Do Before Repairing the Faucet?
Before repairing a leaking faucet, gather an adjustable wrench, Phillips and flat-head screwdrivers, hex keys, a flashlight, penetrating oil, a towel, replacement parts, and a container for small components. Allow 15-45 minutes, protect the drain, and shut off both supply valves before removing the handle.
Before You Start
| Requirement | Typical specification | Why it matters |
|---|---|---|
| Work time | 15-45 minutes | Corrosion and stuck cartridges increase duration |
| Parts budget | $5-$50 for common repairs | Brand-specific cartridges cost more |
| Tools | Wrench, screwdrivers, hex keys, flashlight | Covers most household faucet hardware |
| Protection | Sink stopper, towel, small container | Prevents lost screws and cabinet damage |
| Replacement data | Brand, model, photos, old part | Prevents incorrect cartridge purchases |
Do not begin if the shutoff valve will not close and no accessible main shutoff exists. A failed supply valve can turn a minor faucet repair into uncontrolled water flow beneath the sink.
How Do You Fix a Faucet Leaking from the Spout?
Fix a faucet leaking from the spout by isolating the water, removing the handle and retaining hardware, identifying the valve, replacing the worn sealing component, and testing the faucet under normal pressure. The most important success factor is matching the replacement part to the original valve, not simply matching its color or apparent size.
Step 1: Shut off the water supply
Turn the hot and cold shutoff valves clockwise until they stop. If the faucet has only one supply valve, close that valve and confirm that both hot and cold flow has stopped.
If a shutoff valve is frozen, do not force it with a long wrench. Shut off the home’s main valve and open a lower-level faucet to reduce pressure.
You will know it worked when: opening the leaking faucet produces only a brief residual flow, then stops.
Common mistake: confusing a flexible supply-line nut with the shutoff valve handle. Turn the small valve handle, not the hose connection.
Step 2: Drain and protect the work area
Open the faucet to release trapped pressure. Cover the drain with a stopper or folded towel, place another towel around the faucet base, and keep a small tray nearby for screws, clips, springs, and washers.
Take photographs before removing each layer. A phone photo records the orientation of cartridges, cams, clips, and decorative parts better than memory.
You will know it worked when: no water remains under pressure and every removed component has a defined location.
Common mistake: skipping the drain cover and losing a retaining clip in the drain trap.
Step 3: Remove the handle
Look for a decorative hot or cold cap, set screw, or concealed hex screw. Pry caps gently with a plastic tool or thin flat screwdriver, then remove the fastener using the correct driver or hex key.
Pull the handle straight upward or outward according to its design. Rock it gently if mineral scale has bonded it to the stem, but avoid twisting hard against a plastic cartridge stem.
You will know it worked when: the handle comes off without bending the stem or scratching the finish.
Common mistake: using an oversized screwdriver that strips the set screw. Select a bit that fills the screw recess completely.
Step 4: Remove the retaining hardware
Remove the packing nut, retaining nut, threaded ring, or horseshoe clip holding the valve assembly. Stabilize the faucet body with one wrench while loosening a metal nut with another, especially on a deck-mounted faucet with rigid supply tubes.
Apply penetrating oil to exposed threads and wait 10-15 minutes if corrosion is visible. For a cartridge that will not lift, use a cartridge puller instead of levering against the faucet body.
You will know it worked when: the retaining component is removed without turning the entire faucet or stressing the supply lines.
Common mistake: gripping polished trim with bare pliers. Wrap the part in a cloth or use padded jaw protection.
Step 5: Replace the correct internal part
The repair differs by faucet type:
- Compression: Remove the stem, unscrew the washer screw, install an identical washer, and inspect the metal seat for grooves. Replace a damaged seat with the correct seat tool and part.
- Cartridge: Remove the retaining clip, note the old cartridge orientation, pull it straight out, and install the exact replacement with its tabs aligned.
- Ball: Remove the dome, cam, and ball, then replace both rubber seats and springs. Install each spring with its wider end facing the seat cavity when the kit instructions specify that orientation.
- Ceramic disc: Remove the cylinder or disc cartridge, flush loose grit, and replace the assembly if the discs are cracked, chipped, or still leaking after cleaning.
Lightly lubricate compatible O-rings with silicone plumber’s grease. Do not use petroleum jelly on rubber faucet seals because petroleum products can degrade some elastomers.
You will know it worked when: the replacement part sits fully down, aligns with its locating tabs, and does not require force to fit.
Common mistake: installing a visually similar cartridge with a different stem height or port orientation.
Step 6: Reassemble without over-tightening
Reinstall the retaining hardware, handle, set screw, and decorative cap in reverse order. Tighten nuts firmly, then stop; excessive force can crack plastic rings, distort O-rings, or make the handle bind.
For a compression faucet, close the handle until flow stops, not until the handle cannot move further. A washer seals through contact, not brute force.
You will know it worked when: the handle moves smoothly through its normal range and the faucet body remains stable.
Common mistake: omitting the retaining clip. Water pressure can lift an unsecured cartridge and create a major leak.
Step 7: Restore water and test
Open the faucet handle, then turn each shutoff valve counterclockwise slowly. Allow air and sediment to flush through the spout for about 30 seconds before closing the handle.
Dry the spout, handle base, and supply connections. Watch the closed spout for at least five minutes, then operate hot and cold water separately.
You will know it worked when: the spout remains dry after five minutes and no water appears around the handle or beneath the sink.
Common mistake: opening the supply valves fully before checking for leaks. Slow pressurization gives you time to close the valve if a connection fails.
How Much Does Faucet Leak Repair Cost?
A typical DIY faucet leak repair costs $5-$50 for washers, O-rings, springs, or a standard cartridge. Professional service commonly costs $100-$300 overall, although regional labor rates, access, brand parts, and emergency timing can move the total outside that range.
| Repair situation | Typical part cost | Typical DIY time | Replacement decision |
|---|---|---|---|
| Compression washer | $2-$8 | 15-30 minutes | Repair unless body is corroded |
| Ball repair kit | $8-$25 | 30-60 minutes | Repair if ball is smooth |
| Standard cartridge | $15-$50 | 20-45 minutes | Repair if replacement is available |
| Ceramic-disc cartridge | $30-$100 | 30-60 minutes | Compare part cost with new faucet |
| New basic faucet | $50-$200 | 1-3 hours | Consider for severe corrosion |
Prices are typical North American retail ranges, not a guaranteed quote. A plumber may charge a diagnostic or minimum service fee even when the physical repair takes less than an hour.
How much water does a dripping faucet waste?
The EPA WaterSense program states, “A leaky faucet dripping at a rate of one drip per second can waste more than 3,000 gallons of water per year.” Actual waste depends on drop size, pressure, temperature, and whether the leak is a drip or a continuous stream.
A fast drip also creates a secondary cost: water can stain a basin, damage a cabinet through splash or overflow, and keep a drain trap wet enough to encourage mineral deposits.
Why Does the Leak Continue After Repair?
A continuing spout leak usually means the wrong part was installed, the valve seat is damaged, sediment remains inside the body, or the handle is misaligned. A new washer or cartridge cannot compensate for a scored seat, cracked valve housing, or incorrect cartridge orientation.
| Continuing symptom | Probable cause | Corrective action |
|---|---|---|
| Same drip immediately after washer replacement | Grooved valve seat or wrong washer size | Replace or dress the seat; verify washer |
| Leak changes to handle area | Stem O-ring or packing seal failure | Replace O-ring or adjust packing nut |
| Cartridge will not move | Mineral scale or retaining clip still installed | Remove clip; use scale treatment or puller |
| Faucet leaks after reassembly | Misaligned cartridge or damaged O-ring | Shut off water and reinstall correctly |
| Flow is weak after repair | Aerator or valve-body sediment | Remove aerator and flush the faucet |
| Handle binds when turned | Retaining nut too tight or wrong cartridge | Loosen slightly; verify cartridge model |
When should you replace the faucet instead?
Replace the faucet when the body is cracked, the valve seat is permanently damaged, replacement parts are discontinued, corrosion has weakened the connections, or repair parts cost more than about half of a suitable replacement faucet.
A repair is usually preferable for a quality faucet with available parts and a sound body. Replacement is more practical for a low-cost faucet that has failed repeatedly, has seized shutoff connections, or cannot accept a documented cartridge.
What Are the Most Common Repair Mistakes?
The most common mistakes are forcing corroded hardware, buying an unverified cartridge, over-tightening seals, and failing to test the repair at the handle and supply connections. Each mistake can create a second leak even when the original spout drip is fixed.
- Forcing a stuck cartridge: Use a cartridge puller after removing the retaining clip. Prying against the faucet body can crack the housing.
- Guessing the replacement part: Match brand, model, stem profile, length, port position, and retaining method. Bring the old part to a plumbing supplier.
- Using the wrong lubricant: Use silicone plumber’s grease on compatible O-rings, never general-purpose grease or petroleum jelly.
- Ignoring sediment: Clean the aerator and flush the valve body before blaming the replacement cartridge.
- Over-tightening compression handles: Stop when flow stops. Excess torque damages the washer and seat.
- Skipping the under-sink check: A dry spout does not prove that the supply connections are watertight.
Can Hard Water Cause a Faucet Spout Leak?
Hard water can cause a faucet spout leak by depositing scale on valve seats, cartridge ports, and ceramic-disc surfaces. Cleaning may restore a sediment-blocked valve, but scratches, chips, and permanently distorted seals require replacement.
Remove visible mineral buildup with diluted white vinegar only when the faucet manufacturer permits it. Do not soak unknown finishes, rubber parts, or plated trim for extended periods, because acids can damage coatings and seals.
For recurring failures, install a sediment filter where appropriate, clean the aerator periodically, and choose a faucet with readily available replacement cartridges. A ceramic-disc valve resists ordinary seal wear, but it still depends on clean water.
Repair or Replace: Which Option Fits Your Situation?
Repair the existing faucet when the leak is isolated to a replaceable valve component, the body is sound, and the part is available. Replace the fixture when corrosion, discontinued parts, repeated failures, or excessive repair cost make the next repair uncertain.
| User situation | Best option | Reason | Typical outlay |
|---|---|---|---|
| Renter with an accessible shutoff | Report or perform minor washer repair with permission | Avoids unauthorized fixture changes | $0-$15 |
| Older two-handle faucet with sound body | Replace washer and inspect seat | Low-cost, accessible repair | $2-$20 |
| Branded faucet with one failed cartridge | Install exact cartridge | Preserves existing mounting and finish | $15-$100 |
| Repeated hard-water failures | Replace with serviceable ceramic-disc model | Reduces routine seal wear | $100-$400 |
| Cracked or heavily corroded faucet | Replace complete faucet | Internal repair will not restore body integrity | $50-$300 |
An inexpensive faucet is not automatically a poor repair candidate. A simple compression faucet with a standard washer can remain serviceable for years, while a premium faucet with an unavailable cartridge may be impractical to maintain.
FAQ
Is a dripping faucet an emergency?
A slow spout drip is usually not an emergency, but a continuous stream, failed shutoff valve, cabinet leak, or water near electrical equipment requires immediate action. Close the fixture shutoffs or the main valve, contain the water, and arrange professional repair if the source cannot be isolated safely.
Can I stop a faucet drip by tightening the handle?
Tightening the handle may temporarily reduce a compression-faucet drip, but it does not repair a worn washer or damaged seat. Excessive force can flatten the washer, strip the stem, or make future disassembly difficult. Cartridge, ball, and ceramic-disc faucets generally do not respond to handle force.
How do I find my faucet cartridge model?
Find the manufacturer logo, photograph the faucet and handle, and remove the cartridge only after shutting off water. Record the cartridge length, stem shape, locating tabs, port pattern, and retaining clip. Taking the old cartridge to a plumbing supplier is more reliable than matching a generic product photograph.
Why does a faucet drip only when the water heater runs?
Thermal expansion can increase pressure in a closed plumbing system, exposing a weak faucet seal. The faucet still has a sealing problem, but pressure changes make the drip more noticeable. Check household water pressure and the thermal-expansion equipment rather than treating the faucet as the only possible cause.
Should both cartridges be replaced in a two-handle faucet?
Replace both cartridges or stems when both sides show similar age, wear, or corrosion, but replace only the failed side when the other operates normally and parts are costly. On compression faucets, replacing both washers together often provides more consistent handle feel and closing force.
How long should a repaired faucet last?
A washer repair may last several years when the valve seat is smooth and the water is clean. A quality replacement cartridge commonly lasts several years to more than a decade, while service life depends on water quality, usage, part quality, and correct installation. Repeated early failure points to an unresolved body or pressure problem.
The Bottom Line
A faucet leaking from the spout is usually a failed internal seal, not a problem with the spout itself. Confirm the leak location, identify the valve type, install the exact washer, cartridge, ball kit, or disc assembly, and restore pressure gradually. If the valve seat, faucet body, or supply connections are damaged, replacement is safer and often more economical than repeated repairs.