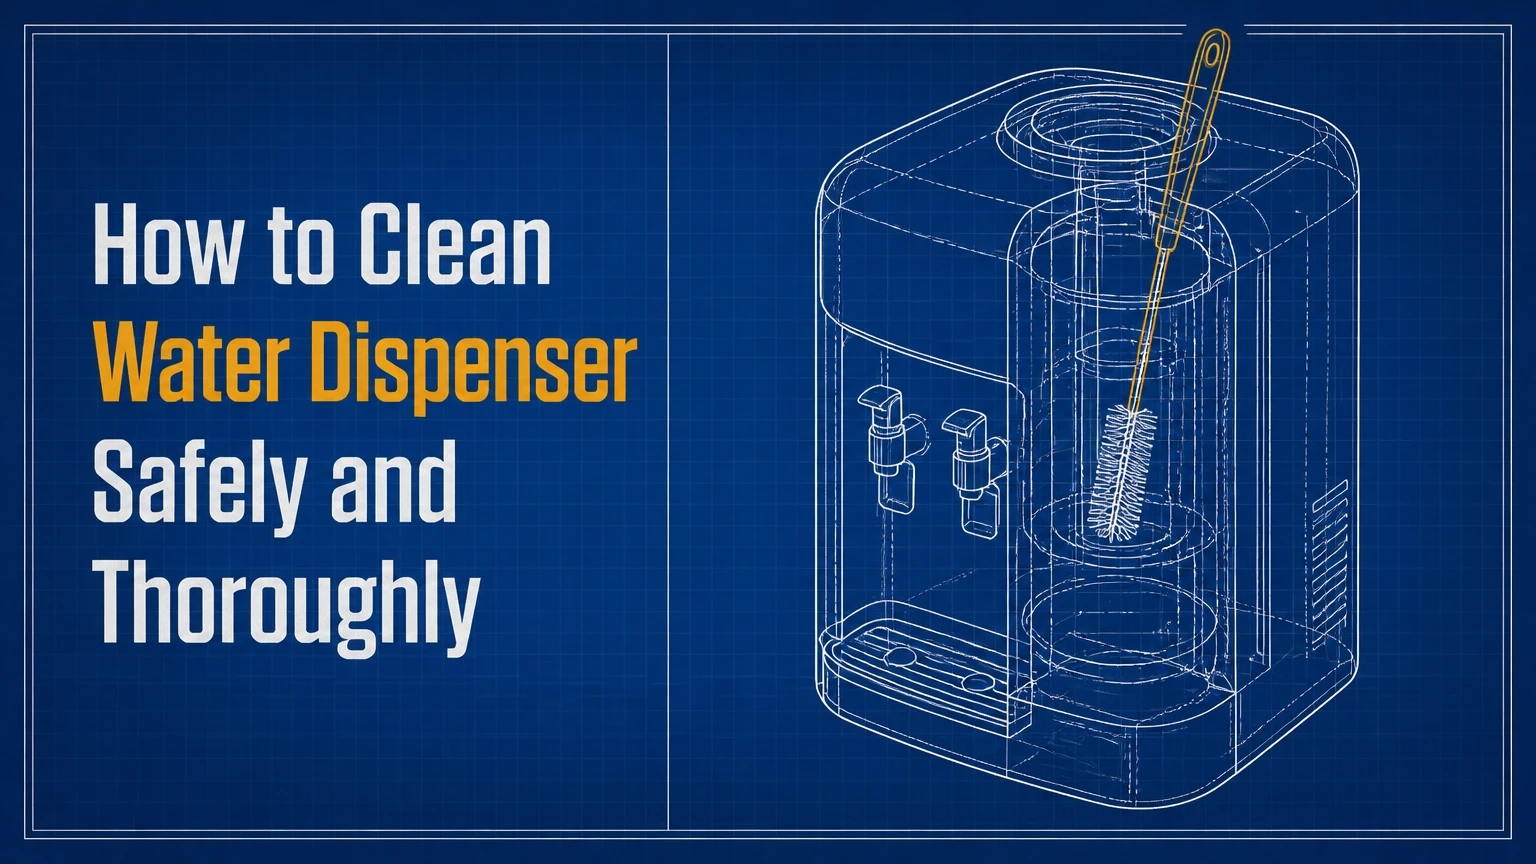
To clean a water dispenser, unplug the appliance, remove and drain its water supply, wash removable parts, sanitize the reservoirs with a manufacturer-approved solution, flush every water path, and reassemble only after all chemical odor is gone. A thorough cleaning usually takes 30-60 minutes, and the correct method depends on whether the unit is top-loading, bottom-loading, or plumbed in.
Key Facts
Clean a household water dispenser about every 3 months, or sooner after contamination, relocation, or prolonged storage.
Unplug the dispenser and drain the hot tank before introducing any cleaning solution.
Unscented household bleach is generally intended for disinfection only when the product label and dispenser manual permit it.
White vinegar removes mineral scale more effectively than it disinfects established biofilm.
Never mix bleach, vinegar, ammonia, dish soap, or another cleaner.
A dispenser is ready for drinking water only after repeated flushing produces clear, odor-free, normal-tasting water.
What Do You Need Before Cleaning a Water Dispenser?
A complete cleaning requires a bucket, disposable gloves, clean microfiber cloths, a narrow bottle brush, clean water, and either a compatible disinfectant or a descaling product. Read the dispenser manual before removing a drain plug, opening a panel, or treating a filter, because some models prohibit bleach, vinegar, or user access to internal tanks.
Before You Start
| Requirement | Typical value | Practical instruction |
|---|---|---|
| Cleaning time | 30-60 minutes | Add 20-30 minutes if the unit has a pump or heavy scale |
| Waiting time | 10-15 minutes | Follow the product label or appliance manual |
| Bucket capacity | 4-8 liters | Use a container large enough for both reservoirs |
| Narrow brush | 20-40 centimeters | Choose nylon bristles for probes, spigots, and collars |
| Gloves | Nitrile, medium or large | Wear them when handling disinfectant or scale remover |
| Cleaning water | 4-12 liters | Reserve extra water for final flushing |
| Replacement filter | Model-specific | Keep one available for bottleless or filtered units |
Use a clean brush reserved for drinking-water equipment. Do not use a brush that previously scrubbed a toilet, sink drain, pet bowl, or chemical container.
A dispenser manual takes priority over a generic recipe. The U.S. Environmental Protection Agency summarizes pesticide-label compliance with the rule, “The label is the law.” That principle matters here because chlorine concentration, contact time, and material compatibility vary by product.
How Often Should You Clean a Water Dispenser?
Clean a water dispenser every 3 months for a busy household, every 3-6 months for moderate use, and immediately after visible mold, a spill into the bottle collar, a long period without use, or a replacement bottle with a damaged seal. Wipe high-touch areas weekly because routine wiping does not replace internal sanitation.
| Use situation | Internal cleaning interval | External care |
|---|---|---|
| Family using 10-20 liters daily | Every 3 months | Wipe spigots and buttons weekly |
| One or two users | Every 4-6 months | Clean drip tray every 1-2 weeks |
| Office or shared workspace | Every 2-3 months | Wipe touch points daily or weekly |
| Bottom-loader with pump | Every 3 months | Inspect hose and bottle cabinet monthly |
| Bottleless dispenser | Per manual, often 6 months | Replace filters on rated schedule |
| Long-term storage | Before and after storage | Drain completely and leave openings dry |
Frequent bottle changes increase opportunities for dust and microorganisms to enter around the probe or bottle neck. High humidity also accelerates residue formation in drip trays and spigot outlets.
How to Clean Water Dispenser: Step-by-Step
The safest general procedure has eight stages: prepare the area, shut down power, remove the source, drain both tanks, clean removable parts, sanitize compatible water paths, flush thoroughly, and reassemble. The success factor is complete flushing, not a stronger chemical mixture.
Step 1: Read the Manual and Prepare the Area
Move the dispenser away from walls if the manual requires rear access, and place a bucket under the front outlets and rear drain. Collect the cleaner, brushes, gloves, cloths, and enough potable water for multiple flushes before disconnecting the bottle or supply line.
Check whether the model has separate hot and cold controls, a rear drain cap, an internal filter, a self-cleaning cycle, or a removable reservoir baffle. Photograph hose connections before disconnecting a bottom-loading system.
You will know this step worked when: the cleaning method, drain points, and approved chemical are identified.
Common mistake: starting with vinegar or bleach before checking whether the manufacturer allows it.
Step 2: Turn Off, Unplug, and Drain the Dispenser
Switch off the hot and cold functions, unplug the power cord, and remove the bottle or close the point-of-use shutoff valve. Dispense water from every outlet, then open the rear drain only if the manual identifies it as a user-serviceable drain.
Hot tanks can retain very hot water after the heater is switched off. Allow the unit to cool before opening a drain or disconnecting tubing. Never operate a heating function with an empty hot reservoir, because the heating element can overheat.
| Dispenser type | Source removal | Main drainage action |
|---|---|---|
| Top-loading bottle | Lift off empty bottle | Dispense through hot and cold taps, then rear drain if fitted |
| Bottom-loading bottle | Remove bottle from cabinet | Run outlets and use the pump procedure in the manual |
| Countertop tank | Remove tank or reservoir | Drain tank and outlet channel |
| Bottleless unit | Close supply valve | Disconnect only approved inlet parts and drain outlets |
| Hot-only urn | Empty reservoir | Cool completely before draining or descaling |
You will know this step worked when: no water flows from the taps and the rear drain, if present, produces only residual drips.
Common mistake: lifting a partly full top bottle without supporting its weight or spilling water into the collar.
Step 3: Remove and Wash External Parts
Remove the drip tray, grilles, spigot tips, bottle collar, probe cover, and removable baffle. Wash compatible plastic and stainless-steel parts with warm water and a small amount of unscented detergent, then rinse until no detergent film remains.
Do not force a spigot apart or soak electrical switches, pump motors, display panels, filters, or sealed electronic assemblies. A cotton swab or narrow nylon brush reaches the outlet opening better than a broad kitchen sponge.
You will know this step worked when: parts have no slime, visible scale, food residue, or detergent scent.
Common mistake: returning a wet drip tray before cleaning the cavity beneath it, where stagnant water often remains.
Step 4: Scrub the Bottle Collar, Probe, and Reservoir
Scrub the bottle-contact area, probe, collar, reservoir walls, and baffle with a clean narrow brush. Pay particular attention to threads, seams, rubber gaskets, and the underside of the bottle puncture probe, because those sheltered surfaces can retain biofilm after a quick wipe.
For mineral scale, use a manufacturer-approved descaler or a vinegar solution only where the manual permits it. Acid dissolves calcium deposits, but it does not make a heavily contaminated dispenser safe by itself.
You will know this step worked when: the surface feels smooth rather than slippery, and chalky deposits no longer flake into the water path.
Common mistake: using a metal brush, which can scratch stainless steel or damage plastic valve seats.
Step 5: Sanitize a Top-Loading Dispenser
For a top-loading water dispenser, pour the approved sanitizing solution into the empty reservoir, allow the stated contact time, and dispense enough solution through each outlet to wet the separate hot and cold paths. Keep the appliance unplugged throughout the procedure.
A common household method uses unscented, regular-strength bleach only when the appliance manual and bleach label permit it. Do not guess from concentrated, scented, splashless, gel, or fragranced products. Dilute according to the product label or the dispenser manufacturer’s written instructions, and never combine bleach with vinegar or another cleaner.
Leave the solution for the specified period, commonly 10-15 minutes. Longer exposure is not automatically safer and can damage seals, finishes, or metal components.
You will know this step worked when: every outlet has received solution and the contact timer has completed.
Common mistake: sanitizing the cold reservoir while leaving the hot-water path untreated.
Step 6: Prime and Sanitize a Bottom-Loading Dispenser
A bottom-loading dispenser needs its pump and intake hose treated, not merely the visible reservoir. Place the approved solution in a clean temporary container, position the intake hose inside it, and activate the pump only according to the manual until solution reaches the outlets.
Do not run a bottom-loader pump dry. Some pumps require a short duty cycle, while others need a priming button or a particular bottle position. If the manual does not describe user sanitation of the hose, use the manufacturer’s service procedure rather than improvising.
You will know this step worked when: solution reaches the outlet from the pump line without the motor running continuously or making a dry rattling noise.
Common mistake: leaving disinfectant in the hose after draining the visible tank.
Step 7: Flush Every Water Path
Drain the solution through every outlet and the rear drain, then fill with clean potable water and drain again. Repeat until the water is clear and the product’s smell and taste are absent; three or four complete flushes are typical, but a larger dispenser may require more.
Flush the hot and cold outlets separately. Replace a disposable filter if the manual says chemical exposure invalidates it, or remove the filter during cleaning when the manufacturer instructs you to do so.
You will know this step worked when: water has no bleach, vinegar, solvent, or detergent odor, and a clean glass shows no particles.
Common mistake: tasting the first flush and assuming a faint chemical flavor is acceptable. It is not ready for drinking.
Step 8: Reassemble, Refill, and Restart
Rinse and reinstall the baffle, probe cover, spigots, drip tray, and grilles. Install a sealed bottle or reopen the water supply, dispense a small amount from each tap to remove trapped air, then reconnect power only after the reservoirs contain water.
Wait for the normal cooling or heating cycle before judging temperature. Inspect the base, rear drain, bottle collar, and pump cabinet for leaks during the first 5-10 minutes.
You will know this step worked when: water flows normally, no leak appears, the controls operate correctly, and the water tastes neutral.
Common mistake: plugging in a dispenser before the hot tank has refilled.
Which Cleaner Should You Use?
Use a manufacturer-approved disinfectant for microbial contamination and a compatible descaler for mineral deposits. White vinegar is useful against light calcium scale, but vinegar is not an equivalent substitute for a validated disinfectant, while bleach is a poor choice for dissolving heavy mineral buildup.
| Cleaner | Main function | Typical contact or action time | Limitation |
|---|---|---|---|
| Unscented regular bleach | Microbial disinfection | Often 10-15 minutes, label-dependent | Weak scale removal; requires thorough flushing |
| White vinegar | Calcium and mineral scale | Often 20-30 minutes, manual-dependent | Not reliable for established biofilm |
| Food-contact descaler | Mineral removal | 5-30 minutes, product-dependent | Must match appliance materials |
| Mild unscented detergent | External residue removal | Immediate wash and rinse | Not a tank disinfectant |
| Hydrogen-peroxide product | Disinfection where approved | Label-dependent | Compatibility and concentration vary |
Never mix bleach with vinegar. The combination can release chlorine gas. Never add dish soap to a bleach solution, and do not use scented bleach because fragrance additives can remain in the water path.
For an unknown product, use the dispenser manual, the chemical label, and the manufacturer’s customer service instructions. If those sources conflict, stop and choose the more restrictive instruction.
What Changes by Dispenser Type?
Top-loading units expose the bottle collar and probe during every bottle change, bottom-loading units add pump and hose hygiene, and bottleless models require attention to filters, inlet valves, and plumbing. The reservoir-cleaning principles remain similar, but the water path is different.
| Type | Extra contamination or failure point | Cleaning priority | Typical service time |
|---|---|---|---|
| Top-loading | Bottle collar and exposed probe | Collar, baffle, tanks, taps | 30-45 minutes |
| Bottom-loading | Pump, intake hose, cabinet spill area | Pump line, reservoir, taps | 45-60 minutes |
| Bottleless POU | Filter, inlet tubing, shutoff valve | Filter replacement and tank flush | 45-90 minutes |
| Countertop tank | Removable tank gasket and outlet | Tank seam, valve, drip tray | 20-40 minutes |
How Do You Clean a Bottleless Dispenser?
Close the water shutoff valve, unplug the unit, follow the manual’s filter-removal procedure, and sanitize only the water paths that the manufacturer identifies as serviceable. Replace overdue cartridges with the specified filter model, then flush the rated volume before drinking.
A bottleless dispenser can continue receiving contaminated or scaled water through its plumbing even when the exterior looks clean. Filter replacement does not sanitize every downstream reservoir, and internal carbon filters can retain chemicals if they are exposed to an unapproved cleaner.
How Much Does Cleaning Cost and How Long Does It Take?
A do-it-yourself cleaning typically costs about $5-$20 when household supplies are already available and takes 30-90 minutes, depending on the dispenser design. Professional sanitation commonly costs $50-$150 in many markets, with filter replacement, plumbing access, and travel affecting the total.
| Cleaning option | Typical cost | Typical duration | Best use |
|---|---|---|---|
| Household supplies | $5-$20 | 30-60 minutes | Routine residential cleaning |
| Food-contact descaler | $8-$25 | 30-90 minutes | Heavy mineral scale |
| Replacement filter | $15-$80 | 15-45 minutes | Bottleless or filtered models |
| Professional service | $50-$150 | 45-120 minutes | POU systems or inaccessible tanks |
| Replacement dispenser | $100-$600+ | 1-3 hours | Damaged, contaminated, or obsolete units |
These are typical retail and service ranges, not universal prices. Local labor rates, dispenser capacity, and filter brand can change the final amount substantially.
What Are the Most Common Cleaning Mistakes?
The most damaging mistakes are using an unapproved chemical, failing to flush the pump line, energizing an empty hot tank, and confusing scale removal with disinfection. Correcting the process usually requires draining the system again rather than adding a stronger cleaner.
- Leaving bleach for hours: Drain immediately, flush repeatedly with clean water, and stop using the unit if chemical odor remains.
- Mixing cleaners: Move people away from the area, ventilate it, and follow local poison-control or emergency guidance if fumes occur.
- Using abrasive tools: Replace scratched or damaged food-contact parts when they can no longer be cleaned reliably.
- Ignoring the drip tray cavity: Remove standing water, wash the tray and cavity, and inspect for mold around seals.
- Forgetting the filter: Replace a filter that is overdue, chemically exposed, cracked, swollen, or producing persistent taste.
- Running the pump dry: Stop the cycle, refill or reposition the source, and use the manual’s priming sequence.
A counterintuitive practitioner rule is that a stronger chemical mix often creates more risk than benefit. Contact time, complete surface coverage, and final flushing matter more than excessive concentration.
How Do You Fix Bad Taste, Odor, or Slow Flow?
Bad taste after cleaning usually indicates incomplete flushing, an exhausted filter, mineral scale, new plastic, or chemical exposure. Slow flow usually indicates an air lock, kinked hose, clogged probe, blocked filter, incorrectly seated baffle, or a pump that lost its prime.
| Symptom | Likely cause | Safe first response |
|---|---|---|
| Bleach smell | Incomplete flushing | Drain all paths and repeat clean-water flushes |
| Sour vinegar taste | Acid residue | Drain, refill, and flush until neutral |
| Metallic taste | Scale, filter, or metal contact | Inspect filter and descale only if approved |
| Plastic taste | New tubing or bottle | Flush several liters and inspect materials |
| Slow cold flow | Clogged probe or filter | Remove bottle, inspect probe, replace filter if due |
| Pump hums without flow | Air lock or empty intake | Refill source and follow priming steps |
| Black slime | Biofilm or mold | Stop drinking, deep-clean, and replace damaged parts |
| Leak at bottle neck | Bad seal or cracked collar | Remove bottle and replace the defective component |
Do not neutralize bleach by adding vinegar or another acid. Water flushing is safer. If odor persists after several complete flushes, disconnect the unit and contact the manufacturer or a qualified technician.
When Should You Stop Cleaning and Replace Parts?
Replace a filter, gasket, hose, probe, or spigot when it is cracked, permanently stained, swollen, leaking, heavily scratched, or still produces odor after approved cleaning. Replace the dispenser when internal contamination is inaccessible, electrical components were flooded, or repeated sanitation fails to restore safe, neutral-tasting water.
A mold-stained removable drip tray is usually replaceable. Mold inside sealed insulation, inaccessible tubing, or a damaged reservoir is a service issue, not a reason to pour more chemical into the machine.
For a dispenser used by someone with a weakened immune system, after flooding, or after a prolonged power failure with warm stagnant water, use a manufacturer-authorized service procedure. Routine home cleaning cannot verify microbial safety inside inaccessible channels.
How Do You Keep a Water Dispenser Clean Between Deep Cleans?
Wipe spigot outlets and buttons weekly, empty the drip tray before it overflows, keep bottle caps and collars covered during changes, and store replacement bottles sealed and away from heat. Avoid touching the bottle opening, probe, or outlet with hands, cups, or cleaning cloths.
Keep the dispenser at least several centimeters from a wall when the manual requires ventilation. Do not place it beside a sink splash zone, pet feeding station, open waste bin, or direct sunlight.
A useful maintenance log records the cleaning date, chemical used, filter model, filter-change date, and any taste or flow problem. That record prevents two common failures: cleaning too rarely and replacing filters without flushing them.
Frequently Asked Questions
Can I use dish soap to clean a water dispenser?
Use a small amount of mild, unscented dish soap only for removable external parts, followed by a complete rinse. Do not use dish soap inside reservoirs, hoses, pumps, or spigots as a disinfectant, because surfactant residue can persist and alter water taste.
Should I clean a new water dispenser before using it?
Yes. Rinse and flush a new dispenser according to its manual before drinking from it, especially when the unit contains new plastic tubing, a carbon filter, or manufacturing residue. Do not assume factory packaging means the water path is ready without an initial flush.
How many liters should I flush after cleaning?
Flush until the water is odor-free and normal-tasting, with three or four full reservoir cycles as a typical starting point. Large bottleless systems may require the manufacturer’s specified volume, such as 5-15 liters, before the filter and lines are considered ready.
Can vinegar remove mold from a water cooler?
Vinegar can loosen scale and may reduce some surface microbes, but it is not a dependable replacement for an approved disinfectant against established mold or biofilm. Remove and replace porous or damaged parts, then follow the dispenser manufacturer’s sanitation procedure.
Why does my dispenser leak after cleaning?
A leak commonly comes from a displaced gasket, loose drain cap, cracked bottle collar, damaged probe seal, or incorrectly seated removable component. Unplug the unit, remove the water source, dry the area, and inspect each connection before operating it again.
Is a self-cleaning water dispenser maintenance-free?
No. A self-cleaning cycle may reduce microbial growth in specified internal paths, but it does not replace drip-tray washing, outlet cleaning, filter replacement, scale removal, or inspection for leaks. Follow the cycle schedule and the manual’s separate maintenance instructions.
The Bottom Line
To clean a water dispenser safely, unplug and drain it, wash the removable parts, sanitize only with a compatible product, flush every outlet and pump line, and restart the appliance only after the water is odor-free. Clean a busy household unit about every 3 months, replace overdue filters, and use professional service when contamination or damage is hidden inside the machine. A careful, complete process is more reliable than a stronger chemical mixture or a quick exterior wipe.