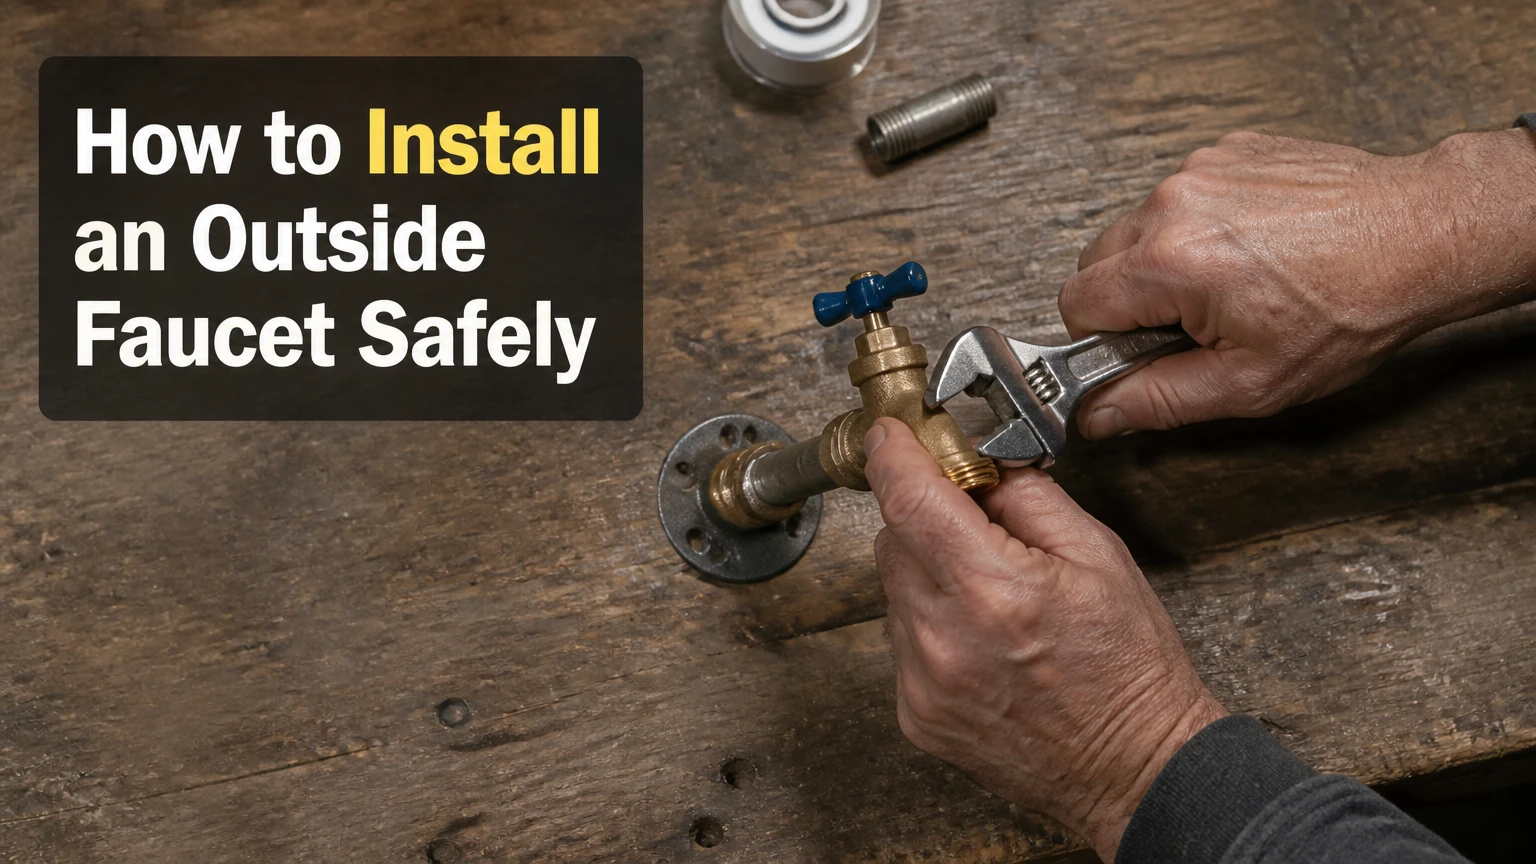
Installing an outside faucet means connecting a hose bibb or sillcock to a pressurized cold-water line, routing the supply through an exterior wall, and sealing and supporting the fixture. A typical new installation takes 2-4 hours and costs $40-$120 in materials, but the wall construction, pipe material, and freezing risk determine the correct method.
Key facts at a glance
A frost-proof sillcock should slope downward toward the exterior so its barrel can drain after shutoff.
Remove garden hoses before freezing weather, including from frost-free sillcocks.
Install an accessible indoor isolation valve on the new branch whenever possible.
A typical outdoor faucet uses a 1/2-inch or 3/4-inch inlet, but the faucet connection must match the manufacturer specification.
A vacuum breaker protects household water from back-siphonage through a connected hose.
A leak that appears only when the faucet runs can indicate a split pipe inside the wall.
What Is an Outside Faucet?
An outside faucet is an exterior water fixture that supplies a garden hose, pressure washer, irrigation connector, bucket, or cleaning tool. Common names include hose bibb, sillcock, spigot, garden tap, and wall hydrant.
A standard hose bibb places its shutoff mechanism close to the handle. A frost-proof sillcock uses a longer valve stem so the actual seat sits inside the warmer wall or conditioned space. The distinction determines whether the fixture can tolerate freezing temperatures, although no frost-resistant faucet is safe from every installation error.
Most new installations use a frost-proof, anti-siphon sillcock in climates where outdoor temperatures fall below freezing. Warm-climate homes may use a compact compression bibb, while high-end installations may use a flush-mount wall hydrant with a proprietary quick connector.
How Does a Frost-Proof Sillcock Work?
A frost-proof sillcock closes at a valve seat located several inches inside the building rather than directly at the exterior handle. When the handle closes and the hose is removed, water in the exterior barrel can drain through the spout, reducing the volume exposed to freezing air.
The drainage feature depends on installation conditions. The faucet barrel must generally point downward toward the outside, the spout must remain unobstructed, and a hose or spray attachment must not remain connected. Insulation packed around the valve can also prevent the interior section from receiving enough heat.
Frost-proof does not mean freeze-proof under every circumstance. A connected hose traps water, a level or upward-sloping barrel can retain water, and an unheated wall cavity can still freeze. A frost-proof sillcock also cannot protect a branch pipe located farther inside the wall.
Which Outside Faucet Should You Install?
Choose a frost-proof sillcock with an integral vacuum breaker for a new installation in any region that experiences freezing temperatures. Choose a standard compression bibb only where freezing is unlikely or where the fixture will be protected by a separately accessible shutoff and drain arrangement.
| Faucet type | Typical price | Freeze suitability | Operating feature | Best installation use |
|---|---|---|---|---|
| Compression hose bibb | $10-$30 | Warm climates | Multi-turn stem | Garage, shed, mild coastal climate |
| Frost-proof sillcock | $25-$60 | Freezing climates | 4-18-inch stem | Exterior wall of an occupied home |
| Quarter-turn ball bibb | $20-$50 | Requires winter draining | 90-degree handle | Easy operation in a nonfreezing location |
| Flush-mount wall hydrant | $150-$350 | High protection when correctly installed | Quick-connect key or plug | New construction and premium remodels |
A quarter-turn ball valve is easier to operate than a multi-turn compression valve, but its quick closure can produce water hammer in some systems. A flush-mount hydrant offers a clean appearance and rapid drainage, but replacement connectors and proprietary parts increase long-term cost.
What Size Connection Does an Outdoor Faucet Need?
The common inlet sizes are 1/2 inch and 3/4 inch, measured by the product’s connection standard rather than by the outside diameter of every pipe in the home. A faucet labeled with a 1/2-inch female pipe thread may connect to a 1/2-inch male adapter, while a PEX tube size requires a compatible PEX fitting.
Do not select a fitting by appearance alone. Read the sillcock installation sheet and identify whether the inlet is male pipe thread, female pipe thread, sweat, PEX, or another connection. Pipe outside diameters vary by material, so a 1/2-inch copper tube and a 1/2-inch PEX tube do not accept the same direct fitting.
What Should You Do Before Installation?
Before installation, identify the nearest accessible cold-water line, confirm the exterior location, check for concealed utilities, and obtain any permit required by the local plumbing authority. The most important planning variable is the route through the wall, because an attractive faucet location is unusable if the interior connection lands behind a beam, duct, cabinet, or finished ceiling.
Before You Start
| Requirement | Typical value | Planning standard |
|---|---|---|
| DIY material cost | $40-$120 | Frost-proof valve, pipe, fittings, sealant, screws |
| Installation time | 2-4 hours | Unfinished interior and nearby cold-water line |
| Difficulty | Moderate | Cutting, drilling, plumbing connection, leak testing |
| Faucet height | 12-18 inches above grade | Clears buckets and reduces splash contamination |
| Hole size | Manufacturer-specific | Often about 1-1 1/8 inches, not universal |
Gather a tape measure, drill, pilot bit, hole saw or masonry bit, tubing cutter, deburring tool, adjustable wrenches, level, exterior screws, sealant, pipe supports, and the correct joining tools. Add a shutoff valve, tee, adapters, pipe, and a vacuum-breaker-equipped sillcock.
Wear eye protection when drilling masonry or cutting pipe. Shut off the main water supply before opening a pressurized line, and identify electrical wiring before drilling. Stop and call a licensed plumber if the only workable connection is an old galvanized line, a gas-adjacent route, a concealed fire-sprinkler line, or a pipe you cannot positively identify.
How to Install an Outside Faucet
The installation has seven practical stages: map the location, drill the wall, shut down and expose the supply, build the branch line, mount the sillcock, support and insulate the interior connection, then restore pressure and test. The installation succeeds when the fixture drains outward, the branch remains accessible, and no connection leaks under pressure.
Step 1: Map the Faucet Location
Choose an exterior location near the work area and an accessible interior cold-water pipe. Position the spout about 12-18 inches above the finished grade, away from electrical outlets, downspout discharge, snow accumulation zones, and areas where a lawn mower could strike it.
Measure from fixed interior and exterior landmarks. A pilot hole should emerge where the sillcock barrel can pass through the wall without hitting a stud or mechanical service. Check both sides of the wall, because a small error can place the interior valve behind drywall or inside a narrow joist bay.
Success checkpoint: A pilot mark aligns with an accessible interior cavity and a cold-water branch.
Common mistake: Choosing the shortest exterior route without checking the interior side. Relocate the faucet before drilling the full hole.
Step 2: Drill the Wall Opening
Drill a small pilot hole from the side that gives you the best control, then verify the exit point. Use a hole saw sized for the sillcock barrel and wall sleeve, following the faucet manufacturer’s required clearance rather than assuming every model needs a 1-inch opening.
Use a standard hole saw for wood, vinyl siding, and some composite claddings. Use a masonry bit or diamond core bit for brick, concrete block, or stone, and keep the opening slightly controlled so sealant and flashing can close the penetration.
Protect the wall’s water-resistive barrier. On siding, avoid crushing the cladding under the mounting flange. On masonry, use compatible anchors and do not rely on caulk alone to support the fixture.
Success checkpoint: The barrel passes through without binding, and the flange can sit flat against the exterior surface.
Common mistake: Drilling through an electrical cable or pipe. A pilot inspection, stud finder, access panel, or borescope is cheaper than repairing a concealed utility.
Step 3: Shut Off Water and Cut the Branch
Close the main shutoff, open an indoor faucet at the lowest practical level, and wait until the new connection point stops draining. Place a pan under the pipe, then cut a measured section from the cold-water line for the tee.
The connection method depends on the existing pipe. Copper can use soldered, press-fit, compression, or listed push-to-connect fittings. PEX requires a compatible tee and the manufacturer’s clamp, crimp, or expansion method. Do not use a generic copper fitting directly on PEX.
Install a full-port quarter-turn isolation valve on the new branch in an accessible heated location. The valve lets you shut off and drain the outdoor line without interrupting water to the entire house.
Success checkpoint: The cut pipe is dry enough for the selected fitting, and the new valve can be reached without removing permanent finishes.
Common mistake: Cutting before confirming the branch length. Measure the route twice and leave only the manufacturer-approved amount of movement at each fitting.
Step 4: Connect and Route the Supply Line
Run the new branch from the tee and isolation valve to the wall opening. Keep the pipe supported according to the pipe and fitting manufacturer’s instructions, protect it from sharp framing edges, and avoid unnecessary elbows that create pressure loss and more leak points.
For threaded connections, apply an approved thread sealant only to tapered pipe threads. PTFE tape normally wraps clockwise when viewed from the end of the male threads. Do not put tape on compression threads, union faces, or push-to-connect ends, because those joints seal through their own gasket or ferrule.
Use a listed transition adapter between different materials. For example, a copper-to-PEX transition requires a compatible copper-side and PEX-side fitting. Keep the branch inside the heated envelope whenever possible, and insulate only after the connection has passed its pressure test.
Success checkpoint: The pipe reaches the sillcock without strain, unsupported weight, or a sharp bend at the wall.
Common mistake: Over-tightening brass or plastic adapters. Tighten according to the fitting instructions; excessive force can split a fitting or distort its sealing surface.
Step 5: Prepare and Mount the Sillcock
Apply the specified sealant to the sillcock inlet or adapter, then connect the supply line without twisting the long barrel against the wall. If the sillcock has an integral vacuum breaker, orient the breaker and drain opening exactly as the manufacturer specifies.
Push the barrel through the prepared opening and slope the exterior outlet slightly downward. A commonly used drainage target is about 1/4 inch per foot, or approximately 1-2 degrees, but the manufacturer’s installation instructions control because barrel lengths and internal drain designs differ.
Apply a continuous bead of exterior-grade sealant behind the mounting flange. Fasten the flange with corrosion-resistant screws suited to the substrate, using masonry anchors where required. The screws hold the faucet mechanically; sealant prevents water from entering the wall.
Success checkpoint: The flange sits tight, the spout points downward, and the handle operates without moving the pipe inside the wall.
Common mistake: Mounting the sillcock perfectly level. A level barrel can retain water and undermine the drainage feature.
Step 6: Support, Seal, and Protect the Interior
Secure the interior pipe near the sillcock without crushing the tube or placing side load on the valve body. Seal gaps around the penetration from the appropriate side of the wall, but do not block a designed sillcock drain path or cover a vacuum-breaker opening.
In cold climates, keep the shutoff point and the interior connection within conditioned space. If the valve enters an insulated wall, avoid compressing insulation around the sillcock so tightly that it displaces the wall’s thermal protection or traps moisture.
A dedicated indoor drain point is useful on exposed or unusually cold installations. Some frost-proof sillcocks drain automatically, but an indoor shutoff with a drain port provides a second defense when the home will be vacant.
Success checkpoint: The branch is restrained, the wall penetration is weather-sealed, and the indoor valve remains visible and operable.
Common mistake: Adding insulation as a substitute for correct slope. Insulation slows heat loss, but it does not remove trapped water from a poorly oriented barrel.
Step 7: Restore Pressure and Test
Close indoor faucets, open the new isolation valve slowly, and inspect every joint while the system repressurizes. Open the outside faucet fully for several seconds to clear air and installation debris, then close it and inspect the connection again.
Test the faucet under static pressure and while flowing. Look behind the interior wall access area, around the sillcock inlet, at every tee and adapter, and beneath push-to-connect fittings. Dry joints with a paper towel because a slow leak may not form a visible pool.
Operate the handle several times. Confirm that the vacuum breaker does not spray continuously and that water stops promptly at the spout after shutoff.
Success checkpoint: The paper towel remains dry after repeated cycles and a 10-15 minute observation period.
Common mistake: Testing only the exterior flange. Many failures occur at the interior adapter and appear only while the faucet is open.
How Do Copper, PEX, Brick, and Finished Walls Change the Method?
Copper, PEX, masonry, and finished walls require different connection and access decisions, but the faucet still needs a supported, downward-sloping barrel and a tested branch line. The easiest installation is usually through an unfinished wood-framed wall near an accessible copper or PEX line.
| Situation | Preferred connection | Main difficulty | Recommended adjustment |
|---|---|---|---|
| Copper supply, unfinished basement | Sweat, press, or listed push fitting | Drying the pipe | Add an indoor isolation valve |
| PEX supply, open joist bay | PEX tee and compatible adapter | Preventing kinks | Use bend supports and clamps |
| Brick or concrete block | Threaded sillcock and masonry anchors | Drilling and sealing | Use a sleeve, backer, and masonry sealant |
| Finished drywall or ceiling | Accessible transition fitting | Repairing finishes | Install an access panel before closing |
| Galvanized steel pipe | Threaded transition | Corrosion and seized joints | Have a plumber assess the branch |
| Unheated exterior wall | Frost-proof valve may still freeze | Limited thermal protection | Relocate the valve or add a controlled drain |
For brick, keep the hole away from the edge of a masonry unit where possible, because an anchor near a mortar joint may loosen. A rigid mounting block or backer transfers hose force into the wall rather than into the supply pipe.
For finished interiors, plan an access panel at the isolation valve and sillcock connection. Closing the wall without access turns a simple future repair into demolition.
What Are the Most Common Installation Failures?
The most common failures are trapped water, unsupported fittings, missing backflow protection, concealed leaks, and incorrect transitions between pipe materials. Each failure has a predictable symptom and a specific correction.
| Symptom | Likely cause | Immediate correction | Long-term fix |
|---|---|---|---|
| Faucet leaks behind wall only when open | Split sillcock barrel or inlet | Shut off branch immediately | Replace the damaged assembly |
| Spout drips when closed | Worn stem washer or valve seat | Remove pressure and inspect stem | Replace washer or complete stem |
| Handle leaks while running | Loose packing nut | Tighten slightly | Replace packing if leakage continues |
| Faucet freezes despite frost-proof label | Hose attached or barrel slopes inward | Remove hose and shut branch | Replace damaged valve and correct slope |
| Water sprays from vacuum breaker | Debris or failed breaker | Clean or replace cap assembly | Install listed replacement parts |
| Pipe moves when hose is attached | Missing support or loose flange | Stop using the faucet | Add backer and mechanical fasteners |
A concealed freeze split often leaks only when the handle opens, because the valve fills the damaged barrel under pressure. Water may travel along the pipe and appear several feet from the actual failure, so inspect the entire branch before opening drywall.
A dripping spout does not automatically mean the wall connection failed. Compression faucets commonly need a stem washer or seat repair, while frost-proof models may need a model-specific stem assembly. Shut off water before removing any stem.
How Should You Winterize an Outside Faucet?
Remove every hose, splitter, timer, and spray nozzle before freezing weather, then close the indoor isolation valve and open the outside faucet if the branch is designed to drain. A frost-proof sillcock can burst when an attached hose prevents the barrel from emptying after shutoff.
| Winter condition | Required action | Reason |
|---|---|---|
| Frost-proof sillcock, hose removed | Leave spout unobstructed | Allows exterior barrel to drain |
| Standard bibb with indoor shutoff | Close and drain branch | Removes exposed standing water |
| Hose splitter attached | Remove splitter | Valves can trap water at the outlet |
| Vacant home in freezing weather | Shut main and drain plumbing | Limits pressure during a freeze |
| Unheated crawlspace branch | Close, drain, and insulate pipe | Reduces freeze exposure |
Do not wrap a faucet with a decorative cover and assume the plumbing is protected. Covers may slow freezing but cannot correct a hose connection, an inward slope, or a pipe routed through an unheated cavity.
After a severe freeze, inspect the interior connection before using the faucet. An intact exterior handle does not prove that the concealed barrel survived.
When Should You Hire a Plumber?
Hire a plumber when the installation requires cutting galvanized steel, opening a finished wall without a known route, modifying a shared or multifamily supply, working near gas or electrical services, or complying with a permit requirement you cannot verify. A professional is also appropriate when a backflow device, pressure-reducing valve, or unusual water-treatment system changes the branch design.
Typical professional pricing is $150-$500 for a straightforward new outdoor faucet installation. Thick masonry, long branch runs, finished-wall repairs, difficult access, or replacement of corroded pipe can push the project above $600.
DIY installation is reasonable when the shutoff is known, the pipe material is identifiable, the interior is accessible, and the wall penetration can be inspected. Plumbing codes vary by jurisdiction, so local requirements control fixture type, anti-siphon protection, pipe support, and permits.
How Much Time and Money Does Installation Take?
A typical homeowner spends $40-$120 on materials and 2-4 hours on a new faucet when the supply line is nearby and the interior is unfinished. Labor and access dominate professional cost, while the faucet itself is usually a smaller portion of the total.
| Project condition | DIY time | Typical materials | Typical professional price |
|---|---|---|---|
| Replace existing accessible bibb | 45-90 minutes | $15-$60 | $125-$300 |
| Add frost-proof sillcock near PEX | 2-3 hours | $40-$100 | $200-$450 |
| Add faucet through brick | 3-5 hours | $70-$180 | $300-$700 |
| Add faucet through finished wall | 3-6 hours | $60-$200 | $350-$800 |
| Add long branch from distant main | 4-8 hours | $100-$300 | $500-$1,000+ |
These are typical planning ranges, not fixed prices. Local labor rates, permit fees, wall repair, pipe condition, and the chosen fixture can change the final amount substantially.
FAQ
Can I connect an outside faucet directly to PEX?
Yes, a PEX system can supply an outside faucet through a compatible tee, PEX tubing, and a listed transition adapter. Install the indoor isolation valve in a heated, accessible location, support the tubing, and use the clamp, crimp, or expansion method specified for the PEX system. Do not bury an inaccessible push fitting without approval.
Does an outdoor faucet need its own shutoff valve?
An outdoor faucet does not always require a separate indoor shutoff under every local code, but an accessible branch valve is strongly recommended. The valve isolates the exterior line for repairs and winter drainage, especially when the fixture is a standard bibb or the branch passes through an unheated area.
How far should an outside faucet be from the ground?
Mount the spout about 12-18 inches above the final grade, while accounting for soil, mulch, paving, snow, and future landscaping. The height should allow a bucket to fit beneath the outlet and keep the opening away from standing soil or splash contamination.
Can I install a hose bibb on a brick wall?
Yes, but brick requires a masonry-rated hole saw or core bit, suitable anchors, a rigid mounting surface, and weather sealing around the penetration. Avoid placing anchors too close to the brick edge. If the wall is a veneer, do not transfer faucet or hose force to the veneer alone.
Why does my frost-free spigot freeze?
A frost-free spigot can freeze when a hose or splitter remains attached, the barrel slopes toward the house, the drain opening is blocked, or the valve sits in an unheated cavity. Remove attachments, verify outward drainage, inspect insulation, and replace the assembly if a freeze split caused an interior leak.
Should I use plumber’s tape and pipe dope together?
Use the sealing method approved for the specific tapered thread and product. PTFE tape and pipe dope can be compatible on some metal tapered-thread connections, but neither belongs on compression threads, push-fit ends, or gasketed connections. Excess sealant can enter the valve and interfere with operation.
The Bottom Line
To install an outside faucet, select a properly sized anti-siphon frost-proof sillcock, map an accessible route, drill a controlled wall opening, connect a supported branch from the cold-water supply, and mount the barrel with a slight downward slope. Add an indoor isolation valve, test every joint under pressure, and remove hoses before freezing weather. The exact keyword, how to install an outside faucet, describes a manageable project only when the wall route and freeze protection are planned before cutting the pipe.