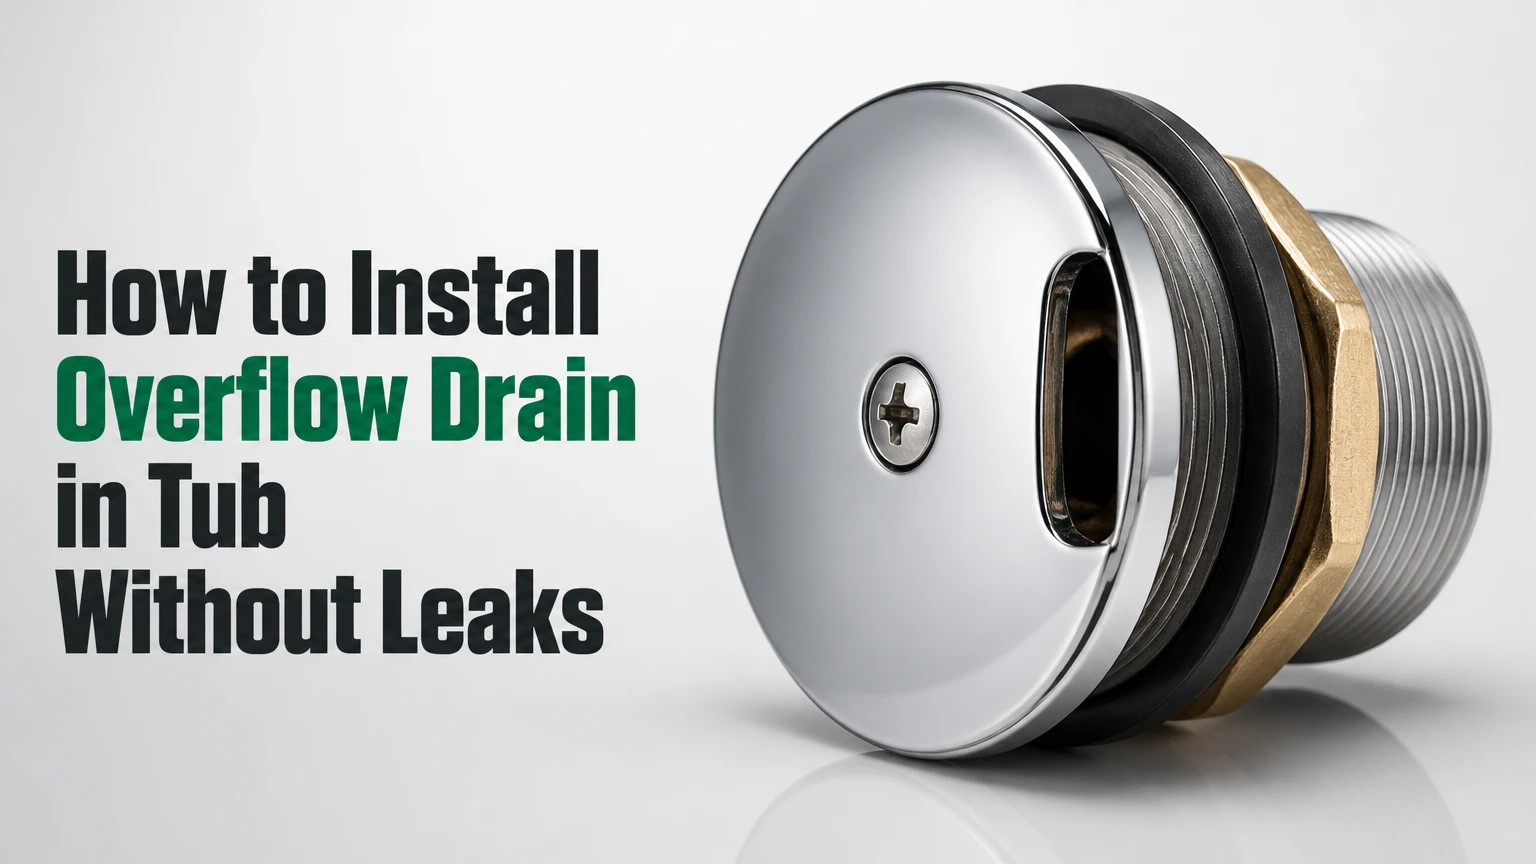
To install an overflow drain in a tub, fit a compatible waste-and-overflow kit to the tub’s drain and overflow openings, seal the drain flange and overflow gasket, connect the overflow tube to the drain tee, and leak-test every joint before closing the access area. A typical replacement takes 1.5-3 hours when plumbing access is open.
Key Facts at a Glance
A residential bathtub waste-and-overflow assembly normally uses 1.5-inch drainage piping, although local codes and manufacturer specifications control.
The overflow opening connects to the drain through a vertical overflow tube and a tee-shaped waste fitting.
The overflow gasket sits behind the tub wall, between the tub shell and the overflow elbow.
Plumber’s putty is suitable for many metal drain flanges, but some acrylic and composite tub manufacturers require 100% silicone.
A typical DIY replacement costs $20-$130 for the assembly, while professional work commonly costs $250-$600 when access is reasonable.
A leak test must include water entering the overflow opening, not only water draining through the bottom flange.
What Is a Bathtub Overflow Drain?
A bathtub overflow drain is the upper opening and connected pipe that diverts water into the waste line when the water level reaches the overflow plate. The complete system is usually called a tub waste-and-overflow assembly because the bottom drain and upper overflow share a tee and discharge through the same outlet.
The visible overflow plate covers an opening in the tub wall. Behind that opening, an overflow elbow and gasket create the seal against the tub shell. A vertical tube runs from the elbow to the waste tee, while the bottom drain shoe connects horizontally to that tee.
The overflow reduces the chance of water spilling over the rim, but it is not a guaranteed flood-prevention device. A partially blocked overflow tube, restricted branch drain, low overflow opening, or water flowing faster than the drain can carry it can still allow flooding. Never leave a filling tub unattended.
How Does the Assembly Work?
Water enters the bottom drain during normal use and enters the overflow opening when the level rises high enough. Both paths meet inside the waste tee, then flow through the outlet toward the P-trap and the building drain.
A trip-lever model adds a plunger inside the overflow tube or a linkage connected to the bottom stopper. A passive lift-and-turn or toe-touch model uses the overflow opening only for water diversion. The stopper mechanism changes, but the overflow path remains part of the waste-and-overflow assembly.
Which Overflow Kit Should You Buy?
Choose a kit that matches the tub’s stopper style, drain-thread pattern, pipe material, overflow-hole spacing, and available access. A simple lift-and-turn kit is usually the easiest DIY option, while a cable-operated kit is useful when the overflow control must operate a remote stopper.
| Kit type | Stopper location | Typical price | DIY difficulty | Main limitation |
|---|---|---|---|---|
| Lift-and-turn | Bottom drain | $20-$45 | Low | Requires reaching into the tub |
| Toe-touch | Bottom drain | $25-$60 | Low | Spring can weaken or open accidentally |
| Trip lever, plunger | Overflow plate and tube | $30-$80 | Medium | Linkage requires adjustment |
| Trip lever, pop-up | Overflow plate and bottom drain | $35-$90 | Medium | Hair can foul the rocker arm |
| Cable-operated | Bottom drain | $80-$200 | Medium-high | Cable replacement is more involved |
| Brass exposed-waste kit | Bottom drain | $60-$130 | Medium | Higher cost and more metal-thread maintenance |
A replacement should normally use the same operating style as the existing assembly unless the tub manufacturer permits a different configuration. Trip-lever conversions can fail when the overflow tube is too short for the new plunger, or when the linkage geometry does not match the tee.
How Do PVC, ABS, and Brass Compare?
PVC and ABS are practical for concealed installations, while brass provides durable threaded connections and a traditional professional-grade assembly. The best material depends on existing pipe, local plumbing rules, access, and whether future disassembly matters.
| Material | Cutting and joining | Typical kit cost | Repair method | Best application |
|---|---|---|---|---|
| PVC | Cuts easily; solvent-cements with PVC products | $20-$45 | Cut out glued section | New concealed rough-in |
| ABS | Cuts easily; solvent-cements with ABS products | $25-$55 | Cut out glued section | Existing ABS drainage |
| Brass | Cuts with tubing cutter or hacksaw; uses slip joints | $60-$130 | Disassemble or replace washers | Accessible, durable assemblies |
| Mixed plastic and brass | Requires approved transition method | $35-$100 | Depends on connection | Code-permitted transitions |
Do not select pipe cement by color alone. PVC primer and cement are intended for PVC, ABS cement is intended for ABS, and a listed transition cement is required for permitted PVC-to-ABS connections. The product label and local code take priority.
Before You Start
A replacement waste-and-overflow assembly usually takes 1.5-3 hours and requires moderate DIY skill. A new installation without an access panel can take much longer because the finished wall or ceiling may need to be opened.
| Item | Typical requirement | Why it matters |
|---|---|---|
| Tub waste-and-overflow kit | 1 complete kit | Must include drain shoe, tee, overflow elbow, gasket, and plate |
| Drain wrench | 1 tool | Removes and tightens the threaded drain flange |
| Slip-joint or channel-lock pliers | 1 pair | Tightens accessible nuts without crushing fittings |
| Tubing cutter or hacksaw | 1 tool | Cuts pipe to the measured length |
| Sealant | 1 tube or 3-ounce cartridge | Use putty or silicone approved for the tub |
| Replacement gasket | 1, if needed | Old foam and rubber commonly harden or compress unevenly |
| Flashlight and dry towels | 1 each | Makes small leaks visible during testing |
Confirm that you can reach the back of the overflow elbow and the underside of the drain shoe. An access panel, open stud bay, unfinished floor, or ceiling below provides workable access. If the tub is already surrounded by finished tile and has no access route, plan the opening before removing the old assembly.
Inspect the tub material. Cast iron tolerates firm compression, while acrylic and fiberglass can crack, flex, or deform if the drain flange or overflow screws are overtightened. Measure the existing drain and overflow openings, then compare those dimensions with the kit instructions.
Step 1: Remove the Existing Assembly
Protect the tub with a folded towel, then remove the overflow plate, stopper, drain flange, and connected waste-and-overflow piping. Pull a trip-lever plunger straight out while supporting the linkage so the rod does not fall behind the tub.
Use a tub drain wrench or internal drain key on the bottom flange. Turn counterclockwise while holding the waste shoe from below when possible. If the flange is seized, penetrating oil may help on exposed metal threads, but avoid forcing a fragile acrylic tub shell.
Scrape away old putty or silicone without gouging the tub surface. Remove loose gasket material from the overflow opening and check the tub shell for cracks around both openings.
You will know it worked when: the drain opening has clean, continuous threads and the overflow opening has a flat sealing surface.
Common mistake: twisting the drain shoe while removing the flange. A rotating shoe can stress old glued joints or damage the tub’s drain opening.
Step 2: Dry-Fit and Measure the Pipes
Place the new drain shoe beneath the bottom opening and hold the overflow elbow against the rear of the upper opening. Position the tee between them, then measure the vertical overflow tube and horizontal drain tube with the fittings fully seated.
Cut plastic pipe squarely with a tubing cutter or fine-tooth hacksaw. Remove burrs from the inside and outside edges. For brass slip-joint assemblies, cut only where the instructions specify and preserve enough straight pipe for the washer and nut to seal.
Dry-fit every component before applying cement. The overflow tube must remain vertical, the drain tube must align with the tee, and the tee outlet must point toward the P-trap without forcing the tub out of position.
You will know it worked when: all joints seat fully by hand and the tub does not need to move to make the pipes align.
Common mistake: measuring from the outside of a fitting instead of measuring to the fitting’s internal stop. That error can leave a pipe too long or too short by approximately 1/2 inch.
Step 3: Seal and Install the Bottom Drain
Apply a continuous 1/4- to 1/2-inch rope of plumber’s putty beneath the drain flange if the tub and flange manufacturer permit putty. Some acrylic, cultured-marble, and composite products specify 100% silicone instead because putty oils can stain or affect the surface.
Insert the flange through the tub from above. From below, place the manufacturer’s rubber gasket between the tub shell and the drain shoe, then thread the flange into the shoe. Tighten until the gasket compresses evenly and a small, continuous bead of sealant appears under the flange.
Keep the flange centered while tightening. Wipe away excess material inside the tub and beneath the assembly before it hardens.
You will know it worked when: the flange sits flush, the drain opening remains centered, and the gasket is compressed without bulging into the pipe.
Common mistake: placing the rubber drain gasket inside the tub. The normal order is flange, tub shell, gasket, drain shoe, unless the kit instructions specify a different arrangement.
Step 4: Fit the Overflow Gasket and Plate
Install the overflow gasket on the rear of the overflow elbow, then hold the elbow firmly against the outside of the tub wall. The gasket must cover the complete overflow opening without folding, twisting, or extending into the water passage.
Many waste-and-overflow kits use a tapered foam gasket designed for the angle of the tub wall. The correct direction is manufacturer-specific, so compare the gasket profile with the instruction sheet rather than assuming that the thick side always points downward. A reversed gasket can seal at one edge and leak at the other.
Insert the overflow plate screws from inside the tub and engage the elbow’s threaded lugs or bracket. Tighten each screw alternately, using hand pressure and a screwdriver. Plastic overflow elbows can crack when screws are driven aggressively.
You will know it worked when: the plate is level, the gasket remains centered, and the overflow elbow does not shift as the screws tighten.
Common mistake: reusing a compressed gasket. Foam may look intact but fail when the tub wall flexes during bathing.
Step 5: Connect the Waste-and-Overflow Pipes
For solvent-welded plastic, mark the insertion depth, clean the pipe and fitting, and apply the correct primer and cement according to the product label. Push the pipe fully into the fitting with a slight twist, then hold it still for the initial set time.
For brass slip joints, install each nut and washer in the correct direction before inserting the pipe. The beveled face of a washer generally points toward the fitting, but the kit instructions control. Hand-tighten each nut first, then add approximately one-quarter turn with pliers.
Do not force misaligned pipes into position. Excessive stress can pull the overflow elbow away from the tub or crack a plastic tee after the wall is closed.
You will know it worked when: the tee remains square, the pipes are fully seated, and no fitting is under visible sideways tension.
Common mistake: applying PVC cement to ABS. The joint may soften improperly or fail to meet the product’s listed connection requirements.
Step 6: Connect the Tee to the P-Trap
Connect the waste tee outlet to the existing P-trap using the fitting type required by the kit and local code. Keep the trap accessible where possible, and maintain the designed drainage slope on horizontal piping. Many jurisdictions use approximately 1/4 inch per foot for small horizontal drains, but local plumbing code controls.
Do not bury an inaccessible slip-joint connection inside a finished wall if code requires permanent joints there. Use approved glued, welded, or mechanical connections for the installation location, and provide an access panel when required.
A bathtub drain generally needs a correctly sized trap and a vented drainage system. The overflow assembly cannot compensate for an improperly vented or undersized branch drain.
You will know it worked when: the tee outlet reaches the trap without a sharp offset, the trap remains level, and all connections are supported independently of the tub shell.
Common mistake: connecting the overflow tee directly to an unvented or improvised drain route. That arrangement can cause gurgling, slow drainage, and trap siphoning.
Step 7: Leak-Test the Complete Installation
Follow the sealant and solvent-cement curing instructions before applying water. Then run a small amount of water through the bottom drain, fill the tub to several inches, and add water until it enters the overflow opening.
Inspect the drain flange, drain shoe, overflow gasket, overflow plate, tee, trap, and outlet connection with a dry tissue or paper towel. Paper reveals small leaks more reliably than a quick visual inspection. Test both an open stopper and a closed stopper.
For a new rough-in, repeat the test after draining a full tub because discharge flow can expose leaks that a slow trickle does not. Leave the area visible until every joint stays dry.
You will know it worked when: the tissue remains dry during filling, overflow flow, and full-volume draining.
Common mistake: closing the wall immediately after a dry slow-drain test. The overflow path and high-flow discharge still need separate testing.
What Are the Typical Time and Costs?
A DIY replacement with an existing access panel commonly costs $20-$130 and takes 1.5-3 hours. Professional pricing commonly reaches $250-$600 for accessible work, while new rough-in plumbing, tile removal, ceiling repair, or restricted access can raise the total substantially.
| Project condition | DIY materials | Typical labor time | Typical professional total |
|---|---|---|---|
| Replace trim and gasket only | $10-$40 | 30-90 minutes | $150-$300 |
| Replace accessible plastic assembly | $20-$55 | 1.5-3 hours | $250-$450 |
| Replace accessible brass assembly | $60-$130 | 2-4 hours | $300-$600 |
| New assembly with open framing | $35-$120 | 3-6 hours | $400-$900 |
| Finished wall with no access | $35-$130 | 4-8+ hours | $600-$1,500+ |
These are typical planning ranges, not fixed market prices. Regional labor rates, permit requirements, tub location, and repair of opened finishes determine the final cost.
Common Mistakes and How to Fix Them
Why does the overflow gasket leak?
A leaking overflow gasket usually has a wrong orientation, uneven compression, age-related hardening, or a tub wall that flexes under pressure. Remove the plate, inspect the gasket for folds and cracks, recenter it, and tighten the screws evenly. Replace the gasket if it has taken a permanent set.
Why is water leaking from the drain flange?
A drain flange leak usually comes from insufficient sealant, a damaged gasket, crossed threads, or a flange that was tightened while off-center. Remove the flange, clean both surfaces, apply the sealant approved for the tub, and reinstall with the drain shoe held stationary.
What if a plastic fitting cracks?
Replace a cracked plastic fitting rather than covering it with exterior sealant. A crack in the tee, shoe, or overflow elbow can open under movement and remain hidden until the ceiling below shows damage.
What if the trip lever will not hold water?
A trip-lever stopper may fail because the plunger is too high, the linkage is too short, or the brass adjustment locknut has moved. Remove the overflow plate, inspect the plunger and rod, then adjust in small increments according to the kit instructions. A plunger that sits too low can also restrict drainage.
What if the tub drains slowly after installation?
First remove the stopper and inspect it for hair, packaging debris, or excess putty. Trip-lever plungers can catch debris inside the overflow tube, while pop-up linkages can bind against the tee. Clean the mechanism before using chemical drain cleaner, which can damage finishes and complicate later repairs.
Situational Installation Advice
Can you install the overflow without access behind the tub?
You can replace the visible plate and gasket from inside the tub, but a complete pipe replacement normally requires access behind or below the tub. If the drain shoe, tee, or overflow elbow must be repositioned, open an access panel or the ceiling below before cutting pipe.
How does an acrylic or fiberglass tub change the process?
Acrylic and fiberglass tubs require controlled tightening because their shells can flex or crack. Use the specified gasket and sealant, support the waste shoe during tightening, and stop when the seal is compressed evenly. Do not use a long wrench handle to chase a leak caused by misalignment.
What changes with a freestanding tub?
Freestanding tubs often expose the waste-and-overflow connections, so appearance and access differ from an alcove tub. Confirm the manufacturer’s drain location, finished-floor clearance, trap position, and overflow connection before setting the tub permanently. A freestanding installation may require a special exposed waste kit rather than a concealed standard assembly.
What if the tub has no overflow opening?
Do not drill a tub shell without written manufacturer approval and the correct template. Some tubs are designed as non-overflow models and require a compatible drain, reduced fill height, or a separate floor-drain strategy. Drilling cast iron, acrylic, or fiberglass in the wrong location can permanently damage the tub.
Expert Rules That Prevent Repeat Repairs
Replace the gasket when replacing the plate. A new plate cannot correct a foam gasket compressed by years of uneven tightening. The gasket is usually the least expensive component in the assembly and the most common source of a concealed overflow leak.
Dry-fit before applying cement. Solvent-welded fittings cannot be rotated freely after the cement grabs. A five-minute dry fit prevents an upside-down tee, an unreachable nut, or an overflow tube that misses the elbow.
Test the overflow separately from the drain. Filling the tub through the faucet tests the overflow gasket and tube, while draining a full tub tests the tee, trap, and branch connection. One test does not prove the other.
FAQ
How high should a bathtub overflow drain be?
The overflow opening should be located where the tub manufacturer designed it, usually near the upper end wall below the rim. The finished overflow plate must cover the factory opening completely, and the connected elbow must seal against the tub’s rear surface. Do not raise or lower the opening to gain bathing depth.
Can silicone replace plumber’s putty on a tub drain?
Silicone can replace plumber’s putty when the drain or tub manufacturer approves it. Silicone is often preferred for acrylic, composite, or porous surfaces, but it requires careful surface preparation and curing time. Plumber’s putty remains convenient for many metal flanges because it stays workable and allows later removal.
Is a bathtub overflow required by plumbing code?
Many plumbing codes and jurisdictions require an approved tub waste-and-overflow arrangement, but requirements vary by location and tub design. The International Plumbing Code and local amendments govern the installation. Check with the local building department before altering a new drain layout or installing a tub without an overflow.
Can a bathtub overflow prevent a bathroom flood?
A bathtub overflow reduces the likelihood of water spilling over the rim, but it cannot guarantee flood prevention. A blocked overflow, restricted drain, faulty stopper, low-capacity branch line, or unattended faucet can still cause water damage. A working overflow is a safety feature, not a substitute for supervision.
How long should PVC or ABS cement cure before testing?
Use the solvent-cement manufacturer’s cure schedule because temperature, pipe diameter, humidity, and pressure affect the joint. Tub waste-and-overflow drainage is typically not pressurized, but testing immediately can still disturb a fresh joint. Waiting several hours is a cautious practice when the product instructions allow it.
Should you hire a plumber to install a tub overflow drain?
Hire a licensed plumber when the tub has no access, the drain must connect to new vented plumbing, the tub shell is expensive or difficult to replace, or local permits apply. DIY replacement is reasonable when the kit matches the existing layout, the access is open, and you can complete a full leak test.
The Bottom Line
To install an overflow drain in a tub, match the waste-and-overflow kit to the tub and stopper, dry-fit the drain shoe, overflow elbow, tee, and trap, seal the drain flange, compress the overflow gasket evenly, connect compatible piping, and test both overflow intake and full-volume drainage. Keep the access area open until every joint remains dry.