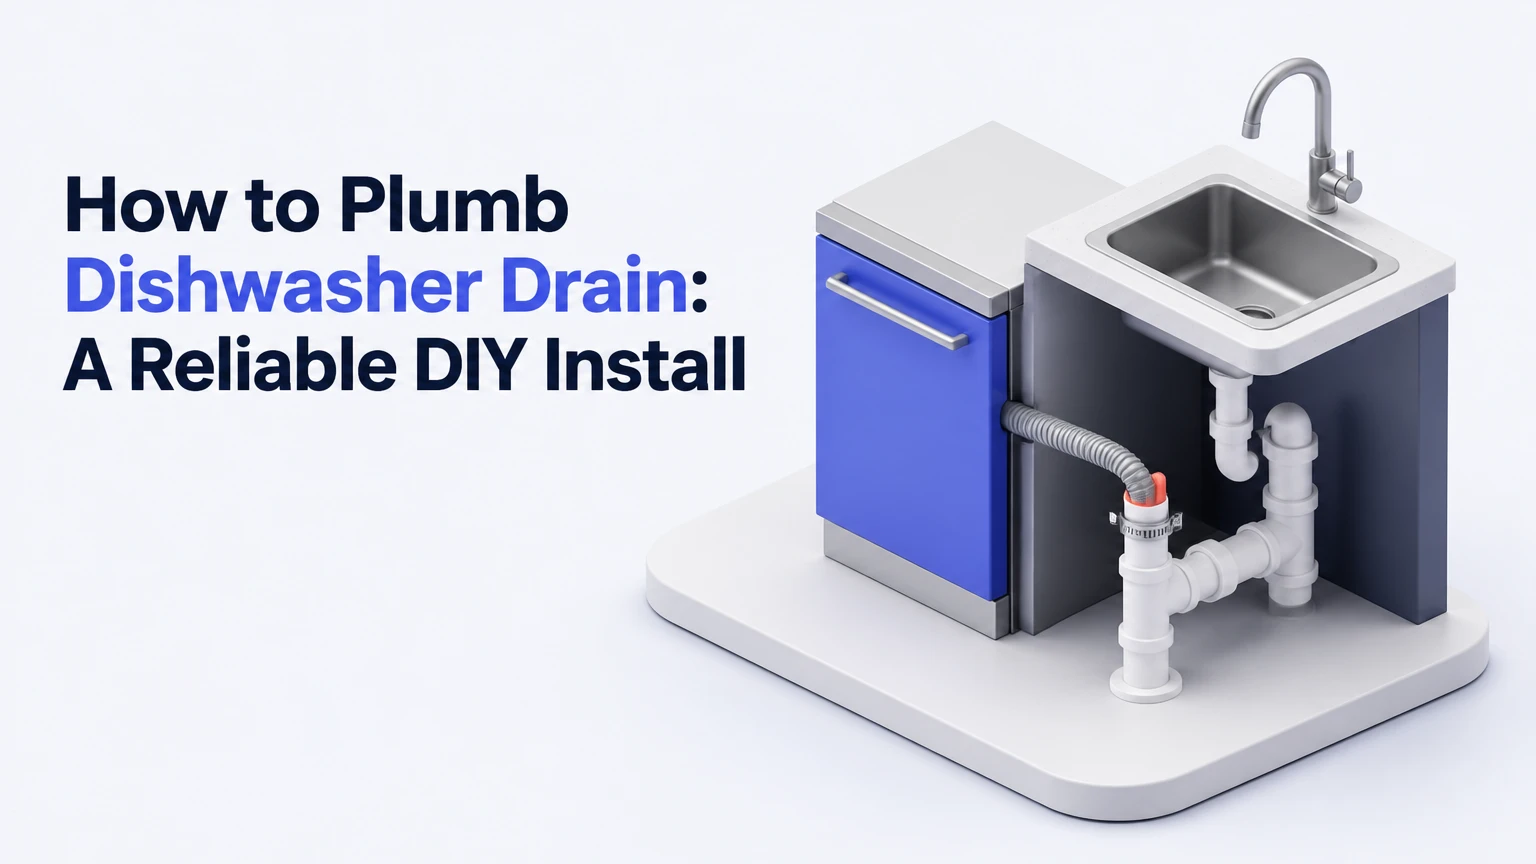
To plumb a dishwasher drain, connect the appliance’s drain hose to a garbage-disposal inlet or dishwasher branch tailpiece, then route the hose through a code-approved air gap or high loop before it reaches the sink’s P-trap. A typical under-sink installation takes 30-60 minutes when the drain connection and cabinet access already exist.
Key Facts
A dishwasher drain hose must connect on the sink side of the P-trap, not to the sewer side.
A garbage-disposal inlet may contain a factory knockout plug that must be removed before the dishwasher can drain.
A high loop must be firmly secured near the underside of the countertop or cabinet top.
An air gap is required in some jurisdictions, including many installations governed by California plumbing requirements.
Common dishwasher drain hoses use 5/8-inch or 7/8-inch inside diameters, but the appliance manual controls the correct connection.
A typical DIY installation costs $15-$45 for a hose, clamp, tailpiece, air-gap kit, or related fittings.
How the Dishwasher Drain System Works
A dishwasher drain system uses a powered drain pump, flexible hose, anti-backflow protection, and a connection upstream of the sink P-trap. The pump expels wastewater during the drain portion of the cycle, while the elevated hose route prevents contaminated sink water from flowing back into the dishwasher.
The usual path is:
Dishwasher sump
    ↓
Drain pump
    ↓
Dishwasher hose
    ↑
High loop or air gap
    ↓
Disposal inlet or branch tailpiece
    ↓
Sink-side P-trap
    ↓
Building drain
The P-trap holds water to block sewer gases, but the P-trap alone does not prevent sink wastewater from entering the appliance. Backflow protection comes from the air gap or the elevated hose route. The drain connection also belongs before the trap because connecting after the trap can expose the dishwasher hose to sewer-side gases and improper drainage conditions.
What parts are in the drain assembly?
| Component | Typical specification | Function | Inspection point |
|---|---|---|---|
| Dishwasher drain hose | 5/8-inch or 7/8-inch ID | Carries pumped wastewater | No kinks, splits, or crushed sections |
| Hose clamp | Adjustable 5/8-1 inch | Secures hose to a barb | Clamp sits behind the barb ridge |
| Air gap | 5/8-inch inlet, 7/8-inch outlet commonly used | Creates a physical air break | Outlet hose is clear and clamped |
| Branch tailpiece | 1 1/2-inch sink tubular size | Adds a dishwasher drain barb | Branch points upward before the P-trap |
| Garbage-disposal inlet | Commonly 7/8-inch barb | Receives dishwasher wastewater | Knockout plug is removed |
| Sink P-trap | Commonly 1 1/4 or 1 1/2-inch tubular size | Blocks sewer gases | Dishwasher branch enters upstream |
Before You Start
Prepare a bucket, towels, screwdriver, pliers, flashlight, tape measure, and one or two stainless-steel worm-gear clamps sized for the hose barb. A replacement installation may also require a dishwasher branch tailpiece, air-gap assembly, 7/8-inch drain hose, hose adapter, or cabinet-hole grommet.
| Requirement | Typical value | What to verify |
|---|---|---|
| DIY time | 30-60 minutes | Existing drain port and cabinet hole |
| New plumbing adaptation | 1-2 hours | Branch tailpiece or additional cabinet access |
| DIY parts cost | $15-$45 | Hose, clamps, tailpiece, or air gap |
| Professional labor | $150-$350 typical | Regional service rate and access |
| Hose run | 6 feet typical supplied length | Appliance manual maximum |
| Total extension | Often limited to 10-12 feet | Manufacturer and local code |
| High-loop elevation | Cabinet-top routing is typical | Local code and installation manual |
| Difficulty | Moderate | Access, disposal, and plumbing condition |
Turn off the dishwasher circuit at the electrical panel before moving or accessing the appliance. Close the hot-water shutoff valve if the dishwasher will be pulled out or its supply connection may be disturbed. Do not rely on the control panel’s off button as electrical isolation.
How to Plumb Dishwasher Drain in Seven Steps
Step 1: Isolate the dishwasher and expose the connections
Switch off the dishwasher breaker, close the under-sink water-supply valve, and place a bucket beneath the drain connection. Remove stored items from the cabinet and photograph the existing hose route before disconnecting anything.
Pull enough of the dishwasher forward to inspect where the drain hose leaves the appliance. Avoid sharply bending the hose behind the unit because a crushed line can restrict drainage even when the under-sink connection looks correct.
Success checkpoint: The breaker is off, the supply valve is closed, and towels cover the cabinet base.
Common mistake: Disconnecting the hose before identifying its original route, which can make it difficult to reproduce the required elevated loop.
Step 2: Identify the correct connection point
Choose the dishwasher port on the garbage disposal if one is installed and usable. If no disposal exists, install a dishwasher branch tailpiece on the sink drain above the P-trap.
A branch tailpiece replaces the straight tailpiece section directly below the sink strainer. Its dishwasher barb must remain on the sink side of the trap. Do not attach the hose to a capped cleanout, the sewer-side pipe, or a random open fitting below the P-trap.
Success checkpoint: The selected barb flows toward the P-trap through the sink drain assembly.
Common mistake: Installing the branch tailpiece below the trap, which creates an improper sewer-side connection and may cause odors or poor drainage.
Step 3: Remove a garbage-disposal knockout plug
New garbage disposals often have a solid plug inside the dishwasher inlet. Insert a screwdriver into the inlet and tap the plug inward with a hammer, then remove the loose plastic disc with needle-nose pliers.
Never assume the inlet is open because a hose barb is visible. The dishwasher can pump normally while water remains trapped in the tub if the plug blocks the disposal passage. Retrieve every fragment before connecting the hose.
Success checkpoint: Looking through the disposal inlet shows an open passage into the disposal chamber.
Common mistake: Leaving the knockout plug inside the disposal. The first drain cycle may end with standing water and a dishwasher drain error.
Step 4: Route the drain hose through the cabinet
Feed the hose through the cabinet access hole without twisting or flattening it. A 1 1/2-inch opening is common, but the hole must be large enough to prevent abrasion and allow the hose to move without a tight bend.
Keep the hose away from sharp cabinet edges, the disposal’s rotating components, hot supply piping, and the dishwasher’s leveling feet. Add a plastic grommet or edge guard where the hose passes through unfinished wood or metal.
Success checkpoint: The hose forms gradual bends and remains round when viewed from the side.
Common mistake: Pulling the dishwasher too far forward or backward and crushing the hose behind the appliance.
Step 5: Install the high loop or air gap
For a high loop, secure the drain hose as high as practical beneath the countertop or at the cabinet’s upper inside wall, then let it descend to the disposal or branch tailpiece. Use a manufacturer-supplied bracket, screw-mounted clamp, or durable cable tie that cannot slide down.
A universal high-loop height does not apply in every jurisdiction. Installation manuals and local plumbing codes may specify different elevations, and some jurisdictions require an air gap instead. The safe practical rule is to route the hose continuously upward to the cabinet top, not merely create a small bend halfway up the wall.
For an air gap, connect the dishwasher hose to the smaller inlet barb below the air-gap cap. Connect a separate larger outlet hose from the air gap to the disposal or branch tailpiece, then clamp both connections.
Success checkpoint: The hose’s highest point remains secured after gently tugging it downward.
Common mistake: Using a loose zip tie around a dusty cabinet surface, allowing the hose to fall below the required elevation.
Step 6: Attach and clamp the drain connection
Push the hose fully over the disposal nipple or branch-tailpiece barb. The hose should pass beyond the barb ridge, and the clamp should sit over the reinforced nipple area rather than at the hose’s exposed end.
Tighten the stainless-steel clamp until the hose compresses slightly around the barb. Excessive force can strip the clamp screw, cut soft hose material, or deform a plastic tailpiece.
Success checkpoint: The hose cannot be pulled off by hand and the clamp remains centered over the barb.
Common mistake: Installing a clamp directly at the hose tip, where it can slide off under pump pressure.
Step 7: Test the drain under real operating conditions
Reopen the water valve, restore the breaker, and run a short rinse or diagnostic cycle according to the dishwasher manual. Watch every connection while the drain pump operates, then inspect the cabinet again after the cycle ends.
A static leak test is insufficient because the pump creates flow and vibration. Run water into the sink afterward and confirm that the sink drains normally without forcing water into the dishwasher.
Success checkpoint: The dishwasher completes its drain phase, the tub has no abnormal pool of water, and every joint remains dry.
Common mistake: Testing only the fill cycle, which does not prove that the drain hose, air gap, disposal inlet, and P-trap route work correctly.
Air Gap or High Loop: Which Should You Use?
An air gap is the more defensible choice where local code requires physical backflow separation, while a properly secured high loop is simpler and cheaper where the code and dishwasher manual permit it. The correct decision depends on jurisdiction, sink configuration, countertop drilling, and the appliance manufacturer’s instructions.
| Criterion | Air gap | High loop |
|---|---|---|
| Backflow separation | Physical air break | Elevated hose route |
| Countertop requirement | Sink-deck hole or accessory opening | No countertop hole |
| Typical extra parts | Air-gap body and outlet hose | Bracket or cable tie |
| Maintenance symptom | May spit onto sink deck when blocked | May backflow if hose falls |
| Noise | Possible hissing or discharge noise | Usually quiet |
| Code status | Required in some jurisdictions | Allowed in many jurisdictions |
| Best installation context | Code-sensitive remodel or pre-drilled sink | Existing cabinet with no spare sink hole |
When is an air gap required?
An air gap is required when the governing plumbing code or local authority requires an approved dishwasher air break. California installations commonly use air gaps, but rules vary by state, municipality, adopted code edition, and inspection authority.
Check the dishwasher installation manual and local plumbing department before choosing a high loop. A high loop is not a substitute for an air gap where the code explicitly requires the air-gap device.
How high should a dishwasher drain hose loop be?
The dishwasher drain hose should rise to the underside of the countertop or the highest practical cabinet point and remain secured there. Exact minimum elevations vary, so the manual and local code control instead of a universal internet measurement.
Some manufacturer instructions publish a minimum measurement from the finished floor or cabinet base. Measure from the finished floor when instructed, and do not confuse the hose’s highest point with the location where it descends into the disposal.
How Do You Connect a Dishwasher Without a Disposal?
Connect a dishwasher without a disposal by replacing the sink’s straight tailpiece with a dishwasher branch tailpiece above the P-trap. The branch barb receives the drain hose, while the sink water continues through the tailpiece, trap, and building drain.
Shut off the water, place a bucket below the trap, and loosen the slip nuts around the existing tailpiece. Install the branch tailpiece with its tapered washers facing the correct direction, keep the branch pointed upward, and hand-tighten the slip nuts before adding a small wrench adjustment.
Tubular drain parts vary by sink and region. A 1 1/2-inch sink drain assembly may use a 5/8-inch or 7/8-inch dishwasher barb, so match the tailpiece to the appliance hose or use a listed adapter. Avoid stacking multiple reducers, because each restriction increases the chance of slow drainage and air-gap discharge.
Expert rule: A dishwasher branch should enter the drain before the P-trap, but it should not share a slip-joint connection in a way that prevents the trap from being removed for cleaning.
What Hose Size and Length Are Correct?
Most residential dishwasher drain hoses use a 5/8-inch or 7/8-inch inside diameter, but the appliance connection and installation manual determine the correct size. Measure the hose inside diameter and the receiving barb before purchasing an adapter or replacement hose.
| Measurement or part | Typical value | Practical decision |
|---|---|---|
| Dishwasher hose ID | 5/8 inch | Often connects to air-gap inlet or appliance outlet |
| Disposal nipple | 7/8 inch commonly | Use the correct hose end or adapter |
| Air-gap outlet | 7/8 inch commonly | Runs to disposal or branch tailpiece |
| Factory hose length | About 6 feet | Measure the actual cabinet route |
| Total run with extension | Often 10-12 feet maximum | Confirm the appliance manual |
| Clamp adjustment range | About 5/8-1 inch | Select a clamp that fits the barb |
Do not extend a hose simply because a longer line reaches the drain. Excessive length adds friction, low spots, and pump workload. Replace the line with the manufacturer-approved length when possible, and keep any extension away from standing water pockets.
Common Mistakes and How to Fix Them
| Symptom | Likely cause | Corrective action | Confirmation |
|---|---|---|---|
| Standing water after first cycle | Disposal knockout plug remains | Remove plug and clear fragments | Drain cycle empties tub |
| Water rises into dishwasher | Failed or low high loop | Re-anchor hose at cabinet top | Sink use does not backflow |
| Air gap sprays water | Clogged outlet hose or disposal port | Remove and flush outlet path | Air gap stays dry during drain |
| Sewer odor from cabinet | Drain connected after P-trap or dry trap | Rebuild connection upstream of trap | Odor disappears after trap holds water |
| Slow drain with no leak | Kink, sludge, or excessive length | Straighten, clean, or replace hose | Pump sound and drain time normalize |
| Leak at barb | Loose, misplaced, or damaged clamp | Reposition or replace clamp and hose | Two drain cycles remain dry |
A clogged air-gap outlet commonly causes water to spray from the countertop device even when the dishwasher itself is functioning. Remove the air-gap cap, clean the internal passage, disconnect the larger outlet hose, and inspect the disposal nipple for food debris.
A dirty dishwasher filter can mimic a drain-plumbing failure. Clean the filter and sump area according to the appliance manual before replacing the pump, especially when the hose and sink drain pass the flow test.
What if the dishwasher still will not drain?
If the dishwasher does not drain after the hose route and connection are correct, inspect the filter, drain pump impeller, drain-loop position, air-gap outlet, and disposal inlet. A powered pump that hums without moving water may have an obstruction or damaged impeller, while no pump sound can indicate a control, wiring, or door-latch fault.
Disconnect power before reaching into the pump area. Do not insert fingers into a disposal, even when its switch is off. A dishwasher technician is appropriate when water remains after cleaning, the pump overheats, or electrical testing is required.
What Does Dishwasher Drain Plumbing Cost?
A straightforward DIY drain connection typically costs $15-$45 and takes 30-60 minutes, while adding a branch tailpiece, air gap, or new cabinet route commonly raises the project to $30-$100 in parts. Professional installation often costs $150-$350 in labor, excluding concealed plumbing repairs and appliance work.
| Project condition | Typical parts cost | Typical time | Professional concern |
|---|---|---|---|
| Reconnect existing hose | $5-$15 | 20-40 minutes | Damaged barb or hose |
| Replace hose and clamps | $15-$35 | 30-60 minutes | Correct ID and length |
| Add branch tailpiece | $20-$50 | 45-90 minutes | Corroded slip nuts or trap |
| Add air gap | $25-$70 | 45-90 minutes | Sink-deck opening and code |
| Create a new drain route | $50-$150 | 1-2 hours | Cabinet, wall, or drain alteration |
| Hire a plumber | $150-$350 labor typical | 1-3 hours | Local access and repair scope |
These are typical US consumer ranges, not guaranteed prices. A plumber may charge more when the dishwasher is hardwired, the shutoff valve does not close, the sink drain is corroded, or the branch connection requires work inside a wall.
When Should You Hire a Plumber?
Hire a plumber when the drain must be added inside a wall, the sink trap is glued or heavily corroded, local code requires an air gap you cannot install, or the shutoff valve fails to stop water. Professional help is also appropriate when wastewater backs up into multiple fixtures, indicating a branch or main drain obstruction.
A drain hose replacement is usually a manageable DIY task when the disposal port or branch tailpiece already exists. The risk increases when the installation requires changing trap geometry, drilling stone, relocating a sink, or diagnosing electrical and pump faults.
Dishwasher drain plumbing is not a good place to conceal an incorrect connection. A neat-looking hose attached to the wrong side of the trap can create odor and contamination problems that appear weeks later.
FAQ
Can a dishwasher drain into a sink drain?
Yes, a dishwasher can drain into a sink drain through a garbage-disposal inlet or dishwasher branch tailpiece. The connection must be upstream of the P-trap, and the hose must use a code-approved air gap or high loop to prevent sink wastewater from entering the appliance.
Does a dishwasher need its own P-trap?
A residential dishwasher usually does not need a separate dedicated P-trap under the sink. The dishwasher hose normally discharges into the sink drain or disposal before the existing sink P-trap, although local plumbing rules and commercial equipment requirements may differ.
Can the dishwasher drain hose lie flat?
The dishwasher drain hose should not lie flat for its entire route. The hose needs an elevated anti-backflow route before descending to the drain connection, and low spots can retain dirty water, encourage odor, and reduce reliable drainage.
Why does my dishwasher smell after plumbing work?
A dishwasher may smell after plumbing work because the high loop fell, the air-gap outlet is blocked, the filter contains food residue, or the drain connects incorrectly on the sewer side of the trap. Correct the hose elevation, clean the drain path, and verify the P-trap connection.
Can I connect the dishwasher hose directly to the wall drain?
A direct connection to a wall drain is acceptable only when the plumbing has an approved dishwasher branch, trap, venting, and backflow arrangement designed for that purpose. Do not push the hose into an open standpipe or sewer-side pipe without confirming the local plumbing configuration.
Should the dishwasher drain hose be clamped?
Yes, clamp the dishwasher drain hose at the disposal nipple, branch tailpiece, or air-gap barb. Use a stainless-steel worm-gear clamp sized for the connection, position it over the barb ridge, and tighten it enough to seal without cutting the hose.
The Bottom Line
To plumb a dishwasher drain correctly, connect the hose to the disposal inlet or an upstream branch tailpiece, remove any disposal knockout plug, route the hose through an approved high loop or air gap, and clamp every barb connection. Test the drain pump while watching for leaks, backflow, slow discharge, and air-gap spray.
The exact high-loop height, air-gap requirement, hose length, and fitting size depend on the appliance manual and local code. When those requirements conflict with a generic diagram, follow the manufacturer and authority having jurisdiction. A correct connection is upstream of the P-trap, securely elevated, unrestricted, and dry after testing.