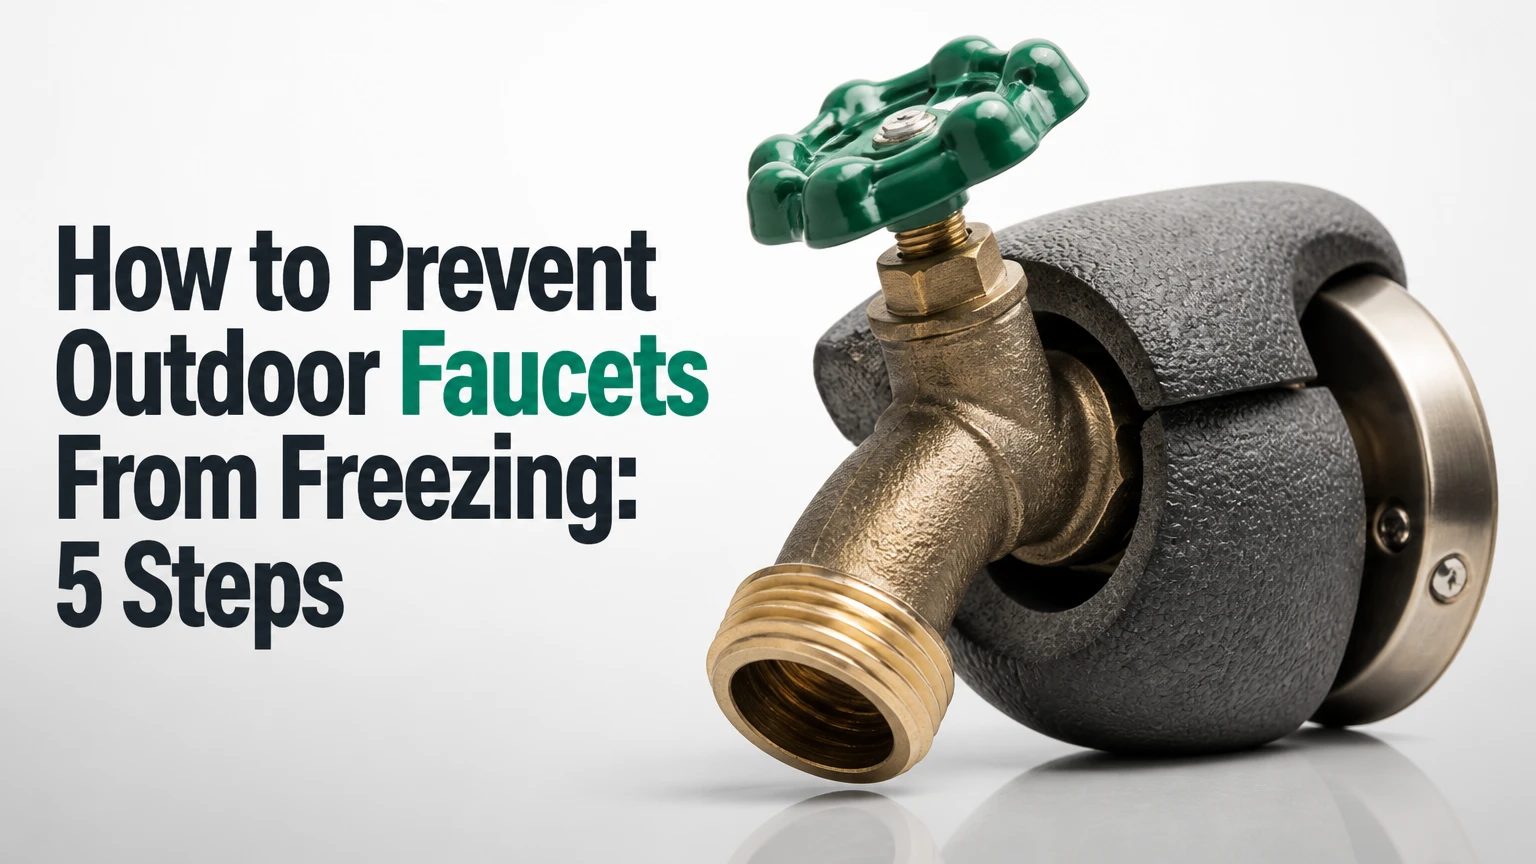
To prevent outdoor faucets from freezing, disconnect every attachment, shut off the dedicated indoor valve, open and drain the exterior faucet, empty the bleeder port, and install a weatherproof cover. The process usually takes 15-30 minutes per faucet, and removing the hose before the first hard freeze is the most important step.
Key Facts at a Glance
- Water expands by approximately 9% when it changes from liquid to ice, creating damaging pressure in a confined pipe.
- A frost-free sillcock drains only when the hose is removed and the faucet is installed with the correct downward pitch.
- Wind chill does not cool an inanimate faucet below the actual air temperature, although moving air increases heat loss and can speed freezing.
- A faucet cover slows heat loss but does not replace draining an ordinary hose bibb.
- A frozen faucet that produces no water may have a split pipe hidden inside the wall, so inspect the supply line after thawing.
- Typical retail faucet covers cost $5-$15, while replacing a sillcock commonly costs $150-$500 including labor.
Why Do Outdoor Faucets Freeze and Burst?
Outdoor faucets freeze when standing water inside the faucet body or its connected pipe falls to 32°F (0°C) or lower. The resulting ice occupies more volume than liquid water, and pressure rises when the expanding ice blocks the pipe while liquid water remains trapped between the ice and a closed valve.
The rupture commonly occurs at a weak joint, threaded connection, soldered seam, or section of pipe inside the wall. That location can be several inches away from the visible faucet, which explains why the exterior fitting may look intact during the cold weather.
The U.S. Geological Survey identifies freezing water’s expansion as approximately 9% by volume. The American Society of Plumbing Engineers also treats trapped water and inadequate drainage as central freeze-damage risks, rather than assigning one guaranteed outdoor temperature or duration to every plumbing system.
Why does damage often appear after the thaw?
A frozen water plug can temporarily prevent water from escaping through a split pipe. When the ice melts, the supply line becomes pressurized again and water may enter the wall cavity, basement, crawlspace, or floor assembly.
A spring leak is therefore not proof that the pipe broke during warm weather. If a faucet had low flow after a freeze, inspect behind the wall before assuming the fixture merely needs a new washer.
Before You Start
Prepare each faucet separately, because one indoor shut-off valve may control several exterior outlets or none at all. If the valve is inaccessible, stuck, or does not stop the flow, arrange a plumber before relying on it for winter protection.
| Item | Typical requirement | Typical cost | Purpose |
|---|---|---|---|
| Faucet cover | 1 per outdoor faucet | $5-$15 | Reduces heat loss at the exterior fitting |
| Adjustable wrench | 1, 6-10 inches | $10-$25 | Removes a bleeder cap or attachment |
| Bucket | 1, 1-2 gallons | $3-$10 | Catches water from the drain port |
| Flashlight | 1 LED unit | $5-$20 | Locates valves in basements and crawlspaces |
| Pipe insulation | 3-10 feet | $5-$20 | Protects exposed interior supply pipe |
| Hair dryer | 1 household unit | Existing tool | Safe low-temperature thawing |
Time: 15-30 minutes per faucet for routine winterization.
Difficulty: Easy if the indoor shut-off and bleeder are accessible.
Prerequisites: Identify the correct valve, remove all hose attachments, and know where water could drain safely.
Safety: Do not remove a pressurized bleeder cap. Close the main water supply if the dedicated valve cannot stop flow.
How to Prevent Outdoor Faucets From Freezing
The reliable sequence is disconnect, isolate, drain, release trapped water, and insulate. Reversing the sequence can leave the faucet connected to a pressurized water column, which makes an inexpensive cover ineffective against internal freezing.
Step 1: Disconnect the Hose and Attachments
Remove the garden hose, Y-splitter, timer, spray nozzle, quick-connect fitting, and any threaded vacuum breaker from the outdoor faucet. Drain the hose separately and store it where residual water cannot freeze and damage its fittings.
A connected hose can block a frost-free sillcock’s drainage path. A hose may also hold water inside the faucet body even when an interior shut-off valve is closed, so removing it is necessary for both ordinary and frost-free designs.
Success checkpoint: The faucet outlet and threads are fully exposed, with no hose washer, timer, splitter, or adapter still attached.
Common mistake: Leaving a short hose segment or quick-connect coupler attached because it appears empty. Remove every threaded accessory.
Step 2: Close the Dedicated Indoor Shut-Off Valve
Find the valve controlling the specific outdoor faucet. Common locations include a basement ceiling, crawlspace, utility room, mechanical closet, under a kitchen sink, or near the pipe penetration through the foundation.
Turn a round multi-turn handle clockwise until it stops without forcing it. Turn a lever-style ball valve so the handle sits perpendicular to the pipe. A ball valve normally provides a quarter-turn shut-off, while an old gate valve may stop incompletely because its internal wedge or stem has deteriorated.
If several faucets share one valve, winterize all of them after closing it. Do not assume a nearby valve controls the outlet simply because it sits on a similar pipe.
Success checkpoint: Opening the exterior faucet produces only a brief flow that stops, rather than a continuous stream.
Common mistake: Closing a main-house valve or an unrelated branch valve. Trace the pipe physically when the labeling is unclear.
Step 3: Open and Drain the Outdoor Faucet
Open the outdoor faucet fully after closing the indoor shut-off. Let the line drain by gravity, and leave the exterior faucet open during the drained winter period unless the manufacturer specifies another position.
Drainage removes the water column most likely to freeze inside a conventional hose bibb. The open outlet also prevents pressure from becoming trapped if a small amount of residual water freezes in the line.
On a sloped or long pipe, wait several minutes and gently move the faucet handle through its open position. Never use compressed air on household plumbing unless the system and pressure limits are understood, because excessive pressure can damage valves and fixtures.
Success checkpoint: No water flows after several minutes, and the faucet body does not refill when the indoor valve remains closed.
Common mistake: Closing the outdoor handle immediately after the first trickle. The short section inside the wall may still contain water.
Step 4: Drain the Bleeder Port
Inspect the indoor shut-off valve for a small drain screw, threaded cap, or bleeder port on the downstream side. Put a bucket below the port, loosen the cap slowly, and allow the trapped section between the shut-off valve and outdoor faucet to empty.
Removing the cap admits air and breaks the vacuum that can hold water inside the pipe. Replace the cap after drainage, tightening it firmly by hand and then slightly with a wrench if necessary. Do not overtighten a small brass cap, because damaged threads can leak when the line is repressurized.
Some valves have no bleeder port. Do not drill, puncture, or improvise one. A plumber can add a drainable shut-off during a future repair.
Success checkpoint: The port stops draining, the bucket contains only a small volume, and the cap is reinstalled without visible seepage.
Common mistake: Opening the bleeder before closing the supply valve. Pressurized water can spray into insulation, framing, or electrical equipment.
Step 5: Install a Weatherproof Faucet Cover
Fit an insulated cover tightly against the wall around the faucet body. Choose a rigid foam enclosure for a flat wall or a flexible insulated sock for irregular stone, brick, stucco, or textured siding.
A cover reduces wind exposure and slows heat loss, but it does not remove water from a conventional faucet. The cover should have a dry interior, a snug gasket or drawstring, and enough clearance to avoid pressing the faucet handle into an open position.
Check the cover after heavy rain or snow. Replace a torn, waterlogged, or compressed cover because wet insulation transfers heat more effectively than dry foam.
Success checkpoint: The cover contacts the wall, encloses the entire faucet body, and stays secured when pulled lightly.
Common mistake: Wrapping the faucet in a wet towel or loose cloth. Saturated fabric can freeze against the fitting and provide little insulation.
Which Protection Method Fits Your Home?
The best protection depends on faucet design, climate, access to the supply line, and whether the property can tolerate a small discharge of water. An insulated cover is the least expensive improvement, while a correctly installed frost-free sillcock provides the strongest passive protection for a frequently used outlet.
| Protection method | Typical cost | Installation time | Best use | Main limitation |
|---|---|---|---|---|
| Rigid foam cover | $5-$12 | 1-3 minutes | Flat siding, brick, or foundation wall | Poor fit on irregular masonry |
| Flexible insulated sock | $7-$20 | 1-3 minutes | Stone, stucco, and textured walls | Loses performance when wet |
| Self-regulating heat cable | $25-$80 per run | 30-90 minutes | Exposed supply pipe in an unheated space | Requires approved power and installation |
| Thermostatic drip device | $25-$45 | 5-10 minutes | Short, intermittent freezes | Uses water and may create ice |
| Frost-free sillcock | $150-$500 installed | 1-3 hours | Permanent protection in cold climates | Fails if a hose remains attached |
Are faucet covers enough?
Faucet covers are enough for many ordinary hose bibbs when the indoor supply is shut off and the line is drained. Covers alone are not a dependable solution for a pressurized, undrained faucet in a prolonged freeze.
A cover has greatest value at the exposed metal body and wall penetration. It cannot protect pipe running through an unheated crawlspace, exterior chase, garage, or poorly sealed rim-joist cavity, so those sections require separate insulation or approved heat protection.
When is a frost-free sillcock worth installing?
A frost-free sillcock is worth considering when an exterior faucet is used throughout winter, the existing fitting lacks a practical indoor shut-off, or repeated freezes have damaged the same branch line. Its shut-off valve sits inside the heated envelope, typically 6-14 inches behind the exterior wall.
Correct installation matters. The barrel should slope downward toward the exterior so it drains after closing, and the selected length must match the wall thickness. A frost-free design is not freeze-proof when a hose, timer, or nozzle remains attached.
What Temperature Creates a Freeze Risk?
Freeze risk begins whenever exposed plumbing reaches 32°F, but rupture risk varies with wind exposure, pipe material, insulation, water movement, duration, and the temperature inside the wall. No universal rule, such as “20°F for six hours,” can predict every faucet failure.
| Condition | Typical risk | Recommended action | Reason |
|---|---|---|---|
| 33-40°F overnight | Low for drained lines | Remove hoses and inspect covers | Short exposure rarely freezes protected plumbing |
| 25-32°F for 6-12 hours | Moderate | Drain ordinary faucets and cover them | Shallow water-filled fittings may freeze |
| 15-24°F overnight | High | Shut off, purge, cover, inspect interior pipe | Wall penetrations lose heat quickly |
| Below 15°F for 6 hours or longer | Very high | Protect all exterior branches and exposed pipes | Severe cold can freeze insulated cavities |
| Any temperature with power loss | Variable to high | Check crawlspaces, garages, and utility rooms | Interior heat may fall below safe levels |
Wind chill describes how quickly a warm object loses heat, not a new lower temperature for the faucet. A 20°F wind-exposed faucet can cool faster than a sheltered 20°F faucet, but the metal does not reach a temperature below the actual 20°F air solely because of wind.
How Should You Protect Exposed Pipes Beyond the Faucet?
Insulate exposed interior supply pipe continuously from the heated side of the wall to the faucet whenever possible. Use pipe insulation sized to the pipe diameter, seal gaps around the wall penetration, and avoid compressing foam around fittings.
| Location | Typical vulnerability | Protection | Inspection point |
|---|---|---|---|
| Unheated crawlspace | High | Closed-cell pipe insulation plus air sealing | Foundation vents and rim joists |
| Attached garage | High | Insulation on pipe and wall penetration | Garage door perimeter |
| Basement ceiling | Moderate | Pipe insulation near exterior wall | Drafts around sill plate |
| Exterior wall cavity | High | Professional rerouting or approved heat cable | Visible frost or recurring failure |
| Garden shed | Very high | Shut off and drain branch line | Isolated valve and low-point drain |
Do not wrap electrical heat cable over foam insulation unless the cable manufacturer specifically permits that installation. Use only listed, plumbing-rated products, follow spacing instructions, and connect them to a suitable protected outlet.
Keeping cabinet doors open can help warm pipes beneath a sink when the cabinet is against an exterior wall. The measure does not warm a detached outdoor faucet or compensate for a missing shut-off.
What Should You Do If There Is No Indoor Shut-Off?
If no indoor shut-off exists, remove all attachments, install a properly fitted cover, insulate accessible interior pipe, and arrange installation of a dedicated valve before severe weather. A thermostatic drip device can reduce freezing risk during short freezes, but it is not equivalent to draining the line.
A dripping device releases water when its sensing mechanism reaches a specified temperature, often near the upper 30s Fahrenheit. The flow can prevent stagnant water from remaining still, yet the discharge may freeze on steps, sidewalks, or driveways and create a slip hazard.
Do not leave a faucet running continuously as a routine substitute for winterization. Water movement may protect some supply lines, but it can waste hundreds of gallons and does not guarantee protection if the vulnerable section is between the faucet and the moving-water path.
Common Mistakes and How to Fix Them
Leaving a hose attached
Failure: The hose traps water in the faucet outlet or prevents a frost-free barrel from draining.
Fix: Remove hoses before every freeze, even when the faucet is labeled frost-free.
Insulating without draining
Failure: A cover slows heat loss but leaves a full, pressurized pipe exposed to freezing.
Fix: Close the interior valve and purge the line first.
Assuming the nearest valve is correct
Failure: An unrelated valve remains closed while the exterior branch stays pressurized.
Fix: Test the faucet after closing the valve and label the confirmed shut-off.
Trusting a leaking gate valve
Failure: Water slowly refills the drained line through a worn valve.
Fix: Replace the gate valve with a full-port ball valve or have a plumber verify isolation.
Using an open flame
Failure: A torch can ignite framing, damage seals, and heat water unevenly inside a confined pipe.
Fix: Use a hair dryer, low-temperature heating pad, or warm towels while monitoring the line.
Covering a wet faucet
Failure: Wet fabric freezes against the fitting and loses insulating value.
Fix: Dry the fitting and use a waterproof foam enclosure or intact insulated sock.
What If the Outdoor Faucet Is Already Frozen?
If a frozen faucet produces little or no water, leave the exterior handle open slightly and warm the faucet gradually with a hair dryer or heating pad. Close the main water supply immediately if thawing reveals a leak, spraying water, or water entering a wall, basement, or crawlspace.
Begin at the faucet and work inward toward the wall, keeping the heat source moving. This approach allows meltwater to escape through the open outlet instead of remaining trapped behind an ice plug.
Never use a propane torch, gasoline heater, boiling water, or high-temperature heat gun. Rapid heating can damage the faucet, create steam pressure, crack metal, or ignite nearby materials.
After water returns, close the faucet and inspect the entire accessible supply line. Look for damp insulation, dripping joints, mineral tracks, split copper, bulging PEX, and water stains. Reopen the indoor valve slowly while someone watches the exterior and interior pipe.
| Symptom after thawing | Likely issue | Immediate response |
|---|---|---|
| No flow after 15 minutes of gentle heat | Ice remains or valve is closed | Check valve position and continue controlled thawing |
| Water appears indoors | Split pipe or failed joint | Shut off main water and call a plumber |
| Faucet body leaks from side seam | Freeze-damaged casting | Isolate faucet and replace it |
| Flow is weak but no leak appears | Partial ice blockage or clogged aerator | Continue thawing and inspect outlet screen |
| Faucet works, then wall becomes damp | Hidden intermittent rupture | Shut off supply and open the wall for inspection |
How Much Does Winterizing an Outdoor Faucet Cost?
Routine DIY winterization typically costs $5-$35 per faucet when the property already has indoor shut-offs. Professional valve installation, pipe insulation, or sillcock replacement commonly costs $150-$500, with higher totals when access requires opening finished walls.
| Project | Typical material cost | Typical labor time | Typical installed range |
|---|---|---|---|
| Install foam cover | $5-$12 | 5-10 minutes | $5-$75 |
| Add pipe insulation | $5-$30 | 30-60 minutes | $75-$200 |
| Replace shut-off valve | $15-$60 | 1-2 hours | $150-$400 |
| Install frost-free sillcock | $35-$120 | 1-3 hours | $150-$500 |
| Add approved heat cable | $25-$80 | 30-90 minutes | $100-$300 |
Costs vary by region, pipe material, access, permit requirements, and whether copper, PEX, galvanized steel, or a mixed system requires transition fittings. A $10 cover cannot compensate for a failed valve or a pipe located in an exterior wall cavity.
Seasonal Variations for Different Homes
Mild climates with occasional freezes
Remove hoses and use a cover before forecast temperatures near 28°F. If freezes last only a few hours and the faucet is on a heated foundation wall, a drained line and cover may be sufficient.
Northern climates with repeated subfreezing weather
Install frost-free sillcocks, accessible interior ball valves, and continuous insulation on vulnerable supply pipes. Inspect the installation each autumn because a frost-free faucet still depends on hose removal and downward drainage.
Renters and apartments
Use a removable cover, remove all attachments, and notify the landlord about a missing shut-off, exposed pipe, or recurring freeze. Do not replace a faucet, install heat cable, or modify plumbing without written permission.
Homes with PEX plumbing
PEX tolerates expansion better than rigid copper, but PEX fittings, manifolds, valves, and connected fixtures can still split or leak after freezing. Drain and protect PEX branches rather than treating the material as freeze-proof.
How Do You Restore the Faucet in Spring?
Restore an outdoor faucet only after sustained freezing weather has passed and the accessible line shows no damage. Keep the exterior handle closed, reinstall the bleeder cap, open the indoor valve slowly, and inspect every connection before using the faucet normally.
Open the supply valve a fraction first. Listen for continuous water movement, then check the basement, crawlspace, wall penetration, and faucet body for leaks. A faucet that survived one winter may still have a weakened fitting that fails under pressure later.
Replace cracked vacuum breakers, damaged washers, leaking packing nuts, and split faucet bodies before attaching a hose. Test the exterior outlet for several minutes while observing the interior side of the wall.
FAQ
Should I leave my outdoor faucet open or closed in winter?
Leave a drained conventional outdoor faucet open during winter if the manufacturer or local plumbing practice permits it. An open outlet gives residual water a path to expand and confirms that the line is not pressurized. Close the faucet before reopening the indoor supply in spring.
Does dripping an outdoor faucet prevent freezing?
Dripping can reduce freezing risk in some short-duration freezes, but it is less reliable than shutting off and draining the line. The discharge can freeze on walkways, and a drip does not protect a dead-end section or a blocked faucet outlet.
Can I use a towel to insulate an outdoor spigot?
A dry towel provides temporary insulation only when protected from rain and snow inside a waterproof enclosure. A loose or wet towel is a poor long-term solution because absorbed water freezes and can conduct heat away from the faucet.
How can I tell whether my faucet is frost-free?
Measure or inspect the faucet body and pipe direction, but do not rely only on the product’s appearance. A frost-free sillcock usually has a long barrel extending through the wall and a valve located inside the heated structure. Remove the hose so the barrel can drain.
Can a frozen outdoor faucet burst if no water is flowing?
Yes. A closed or isolated line can still contain trapped water that freezes and expands. The most dangerous condition is a confined water section between an ice blockage and a closed valve, especially when the pipe runs through an exterior wall or unheated cavity.
When should I call a plumber for a frozen faucet?
Call a plumber when the indoor valve does not isolate the faucet, a pipe leaks during thawing, the valve is inaccessible, the faucet repeatedly freezes, or the supply line runs inside a finished wall. Shut off the main water supply if active leakage threatens the building.
The Bottom Line
The safest way to prevent outdoor faucets from freezing is to remove every attachment, close the dedicated indoor shut-off, drain the exterior line and bleeder port, and fit a dry, weatherproof cover. For repeated freezes or inaccessible valves, install a correctly sloped frost-free sillcock and protect the connected pipe. Inspect for hidden leaks after every serious freeze. Include the exact keyword naturally in your maintenance checklist: how to prevent outdoor faucets from freezing begins with removing the hose before temperatures fall.