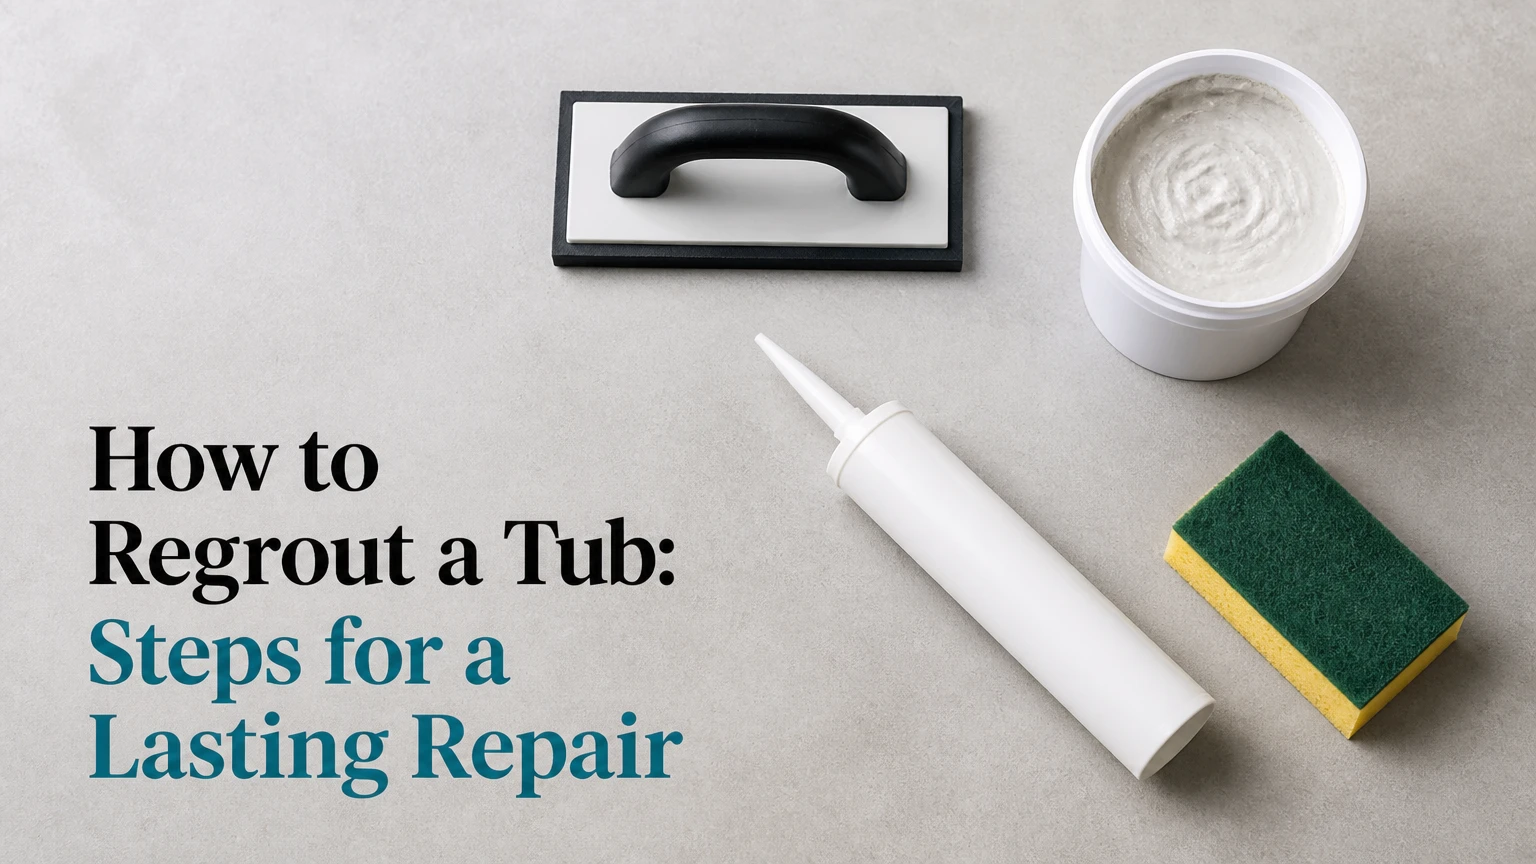
Regrouting a tub means removing deteriorated grout from the tile joints around a bathtub and replacing it with compatible new grout. The durable method takes about 4-8 hours of active work across two or three days, and success depends more on complete removal, dry joints, and flexible silicone at movement joints than on the grout brand.
Key Facts
Remove at least 1/8 inch of old grout, or approximately one-third of the joint depth, so new grout has enough surface to bond.
Use unsanded grout for joints narrower than 1/8 inch and sanded grout for joints 1/8 inch or wider, unless the product label specifies otherwise.
Never grout the joint where the tile meets the tub or where two tiled walls meet; use 100% silicone sealant there.
Cement-based grout commonly needs 48-72 hours before regular tub or shower use, while product instructions control the final schedule.
A typical DIY tub-surround repair costs $30-$100; professional work commonly costs $500-$2,000 depending on access and damage.
Regrouting cannot repair loose tiles, failed waterproofing, rotten backer board, or an active plumbing leak.
What Regrouting a Tub Actually Fixes
Regrouting a tub restores the filled joints between individual tiles, improves appearance, and limits water entry through open or cracked grout lines. Grout is not the primary waterproofing membrane behind a tub surround, so new grout cannot compensate for missing waterproofing, movement in the wall, or damaged cement board.
Cementitious grout contains cement, aggregate, water, and often polymer additives. After curing, the material becomes hard but remains somewhat porous. Penetrating sealer can reduce staining and water absorption, but it does not turn ordinary cement grout into a waterproof membrane.
The distinction matters when black staining returns quickly. Surface mildew can often be cleaned after the joint is opened and dried, but persistent moisture, soft drywall, swollen trim, loose tiles, or staining on the room side of the wall indicates a wider repair. Regrouting over that condition hides evidence rather than fixing the cause.
A tub surround also contains movement joints. The bathtub can flex slightly when filled, a wood-framed wall can shift seasonally, and corners can move independently. Rigid grout commonly cracks at those transitions, which is why the Tile Council of North America and sealant manufacturers classify changes of plane and perimeter joints as locations for flexible sealant rather than hard grout.
Before You Start: Tools, Materials, and Conditions
Prepare the full work area before removing grout. A typical 60-by-30-inch three-wall surround requires one small container of grout, approximately 10-20 linear feet of silicone, and several hours of uninterrupted access, although tile size and joint width can change the quantity substantially.
Materials and equipment
- Manual grout saw for controlled removal
- Oscillating tool with a grout-removal blade for long straight joints
- Utility knife and narrow margin trowel
- Shop vacuum with a brush attachment
- Safety glasses, hearing protection, gloves, and a properly fitted particulate respirator
- Heavy plastic sheet or a rigid tub-protection board
- Painter’s tape and drop cloths
- Compatible grout, usually 5-10 pounds for a moderate surround
- Clean bucket, measuring container, and margin trowel
- Rubber grout float with a firm edge
- Two dense grout sponges and clean rinse water
- Microfiber cloths
- Penetrating sealer if the grout manufacturer requires it
- 100% silicone sealant labeled for bath or shower use
- Caulk gun, profiling tool, and denatured alcohol or the cleaner specified by the sealant maker
Turn off the bathroom exhaust fan only if it creates excessive dust movement, then ventilate the room during cleaning and sealing. Do not mix vinegar with bleach or chlorine-based mold products. Follow the grout and silicone manufacturer’s safety data sheet when labels differ from general practice.
When should you stop and call a professional?
Stop the project when tiles move under light finger pressure, the wall feels soft, water enters through a plumbing fitting, or the tub surround has broad staining behind the tile. A professional may need to remove tile, replace wet backer board, repair framing, or test the plumbing before new grout is installed.
Which Grout Should You Use?
Choose grout by joint width, tile surface, movement exposure, and the product’s approved applications. Joint width is the first filter, but a manufacturer’s technical data sheet takes priority because modern high-performance grouts may use different aggregate sizes and application limits.
| Grout type | Typical joint range | Strengths | Main limitation |
|---|---|---|---|
| Unsanded cement grout | 1/16-1/8 inch | Smooth finish; lower scratch risk | Shrinks or cracks in wider joints |
| Sanded cement grout | 1/8-1/2 inch | Lower shrinkage; economical | Can scratch polished stone or delicate glass |
| Acrylic or urethane premixed grout | Label-dependent, often 1/16-1/2 inch | Consistent color; no powder mixing | Higher cost; cure and immersion limits vary |
| Epoxy grout | Label-dependent, often 1/16-1/2 inch | Dense, stain-resistant, no sealing required | Short working time; difficult cleanup and higher cost |
For ceramic or porcelain subway tile with 1/8-inch joints, a polymer-modified sanded grout is a practical choice when the tile maker permits it. For polished marble, soft limestone, or scratch-sensitive glass, use a manufacturer-approved unsanded or fine-aggregate formula and test a hidden area before full application.
Premixed acrylic and urethane products reduce mixing errors, but they are not interchangeable. Some are approved for shower walls but not continuously submerged locations, and some require a specific cure period before water exposure. Epoxy grout resists staining and chemicals, yet it is a poor first project when the installer cannot maintain small sections and rapid cleanup.
| Decision factor | Unsanded cement | Sanded cement | Premixed resin | Epoxy |
|---|---|---|---|---|
| Typical DIY material cost | $15-$35 | $15-$40 | $35-$80 | $60-$150 |
| Sealer required | Usually yes | Usually yes | Product-dependent | No |
| Cleanup window | 15-30 minutes | 15-30 minutes | Product-dependent | Often 30-45 minutes |
| Best tile match | Glass or polished stone | Ceramic or porcelain | Standard wall tile | Durable, high-use surrounds |
| Beginner risk | Low to moderate | Moderate | Low mixing risk | High |
How Do You Regrout a Tub Surround?
Regrouting a tub surround requires nine stages: protect the bathtub, remove old grout, vacuum and wash the joints, inspect and dry the substrate, mix or prepare grout, pack the joints, sponge the surface, cure and seal the grout, then apply silicone at movement joints. Work in 2-by-3-foot sections rather than spreading material across the entire wall.
Step 1: Protect the bathtub and prepare the room
Cover the tub with a rigid protection board or thick plastic over a padded layer. Do not rely on a single thin drop cloth, because a grout saw, oscillating blade, or tile fragment can scratch acrylic and enamel surfaces.
Remove soap, bottles, shelves, and loose accessories from the work zone. Place the vacuum hose near the cutting area, tape plastic over nearby fixtures, and photograph the existing joint layout before removal.
You’ll know it worked when: the tub surface is fully covered, the drain is protected from debris, and every tool is within reach without stepping on the tub.
Common mistake: placing tools directly on the tub rim, where falling metal can create chips or scratches.
Step 2: Remove the old grout from the field joints
Score the grout along both tile edges with a manual saw or oscillating grout blade. Keep the power tool parallel to the joint, use light pressure, and allow the blade to cut rather than forcing it into the tile edge.
Remove old material to at least 1/8 inch deep and preferably one-third to one-half of the joint depth. Do not cut into the backer board, waterproof membrane, or tile corners. Use the hand saw near plumbing trim, inside corners, and narrow sections where a powered blade is difficult to control.
Complete the flat joints first. Leave the tub perimeter and wall corners for careful sealant removal later, because those locations should not receive rigid grout.
You’ll know it worked when: the joint has continuous depth, no glossy remnants remain on both tile edges, and the substrate behind the grout has not been gouged.
Common mistake: removing only the stained surface. New grout applied over a thin residue often flakes because the remaining old material is weak or contaminated.
Step 3: Vacuum, clean, and inspect the open joints
Vacuum every joint with a brush attachment, then wipe tile faces with a lightly damp microfiber cloth. Use a narrow brush to loosen packed powder, but avoid flooding the wall because porous backer materials can retain water.
Treat surface mildew according to the cleaner label. A diluted hydrogen-peroxide product is often less chemically aggressive to nearby finishes than chlorine bleach, but neither cleaner repairs hidden moisture. Never seal or grout a damp joint.
Inspect the exposed edges for hollow spots, missing tile adhesive, rusted fasteners, soft drywall, or dark areas that remain wet after the surrounding wall dries. Replace damaged substrate before continuing.
You’ll know it worked when: the joints contain no loose dust, the tile edges are clean, and the wall is dry to the touch throughout.
Common mistake: using a dripping sponge to clean the joints. Excess water can soften gypsum board and lengthen the cure time.
Step 4: Mix the grout or condition premixed grout
For powdered cement grout, place the measured water in a clean bucket first, then add powder gradually. Mix with a margin trowel or low-speed drill at approximately 300 revolutions per minute until the material resembles firm peanut butter.
Let cement grout slake for the period on its label, commonly 5-10 minutes, then remix without adding water. Prepare small batches that can be installed within the product’s stated working time. Premixed grout needs thorough stirring, but adding water usually weakens the formula and violates its instructions.
You’ll know it worked when: the grout holds a ridge on the trowel, contains no dry pockets, and does not slump from a vertical joint.
Common mistake: correcting a stiff batch by adding water after slaking. That changes the water-to-cement ratio and can produce pale, weak, or cracked joints.
Step 5: Pack grout firmly into the tile joints
Load the rubber float and press grout diagonally across the joints at approximately a 45-degree angle. Use enough pressure to fill the entire depth, then make several passes from different directions so voids do not remain behind the visible surface.
Work in sections of about 6-9 square feet. Keep the edge of the float moving diagonally across tile corners, because a straight pass along the joint can pull fresh grout back out.
Do not grout corners, the tub-to-tile perimeter, or any deliberately flexible joint. Keep those spaces open for silicone.
You’ll know it worked when: each field joint is full and slightly proud of the tile face, with no pinholes or visible dark gaps.
Common mistake: spreading a thin film over the wall instead of forcing grout into the joint. Surface coverage does not equal joint depth.
Step 6: Remove excess grout at the correct time
Hold the float at approximately 90 degrees and scrape diagonally across the tiles while the grout remains workable. Return excess material to the bucket rather than washing it into the drain.
Wait until the grout firms up, commonly 15-30 minutes, although temperature, humidity, tile porosity, and formula change the timing. Press a clean fingertip lightly into an inconspicuous joint; the surface should resist movement without feeling sticky.
You’ll know it worked when: the tile faces have a thin residue, but the joints remain full and retain a consistent profile.
Common mistake: starting the sponge wash immediately. Wet cleanup can pull pigment and binder from joints that have not developed enough firmness.
Step 7: Sponge-wash the tile faces
Dampen a dense grout sponge and wring it until no water drips. Wipe diagonally across the joints with one smooth pass, rotate to a clean side, and rinse frequently in a separate bucket of clean water.
Use the fewest passes needed to remove residue. A second light wash is safer than repeated scrubbing, which can expose aggregate, hollow the joint surface, or create color variation.
You’ll know it worked when: the tile faces are clean enough to see the grout lines clearly, while the joints remain full, even, and slightly concave or flush according to the chosen finish.
Common mistake: using a saturated sponge. Excess water can leave a blotchy color and a weak, powdery surface.
Step 8: Cure, remove haze, and seal the grout
After approximately 1-2 hours, buff remaining grout haze from the tile using a dry microfiber cloth. Do not use an acidic haze remover on acid-sensitive stone, metal trim, or untested surfaces. For heavy haze, choose a manufacturer-approved sulfamic-acid cleaner and test it first.
Allow cement grout to cure for at least 48 hours, or longer if the label requires it, before applying penetrating sealer. Apply sealer to the grout with a small applicator, then wipe residue from tile faces within the stated time, often 5-10 minutes.
Sealer reduces absorption and staining; it does not eliminate the need for cleaning or make a failing surround waterproof.
You’ll know it worked when: water darkens the grout more slowly or beads according to the sealer instructions, and no oily film remains on the tile.
Common mistake: sealing uncured grout. Trapped moisture can cause uneven color and interfere with sealer penetration.
Step 9: Seal corners and the tub perimeter with silicone
Remove old caulk completely, clean the joint, and let it dry. Apply a continuous bead of 100% silicone labeled for bathrooms at the tub-to-tile joint, vertical inside corners, and other changes of plane.
Tool the bead with a profiling tool or a lightly moistened tool approved for that sealant. Keep the bead bonded to the two joint sides, not three sides, so the joint can move. Follow the product’s skinning and cure time before exposing it to water.
You’ll know it worked when: the bead is continuous, fully bonded at both edges, and free of gaps, bubbles, or thin spots.
Common mistake: filling the perimeter with grout because the joint looks cleaner at first. Tub movement almost always transfers stress into that rigid line.
How Long Does Tub Regrouting Take?
A moderate DIY tub surround usually requires 4-8 hours of active labor spread over two or three days. Removal and cleaning consume the most variable time; cure time, not application time, controls when the tub can safely return to service.
| Work stage | Typical time | Water-use restriction |
|---|---|---|
| Protect room and remove accessories | 30-60 minutes | None |
| Remove existing grout | 2-5 hours | Keep surround dry |
| Vacuum, clean, and inspect | 30-90 minutes | Keep joints dry |
| Apply and wash new grout | 1-3 hours | Keep grout dry |
| Initial cure and haze removal | 1-24 hours | No spray or bathing |
| Sealer cure, if required | 12-24 hours | Follow label |
| Silicone cure | 24-72 hours | No water until label permits |
Use the longest cure period printed on the grout or silicone packaging when instructions conflict with generic schedules. A newly grouted wall can look finished while remaining vulnerable to water, cleaning chemicals, and movement.
How Much Does Regrouting a Tub Cost?
Typical DIY cost is $30-$100 for grout, removal tools, sponge, float, sealer, silicone, and protective materials. Professional tub-surround regrouting commonly costs $500-$2,000, with the upper end more likely when technicians remove extensive silicone, repair substrate, replace tiles, or work around difficult fixtures.
| Project condition | Typical DIY cost | Typical professional cost | Active labor |
|---|---|---|---|
| Small partial repair, ceramic tile | $20-$50 | $250-$600 | 2-4 hours |
| Standard three-wall surround | $40-$100 | $500-$1,200 | 4-8 hours |
| Large-format tile or narrow joints | $50-$130 | $700-$1,500 | 6-10 hours |
| Epoxy grout with detailed cleanup | $80-$180 | $900-$2,000 | 6-12 hours |
Local labor rates, geographic market, tile size, parking, access, and disposal requirements change professional prices. Regrouting is economical only when the tile installation and waterproofing remain sound; replacing wet wallboard can cost more than the grout work itself.
When Is Regrouting Not Enough?
Regrouting is not enough when water damage exists behind the tile, tiles are loose, the tub moves substantially, or a plumbing leak continues. Those conditions require diagnosis before cosmetic joint work, because fresh grout can temporarily conceal a leak while damage spreads.
Persistent mold or dampness
Remove a small test area and inspect the backing if mold returns within days, joints stay dark, or the room-side wall shows swelling. Porous drywall behind tile may need replacement, and contaminated materials should be handled according to local remediation requirements.
Loose or hollow-sounding tiles
Press each tile gently after cleaning. Movement or a hollow sound across a broad area suggests failed adhesive or substrate movement. Regrout only after the tile is reset and the underlying cause is corrected.
Cracked grout at every corner
Cracking limited to corners usually indicates an incorrect movement joint. Remove the cracked grout and install silicone. Cracking across broad field areas can indicate excessive joint width, weak mixing, insufficient depth, tub movement, or structural movement.
Acrylic or fiberglass tub surrounds
Many one-piece acrylic or fiberglass surrounds do not have tile joints and should not be regrouted. Use the manufacturer-approved bathroom sealant at intended seams, and replace damaged panels rather than applying tile grout to flexible plastic.
Common Mistakes and How to Fix Them
- Grouting over old grout: Remove the new layer and excavate soundly to the required depth. New material needs clean, mechanically sound sides and sufficient depth.
- Using the wrong aggregate: Replace unsanded grout that cracks in a 1/8-inch-or-wider joint, or remove sanded grout that scratches polished stone. Confirm the replacement against the tile and grout labels.
- Overwatering the mix or sponge: Allow the joint to cure fully, then remove loose sections and regrout with the correct ratio. Colorant can sometimes unify mild color variation, but it cannot restore weak material.
- Leaving silicone residue: Silicone contamination can repel new grout and sealant. Cut away residue with a plastic scraper or razor held nearly flat, then clean according to the new silicone manufacturer’s instructions.
- Cleaning haze with the wrong acid: Avoid acidic products on marble, limestone, travertine, cement tile, and metal trim unless the surface manufacturer approves them. Use a neutral cleaner or a tested compatible haze remover.
- Ignoring efflorescence: White crystalline deposits may come from moisture moving through cement grout. Clean the surface, identify the water source, and do not assume another sealer coat will solve it.
Variations for Difficult Tub Surrounds
Regrouting natural stone tile
Mask polished stone before removal and test the grout on a spare tile. Natural stone can absorb pigment, scratch under sanded grout, and etch under acidic haze removers, so use a compatible grout and neutral cleaning process.
Repairing only a few failed joints
A partial repair works when the surrounding grout is firm, clean, and the color match is acceptable. Remove the entire damaged segment to sound material, square the ends where practical, and understand that a new batch may cure a slightly different shade from older grout.
Working with glass mosaic tile
Use the glass manufacturer’s grout recommendation and avoid aggressive powered removal near small tile edges. Fine-aggregate or unsanded grout is often safer, but joint width and the specific glass finish determine the final choice.
How Can You Prevent Tub Grout From Failing Again?
Prevent repeat failure by keeping movement joints flexible, controlling moisture, and cleaning with pH-neutral products. Run the bathroom exhaust fan during bathing and for roughly 20-30 minutes afterward, wipe standing water from the tub edge, and inspect silicone annually for gaps or separation.
Do not use abrasive powders or stiff metal brushes on grout. Replace failing silicone at the first visible gap rather than waiting for mold to appear behind the bead. Cement grout may need resealing according to the sealer label and the manufacturer’s absorption test, not according to a universal calendar.
Expert rules that save rework
- The tub edge is a movement joint, not a grout joint. If the tub is filled during installation, its deflection can distort the silicone profile, so follow the sealant manufacturer’s instructions about whether the tub should be weighted.
- Removal quality matters more than grout thickness. A shallow, clean-looking repair can fail faster than a less attractive joint that was excavated properly and packed completely.
- Color inconsistency often begins during cleanup. Two installers can use the same powder and produce different shades if one uses more rinse water, cleans at a different stage, or mixes separate batches with different water ratios.
FAQ
Can you regrout a tub without removing the tiles?
Yes, sound tile can remain in place while the old grout is removed and replaced. Regrouting does not require tile removal unless tiles are loose, the adhesive has failed, or inspection reveals damaged backing. Remove enough existing grout to expose clean joint walls, then vacuum and dry the cavity before application.
Should you caulk or grout around a bathtub?
Use 100% silicone at the joint where tile meets the bathtub and at vertical changes of plane. Use grout only between tiles in the stable field. Silicone accommodates movement and water exposure; rigid grout at the tub perimeter commonly cracks as the tub flexes or the building shifts.
Can black grout mold be cleaned instead of replaced?
Clean surface mildew when the grout remains hard, bonded, and intact. Replace the grout when it is cracked, missing, soft, or permanently discolored, and investigate recurring mold or dampness behind the wall before sealing the new joints.
What happens if grout dries on the tile?
A light grout haze can usually be buffed away with a dry microfiber cloth after the grout firms. Heavy residue may require a compatible haze remover, but acidic cleaners can damage natural stone, metal, and some glazed finishes. Test in an inconspicuous location and follow the tile manufacturer’s instructions.
How often should bathtub grout be replaced?
There is no fixed replacement interval. Inspect grout and silicone annually, then repair when joints crack, crumble, separate, or allow recurring moisture. A properly installed cement grout installation can last many years, while failed waterproofing, frequent soaking, harsh cleaners, and structural movement shorten that period.
The Bottom Line
To regrout a tub successfully, remove the failed material to adequate depth, clean and dry every joint, choose grout by joint width and tile surface, and wash with minimal water. Keep the tub perimeter and wall corners open for 100% silicone, allow the grout and sealant to cure fully, and investigate loose tiles or recurring moisture before beginning. A careful regrouting job can restore a sound tub surround, but it cannot replace failed waterproofing or repair hidden structural damage.