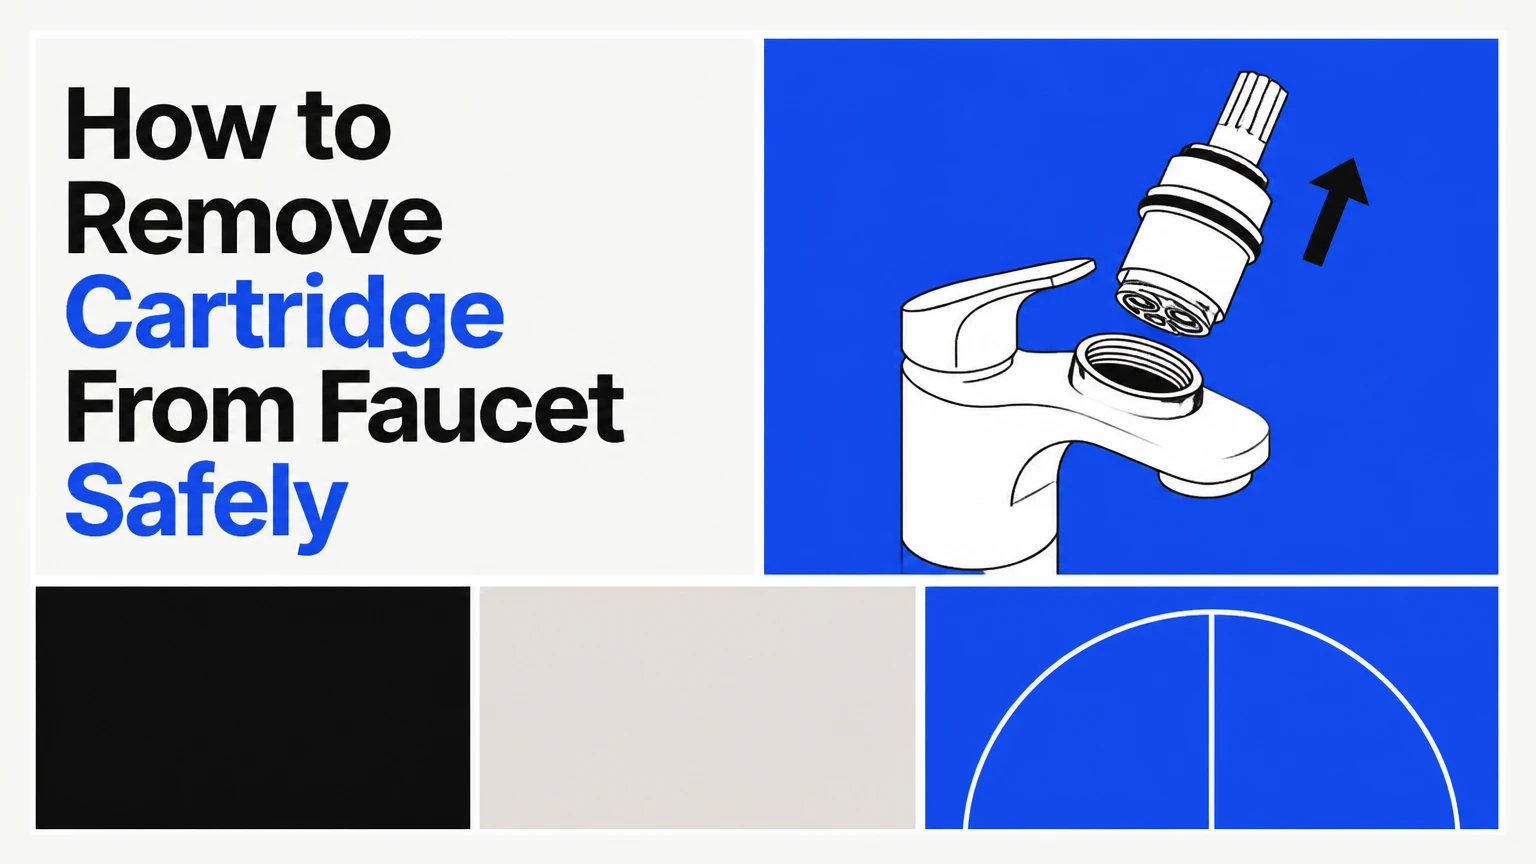
To remove a faucet cartridge, shut off the hot and cold water, remove the handle, take out the retaining clip or nut, and pull the cartridge straight from the valve body. A standard faucet takes 20-45 minutes; corrosion, mineral scale, or a broken stem can extend the job to 90 minutes.
Key Facts
A faucet cartridge is a removable valve that controls water flow and temperature.
The retaining clip or retaining nut must be removed before extracting the cartridge.
A cartridge puller is safer than forceful twisting when a cartridge is seized.
Typical replacement cartridges cost $15-$50, while professional service commonly costs $150-$350.
Silicone plumber’s grease is suitable for cartridge O-rings; petroleum grease can damage some rubber seals.
A replacement cartridge must match the faucet brand, model, orientation, and dimensions.
Before You Start
A faucet cartridge removal usually requires 20-45 minutes, basic hand tools, and a replacement part only if you plan to complete the repair. The main factor determining success is cartridge identification, because similar-looking cartridges can differ in stem shape, body diameter, retaining method, and hot-cold orientation.
Time, difficulty, and cost
The removal itself is usually moderate for a homeowner with access under the sink. A cartridge that has remained installed for many years can bind to the valve body through calcium deposits or corrosion.
| Job condition | Typical time | DIY materials | Likely difficulty |
|---|---|---|---|
| New single-handle cartridge | 20-30 minutes | $0-$25 | Low |
| Standard double-handle cartridge | 25-45 minutes | $0-$30 | Low to moderate |
| Mineral-scaled cartridge | 45-75 minutes | $5-$50 | Moderate |
| Seized or broken cartridge | 60-90 minutes | $25-$75 | High |
| Plumber-performed repair | 30-90 minutes onsite | $150-$350 | Professional |
Prices are typical United States consumer ranges, not fixed rates. Faucet brand, location, access, emergency timing, and whether the valve body must be replaced can change the final amount.
Tools and materials
Gather the tools before disassembling the faucet. Use a towel beneath the work area and cover polished metal with cloth whenever pliers or an adjustable wrench are nearby.
- One Phillips screwdriver
- One small flathead screwdriver
- One 2.5- to 4-millimeter Allen key, if the handle uses a hex screw
- One adjustable wrench or tongue-and-groove plier
- Needle-nose pliers
- One faucet cartridge puller matched to the brand
- Silicone-based plumber’s grease
- Old toothbrush, clean cloth, and small container
- White vinegar for mineral scale
- Replacement cartridge, if already identified
- Sink stopper or drain cover
Do not treat a universal cartridge as automatically interchangeable. Manufacturer-specific dimensions and stem geometry matter more than a similar color or overall appearance.
What Is a Faucet Cartridge?
A faucet cartridge is a self-contained valve assembly inside the faucet body that meters hot and cold water. A handle moves the cartridge stem, which aligns internal openings or ceramic discs with the faucet’s water inlets and regulates both flow volume and temperature.
Rubber O-rings, gaskets, or bottom seals prevent water from bypassing the cartridge. When those seals harden, or when the internal ceramic or plastic parts wear, water can drip from the spout, leak around the handle, or become difficult to control.
A faucet cartridge is different from a compression stem. A compression faucet usually requires several handle turns and closes by pressing a rubber washer against a seat. A cartridge faucet normally uses a quarter-turn, half-turn, lifting motion, or smooth lever movement.
Which cartridge type does your faucet use?
Handle movement provides a useful first clue, but the faucet model number is more reliable. Look for a brand name on the escutcheon, handle cap, spout base, or underside of the faucet, then use the manufacturer’s parts diagram where possible.
| Cartridge or valve type | Common handle pattern | Typical retainer | Common examples |
|---|---|---|---|
| Ceramic disc cartridge | Single lever, smooth side-to-side motion | Screwed cap or retaining nut | Delta, Kohler, American Standard |
| Sleeve or piston cartridge | Single lever, lift or pull action | U-shaped clip or threaded nut | Many Moen single-handle faucets |
| Double-handle cartridge | Separate hot and cold handles | Retaining nut or bonnet | Pfister, Kohler, American Standard |
| Compression stem | Several full handle turns | Packing nut and stem threads | Older two-handle faucets |
A ceramic disc faucet may not use a removable cartridge in the same form as a sleeve cartridge. Some disc valves contain a complete ceramic cartridge, while others use a ceramic valve assembly secured by screws. Photograph the parts before removal.
How Do You Remove a Faucet Cartridge?
Remove a faucet cartridge in seven controlled stages: shut off water, drain pressure, remove the handle, expose the retainer, remove the retainer, extract the cartridge, and clean the valve cavity. Pull upward in the cartridge’s installed axis, because sideways force can score the faucet body or break the stem.
Step 1: Shut off the water
Turn the hot and cold shutoff valves clockwise until they stop, then open the faucet to release pressure. Place a stopper or cloth over the drain before removing small screws or clips.
Under-sink angle stops can be stiff. Turn them gently and do not force a corroded valve with excessive plier pressure, because the valve stem or supply connection can break. If the faucet has no local shutoff valves, close the home’s main water valve and open a lower faucet to drain pressure.
You will know it worked when: the faucet produces no sustained stream after opening.
Common mistake: closing only the cold-water valve. A single-handle faucet can still receive hot water through the cartridge.
Step 2: Remove the handle
Find the handle fastener. The screw may sit beneath a red-blue index cap, a logo button, a rear plug, or a small rubber cover.
Pry the cover upward with a small flathead screwdriver protected by a cloth. Loosen the screw with the correct Phillips driver or Allen key, then lift the handle straight up. If the handle is stuck to the stem, rock it gently from side to side rather than levering against the faucet body.
You will know it worked when: the handle comes off without bending the cartridge stem.
Common mistake: removing a decorative set screw completely and allowing it to fall into the drain. Keep each fastener in a labeled container.
Step 3: Remove the decorative cap or retaining sleeve
Many faucets have a dome-shaped cap, escutcheon, or sleeve covering the cartridge retainer. Unscrew the cap by hand first; if it resists, use a strap wrench or wrap it in cloth before applying adjustable pliers.
Some shower faucets include a temperature-limit stop behind the handle. Record its position before removing it, because reinstalling the stop incorrectly can restrict hot-water travel or change the maximum temperature.
You will know it worked when: the top of the cartridge and its retaining hardware are visible.
Common mistake: gripping a thin decorative sleeve with bare metal pliers. Scratches and deformation can prevent the sleeve from reinstalling.
Step 4: Remove the retaining clip or nut
Identify which part holds the cartridge down. A U-shaped metal clip usually slides out horizontally or lifts upward from a slot. A bonnet nut or retaining ring usually turns counterclockwise.
| Retaining hardware | Removal method | Suitable tool | Important check |
|---|---|---|---|
| U-shaped metal clip | Pull straight from its slot | Needle-nose pliers | Note clip direction |
| Brass retaining nut | Turn counterclockwise | Adjustable wrench | Protect finished surfaces |
| Plastic retaining nut | Turn counterclockwise by hand first | Strap wrench | Avoid crushing threads |
| Threaded bonnet sleeve | Unscrew after handle removal | Strap wrench | Check for hidden O-ring |
Moen cartridge assemblies commonly use a metal retaining clip, but not every Moen faucet uses the same cartridge or clip arrangement. Never pull the cartridge against an engaged clip.
You will know it worked when: the retainer is completely outside the valve body and the cartridge can move independently.
Common mistake: prying the clip sideways against the faucet casting. Pull along the clip’s slot to avoid deforming the retainer opening.
Step 5: Extract the cartridge
Grip the cartridge stem with pliers and pull vertically. Use slow, repeated upward pressure rather than violent jerking, and protect the stem with a folded cloth if the stem will be reused for identification.
Some cartridges include a removable stem adapter or brass extraction nut. If the manufacturer specifies an adapter, install it before pulling. A cartridge puller is the preferred tool for a seized sleeve cartridge because its screw mechanism applies controlled upward force without levering against the faucet body.
You will know it worked when: the complete cartridge, including its O-rings and bottom seals, exits the valve cavity.
Common mistake: twisting a plastic stem until it snaps. A broken stem makes the remaining cartridge body harder to grip and may require a specialized internal extractor.
Step 6: Inspect the old cartridge and valve body
Compare the removed cartridge with the replacement before discarding it. Check body length, outside diameter, stem profile, alignment tabs, O-ring locations, and the number or position of water ports.
Shine a flashlight into the empty valve body. Look for broken plastic, torn rubber, brass fragments, heavy scale, scratches, or a damaged retaining-clip slot. A new cartridge cannot seal reliably against a valve body that has deep pitting or a distorted bore.
You will know it worked when: the cavity is empty and no loose fragment remains inside.
Common mistake: assuming a cartridge is fully removed when its lower seal or plastic sleeve remains inside the faucet.
Step 7: Clean the valve cavity
Wrap a cloth around a narrow tool or use an old toothbrush to remove loose mineral deposits. For calcium scale, apply white vinegar to the brush or cloth and work the affected area, then wipe the cavity clean and rinse away residue.
Do not aggressively sand the sealing bore. Abrasive scratches can create a permanent leak path. Do not pour WD-40 or another petroleum-based product into a drinking-water valve; such products are not a substitute for silicone plumber’s grease and may damage elastomers or contaminate the water path.
You will know it worked when: the bore is free of loose debris and the replacement cartridge can enter without abnormal force.
Common mistake: leaving vinegar pooled against plated trim or natural stone. Wipe surrounding surfaces promptly.
Which Cartridge Removal Tools Work Best?
A cartridge puller is the best choice for a stuck sleeve or piston cartridge, while ordinary pliers are sufficient for a loose cartridge. The correct tool depends on the cartridge’s stem, retainer, and available clearance, not simply on the faucet brand.
| Tool | Typical price | Best use | Main limitation |
|---|---|---|---|
| Needle-nose pliers | $8-$20 | Removing U-clips | Poor for high extraction force |
| Adjustable wrench | $12-$30 | Removing metal retaining nuts | Can scratch trim |
| Strap wrench | $15-$35 | Plastic or finished sleeves | Needs clearance |
| Brand-specific puller | $20-$50 | Seized sleeve cartridges | Must match cartridge design |
| Internal cartridge extractor | $25-$75 | Broken cartridge bodies | Higher skill requirement |
A puller should press against the faucet body through its designed bearing surface. Improvised screwdrivers, pry bars, and hammering can crack a ceramic sink, distort the valve body, or damage wall plumbing behind a shower trim plate.
What If the Cartridge Is Stuck?
A stuck faucet cartridge usually results from mineral scale, hardened O-rings, corrosion, or pressure from a retaining clip that was not fully removed. Confirm that every retainer is out, then apply vinegar to the exposed joint and wait 15-30 minutes before trying controlled extraction.
Use the following recovery sequence:
- Verify that the retaining nut or U-clip is completely removed.
- Rotate the cartridge stem only enough to break surface scale, if the stem remains intact.
- Apply vinegar around the cartridge perimeter with a soaked cloth or small applicator.
- Wait 15-30 minutes, then wipe away loosened deposits.
- Attach the correct cartridge puller.
- Tighten the puller gradually and keep the extraction force vertical.
- Stop if the faucet body flexes, the puller bears against decorative trim, or the stem begins to deform.
Vinegar is useful for light calcium scale, but it will not repair a corroded or damaged valve body. Penetrating oils should not be introduced into potable-water passages unless the faucet manufacturer specifically approves the product and provides a flushing procedure.
How do you remove a broken cartridge stem?
If the stem breaks, stop pulling with ordinary pliers. Remove loose pieces with needle-nose pliers, then use a cartridge-specific broken-body extractor or consult the faucet manufacturer’s service instructions.
A broken stem can leave the cartridge sleeve locked inside the valve. Drilling into the sleeve is a last-resort procedure because metal chips can enter the water passages and a drill can damage the valve bore. For a shower valve behind finished tile, professional extraction is often less expensive than repairing wall damage caused by a broken valve body.
How Do You Install the Replacement After Removal?
Install the replacement cartridge only after matching its model and orientation, then lubricate its O-rings with a thin film of silicone plumber’s grease. Push the cartridge fully into the cleaned valve body, reinstall the retainer, and test for leaks before replacing decorative trim.
The cartridge’s alignment tab, locating notch, or hot-cold markings must match the faucet body. Some cartridges install in one fixed orientation; others can be rotated 180 degrees to reverse handle direction. Follow the model-specific instructions rather than relying on a generic position.
Do not use excess grease. A thin coating reduces seal friction, while a thick layer can collect debris and make later service harder. Reinstall the retaining clip or nut fully before restoring water pressure.
Open the shutoff valves slowly. Leave the handle open briefly to purge air and debris, then close it and inspect the spout, handle base, supply connections, and valve area for several minutes.
Single-Handle, Double-Handle, and Shower Variations
Faucet design changes the removal sequence, although water isolation and retainer removal remain universal requirements. Single-handle kitchen and bathroom faucets usually expose one cartridge, while double-handle faucets contain separate hot and cold cartridges.
| Faucet situation | Cartridge count | Identification clue | Removal variation |
|---|---|---|---|
| Single-handle sink faucet | 1 | One lever controls temperature | Remove one handle and retainer |
| Double-handle sink faucet | 2 | Separate hot and cold controls | Remove the leaking side first |
| Tub or shower single handle | 1 | Escutcheon behind the handle | Main shutoff may be required |
| Pull-out kitchen faucet | 1 | Hose may obstruct access | Secure hose and protect finish |
| Wall-mounted faucet | 1-2 | Limited working clearance | Use manufacturer service parts |
For a double-handle faucet, identify the leaking side before disassembly. A cold-side cartridge may drip independently of the hot-side cartridge, so replacing both is not always necessary unless both show wear or the faucet manufacturer recommends a matched pair.
Shower cartridges deserve extra caution. The shutoff valves may be inside the wall or absent, and a failed extraction can damage the valve body. Confirm the main supply is closed before removing the trim and use a service stop only if the valve manufacturer provides one.
Should You Replace the Cartridge or the Faucet?
Replace the cartridge when the faucet body, handle, and valve bore are sound; replace the entire faucet when the body is cracked, severely pitted, obsolete, or incompatible with available service parts. A cartridge repair is usually cheaper, but it cannot correct structural damage around the valve.
| Condition found during removal | Recommended action | Typical added cost | Reason |
|---|---|---|---|
| Worn seals, clean valve bore | Replace cartridge | $15-$50 | Valve body remains serviceable |
| Light calcium scale | Clean and replace cartridge | $5-$50 | Scale can be removed safely |
| Deep bore pitting | Replace faucet or valve | $75-$400+ | New cartridge may not seal |
| Broken retaining-clip slot | Replace faucet or valve body | $100-$500+ | Cartridge cannot be secured |
| Obsolete cartridge unavailable | Replace faucet | $75-$600+ | Repair part cannot be matched |
| Cracked faucet casting | Replace faucet | $75-$600+ | Structural leak risk remains |
Typical modern cartridges last about 7-15 years, but hard water, abrasive debris, high usage, and repeated pressure cycling shorten service life. A faucet that has required several cartridge replacements may need an inlet screen, sediment control, or complete replacement rather than another identical repair.
Common Mistakes and How to Fix Them
Pulling before removing the retainer
A retaining clip or nut holds the cartridge against extraction. Forcing the cartridge while the retainer remains installed can damage the clip slot, cartridge stem, or faucet body.
Recovery: stop pulling, remove the handle sleeve, and verify the retaining hardware is fully detached.
Using petroleum grease
Petroleum-based grease can swell or degrade certain rubber seals. It also attracts grit inside the valve cavity.
Recovery: remove visible residue, clean the accessible surfaces, and apply a thin film of silicone plumber’s grease approved for plumbing seals.
Installing the cartridge upside down
An incorrectly oriented cartridge can reverse hot and cold operation or prevent the handle from reaching the intended position.
Recovery: shut off water, remove the handle and retainer, then rotate or reinstall the cartridge according to the model instructions.
Leaving debris inside the valve body
A small fragment under a ceramic disc or seal can create a continuous drip after replacement.
Recovery: isolate water, remove the cartridge, flush the cavity briefly into a container, and inspect the seals before reinstalling.
Over-tightening the retaining nut
Excessive torque can crack a plastic retainer, distort the cartridge, or make future removal difficult.
Recovery: replace damaged hardware and tighten only to the manufacturer’s specified torque. If no torque value is provided, tighten until secure and leak-free without using an extension bar.
Why Does the Faucet Still Drip After Cartridge Removal?
A faucet can continue dripping after cartridge replacement because the replacement part is wrong, the valve bore is damaged, debris is trapped under a seal, or water has not been fully isolated. A drip from the spout and a leak around the handle indicate different sealing locations and should not be diagnosed identically.
Check these points in order:
- Confirm the cartridge model and dimensions.
- Verify the cartridge orientation and locating tabs.
- Confirm that the retaining clip or nut is fully seated.
- Inspect O-rings for cuts, twists, or missing sections.
- Clean debris from the valve bore.
- Inspect the faucet body for pitting or cracks.
- Verify both supply valves close completely.
A leak around the handle often indicates a damaged upper O-ring, loose retainer, or scratched cartridge stem. A spout drip more often indicates an internal cartridge seal, contamination, incorrect installation, or a damaged valve seat.
When Should You Call a Plumber?
Call a plumber when the shutoff valve will not close, the faucet body flexes during extraction, the cartridge breaks below the valve opening, or a shower valve has no accessible isolation point. Professional help is also appropriate when water enters a wall or cabinet, because a small supply leak can damage framing and finishes.
Stop the project immediately if the supply connection twists, the wall valve moves, or the main shutoff fails to stop water. Do not compensate with more force. Plumbing components can break suddenly, turning a controlled cartridge repair into an active flooding event.
FAQ
Can I remove a faucet cartridge without turning off the water?
No, not safely. Water pressure can eject the cartridge, flood the cabinet, or send debris into the supply lines. Close both local shutoff valves, or close the home’s main valve when local stops are missing or unreliable, then open the faucet to release residual pressure.
How can I find the correct replacement cartridge?
Use the faucet brand and model number first, then compare the old cartridge’s body length, diameter, stem profile, seals, tabs, and port orientation. Taking the old part to a plumbing supplier helps, but a visual match alone is not enough for reliable compatibility.
Is a cartridge puller necessary for every faucet?
No. A loose cartridge can come out by hand or with light plier pressure, but a puller is recommended for a seized sleeve cartridge or any cartridge whose stem begins to deform. A puller applies vertical force and reduces the chance of damaging the faucet body.
Can vinegar damage a faucet cartridge or valve?
Brief contact with diluted or ordinary household white vinegar is generally useful for light calcium deposits, but prolonged exposure can affect some finishes and seals. Apply vinegar to a cloth or brush, keep it inside the valve cavity, wipe the area afterward, and avoid abrasive scrubbing.
How do I know whether the leak is caused by the cartridge?
A drip from the spout when the handle is fully closed commonly points to an internal cartridge seal or valve problem. Water around the handle commonly points to an upper O-ring, retainer, or cartridge stem seal. Supply-line leaks usually require a separate connection repair.
How long does a new faucet cartridge last?
A typical modern cartridge lasts approximately 7-15 years, although hard water, sediment, frequent use, and poor installation can shorten that period. A clean valve body, correct alignment, intact seals, and a thin layer of silicone grease improve the chance of normal service life.
The Bottom Line
To remove a cartridge from a faucet, shut off the water, release pressure, remove the handle and cover, extract the retaining clip or nut, and pull the cartridge vertically. Use a matched cartridge puller for resistance, clean mineral scale without scratching the valve bore, and stop when corrosion or broken parts threaten the faucet body. Correct cartridge identification determines whether the repair ends in a watertight result.