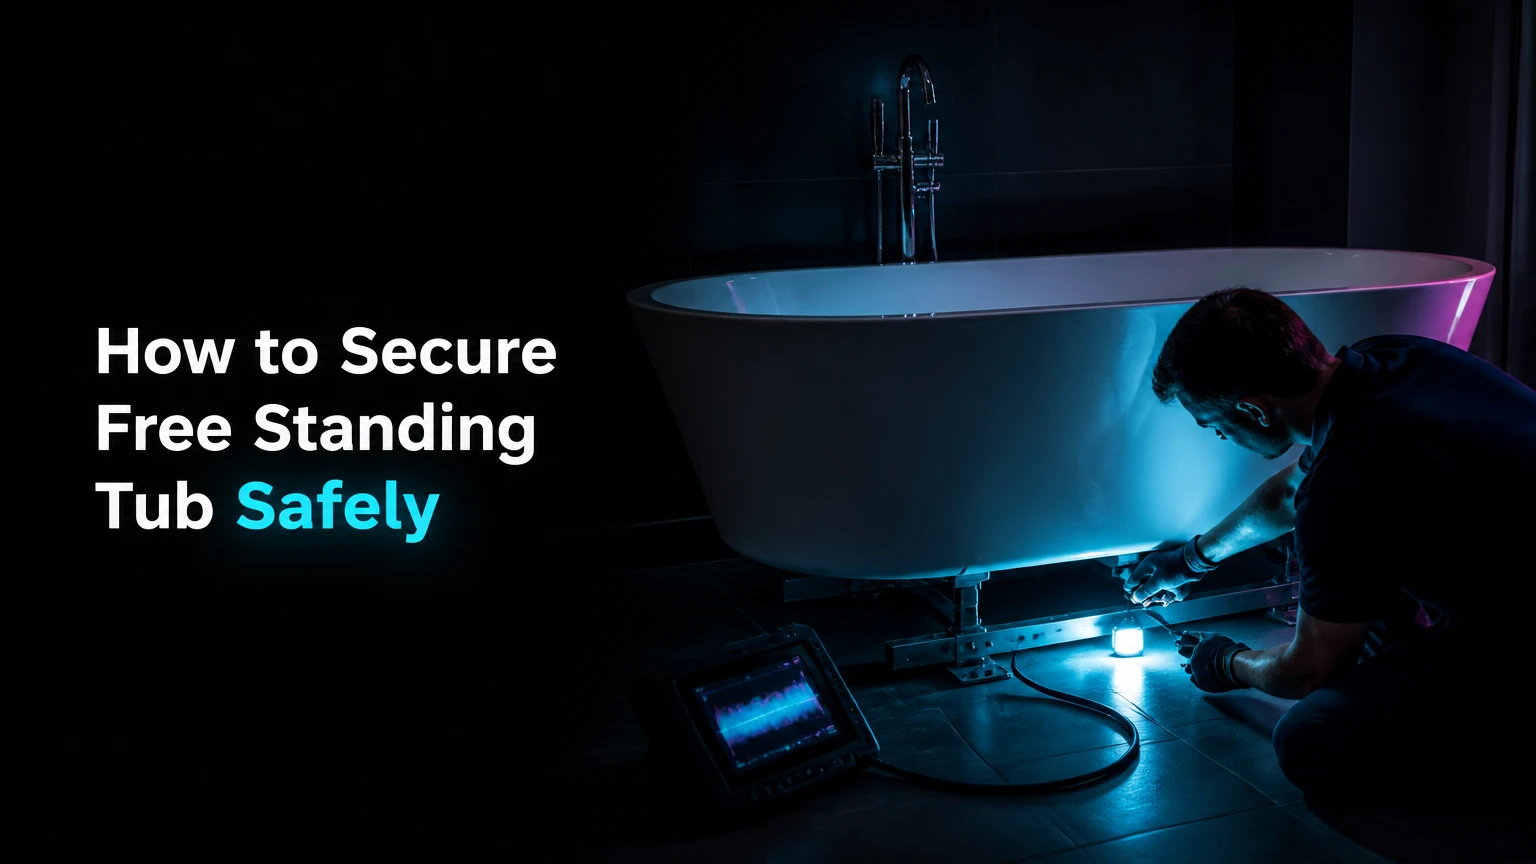
To secure a freestanding tub, first stabilize the tub’s base on a flat finished floor, then connect and test the drain, and finally bond the base with manufacturer-approved 100% silicone or install concealed brackets where specified. A correct dry fit, clean surfaces, full tailpiece engagement, and an undisturbed cure prevent movement, leaks, and plumbing damage.
Key Facts at a Glance
- A freestanding bathtub should not depend on the drain pipe to resist movement.
- Most installations use a manufacturer-approved drain rough-in plus a perimeter bead of 100% bathroom-grade silicone.
- A typical installation takes 2-4 hours of active work, excluding flooring, plumbing relocation, and silicone curing.
- Silicone usually needs at least 24 hours before the tub is moved, filled, or exposed to repeated water.
- A 2-inch drain connection is common for many freestanding tubs, but the tub and drain-kit instructions control.
- Drilling through tile is unsafe when radiant heating, water lines, electrical wiring, or post-tension cables may be below.
What Does Securing a Freestanding Tub Involve?
Securing a freestanding tub means controlling movement at the base while preserving a reliable waste connection. The tub’s weight provides vertical stability, but leaning against the rim, stepping over the side, or bumping the shell creates lateral force that can shift the tub and stress the tailpiece, gasket, trap, or finished floor.
The fastening method depends on the tub construction. A hollow acrylic or composite tub often has an enclosed base that can be bonded to tile with silicone. A clawfoot or exposed-leg cast-iron tub may require mechanical foot anchors, adjustable feet, or a manufacturer-specific restraint. A tub with an integrated steel frame may have leveling feet and designated bracket points.
The drain connection is separate from the restraint. A tailpiece and compression gasket can keep wastewater inside the pipe, but they should not be treated as an anchor. If the bathtub moves, the drain seal can deform even when the pipe itself is correctly installed.
What securing does not fix
Securing cannot compensate for an inadequate floor, an incorrectly positioned trap, a warped tub, or a drain that was forced into alignment. It also cannot make an uneven floor acceptable. Leveling and plumbing alignment must be correct before adhesive or fasteners are applied.
Before You Start
Prepare the floor, drain, tools, and tub instructions before opening the silicone. The most important prerequisite is a complete dry fit with the tub in its final position, because adhesive makes repositioning difficult and concealed plumbing may become inaccessible afterward.
| Preparation item | Typical requirement | Verification |
|---|---|---|
| Active installation time | 2-4 hours | Excludes floor and pipe relocation |
| Silicone cure time | Minimum 24 hours | Follow the product label |
| Drain connection | Often 1.5 or 2 inches | Confirm with tub and drain kit |
| Wall clearance | Manufacturer-specific, often 2-4 inches | Check rim, faucet, and cleaning access |
| Silicone quantity | One or two standard cartridges | Depends on base perimeter |
| Floor flatness | No rocking or unsupported feet | Check with a straightedge |
| Subfloor support | Solid plywood, framing, or concrete | Inspect before finishing |
Tools and materials
Use a tape measure, pencil, washable marker, level, straightedge, drill if permitted, screwdriver, utility knife, caulk gun, clean rags, rubbing alcohol compatible with the finish, silicone grease for rubber seals, and a plastic scraper. Add a manufacturer-approved drain rough-in, replacement gasket if needed, and 100% silicone sealant rated for bathroom use.
Do not substitute construction adhesive unless the tub manufacturer specifically allows it. Many construction adhesives have solvents or curing characteristics that can stain acrylic, prevent later removal, or fail on glazed tile.
How to Secure Free Standing Tub Without Drilling
The no-drill method uses a correctly aligned drain connection and a continuous silicone bond around the tub base. This approach suits many enclosed-base acrylic and composite tubs on sound tile, stone, sealed wood, or other manufacturer-approved finished surfaces, but the tub manual takes priority over generic instructions.
Step 1: Confirm the Layout and Footprint
Place the empty tub in its intended location and confirm wall, faucet, door, and cleaning clearances before marking the floor. Trace the outside edge of the base or feet with a removable pencil, then mark the drain center and photograph the layout for reference.
Check the tub with a level in both directions. A level rim does not always prove that the base is fully supported, because an internal frame can be level while one corner remains suspended. Slide a straightedge across the floor and inspect for tile lippage, grout ridges, hollows, and raised transitions.
You’ll know it worked when: the tub sits in the traced footprint without rocking, the drain aligns with the rough-in, and all adjustable feet contact the floor.
Common mistake: marking the rim instead of the actual base. The shell can overhang the support area, so adhesive placed from a rim outline may miss the contact zone.
Step 2: Install or Verify the Drain Rough-In
Install the drain rough-in according to the tub and fitting manufacturer’s instructions, with the trap and waste line positioned so the tailpiece enters without sideways force. Many systems use a 1.5-inch or 2-inch waste connection, so confirm the size rather than copying a generic diagram.
For a wood-framed floor, inspect joist direction, blocking, pipe slope, and access from below before cutting. For concrete, use the specified trap location and avoid cutting structural reinforcement or embedded services. A rough-in box can simplify a freestanding drain, but compatibility depends on the tailpiece diameter, insertion depth, gasket design, and finished-floor height.
Pressure-test or water-test the waste connection before closing the floor. Local plumbing requirements may specify the test method, and a licensed plumber is appropriate when a new trap, vent, slab penetration, or concealed connection is involved.
You’ll know it worked when: the drain center matches the tub outlet, the trap is supported, the pipe has no visible seepage, and the tailpiece can enter vertically during a dry fit.
Common mistake: forcing an angled tailpiece into the gasket. That can nick or roll the seal and create a leak hidden beneath the bathtub.
Step 3: Finish the Floor and Protect the Surface
Complete the finished floor before final placement unless the tub instructions require a different sequence. Tile, stone, luxury vinyl, and finished wood each need the correct substrate, movement allowance, and sealant compatibility.
Cut the drain opening cleanly and leave the rough-in’s test plug or protective cap in place until the floor work is complete. Keep thinset, grout, adhesive, and debris out of the gasket seat. A small lump beneath the base can create a rocking point that a thick silicone bead cannot reliably correct.
Do not drill through finished tile until you have confirmed the location of joists, pipes, electrical wiring, radiant-heating cables, and structural elements. A thermal imaging map can help locate electric floor heating, but it is not a substitute for construction records or a controlled inspection.
You’ll know it worked when: the finished floor is cured, clean, flat at the tub base, and the drain opening exposes only the intended rough-in components.
Common mistake: setting the tub on uncured grout or adhesive. Movement during curing can change the drain alignment and leave a permanently uneven base.
Step 4: Prepare the Tub and Tailpiece
Protect the tub with a padded blanket if it must be tipped, and follow the manufacturer’s instructions for installing the waste and overflow assembly. Apply silicone grease only to rubber O-rings or gaskets when the drain manufacturer permits it. Grease should not replace a gasket, sealant, or mechanically correct connection.
Inspect the underside for molded feet, threaded leveling legs, steel rails, access panels, and designated bracket holes. Record the initial foot adjustments before moving the tub. Some tubs arrive with adjustable feet that must be locked after leveling; others use a mortar bed or support pad specified by the manufacturer.
You’ll know it worked when: the tailpiece is straight, the gasket is undamaged, the overflow connection is complete, and every leveling component is accessible before placement.
Common mistake: applying general petroleum lubricant to an elastomer seal. Use the lubricant named by the drain manufacturer, because incompatible products can swell or weaken rubber.
Step 5: Complete a Full Dry Fit
Lower the tub vertically into position without silicone and watch the tailpiece enter the drain seal. Never drag the tub sideways after the tailpiece has entered the gasket. Confirm that the tub reaches its final height, the base sits inside the footprint, and the overflow and faucet connections remain accessible.
Fill the tub partially with water only if the manufacturer permits a dry-fit load test. Otherwise, apply hand pressure at several rim points and check for movement. Mark the tub’s final position if the outline became obscured.
Remove the tub and inspect the gasket, tailpiece, floor, and base for contact marks. If the connection is tight, misaligned, or too short, fix the rough-in before applying sealant.
You’ll know it worked when: the tub drops into place without force, the tailpiece does not bind, the rim is level, and the shell remains stable under hand pressure.
Common mistake: assuming a tub is aligned because the drain opening looks centered from above. The tailpiece can be offset or angled below the shell.
Step 6: Apply the Perimeter Seal
Clean the finished floor and the tub base where the silicone will bond. Use a residue-free cleaning method approved for both surfaces, allow them to dry completely, and avoid touching the bonding zone afterward.
Apply a continuous bead of bathroom-rated 100% silicone inside the footprint, usually about 6-12 millimeters wide unless the tub manual specifies another size. Keep the bead inside the visible perimeter so squeeze-out does not spread across the floor. Do not seal over removable access panels, leveling adjustments, overflow openings, or a manufacturer-designated service gap.
Silicone is a restraint and water-management seal, not a replacement for floor support or drain alignment. Silicone’s performance varies by product, substrate preparation, bead geometry, and cure conditions, so generic tensile-strength figures should not be used to calculate the tub’s safety margin.
Lower the bathtub vertically into the bead. Press evenly around the base, but do not twist the shell to align the drain.
You’ll know it worked when: the tub reaches its marked position, the bead contacts the entire intended base, and only a small, continuous amount of silicone squeezes out.
Common mistake: using latex painter’s caulk. Acrylic latex shrinks and loses performance in persistent wet conditions, while 100% silicone remains the normal choice for compatible bathroom joints.
Step 7: Cure and Inspect the Installation
Tool the visible silicone joint according to the sealant label, remove excess before it skins, and leave the tub untouched for at least 24 hours. Cool temperatures, high humidity, a large bead, or poor ventilation can extend curing time, so follow the manufacturer’s stated cure depth and water-exposure limits.
After curing, inspect the base, drain, overflow, feet, and nearby flooring. Run water into the tub and drain it while observing accessible connections. If the drain is concealed, inspect the ceiling below or an access panel rather than assuming a dry floor proves a watertight connection.
You’ll know it worked when: the silicone is firm, the tub does not shift under normal hand pressure, the drain empties without seepage, and the overflow operates correctly.
Common mistake: filling the tub immediately after installation. Water weight can move uncured silicone and create a permanent gap under the base.
Which Securing Method Fits Your Tub?
The best securing method is a manufacturer-approved combination of proper floor support, a sound drain connection, and either perimeter silicone or mechanical restraints. Enclosed-base acrylic tubs commonly use silicone, while exposed-leg tubs and installations with specified anchor points may require bolts or brackets.
| Method | Typical tub type | Floor work | Removal and service | Main limitation |
|---|---|---|---|---|
| Perimeter 100% silicone | Acrylic, resin, composite | No drilling | Cuttable with a knife | Depends on clean, flat surfaces |
| Rough-in drain system | Most modern freestanding tubs | Plumbing access required | Drain service may be easier | Does not anchor the shell alone |
| Concealed brackets | Framed tubs, commercial installations | Fasteners or blocking | Moderate difficulty | Requires exact tub geometry |
| Leg anchor bolts | Clawfoot, exposed metal feet | Tile or floor drilling | Difficult | Can crack tile or hit services |
| Adjustable feet plus sealant | Framed tubs on finished floors | Usually no drilling | Moderate | Feet must remain fully supported |
When is silicone enough?
Silicone is usually enough when the tub has an enclosed base, the manufacturer permits bonding, the floor is flat and clean, and the tub does not rock during dry fitting. Silicone is a poor choice when the base has large unsupported gaps, the floor is dusty or oily, or the manufacturer requires mechanical anchoring.
A silicone-only installation is also less suitable where commercial accessibility requirements, frequent impact, or deliberate vandalism create greater lateral loads. In those settings, concealed framing or a specified restraint can add mechanical security without relying on adhesive alone.
When should you use brackets or bolts?
Use brackets or bolts when the tub manual identifies anchor points, the tub has exposed legs, or the installation requires resistance beyond a perimeter bond. Fasteners must enter verified structural material, not merely tile, mortar, drywall, or a thin underlayment.
A 38-millimeter screw is not automatically a structural anchor. Its holding power depends on the substrate, embedment, fastener type, edge distance, and load direction. A professional should select the anchor after confirming the floor assembly and concealed services.
Common Problems and Repairs
A moving freestanding bathtub usually indicates poor base contact, contaminated bonding surfaces, incorrect leveling, or an installation that relied on the drain pipe for restraint. A leak under the tub usually indicates tailpiece, gasket, trap, overflow, or waste-connection failure rather than a failed perimeter seal.
| Symptom | Likely cause | Corrective action | Escalate when |
|---|---|---|---|
| Tub shifts at the rim | Thin or contaminated silicone; unsupported base | Remove old sealant, clean, level, and reseal | Shell or frame is warped |
| Tub rocks on tile | Lippage, grout ridge, uneven feet | Adjust feet or correct floor support | Floor needs demolition |
| Slow drain leak | Rolled gasket, short tailpiece, forced alignment | Lift tub, replace seal, realign drain | Concealed trap is inaccessible |
| Water at overflow | Incorrect overflow gasket or loose fitting | Reinstall gasket and test overflow | Wall or floor has moisture damage |
| Silicone separates | Damp surface, incompatible coating, movement | Remove all loose sealant and rebond | Surface coating will not accept silicone |
| Cracked tile near anchor | Wrong bit, excessive torque, unsupported tile | Replace tile and reassess anchor location | Radiant heat or wiring is present |
How do you fix a tub that rocks?
Lift the tub only after confirming that the silicone has been cut free, then inspect the base, feet, and floor for a high spot or gap. Adjust built-in leveling feet evenly, preserve the designed load path, and never wedge random shims under an acrylic shell unless the manufacturer specifies an approved support material.
Non-shrink grout or a support compound may be required for certain tubs, but it should not block drain access or fill spaces that the manufacturer intended to remain open. Recheck the drain alignment before rebonding the base.
How do you repair a hidden leak?
Stop using the tub and identify whether water comes from the waste, trap, overflow, faucet supply, or condensation. A concealed leak can damage subflooring long before it appears at the room perimeter, so inspect the ceiling below, access panel, or adjacent cabinet.
If the tailpiece gasket is damaged, lift the tub straight up, replace the seal, lubricate it with compatible silicone grease, and repeat the dry fit. Do not smear silicone around an inaccessible gasket as a substitute for correcting the connection.
What Changes for Different Floors?
Floor construction changes the safe anchoring method, not the basic requirement for a stable, aligned tub. Concrete accepts some anchors but requires service-location checks, while wood floors require verified joist or blocking support and careful control of fastener depth.
Concrete slab floors
On concrete, use a compatible drain assembly and avoid drilling unless the anchor design, slab thickness, reinforcement, and concealed services are known. Perimeter silicone is often the lowest-risk restraint for an enclosed-base tub when the floor is flat and the manufacturer approves it.
A slab penetration may require waterproofing details, fire or acoustic treatment, and local plumbing compliance. Do not cut a large opening merely to imitate a wood-floor drain box if the specified concrete fitting can be installed through a smaller controlled opening.
Wood joists and plywood
A plywood floor must support the tub’s filled weight through the manufacturer’s load-bearing areas. A bathtub can become substantially heavier when filled and occupied, so confirm joist span, deflection, blocking, and subfloor condition when the tub is large, cast iron, or placed near a joist opening.
Mechanical brackets should fasten into joists or installed blocking when required. Screwing into finished flooring alone provides little dependable resistance and can damage waterproofing or create a path for moisture.
Radiant heating and sensitive finishes
Do not drill into a heated floor, post-tensioned slab, waterproof membrane, or unknown utility path. Use a documented heating layout, service records, manufacturer-approved scanning, and a non-penetrating restraint where possible.
For luxury vinyl plank or finished wood, verify that the flooring manufacturer permits a heavy stationary fixture and sealant contact. Some floating floors need movement space around fixed objects; sealing the floor perimeter incorrectly can restrict that movement and cause buckling.
What Time and Cost Should You Expect?
A typical retrofit costs about $50-$170 for a drain kit, silicone, gaskets, and minor consumables, while professional labor commonly ranges from $200-$500 before major plumbing, flooring, or structural work. Regional prices vary substantially, and opening a finished floor can exceed the restraint cost many times over.
| Project condition | Materials, typical USD | Labor, typical USD | Active time |
|---|---|---|---|
| Existing aligned drain, silicone bond | $20-$60 | $150-$300 | 1-2 hours |
| New freestanding drain rough-in | $80-$250 | $300-$700 | 3-6 hours |
| Concealed bracket installation | $40-$150 | $250-$600 | 2-4 hours |
| Concrete drain relocation | $100-$400 | $500-$1,500 | 5-10 hours |
| Floor repair and tub reset | $50-$300 | $300-$900 | 3-8 hours |
These figures are planning ranges, not a quote. A plumber may charge separately for trap relocation, vent changes, pressure testing, or access-panel construction. A tile contractor may also be needed when the drain opening or anchor location must be rebuilt.
Expert Rules That Prevent Callbacks
Do not make the drain carry the tub. A rigid or misaligned waste connection can crack, leak, or transmit movement into the trap. The tub base, approved brackets, and floor support should resist lateral movement.
Do not calculate safety from a generic silicone strength number. Published product strength applies to controlled test conditions, not an unknown acrylic, dusty tile, thick uneven bead, or repeated impact. Surface preparation and full contact matter more than an impressive value on a product sheet.
Do not seal away the only service route. Before bonding the tub, determine how the waste, overflow, faucet supplies, leveling feet, and any rough-in box can be repaired. A clean silicone line is not worth making a failed gasket require demolition.
Treat manufacturer instructions as the controlling specification. Tub manuals differ on mortar support, leveling feet, adhesive type, drain height, wall clearance, and anchor locations. Generic instructions are useful only after those requirements are known.
FAQ
Does a freestanding tub need to be bolted to the floor?
A freestanding tub does not always need bolts. Many enclosed-base acrylic and composite tubs use a properly aligned drain plus a continuous bead of compatible 100% silicone, while exposed-leg tubs or models with designated anchor points may require mechanical restraints. The installation manual and floor condition determine the acceptable method.
Can a freestanding tub sit directly on tile?
A freestanding tub can sit on tile when the tile is fully cured, flat, structurally supported, and compatible with the tub’s feet or base. Remove grout ridges and high spots that cause rocking. Do not place the tub over loose tile, uncured adhesive, an unsupported floating-floor edge, or a surface that cannot carry the filled load.
Should the silicone go inside or outside the tub footprint?
Place the silicone bead inside the marked tub footprint so the base compresses the sealant and excess remains concealed. The precise bead location and size should follow the tub manufacturer’s instructions. Leave access panels, leveling points, and intentional service gaps unsealed.
How long before you can use a newly secured bathtub?
Wait at least 24 hours before using a newly secured bathtub, and follow the silicone manufacturer’s cure-depth and water-exposure instructions. A large bead, cool room, poor ventilation, or high humidity can require longer. Do not fill the tub merely because the surface feels dry, since the interior of the joint may remain uncured.
Can construction adhesive secure a freestanding bathtub?
Construction adhesive should not secure a freestanding bathtub unless the tub manufacturer specifically approves the product and substrate. Solvent-based adhesive can damage acrylic or resin, while a rigid adhesive can complicate removal and transfer stress to tile. Bathroom-rated 100% silicone is the more common approved bonding material for enclosed bases.
How do you remove a tub secured with silicone?
Cut the visible silicone joint with a sharp utility knife or plastic razor, then separate the tub vertically without twisting the drain tailpiece. Protect the floor and have a second person control the tub’s weight. After removal, scrape residue carefully, replace damaged gaskets, and inspect the floor before reinstalling.
The Bottom Line
The safest answer to how to secure free standing tub is to combine a stable, level base with a correctly aligned and tested drain, then use the tub manufacturer’s approved silicone or mechanical restraint. Dry-fit everything first, avoid unverified drilling, allow the sealant to cure fully, and preserve access to the drain and overflow for future service.