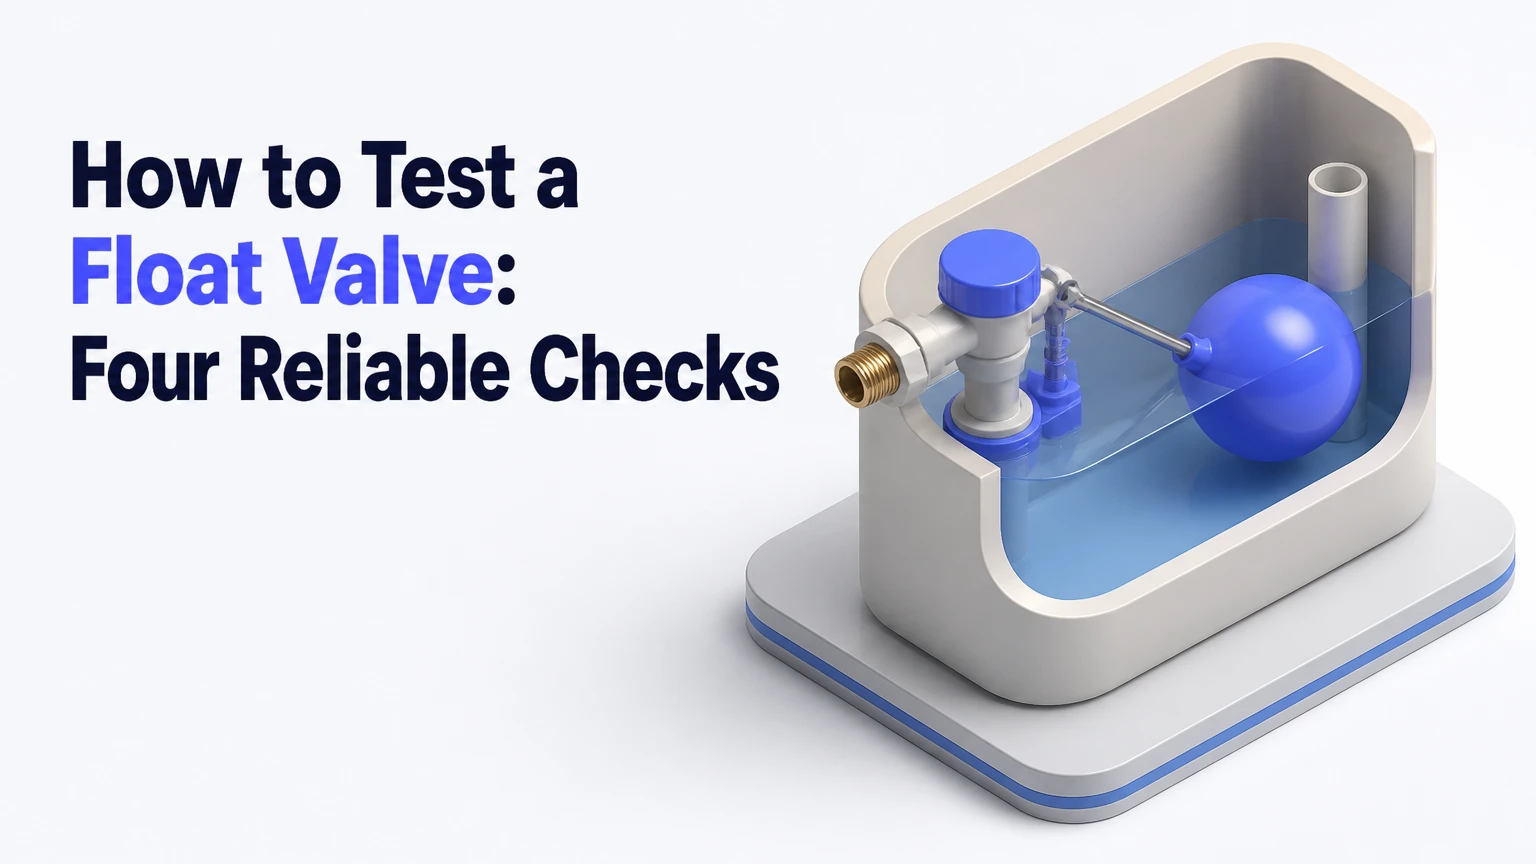
To test a float valve, isolate the fluid supply, verify that the float moves freely, raise the float to confirm complete shutoff, and inspect the float for leakage or damage. A working float valve travels without binding, stops flow at its designed position, and remains sealed under normal operating pressure.
Key facts at a glance
A float valve is mechanical; it uses buoyancy and linkage rather than electrical power.
A basic tank or trough test usually takes 10-15 minutes and requires no pressure gauge.
Flow should stop when the float reaches the manufacturer’s specified shutoff position, not necessarily when the float is fully vertical.
A hollow float that contains water is defective and usually needs replacement.
A 3-4 PSI pressure test applies to some carburetor needle valves, not automatically to household or industrial water valves.
Continuous trickling can result from a worn seat, excessive inlet pressure, debris, misadjustment, or a float striking the tank wall.
What Is a Float Valve?
A float valve automatically controls liquid level by linking a buoyant float to a fluid shutoff mechanism. As the liquid falls, the float drops and opens the inlet; as the liquid rises, the float lifts a lever, plunger, diaphragm, or needle until the inlet closes.
A float valve does not need electricity. That separates it from a float switch, which detects level and sends an electrical signal to a pump, relay, or alarm. Some systems use both components, but they perform different jobs.
How the mechanical sequence works
A conventional ballcock follows five mechanical events:
- The liquid level falls.
- The float descends with the surface.
- The lever or stem moves the valve element away from its seat.
- Replacement liquid enters through the inlet.
- The rising float pushes the valve element onto its seat and stops flow.
Pilot-operated diaphragm valves use a different force path. A small float opens or closes a pilot passage, while line pressure moves the larger diaphragm. A blocked pilot passage can therefore cause poor shutoff even when the external float moves normally.
Which Float Valve Are You Testing?
Identify the valve before testing because a lever ballcock, vertical tank valve, pilot-operated valve, and carburetor needle valve do not share identical test criteria. The body material, inlet size, fluid, pressure, and manufacturer instructions determine the correct procedure.
| Valve type | Visible mechanism | Typical use | Main test concern |
|---|---|---|---|
| Lever and ballcock | Rod with hollow plastic or brass ball | Cisterns, stock tanks, water towers | Bent arm, wall contact, worn washer |
| Vertical float valve | Float slides on a guide | Toilet tanks, compact reservoirs | Sticking guide, incorrect height setting |
| Pilot-operated diaphragm | Small float with diaphragm body | Commercial tanks, high-flow reservoirs | Pilot passage blockage and minimum pressure |
| Needle float valve | Float controls tapered needle | Carburetors, humidifiers, small vessels | Needle-seat leakage and fuel contamination |
A float valve’s pressure rating is not universal. Small plastic water valves may be rated around 100-150 PSI, while heavy-duty brass or stainless-steel units may carry ratings near 160-300 PSI, but those figures are product-specific and must be checked against the body marking or data sheet.
Float valve versus float switch
A float valve physically stops or admits liquid. A float switch only changes an electrical circuit or signal. If a pump continues running, testing the float valve alone will not diagnose a failed switch, relay, pump controller, or wiring fault.
What Should You Prepare Before Testing?
Prepare shutoff access, a dry cloth, a flashlight, a small brush, and the valve’s pressure and adjustment specifications before testing a float valve. Use eye protection when pressurized water, fuel, compressed air, or chemical liquid may escape.
| Item | Typical quantity or setting | Purpose |
|---|---|---|
| Isolation valve | 1 accessible valve | Stops supply during mechanical inspection |
| Dry cloth | 1-2 cloths | Detects small leaks around fittings and outlets |
| Flashlight | 1 LED light | Reveals sediment, cracks, and wall interference |
| Small nylon brush | 1 brush | Cleans screens and accessible passages |
| Manufacturer data | 1 manual or label | Confirms pressure, fluid, and adjustment limits |
| Low-pressure hand pump | 1, only for applicable valves | Tests carburetor needle-seat sealing |
Do not disassemble a valve connected to a pressurized line. For potable water, avoid introducing oil, solvent, or non-approved sealant into the wetted path.
How to Test a Float Valve
A complete float valve test has four stages: inspect the float, check dry movement, test live shutoff, and confirm the result under normal operating conditions. A tank or trough inspection normally takes 10-15 minutes, while removing and rebuilding a valve can take 20-30 minutes.
Step 1: Inspect the float and installation
Turn off the supply if the tank level permits, then inspect the float, arm, guide, mounting nut, inlet screen, and surrounding clearance. Look for cracks, corrosion, bent linkage, mineral scale, loose fasteners, and contact between the float and tank wall.
A hollow ball should feel light. Remove it when practical and shake it near your ear; audible liquid indicates a leak and loss of buoyancy. A sealed foam float may not slosh, so squeeze or submerge it only if the manufacturer permits that inspection.
You will know this step passed when the float is intact, dry internally, securely attached, and able to move without touching the vessel. A common mistake is treating wall contact as a valve failure. A float can be mechanically sound yet remain open because the tank wall traps its travel.
Step 2: Check movement with the supply isolated
Close the upstream isolation valve and manually move the float through its complete operating range. A lever ball should pivot smoothly, and a vertical float should slide without catching or rotating into the guide.
Resistance, grinding, or a sudden stop indicates scale, a bent rod, a damaged pivot, debris in the guide, or an incorrectly installed part. Do not force a brass arm beside the valve body; support the rod with both hands when making a permitted adjustment, because concentrated bending can damage the internal plunger guide.
You will know this step passed when the float returns under its own weight or buoyancy and the linkage reaches both operating limits without binding. The dry movement test cannot prove that the valve seals under pressure. It only establishes that the mechanical actuation path is available.
Step 3: Test shutoff under normal line pressure
Open the supply slowly and allow the tank to fill. Raise the float gently by hand to its intended shutoff position, then hold it there while observing the outlet for at least 30 seconds.
A properly adjusted float valve should stop the main flow completely at the specified level. A brief pressure equalization sound can occur in some diaphragm designs, but persistent hissing, spray, or a visible stream indicates leakage, an obstructed pilot circuit, a damaged seat, or pressure beyond the valve’s rating.
You will know this step passed when the level remains stable and no water reaches the overflow after the float is released. Do not judge failure solely by sound. Place a dry cloth below the outlet or watch the discharge directly, because a quiet trickle can still raise a tank level over several hours.
Step 4: Confirm buoyancy and the final operating level
If the float can be removed safely, submerge it completely and release it. A sound hollow float should rise promptly and remain above the waterline; a waterlogged ball rises slowly, sits low, or fails to generate enough force to close the valve.
Restore the float and let the system complete a full fill cycle. Measure the final liquid level from a fixed reference, such as the tank rim or overflow opening, and compare it with the equipment specification. The practical pass condition is stable level control without overflow, short cycling, or an unexpectedly low shutoff point.
You will know this step passed when the float has reserve buoyancy, the valve closes before overflow, and the valve reopens after the level falls. A common mistake is adjusting the arm before checking for a leaking float, which compensates for a damaged component and shortens the valve’s remaining service life.
How Do You Test a Carburetor Float Valve?
Test a carburetor float valve with a low-pressure hand pump, the manufacturer’s specified pressure, and a closed needle seat; do not substitute household water-valve pressure limits. Many carburetors require a precise float height and a pressure test commonly near 3-4 PSI, but the correct value varies by engine and needle design.
Remove or isolate the carburetor according to the service manual. Inspect the float hinge, needle tip, seat, float height, and fuel contamination before applying pressure. With the float holding the needle closed, connect the pump to the fuel inlet and monitor the gauge for about 30 seconds.
A stable gauge indicates that the needle and seat hold the specified test pressure. A falling reading indicates a contaminated or worn needle, damaged seat, an incorrectly installed gasket, or a float that does not apply sufficient closing force.
Do not use compressed shop air for this test. Excess pressure can damage a seat, distort a diaphragm, or produce a misleading result. Fuel systems also require ventilation, ignition control, and proper disposal of contaminated fuel.
What Do the Test Results Mean?
The result depends on which stage failed. Free movement with poor shutoff points toward the seal or pressure conditions, while poor movement with good sealing usually indicates linkage, guide, or installation trouble.
| Test result | Most likely cause | Recommended action |
|---|---|---|
| Float sinks or sits low | Crack, pinhole, or internal water | Replace the float |
| Float binds on upward travel | Scale, bent arm, wall contact | Clean, realign, or replace linkage |
| Flow stops by hand but not automatically | Wrong adjustment or weak buoyancy | Set level, inspect float and arm |
| Flow continues while held closed | Worn washer, needle, seat, or diaphragm | Clean once, then rebuild or replace |
| No inlet flow after level falls | Blocked screen, inlet, or pilot passage | Isolate, clean, and inspect the valve |
| Gauge loses pressure in carburetor test | Leaking needle or seat | Clean and replace damaged parts |
A valve that passes a dry test but fails a wet test has not passed overall. Internal seals can appear clean and move normally while leaking only when line pressure loads the seat.
Why Does a Float Valve Keep Running or Overflowing?
A float valve keeps running when the closing force is insufficient, the seal cannot seat, or the float never reaches the correct position. The most common causes are a waterlogged float, worn elastomer washer, mineral debris, excessive pressure, wall interference, and incorrect adjustment.
Continuous overflow
First lift the float by hand. If flow stops, inspect the float height, arm alignment, wall clearance, and buoyancy. If flow does not stop, isolate the supply and inspect the washer, needle, diaphragm, and valve seat.
A damaged float should be replaced rather than repaired with tape or adhesive. Temporary patches alter buoyancy and can release material into the tank.
Slow trickle after shutoff
A trickle usually indicates a contaminated or worn sealing surface. Pilot-operated models add another possibility: a blocked pilot hole prevents the diaphragm from receiving or releasing pressure correctly.
Clean only accessible screens and passages with a soft brush. Do not enlarge a pilot hole with wire, because its diameter controls the valve’s hydraulic timing.
No water enters
No-fill faults commonly come from a closed isolation valve, blocked inlet screen, low supply pressure, frozen piping, a stuck vertical guide, or a pilot-operated valve below its minimum operating pressure. Pilot-operated designs may require approximately 3-5 PSI to function, but the product specification controls.
Intermittent operation
Intermittent filling can result from water hammer, float oscillation, a loose mounting nut, turbulence near the inlet, or a float rubbing the vessel. Install or adjust the valve so the float has unobstructed travel and the inlet does not direct a strong jet against it.
Which Test Method Fits Each Application?
The correct method depends on the fluid, pressure, access, and consequence of failure. Water-tank valves can usually be tested in place, while carburetor valves require a pressure-specific bench test and fuel-safe handling.
| Application | Primary test | Typical time | Replacement trigger |
|---|---|---|---|
| Toilet tank | Manual lift and full fill cycle | 5-10 minutes | Persistent refill or overflow after cleaning |
| Livestock trough | Dry travel, live shutoff, float inspection | 10-15 minutes | Bent arm, cracked ball, repeated animal damage |
| Cistern or reservoir | Pressure-rated live test and level measurement | 15-30 minutes | Seat leakage or incompatible pressure rating |
| Aquarium or hydroponic tank | Buoyancy, low-flow shutoff, material inspection | 10-15 minutes | Corrosion, contamination, or unsafe wetted metal |
| Small-engine carburetor | Float-height and low-pressure seat test | 30-60 minutes | Gauge drop, damaged needle, fuel-wet float |
Brass is widely used in water service, but material compatibility matters in aquariums and hydroponic systems. Copper-containing alloys can alter water chemistry, so food-grade stainless steel or a compatible polymer is often a safer choice for sensitive aquatic environments.
Can You Repair the Valve or Should You Replace It?
Replace a float valve when the body is cracked, the float is waterlogged, the seat is permanently damaged, or the valve is incorrectly rated for the supply. Cleaning and seal replacement make sense when the body and linkage remain sound and compatible replacement parts are available.
Typical consumer replacement valves cost about $5-$15 for simple plastic units and $20-$65 for residential brass or stainless-steel models. Commercial high-flow or specialized pilot-operated assemblies can cost $150-$400 or more, excluding labor.
| Repair situation | Typical work time | Typical parts cost | Practical decision |
|---|---|---|---|
| Clean inlet screen | 10-20 minutes | $0-$10 | Repair |
| Replace washer or diaphragm | 20-30 minutes | $5-$30 | Repair if body is sound |
| Replace tank float valve | 20-30 minutes | $5-$65 | Usually economical |
| Replace commercial pilot valve | 30-90 minutes | $150-$400+ | Match rating and service |
| Replace carburetor needle and seat | 30-60 minutes | $10-$60 | Follow engine specification |
Do not install a larger float ball as a universal cure for leakage. A larger float may increase closing force in some lever designs, but it cannot correct a damaged seat, blocked pilot passage, excessive pressure, or a misaligned arm.
Common Testing Mistakes and Fixes
- Testing with the supply still pressurized: Close the isolation valve before moving parts or removing screens. Residual pressure can eject seals and create an uncontrolled discharge.
- Bending the rod near the valve body: Make only manufacturer-permitted adjustments and support the arm along its length. Replace a distorted rod when the linkage no longer tracks the specified shutoff angle.
- Ignoring wall clearance: Provide enough space for the float’s entire travel. A universal 100-millimeter clearance rule does not fit every tank, so use the manufacturer’s clearance or verify free movement through the complete arc.
- Using the wrong pressure test: Do not apply a 3-4 PSI carburetor test to a household water valve, or use high air pressure on a fuel needle valve. Match test pressure to the service manual.
- Cleaning with a hard wire: Wire can enlarge pilot passages and scratch a needle seat. Use a soft brush and approved cleaning method.
- Confusing a quiet valve with a sealed valve: Confirm zero visible discharge for at least 30 seconds, then observe the level over a complete fill cycle.
- Adjusting before diagnosing: Check buoyancy, linkage, wall contact, and seal condition before changing the water level setting.
How Should You Test Different Situations?
Testing a toilet fill valve
Remove the tank lid, flush the toilet, and watch the float descend and rise. Lift the float or move its adjustment mechanism when the water approaches the manufacturer’s fill line; the inlet should stop without water entering the overflow tube.
If water continues into the overflow, first check the adjustment and float guide. Replace the fill valve when cleaning fails or when the internal seal leaks continuously.
Testing a tank without removing the valve
A float valve can usually be tested in place by isolating the supply, moving the float by hand, reopening the supply, and observing shutoff. Removing the valve is necessary only when the inlet screen, seat, diaphragm, or needle cannot be inspected from the access opening.
Testing a low-pressure system
Low pressure can prevent a pilot-operated diaphragm valve from closing or opening correctly. Measure pressure at the valve inlet with a suitable gauge, then compare the reading with the minimum and maximum values printed by the manufacturer.
A lever-operated valve may work at lower pressure than a pilot-operated model because the lever directly moves the closure element. Substituting one design for another without checking minimum pressure can create a persistent no-fill fault.
Frequently Asked Questions
How often should a float valve be tested?
Test a float valve every three to six months in a residential tank and monthly in a livestock trough, irrigation reservoir, or system exposed to sediment. Test immediately after plumbing work, freezing weather, contamination, or any unexplained overflow. High-consequence tanks should follow the equipment owner’s maintenance schedule.
Will a float valve work without water pressure?
A direct-acting lever or needle valve can be checked mechanically without pressure, but a dry test cannot prove hydraulic sealing. Pilot-operated diaphragm valves may require a minimum inlet pressure, often around 3-5 PSI, before the diaphragm operates correctly. The product manual determines the actual requirement.
Why does a float valve shut off when lifted but not by itself?
A valve that shuts off when lifted manually but not automatically usually has incorrect float adjustment, insufficient buoyancy, a bent linkage, or tank-wall interference. If the float reaches the correct position and the valve still leaks, inspect the washer, needle, diaphragm, and seat under normal line pressure.
Can mineral scale cause a float valve to fail?
Mineral scale can restrict a vertical guide, stiffen a pivot, block an inlet screen, or obstruct a pilot passage. Scale can also prevent a washer or needle from seating fully. Clean accessible deposits with a soft brush and approved descaling method, then replace parts that remain rough or distorted.
What is the safest way to test a fuel float valve?
Use the engine manufacturer’s float-height specification and a calibrated low-pressure hand pump, with the fuel system removed or isolated and ignition sources controlled. Never use uncontrolled compressed air. A pressure drop during the specified hold period indicates needle, seat, gasket, or float failure.
What proves that a float valve is working?
A float valve is working when the float travels freely, the valve opens as the liquid level falls, the inlet stops completely at the specified level, and the float remains buoyant. Final confirmation requires a complete operating cycle under normal pressure, not only a hand movement check.
The Bottom Line
To answer how to test a float valve reliably, inspect the float, isolate the supply, verify free mechanical travel, test shutoff under normal pressure, and complete a full refill cycle. Replace waterlogged floats, damaged seats, cracked bodies, and incorrectly rated valves; clean only accessible contamination without altering pilot passages or sealing surfaces.