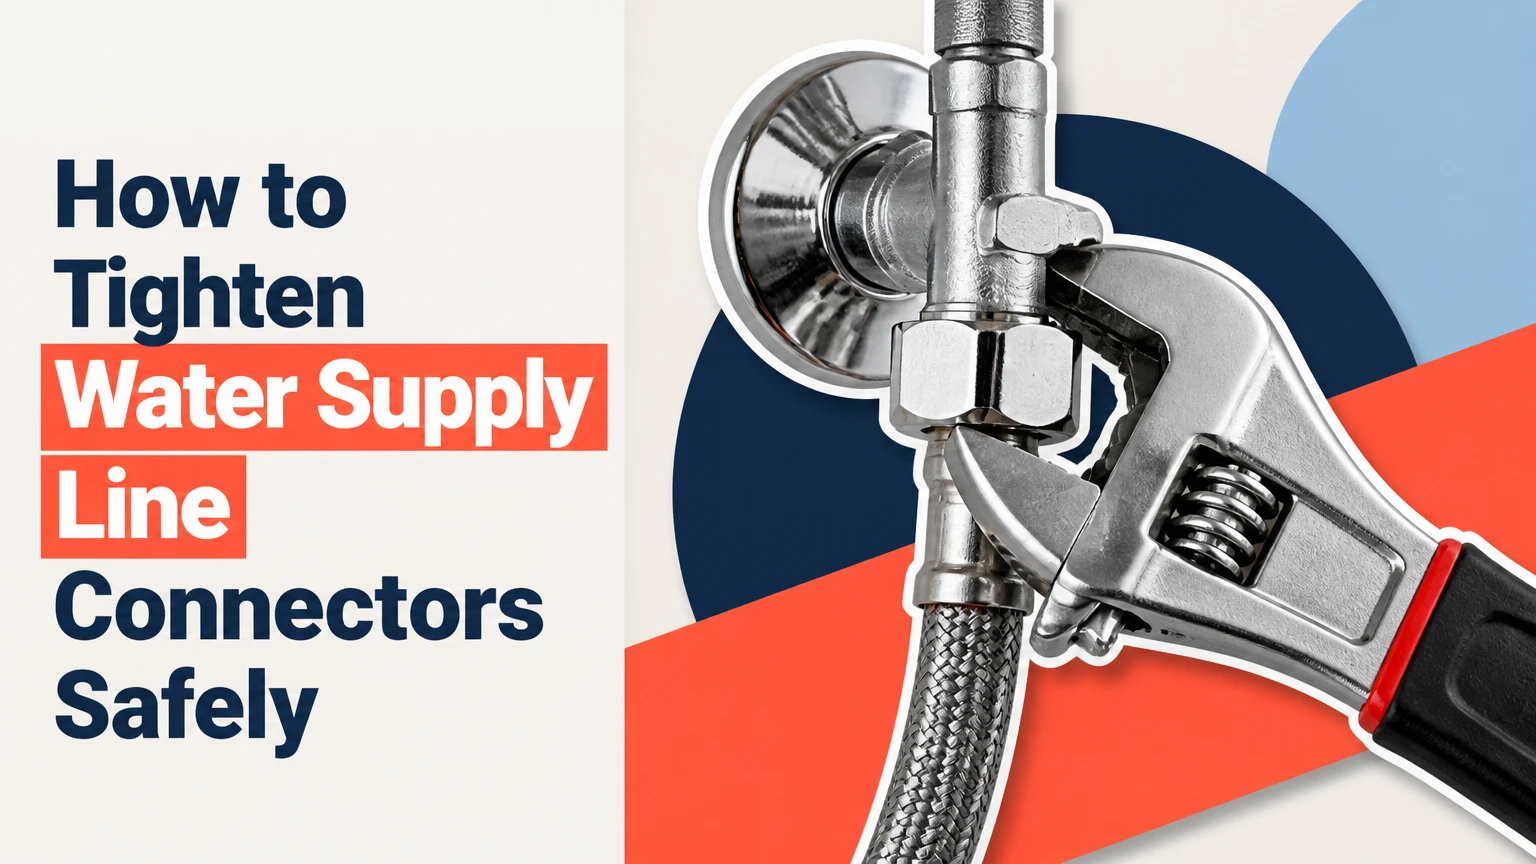
To tighten water supply line connectors, close the fixture shutoff, align the connection straight, hand-tighten the nut, then use the correct wrench for a small additional turn while holding the valve steady. The correct final force depends on whether the connector seals with a rubber washer, compression ferrule, pipe threads, or a push-fit collet.
Key Facts at a Glance
A rubber-washer supply line normally needs hand-tightening followed by a modest wrench turn, not maximum force.
Thread tape does not belong on a supply-line nut that seals against an internal rubber washer.
A backup wrench prevents an angle stop or wall stub-out from twisting during tightening.
A push-fit connector is inserted to its marked depth and checked for full engagement; its collet is not tightened like a threaded nut.
A leaking connection often needs a new washer, supply line, valve, or fitting rather than more torque.
Typical replacement time is 5-15 minutes, and a household faucet or toilet line commonly costs about $5-$20.
What a Water Supply Line Connector Does
A water supply line connector links a pressurized pipe or shutoff valve to a fixture inlet, such as a faucet shank, toilet fill valve, dishwasher inlet, washing-machine valve, or water-heater connection. Most residential connectors are flexible hoses with a threaded nut at each end, although rigid risers, compression fittings, and push-to-connect products use different sealing methods.
The connector has two jobs: carry household water pressure and tolerate small alignment changes between the wall pipe and fixture. A braided stainless-steel hose handles cabinet movement and minor misalignment better than a rigid copper riser, while a rigid riser provides a cleaner visible installation when its length and bend are exact.
A supply-line nut does not usually seal through its threads. The nut moves the sealing washer or ferrule into position. That distinction determines whether thread tape is useful, how much tightening is appropriate, and what part must be replaced when water escapes.
How the Connection Seals
A rubber washer seals by being compressed between two flat surfaces. A compression ferrule seals by deforming around tubing. Tapered pipe threads seal through thread interference, usually with an approved sealant. These mechanisms look similar from outside but require different tightening rules.
Washer-sealed supply lines
Faucet and toilet connectors commonly have a captive or loose rubber washer inside the female nut. The washer presses against the flat end of the faucet shank or fill-valve tailpiece. The threads provide clamping force, while the washer forms the water barrier.
A washer must sit flat. A tilted, cut, hardened, or missing washer cannot be repaired reliably by adding force, because excess torque can crush the rubber and distort the nut.
Compression fittings
A compression fitting uses a nut and brass or plastic ferrule around copper, PEX, or another compatible tube. Tightening advances the ferrule onto the tube and into the fitting body. The ferrule may permanently grip the tube, so disassembly can require a replacement ferrule or a new tube section.
Compression fittings should follow the fitting manufacturer’s instructions. “Hand-tight plus one-quarter turn” is not a universal rule for every ferrule, tube material, or fitting design.
Tapered pipe threads
National Pipe Taper, or NPT, connections seal through tapered male and female threads. The connection may require a compatible pipe-thread sealant, such as approved PTFE tape or pipe-joint compound, but the sealant belongs on the male pipe threads, not inside a washer-sealed supply-line nut.
A faucet supply line often has a female compression-style nut at the shutoff and a female nut with a washer at the faucet. Neither end should automatically receive tape. Identify the seal before applying anything.
Which Connector Are You Tightening?
Identify the connector by looking inside the nut and at the fitting end before choosing a tool. A visible rubber washer means the nut clamps a flat seal; a separate ferrule around tubing indicates compression; a plastic or brass collet indicates push-fit engagement.
| Connector type | Typical fixture or location | Sealing part | Tightening approach |
|---|---|---|---|
| Braided stainless-steel line | Faucet, toilet, dishwasher | Rubber washer or cone seal | Hand-tight, then modest wrench turn |
| Braided polymer line | Faucet, toilet, low-visibility cabinet | Rubber washer or cone seal | Same washer method, protect plastic nut |
| Copper or PEX riser | Pedestal sink, exposed basin | Compression ferrule | Follow fitting instructions and use two wrenches |
| Washing-machine hose | Laundry valve to appliance | Flat rubber hose washer | Hand-tight, then small wrench turn if required |
| Push-to-connect line | Repair or tight-access installation | Internal O-ring and collet | Push to depth, tug-test, do not torque the collet |
| NPT adapter connection | Water heater or appliance adapter | Tapered threads and sealant | Apply approved thread sealant and tighten by fitting guidance |
Braided stainless steel is a practical general-purpose replacement for many household fixtures, but it is not automatically the right choice. A line must have the correct end fittings, length, temperature rating, pressure rating, and approval for its intended use. A hose that is too short can pull on the valve; one that is too long can form a sharp bend or rub against a cabinet edge.
Which Tools and Materials Are Needed?
For one faucet or toilet connector, prepare one adjustable wrench, one backup wrench or slip-joint plier, a bucket, and two dry towels. Add a flashlight for cabinet work and a replacement supply line if the existing hose shows corrosion, bulges, kinks, or damaged threads.
| Item | Typical quantity | Purpose | Replacement cost |
|---|---|---|---|
| Adjustable wrench | 1 | Turns the connector nut | $10-$25 |
| Backup wrench or pliers | 1 | Holds the valve or fitting body | $8-$20 |
| Bucket | 1 | Catches residual water | $5-$15 |
| Dry towels | 2 | Dries and detects moisture | $2-$10 |
| Braided faucet or toilet line | 1 | Replaces damaged connector | $5-$20 |
| Flashlight | 1 | Reveals washer and thread damage | $10-$30 |
Do not grip a thin braided hose with pliers. Do not bend the hose against the nut, and do not use a basin wrench on a connector nut unless the surrounding access makes an adjustable wrench impossible. A basin wrench is primarily useful for faucet mounting hardware and awkward under-sink access, while an adjustable wrench gives better control on exposed nut flats.
How to Tighten Water Supply Line Connectors
The following procedure applies to common threaded, washer-sealed faucet and toilet supply lines. It takes about 5-15 minutes per connection. The most important success factor is correct alignment, because a straight, undamaged washer seals with much less force than a crooked or contaminated connection.
Before You Start
- Difficulty: Easy for an accessible faucet or toilet; moderate behind a basin or appliance.
- Time: 5-15 minutes for one line, excluding replacement of a valve.
- Typical cost: $0 if tightening only, or $5-$20 for a replacement flexible line.
- Tools: Adjustable wrench, backup wrench, bucket, flashlight, and dry towels.
- Prerequisite: Locate the fixture shutoff and confirm that it operates.
- Safety condition: If the shutoff will not close, use the home’s main water valve before disconnecting the line.
Step 1: Close the Water Supply
Turn the fixture shutoff clockwise until it stops, then open the faucet or flush the toilet to release pressure. Place a bucket under the connector and cover the surrounding cabinet or floor with a towel.
You will know the valve is closed when flow stops and only a small amount of trapped water drains. If water continues flowing strongly, stop and close the main shutoff instead. A seized or leaking angle stop can worsen when forced, especially if its packing or internal stem is already worn.
Common mistake: Turning the connector nut before shutting off water. Pressurized water can spray from the loosened joint and reach cabinetry, electrical equipment, or flooring.
Step 2: Identify the Seal and Inspect the Parts
Loosen the nut only enough to inspect the connection if it is already assembled. Look for a rubber washer inside the nut, a cone-shaped seal, a ferrule around tubing, or a push-fit collet. Check the male threads for cross-threading, flattened sections, debris, or remnants of old sealant.
Replace the line when the braided jacket is corroded, the hose is kinked, the end fitting is bent, or the washer is permanently compressed. A separate washer can sometimes be replaced, but replacing the complete low-cost supply line usually produces a more dependable repair.
Common mistake: Assuming every leak comes from loose threads. On a washer-sealed connector, a damaged washer or rough mating surface causes many leaks that additional tightening cannot cure.
Step 3: Align the Connector and Start the Nut by Hand
Position the supply line in a natural curve and hold the nut squarely against the male fitting. Turn the nut clockwise by hand until it stops against the sealing surface. The first several turns should rotate smoothly without a wrench.
Back the nut off immediately if it binds, wobbles, or becomes difficult during the first two turns. Cross-threading can permanently damage the brass or plastic male fitting, and a wrench can hide the problem until the threads strip.
You will know the nut is correctly started when it advances evenly and the hose remains free of twisting. A swivel connector should rotate at the nut, not force the entire braided hose to spin.
Common mistake: Starting the nut at an angle because the cabinet is cramped. Use a flashlight and reposition the hose before applying any tool force.
Step 4: Hold the Valve Body With a Backup Wrench
Place one wrench on the connector nut and the second wrench on the stationary flats of the angle stop, adapter, or fitting body. Keep the backup wrench aligned so force travels between the two tools rather than through the copper pipe inside the wall.
This step matters most on older compression stops and exposed stub-outs. Twisting the valve can loosen a compression joint, crack a fitting, or rotate the pipe behind the wall. If the valve body has no suitable flats, use controlled hand pressure and avoid grabbing the small handle or stem.
Common mistake: Holding the valve handle instead of the valve body. The handle is not designed to resist installation torque and can break or damage the stem packing.
Step 5: Tighten the Nut in a Small Increment
Turn the connector nut clockwise with the wrench after it is hand-tight. For a common rubber-washer supply line, begin with approximately one-eighth to one-quarter turn, then stop and inspect the washer and fitting. A full 90-degree turn is a practical maximum starting reference for many flexible lines, not a mandatory specification for every product.
Do not force the nut until the wrench handle strains or the plastic begins to deform. Manufacturer instructions take priority when they specify torque or a defined number of turns. Metal compression fittings may require a different procedure, and push-fit connectors do not use this wrench-turn method.
You will know the connection is adequately tightened when the nut is seated, the hose is not twisted, and the joint remains dry during the pressure test. Tightness is not measured by how difficult the wrench becomes to move.
Common mistake: Continuing past the first leak-free seal because the nut still appears capable of turning. Extra torque can split a plastic nut, crush a washer, or distort a ferrule.
Step 6: Restore Pressure Slowly
Dry the nut, fitting, valve, and nearby pipe completely. Open the shutoff gradually while watching the joint, then wait at least 60 seconds and wipe a dry finger or tissue around the connection.
A dry connection after one minute is a good immediate result, but inspect again after several minutes and after the fixture operates. A washing-machine hose can move during a fill cycle, and a faucet connector can reveal a leak only when the faucet is opened and pressure changes.
You will know the repair passed when the tissue remains dry, the valve does not move, and no moisture appears at the highest and lowest points of the connector.
Common mistake: Testing with a wet towel or leaving the joint hidden behind stored items. Dry surfaces and visible access make slow seepage easier to detect.
How Tight Should the Connector Be?
A rubber-washer supply line should be hand-tightened and then given a small additional wrench turn, commonly one-eighth to one-quarter turn. A compression ferrule requires the fitting maker’s specified turns or torque, while a push-fit line requires full insertion and a tug test rather than nut tightening.
The often-repeated “hand-tight plus one-quarter turn” rule is useful for many washer-sealed flexible lines because it limits damage while applying enough clamping force. It is not a universal torque value, and the same angle can produce different force with different thread sizes, lubrication, materials, and wrench lengths.
| Connection condition | Recommended next action | Maximum practical response |
|---|---|---|
| Dry after hand-tightening | Pressure-test before adding force | No wrench turn may be needed |
| Slight seep at rubber washer | Shut off, inspect washer, add small turn | About one-eighth turn initially |
| Leak remains after one-quarter turn | Disassemble and inspect seal | Do not keep tightening blindly |
| Metal compression fitting | Follow fitting instructions | Often manufacturer-specific |
| Push-fit connector | Push fully and tug-test | No wrench tightening |
| Stripped or spinning nut | Replace damaged part | Additional torque is unsafe |
A torque wrench is rarely practical for ordinary household supply-line nuts because manufacturers commonly specify installation instructions rather than a universal field torque. If a product provides a torque value, use a crowfoot-compatible torque setup or follow the stated procedure exactly.
Should You Use Thread Tape or Pipe Compound?
Do not use PTFE thread tape on a supply-line nut that seals with an internal rubber washer. Tape can prevent the nut from seating fully, bunch up under the washer, contaminate the sealing face, and create a leak that appears to be caused by insufficient tightening.
Thread sealant is appropriate only when the connection is designed to seal through tapered pipe threads or when the fitting manufacturer specifically permits it. For NPT threads, wrap PTFE tape in the tightening direction so it does not unwind into the water passage, or use a compatible pipe-joint compound according to its label.
| Connection | Thread tape normally used? | Primary seal |
|---|---|---|
| Faucet hose to faucet shank | No | Internal rubber washer |
| Toilet hose to fill valve | No | Internal rubber washer |
| Hose to angle stop compression outlet | No | Internal rubber washer |
| NPT male adapter to female fitting | Often yes | Tapered pipe threads |
| Compression ferrule | No | Ferrule on tubing |
| Push-fit fitting | No | Internal O-ring |
The important distinction is between threads that clamp a separate seal and threads that provide the seal themselves. Adding tape to every plumbing connection treats different systems as though they were interchangeable.
What Are the Typical Sizes, Costs, and Service Life?
Common residential supply lines cost about $5-$20 and take 5-15 minutes to replace when the shutoff works and access is clear. Typical end combinations include 3/8-inch compression at an angle stop, 1/2-inch female threads or a faucet-specific inlet at the fixture, and 7/8-inch ballcock connections at many toilet fill valves.
Verify size by reading the old line’s packaging or measuring the fitting, rather than guessing from the hose diameter. Faucet connections vary by manufacturer, and a visually similar 1/2-inch fitting may use different thread standards or sealing surfaces.
| Application | Common connection size | Typical line length | Typical replacement price |
|---|---|---|---|
| Bathroom faucet | 3/8-inch compression to faucet inlet | 12-20 inches | $6-$18 |
| Kitchen faucet | 3/8-inch compression to faucet inlet | 20-30 inches | $8-$22 |
| Toilet fill valve | 3/8-inch compression to 7/8-inch ballcock | 9-16 inches | $5-$15 |
| Dishwasher | 3/8-inch compression or appliance fitting | 60-72 inches | $15-$35 |
| Washing machine | 3/4-inch hose thread | 4-6 feet | $12-$40 |
| Water heater | 3/4-inch threaded connector | 12-24 inches | $15-$45 |
Flexible braided lines do not have one universal replacement interval. Inspect them periodically and replace them sooner when the manufacturer specifies a service period, the environment is corrosive, or the hose has visible damage. A typical 5-10 year replacement practice is a maintenance guideline, not a guarantee that every line lasts exactly that long.
Why Over-Tightening Causes Leaks
Over-tightening can crack a plastic nut, cut a rubber washer, distort a ferrule, strip threads, or twist the valve and pipe assembly. The resulting leak may appear immediately or several hours later, after pressure changes and the damaged seal relaxes.
Rubber does not seal better indefinitely as compression increases. Once a washer is crushed or extruded from its seat, the sealing edge can lose contact with the fitting. A plastic nut can also split on its underside, where the damage is difficult to see while the line remains installed.
What does a slow drip reveal?
A slow drip usually indicates a damaged washer, uneven seating surface, cross-threading, a loose compression ferrule, or a fitting that moved during tightening. If a small corrective turn does not stop the drip, disassemble the connection instead of repeatedly tightening it.
A useful practitioner rule is to mark the original nut position with a pencil before loosening a suspicious connection. The mark does not establish torque, but it shows whether the nut has moved and helps reveal a stripped thread that rotates without advancing.
How Do You Fix a Connector That Still Leaks?
Turn off the water, remove the nut, dry and inspect every sealing surface, then replace the damaged washer or complete supply line. Reinstall the connector squarely and retest; if water still escapes from the valve body, fixture shank, or wall pipe, tightening the supply-line nut is not the correct repair.
| Symptom | Likely cause | Correct repair |
|---|---|---|
| Leak from nut edge | Twisted or damaged washer | Replace washer or entire line |
| Nut binds immediately | Cross-threaded fitting | Remove and restart by hand |
| Nut spins continuously | Stripped threads | Replace nut, line, or fitting |
| Leak from valve stem | Worn stem packing | Repair or replace shutoff valve |
| Water above the nut | Cracked fixture shank | Replace fixture or inlet part |
| Leak at copper tube | Loose or damaged compression joint | Rebuild compression connection |
| Push-fit seepage | Tube not fully inserted or scratched | Cut square, insert to depth, replace if damaged |
Do not cover a leaking joint with sealant from the outside. External caulk, epoxy, or tape does not restore the internal sealing geometry and can hide an active leak until cabinet damage becomes extensive.
Situational Variations
How do you tighten a toilet supply line?
Close the toilet’s angle stop, flush to lower pressure, and tighten the 3/8-inch compression-to-7/8-inch ballcock line by its nut, not by twisting the fill valve. Hold the angle stop body with a backup wrench if the valve moves, then open the valve slowly and check the floor around the tank.
Leave a gentle curve in the hose. A line pulled tight against the toilet can transfer movement to the valve and make future maintenance harder.
How do you tighten a faucet connector in a tight cabinet?
Use a flashlight to align the nut before reaching behind the basin, and rotate the nut by hand as far as possible before using an adjustable wrench. If access prevents a straight wrench position, a basin wrench may help, but do not use it to apply uncontrolled force to a plastic supply-line nut.
If the faucet shank turns while the hose nut is tightened, stop and stabilize the faucet or remove the faucet for proper access. A rotating shank can damage the faucet’s internal connection.
How do you tighten a washing-machine supply hose?
Close both laundry valves, inspect the flat rubber washers, hand-tighten each 3/4-inch hose-thread connection, and add only a small wrench turn if the manufacturer permits it. Keep the hoses free from sharp bends and leave enough length for vibration without allowing the hose to rub against the wall.
Washing-machine hoses experience vibration and repeated pressure changes. Replace a hose with bulges, rust at the crimp, abrasions, or hardened washers rather than trying to compensate with more force.
How do you install a push-fit supply line?
Cut compatible tubing squarely, remove burrs, mark the manufacturer’s insertion depth, and push the tube fully into the fitting until it reaches the internal stop. Pull the tube firmly by hand to confirm engagement, then pressurize slowly and inspect the O-ring area.
A push-fit fitting is not a substitute for correct tubing preparation. Scratched, oval, dirty, or incompletely inserted tubing can leak even when the external collet appears attached.
Common Mistakes and Recovery Steps
- Using pliers on a plastic nut: Stop if the flats begin rounding. Replace the tool with an adjustable wrench and protect the nut from side loading.
- Adding thread tape to a washer seal: Remove the tape, clean the threads, confirm the washer is present, and reinstall the dry connection.
- Tightening without a backup wrench: Shut off water and check whether the angle stop or wall pipe rotated. A hidden pipe movement may require access and professional repair.
- Reusing a flattened washer: Replace the washer or complete line. A compressed washer may leak again after the connection cools or pressure changes.
- Forcing a cross-threaded nut: Remove the nut and inspect both thread sets. Replace any fitting with flattened, missing, or visibly torn threads.
- Leaving the line under tension: Reroute or replace the line with the correct length. Supply lines should not support the fixture or pull sideways on the valve.
When Should You Replace the Line or Call a Plumber?
Replace the complete connector when the hose jacket is damaged, the end fitting is corroded, the washer is unavailable, or the line has been repeatedly overtightened. Call a licensed plumber when the shutoff will not close, the pipe in the wall moves, water emerges from the wall, a water-heater connection is actively spraying, or the repair requires cutting and rebuilding piping.
Water near electrical outlets, dishwashers, washing machines, or finished flooring deserves prompt action. Close the main shutoff if the local valve cannot control the leak, remove standing water, and do not leave the area unattended during testing.
A supply-line repair is a poor candidate for improvisation when the connection type is unclear. A correctly identified replacement line is cheaper than a damaged cabinet, flooded floor, or broken wall connection.
FAQ
Can I tighten a water supply line while water is flowing?
Do not loosen or retighten a conventional threaded supply line under pressure. Close the fixture shutoff first, relieve pressure by opening the fixture, and use the main shutoff if the local valve fails. Push-fit repairs may have product-specific procedures, but pressure isolation remains the safer general practice.
Why does my supply-line nut keep turning?
A nut that keeps turning without becoming tighter usually has stripped threads, an incorrectly sized connector, a missing washer, or a fitting that is not engaging. Remove the line and inspect the threads. Replace the damaged line or fitting rather than applying more force.
Can I reuse a supply-line connector after removing it?
Reuse is possible only when the manufacturer permits it and the line, threads, crimp, hose, and washer remain undamaged. In practice, a new $5-$20 flexible line is usually more reliable than reusing a washer that has already been compressed against a fitting.
Is a basin wrench the best tool for a supply-line nut?
An adjustable wrench is usually better for a visible supply-line nut because it grips the flats and provides controlled rotation. A basin wrench is useful where the nut is behind the sink basin, but its long handle can make over-tightening easier, especially on plastic fittings.
How can I tell whether a leak comes from the connector or the valve?
Dry the entire assembly, open the shutoff slowly, and watch the first point where moisture appears. Water at the nut indicates the supply-line seal; water from the valve stem indicates valve packing; water above the nut indicates the fixture shank or inlet. Tissue makes small leaks easier to locate.
How long should I monitor a newly tightened connector?
Inspect the joint for at least 60 seconds during the first pressure test, again after operating the fixture, and once more after several hours. Check hidden cabinet connections the next day. A dry tissue and dry surrounding surface provide stronger evidence than visual inspection alone.
The Bottom Line
To tighten water supply line connectors safely, identify the sealing system first, shut off and depressurize the line, align the nut by hand, support the valve body, and apply only the smallest wrench turn needed for a dry joint. Do not use thread tape on a rubber-washer connection, and replace a damaged seal or connector instead of forcing it tighter. When following how to tighten water supply line connectors, controlled alignment and leak testing matter more than maximum torque.