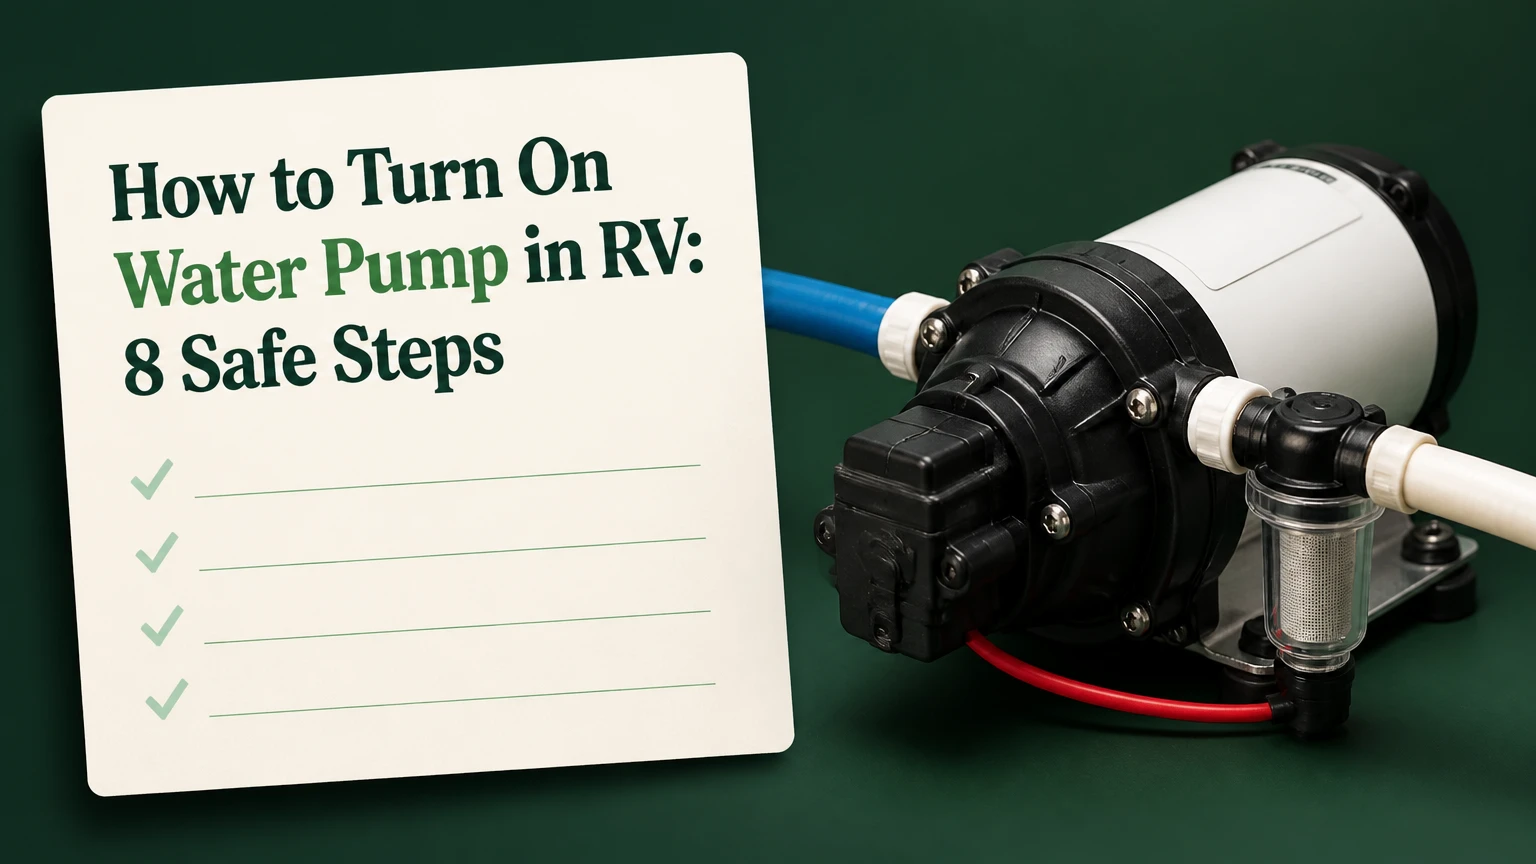
To turn on the water pump in RV plumbing, fill the fresh-water tank, confirm 12-volt house power, switch off or isolate city water as your manufacturer specifies, and press the pump switch. Open a cold faucet until air clears, then purge the hot side only after confirming the water heater contains water. The complete process usually takes 5-15 minutes.
Key Facts at a Glance
An RV water pump draws fresh water from the onboard tank when pressurized city water is unavailable.
Most RV pumps use 12-volt DC power and activate automatically when line pressure falls.
The pump should run briefly while building pressure, then stop when every fixture is closed.
Never operate an RV pump dry for an extended period, because the pump head depends on water for cooling and lubrication.
Keep the pump off while towing unless the RV manufacturer explicitly permits operation.
A pump that runs continuously with no water flow usually indicates an empty tank, suction-side air leak, blocked inlet strainer, or plumbing leak.
Before You Start
An RV water pump can be activated safely in about 5-15 minutes with no special tools, provided the fresh tank contains water and the house battery supplies stable 12-volt power. The most important preparation is preventing the pump from drawing air, because repeated dry running can overheat the motor and damage diaphragm or valve components.
| Item | Typical requirement | Why it matters |
|---|---|---|
| Fresh water | 25-50% tank level minimum | Prevents immediate air ingestion |
| Electrical supply | 12-volt DC, 11.5-14.5 volts typical | Powers the pump motor and control circuit |
| Pump fuse | 5-15 amperes, model dependent | Protects wiring during overload |
| Activation time | 5-15 minutes | Includes priming and line purging |
| Tools | Flashlight, towel, multimeter optional | Helps find leaks and test power |
| Water heater | Tank filled before hot-side use | Prevents dry-fire damage to heating elements |
Park the RV level enough for the tank pickup to remain submerged. Locate the fresh-tank fill port, the water-pump switch, the 12-volt fuse panel, and the pump itself if access is easy. A pump is often near the fresh tank, under a bed, behind a removable panel, or inside a utility compartment.
Close all faucets before activation. Check that the gray-tank and black-tank valves are closed, because an open drain can make water use appear to be a pump failure. If the RV has a winterization valve, confirm it is set to draw from the fresh tank rather than from the antifreeze pickup tube.
How the RV Water Pump Works
An RV water pump is a 12-volt demand pump with an internal pressure switch. The pump motor runs when pressure in the plumbing falls below its cut-in setting, then stops when pressure reaches its cut-out setting, commonly around 40-55 psi depending on the model.
Opening a faucet reduces pressure in the water lines. The pressure switch detects that reduction, starts the motor, and moves water from the fresh tank through the pump, distribution lines, water heater, and fixture. Closing the faucet allows pressure to rise again, so the switch stops the motor.
A demand pump does not normally run continuously during ordinary use. A brief run after activation is expected, while repeated starts with every small trickle indicate short cycling, a low-flow fixture, a leak, or an accumulator issue.
Most manufacturer manuals, including SHURflo and Flojet RV pump documentation, warn against prolonged dry operation. Self-priming capability does not mean unlimited dry running. It means the pump can usually remove a reasonable amount of air after water reaches the inlet.
Step-by-Step: How to Turn On Water Pump in RV
Step 1: Fill the Fresh-Water Tank
Add potable water through the labeled fresh-water fill port until the tank reaches a useful operating level. A quarter tank is usually enough for testing, but a low tank can uncover the pickup during braking, cornering, or shower use.
Do not fill through the city-water inlet. The city-water connection pressurizes the RV plumbing directly, while the fresh-tank fill port supplies the storage tank.
Success checkpoint: The monitor panel shows water above the pickup level, or water is visibly present at the tank through its inspection method.
Common mistake: Filling the wrong opening, such as the black-tank flush inlet or city-water port, can contaminate equipment or pressurize the tank incorrectly.
Step 2: Isolate the City-Water Supply
Turn off the campground spigot before switching to tank operation. Disconnect the city-water hose, or close the RV’s inlet isolation valve if the plumbing design allows both sources to remain connected.
Most RVs are designed to use either the fresh-water pump and tank or pressurized city water. Some installations include check valves or a pump bypass arrangement that prevents the pump from drawing from the city inlet, but the owner’s manual controls the correct procedure.
A pressure regulator is still recommended on city-water hookups. GoRVing and RV plumbing manufacturers commonly recommend regulating campground water because excessive inlet pressure can damage fittings, cartridges, or flexible hoses.
Success checkpoint: No external water pressure remains at the city inlet, and the pump’s suction line is connected to the fresh tank.
Common mistake: Assuming the pump must operate while connected to city water. In many RVs, it should remain off.
Step 3: Turn On the 12-Volt House Power
Switch on the RV’s battery disconnect or house-power master switch. Confirm that the battery is charged, or connect the RV to shore power with the converter operating.
A typical 12-volt RV pump draws approximately 3-7 amperes under ordinary full-flow conditions, while larger or variable-speed models can draw 8-12 amperes at maximum output. Low battery voltage may cause slow pumping, motor chatter, or failure of the pressure switch to close reliably.
Do not test exposed wiring around wet plumbing without isolating the circuit. If the pump is silent later, the first electrical checks are the battery disconnect, pump fuse, ground connection, and voltage at the pump terminals.
Success checkpoint: Interior lights or the monitor panel operate normally, and battery voltage is approximately 12.2 volts or higher with no charging source.
Common mistake: Turning on the pump while the battery disconnect remains off. The switch may illuminate on some panels even though the pump has no usable supply.
Step 4: Find the Water-Pump Switch
Look for a switch labeled Water Pump, Pump, or Fresh Water on the main control panel. Common locations include the panel beside the tank-level gauges, the bathroom wall, the kitchen control area, or the exterior service bay.
A secondary switch may be wired in parallel with the main switch. Therefore, one switch can show ON while another location appears OFF. Older travel trailers may use a basic rocker switch with no indicator light, while newer panels may use a digital display or multiplex control system.
Use the owner’s manual or manufacturer wiring diagram when labels are unclear. Do not confuse the fresh-water pump with a macerator pump, transfer pump, hydronic-heating pump, or water-heater circulation pump.
Success checkpoint: You have identified the switch that controls the potable-water pressure pump, not a wastewater or heating component.
Common mistake: Replacing a fuse because the switch has no light. Many pump switches have no built-in indicator.
Step 5: Switch the Pump On
Move the pump switch to ON. The pump may start immediately if the system is unpressurized, or it may remain silent until a faucet opens.
A healthy pump commonly runs for several seconds to about one minute while filling empty lines and building pressure. The exact time depends on line length, tank location, air volume, pump capacity, and whether the water heater is empty.
Listen near the pump for a steady motor sound. A harsh rattle can indicate loose mounting hardware, a vibrating inlet line, or a blocked strainer. A rapid click every few seconds is not a normal prime sequence.
Success checkpoint: The pump runs, water begins moving, and the motor stops after pressure builds or after a fixture is closed.
Common mistake: Leaving the pump switched on while searching for a problem. If no water appears after 30-60 seconds, switch it off and diagnose the cause.
Step 6: Prime the Cold-Water Lines
Open the cold side of the nearest faucet slowly. Let the air escape until the stream becomes smooth, then close the faucet and allow the pump to rebuild pressure.
Open fixtures one at a time, starting near the pump or fresh tank when practical. Include the kitchen faucet, bathroom faucet, shower, outside shower, and toilet valve. A faucet may sputter for several seconds as air leaves the line.
A steady stream confirms that the pump has water at its inlet and that the cold distribution system is filling. A pulsing stream can remain normal on a constant-speed diaphragm pump, but a completely dry stream after repeated attempts requires a stop and inspection.
Success checkpoint: Cold water flows without prolonged sputtering, and the pump shuts off within several seconds after the faucet closes.
Common mistake: Opening every faucet simultaneously. That increases air noise and makes it harder to identify a blocked branch or leaking fixture.
Step 7: Purge the Hot-Water Lines
Confirm that the water heater tank is full before opening hot faucets. The safest check is to open the heater’s pressure-relief lever briefly or remove the hot-water outlet connection only when the heater is cool and depressurized, following the appliance manual.
Once the heater contains water, open each hot faucet until air clears. If the heater is bypassed for winter storage, do not expect hot water, and do not repeatedly run the heater to solve a bypass setting.
Never energize an electric water-heater element with an empty tank. Suburban and Atwood, now under Dometic, manuals identify an empty tank as a dry-fire risk that can destroy the element rapidly.
Success checkpoint: Hot water flows steadily, the heater bypass is in the correct operating position, and no water appears around the heater compartment.
Common mistake: Activating the electric heater before purging air. The pump can pressurize the plumbing while the heater tank remains empty.
Step 8: Confirm Automatic Standby Operation
Close every faucet and wait for the pump to stop. The pump should remain silent while the plumbing holds pressure, then restart automatically when a faucet opens or the toilet valve is flushed.
Leave the pump on during normal tank-water use only when you are present and able to notice abnormal cycling. Turn it off before towing, before leaving the RV unattended, and whenever a leak could cause significant water damage.
A pump that restarts once after closing a faucet may simply be completing pressure recovery. Repeated starts every few minutes indicate a leak, a faulty check valve, a leaking toilet valve, or pressure loss at a fitting.
Success checkpoint: The pump stops completely and remains off for at least 5 minutes with all fixtures closed.
Common mistake: Treating silence as failure. Silence after pressure builds is the intended standby condition.
What Are the Main RV Pump Types?
RV water pumps differ mainly in flow rate, pressure control, current draw, noise, and low-flow behavior. A standard fixed-speed diaphragm pump is adequate for one shower or sink, while a variable-speed pump better handles long showers and simultaneous fixtures.
| Pump type | Typical flow and pressure | Typical current | Best use |
|---|---|---|---|
| Fixed-speed diaphragm | 2.8-3.5 GPM, 40-55 psi | 3-7 A | Travel trailers and single-fixture use |
| Variable-speed diaphragm | 3.4-5.3 GPM, 45-65 psi | 2-12 A | Full-time use and low-flow comfort |
| High-flow diaphragm | 4.0-5.5 GPM, 50-60 psi | 7-12 A | Large RVs with multiple fixtures |
| 120-volt booster pump | 3-6 GPM, model-specific | 2-8 A at 120 V | Specialized residential-style systems |
Pump ratings are not the same as guaranteed shower pressure. A 5.0-GPM label describes potential flow under a stated pressure condition, while restrictive filters, small tubing, clogged aerators, elevation, and a weak battery reduce actual delivery.
A larger pump is also not automatically better. High flow drains the fresh tank faster and can overload undersized wiring or a marginal battery bank. Match the replacement pump’s voltage, fuse requirement, pressure rating, inlet and outlet size, and mounting orientation to the RV system.
Which Pump Specifications Matter?
The most important replacement specifications are nominal voltage, cut-in and cut-out pressure, gallons per minute, maximum current, and serviceability. The pump’s pressure setting must remain compatible with the RV manufacturer’s plumbing, fixtures, filter, and water heater.
| Specification | Typical RV range | Practical consequence |
|---|---|---|
| Operating voltage | 12 V DC | Requires house battery and protected wiring |
| Flow rating | 2.8-5.5 GPM | Affects shower recovery and simultaneous use |
| Cut-out pressure | 40-65 psi | Determines when the pump stops |
| Full-load current | 3-12 A | Determines fuse and battery demand |
| Inlet strainer | 50-100 mesh typical | Catches tank debris before valves |
| Direct replacement time | 30-90 minutes | Depends on access and fittings |
The 45-65 psi range is a typical pump-rating range, not a universal safe limit for every RV. RV plumbing components have different pressure ratings, and the weakest component sets the practical limit. Follow the pump, water heater, filter, and RV manufacturer instructions rather than choosing pressure by the pump label alone.
Manufacturers commonly recommend an inlet strainer. The strainer protects small diaphragm valves from tank sediment, but a clogged screen can also create a suction restriction that makes a good pump sound defective.
How Does the Pump Compare With City Water?
City water provides pressure from an external supply, while an RV pump creates pressure from the fresh tank. City water saves battery power and tank capacity, whereas the pump enables self-contained operation at dry campsites.
| Operating source | Water supply | Pump switch | Battery effect | Main risk |
|---|---|---|---|---|
| Campground city water | Pressurized hose | OFF usually | Minimal | Excess inlet pressure |
| Fresh tank while parked | Onboard tank | ON | 3-12 A during flow | Leak can empty tank |
| Fresh tank while towing | Onboard tank | OFF | No pump use | Unnoticed plumbing damage |
| Winterized RV | Antifreeze or empty lines | OFF | None | Freeze or dry-fire damage |
Some RVs include a pressure-regulating or check-valve arrangement that permits the pump to remain available during a city-water connection. Others can allow the pump to draw from the tank if inlet pressure falls. The correct choice depends on the plumbing diagram, so the safest default is to turn the pump off on city water unless the manual says otherwise.
An external regulator does not make a city connection identical to pump operation. A regulator controls incoming pressure, but it does not supply water when the campground line is disconnected or dry.
Common Mistakes and How to Fix Them
| Symptom | Most likely cause | First recovery action | Stop condition |
|---|---|---|---|
| Pump runs continuously, no water | Empty tank or suction air leak | Refill tank and inspect inlet joints | Stop after 30-60 seconds dry |
| Pump is silent | Fuse, disconnect, switch, or wiring | Measure voltage at pump terminals | Stop if wiring overheats |
| Pump cycles every few minutes | Plumbing leak or check valve | Inspect fixtures, toilet, heater, and drain | Turn pump off if water damage appears |
| Rapid clicking at low flow | Fixed-speed pump behavior | Open faucet farther or add accumulator | Replace if pressure remains poor |
| Good pump sound, weak flow | Clogged strainer or aerator | Clean inlet screen and fixture screen | Stop if tank debris returns |
| Pump vibrates loudly | Loose mount or rigid tubing | Tighten mounts and support lines | Stop if motor binds |
Why Does an RV Pump Run but Produce No Water?
An RV pump that runs without producing water usually has an empty tank, an air leak on the suction side, a closed tank valve, a clogged inlet strainer, or a damaged pump head. Refill the tank, verify valve positions, tighten inlet fittings, clean the strainer, and retry for no more than 30-60 seconds.
Suction-side leaks are especially deceptive because they may not drip water. A loose threaded fitting can admit air while the pump pulls water, leaving the floor dry. Inspect the tank outlet, flexible inlet hose, strainer lid, O-ring, and pump inlet fitting.
If the pump primes only when the inlet is manually flooded, the suction line may be cracked or the pump may have worn valves. Repeated dry cycling will not cure that condition.
Why Does the Pump Keep Cycling?
Repeated pump cycling with closed fixtures indicates pressure loss. Common causes include a dripping faucet, leaking toilet valve, shower diverter, water-heater relief valve, external drain, loose fitting, or a pump check valve that does not hold pressure.
A fixed-speed pump can also cycle rapidly when a faucet is barely open. Opening the faucet farther often stops the behavior because the pump reaches a stable flow condition. An accumulator tank can reduce starts by storing a small volume of pressurized water, but it cannot repair a leak.
To isolate the source, turn off every fixture, watch the pump, then close the pump outlet valve if the RV has one. If cycling stops after the outlet is isolated, investigate the distribution plumbing. If cycling continues, inspect the pump check valve and pressure switch.
What If the Pump Does Not Turn On?
A silent pump requires an electrical and control diagnosis before replacement. Check the battery disconnect, house-battery voltage, pump fuse, ground wire, switch continuity, and voltage at the pump while the switch is ON.
| Test point | Typical result | Interpretation |
|---|---|---|
| House battery at rest | 12.2-12.7 V | Usable charged-battery range |
| Pump supply with switch ON | Within 0.3 V of battery | Wiring likely adequate |
| Fuse continuity | Near 0 ohms | Fuse is intact |
| Pump current while running | 3-12 A typical | Motor is receiving load |
A blown fuse is a symptom, not a diagnosis. Replace it only with the same amperage rating shown by the RV or pump manufacturer. A larger fuse can allow overheated wiring to remain energized.
If full voltage reaches the pump but the motor remains silent, the pressure switch or motor may have failed. Disconnect power before opening the pump head.
Safe Use in Different RV Situations
Boondocking Without Hookups
For boondocking, fill the fresh tank, switch on the pump only when using tank water, and monitor both tank level and battery voltage. A 3-5 GPM pump can move more water than expected, so a long shower may consume several gallons even when the motor runs for only a few minutes.
Use low-flow faucet aerators and repair drips before departure. A variable-speed pump may reduce cycling and noise, but it does not eliminate water consumption.
Connected to Campground Water
On a regulated city-water connection, leave the pump off in most RVs. Use a potable-water hose, a sediment filter if appropriate, and a pressure regulator set within the RV manufacturer’s stated limit.
If the campground supply is weak, do not assume the pump should supplement it. Some systems allow that arrangement, but many do not isolate the two sources correctly. Check the plumbing manual before combining supplies.
Preparing to Tow
Turn the pump off before moving the RV and close the city-water spigot. Inspect the wet bay, faucets, toilet, showerhead, and water-heater compartment for leaks.
Leaving the pump on while towing can empty the fresh tank if vibration opens a faucet or loosens a fitting. The same failure can flood a cabinet before anyone notices.
Winterizing and Storage
Turn off the pump, drain the fresh tank, open low-point drains, drain the water heater separately, and follow the RV manufacturer’s antifreeze procedure. Never send automotive antifreeze through potable plumbing.
A bypass valve can leave water trapped in the heater or pump inlet. Confirm that the pump head, strainer, and suction line are drained or protected according to the pump manual.
How Much Does an RV Pump Replacement Cost?
A typical direct replacement costs about $60-$250 for the pump and takes 30-90 minutes, while a service-center installation can add approximately $100-$300 in labor depending on access and regional rates. Strainers, fittings, hose, and a replacement fuse may add $10-$40.
| Replacement scope | Typical parts cost | Typical labor time | Suitable when |
|---|---|---|---|
| Fuse or switch repair | $2-$35 | 10-30 minutes | Pump has no power |
| Strainer and fitting service | $10-$40 | 20-45 minutes | Flow is restricted |
| Fixed-speed pump swap | $60-$120 | 30-60 minutes | Original pump failed |
| Variable-speed upgrade | $150-$300 | 45-90 minutes | Noise and cycling need reduction |
Use the original pump label as the starting point. A replacement with higher pressure can exceed the rating of a filter, accumulator, water heater, or fitting, while a lower-flow pump may produce disappointing shower performance.
Replacement is preferable to repair when the motor, diaphragm, or pressure switch has failed and the pump is several years old. Cleaning a strainer or tightening an inlet fitting is preferable when the pump still reaches pressure and has no mechanical noise.
FAQ
Can I Leave the RV Water Pump On Overnight?
You can leave an RV water pump on while occupying the RV and using fresh-tank water, but switching it off overnight reduces flooding risk. A small leak can cause the pump to cycle repeatedly and empty the tank. Turn the pump off when leaving, towing, or sleeping if the plumbing has a history of leaks.
Does an RV Water Pump Use Much Battery Power?
An RV water pump usually draws about 3-7 amperes while running, with larger variable-speed models reaching 8-12 amperes at maximum output. Because the pump runs intermittently, total consumption depends on water use rather than time switched on. Long showers and repeated flushing consume both battery energy and fresh water.
Can I Use the Pump With a Low Fresh-Tank Level?
An RV water pump can operate with a low tank level only while the pickup remains submerged. Braking, turning, or parking on a slope can expose the pickup and introduce air. Refill the tank before troubleshooting a pump that suddenly loses prime or produces sputtering flow.
Why Is My RV Shower Pressure Lower Than the Pump Rating?
RV shower pressure can be lower than the pump’s advertised rating because the rating is measured under specified test conditions. A clogged strainer, low battery voltage, restrictive filter, small tubing, dirty shower screen, or long plumbing run can reduce delivered flow and pressure at the showerhead.
Should I Install an Accumulator Tank?
An accumulator tank is useful when a fixed-speed RV pump cycles rapidly at low flow or creates pulsating pressure. The tank stores a small pressurized volume and reduces motor starts. It will not fix an empty tank, suction leak, blocked strainer, faulty check valve, or damaged pressure switch.
The Bottom Line
To turn on water pump in RV plumbing, fill the fresh tank, isolate city water, restore 12-volt house power, switch on the potable-water pump, and purge cold and hot lines safely. The pump should stop after pressure builds and remain silent with fixtures closed. Turn it off for towing, unattended storage, city-water use when required, and winterization.