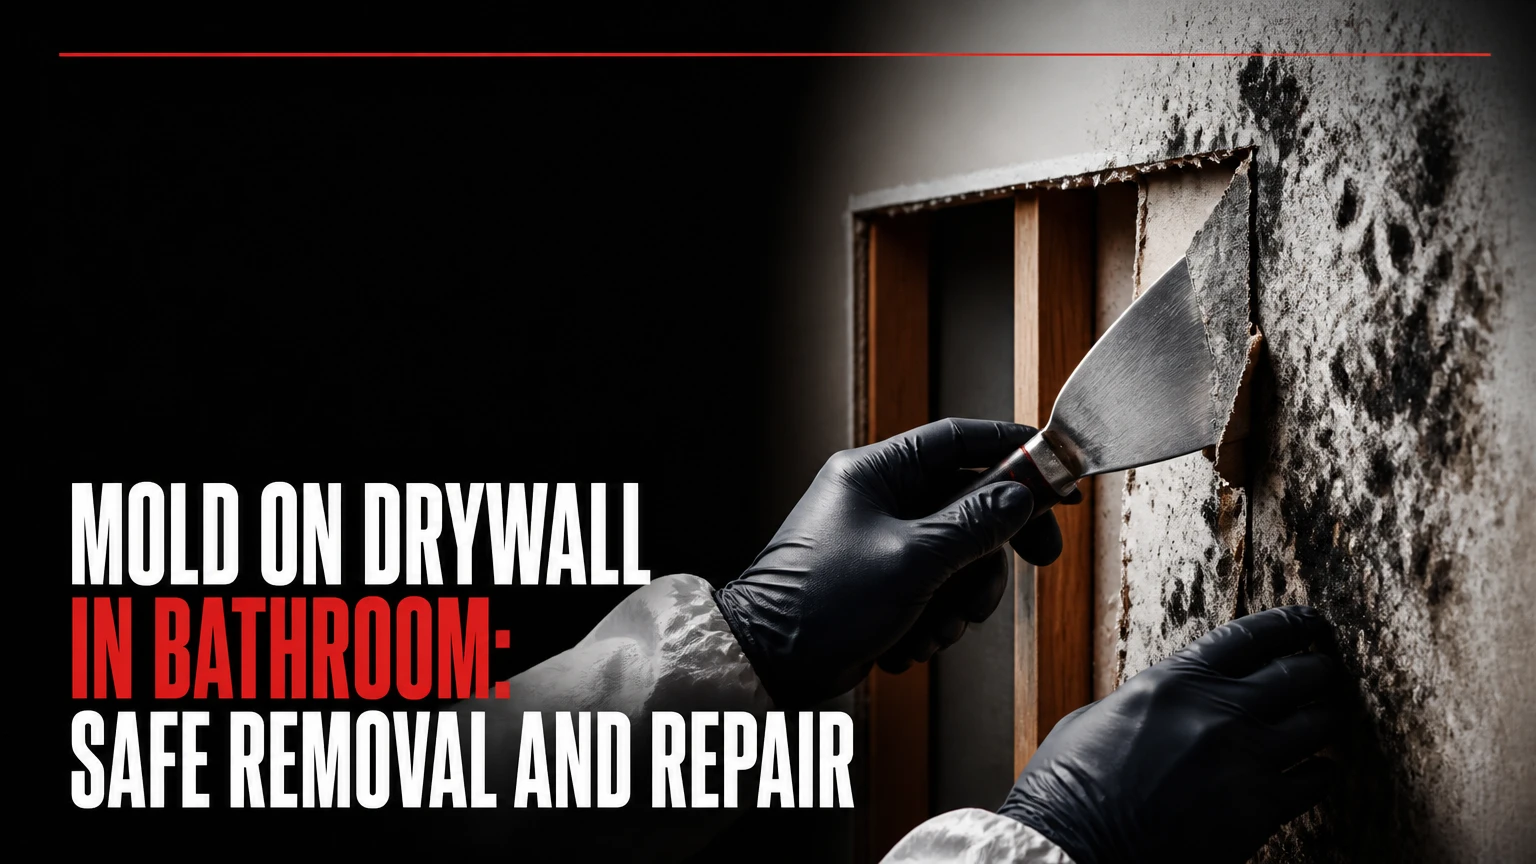
Mold on drywall in bathroom areas is fungal growth caused by persistent moisture from condensation, leaks, shower water, or inadequate ventilation. Small areas on firm, painted drywall may be cleaned and dried, but swollen, soft, crumbling, repeatedly affected, or hidden drywall usually requires removal and replacement rather than surface treatment.
Key facts at a glance
- Bathroom mold grows because drywall paper contains cellulose and remains damp long enough for spores to germinate.
- The EPA recommends considering professional help when the affected area exceeds about 10 square feet, with additional exceptions for contaminated water, HVAC systems, and vulnerable occupants.
- Mold color cannot reliably identify species, toxicity, or health risk; laboratory analysis is required for species identification.
- Porous drywall with deep growth, paper delamination, swelling, or soft gypsum is generally not restorable through spraying alone.
- Bleach is unsuitable for routine mold removal from drywall because porous gypsum and paper cannot be reliably disinfected by surface application.
- Bathroom humidity should generally remain below 60%, with approximately 30-50% relative humidity preferred when practical.
What causes mold on drywall in bathroom rooms?
Bathroom drywall mold develops when moisture remains in the wall or on its paper surface long enough to support fungal growth. Common sources include shower condensation, a leaking supply line, failed plumbing seals, wet bath mats, cracked caulk, roof leaks, and an exhaust fan that moves too little air.
The visible patch is often a moisture map. Mold near a ceiling may indicate warm, humid air condensing on a cold surface, while mold beside a shower valve or toilet often points toward plumbing leakage. Growth at the bottom of a wall can result from splashback, a failed shower pan, or water wicking through flooring.
The EPA states, “The key to mold control is moisture control.” That principle matters more than the product used for final cleaning. Removing visible staining without correcting the water source normally produces recurrence.
How does bathroom moisture feed drywall mold?
Drywall contains a gypsum core between paper facings. The gypsum itself provides limited food, but the paper facing supplies cellulose and other organic material that fungi can colonize. Relative humidity above 60% increases risk, although direct wetting can support growth at lower room humidity.
A 24-48 hour period is a useful emergency-drying target after a leak, not a universal biological deadline. Temperature, material type, airflow, existing contamination, and the amount of water determine how quickly growth develops. EPA and CDC guidance focuses on drying wet materials promptly rather than promising that mold always appears after a fixed number of hours.
Where should you look for hidden moisture?
Inspect the opposite side of the wall when accessible, the ceiling below an upper bathroom, the vanity cabinet, pipe penetrations, shower valve, toilet supply connection, and exhaust fan duct. A musty odor with no visible patch increases suspicion of growth behind drywall or inside damp insulation.
A pin-type moisture meter can help compare suspect drywall with a dry area of the same material, but a meter does not identify mold and cannot locate every leak. A plumber or building professional should investigate recurring moisture around concealed plumbing.
What does bathroom drywall mold look like?
Bathroom mold may appear as black, green, gray, brown, white, or olive spotting, with textures ranging from powdery to velvety. Color is not a reliable method for identifying Stachybotrys, Aspergillus, Penicillium, Cladosporium, or any other species, and visual inspection cannot determine whether a colony produces mycotoxins.
The most useful diagnostic attributes are location, texture, spread, odor, and substrate condition. Surface spotting on intact paint is a different remediation problem from a swollen wall with mold behind bubbling paint.
Common mold appearances and what they suggest
| Appearance or location | Possible explanation | Immediate inspection | Typical response |
|---|---|---|---|
| Black or dark green patch on paper | Multiple species can look dark | Check softness and moisture | Clean firm surface or remove damaged drywall |
| Green or blue velvety spots | Common indoor fungi, including Penicillium or Aspergillus | Check ventilation and condensation | Moisture correction plus cleaning or replacement |
| Brown or olive spots in a corner | Cladosporium is one possibility | Compare cold-surface condensation | Improve airflow and clean if substrate is sound |
| Yellow-brown ceiling stain | Water damage beneath paint | Inspect attic, roof, plumbing, or upper floor | Repair leak, dry cavity, replace compromised material |
| Musty odor without visible growth | Hidden wall, insulation, cabinet, or duct contamination | Inspect adjacent spaces and duct termination | Professional investigation if source remains unknown |
Testing is usually unnecessary before ordinary cleanup. CDC guidance notes that mold color does not indicate danger, and routine sampling rarely changes the need to remove moisture and contaminated porous material. Testing becomes more useful when a dispute, medical investigation, post-flood assessment, or large concealed area requires documentation.
Is mold on drywall in bathroom dangerous?
Bathroom mold can aggravate allergies, asthma, eczema, and respiratory symptoms, but the health risk cannot be judged from color alone. People with asthma, severe allergies, immune suppression, chronic lung disease, infants, and older adults should avoid participating in mold cleanup and should discuss symptoms with a healthcare professional.
Most household remediation decisions are exposure-control decisions rather than species-identification exercises. The practical goals are to prevent spore dispersal, remove damaged material, dry the building, and stop recurrence.
Leave the room and obtain professional advice when occupants experience breathing difficulty, when the contamination followed sewage or floodwater, or when mold affects an HVAC system. Do not use an N95 mask as permission to undertake work that exceeds your training or the equipment’s limitations.
Can you clean mold from drywall?
You can clean a small amount of surface growth from painted drywall when the wall is firm, flat, intact, and free of swelling or paper separation. You should remove drywall when the gypsum is soft, the paper is delaminated, the wall has absorbed contaminated water, or mold extends behind the facing.
The EPA’s commonly used 10-square-foot benchmark helps homeowners decide when to seek professional guidance, but area alone is not the only criterion. A 4-square-foot patch inside a wall cavity can be more difficult than a 9-square-foot surface patch, and sewage contamination changes the risk profile immediately.
Surface cleaning versus drywall replacement
| Condition | Area example | Substrate state | Recommended action | Typical duration |
|---|---|---|---|---|
| Specks on painted wall | 1-4 sq ft | Firm, intact paint | Detergent cleaning and complete drying | 1-3 hours |
| Broad surface staining | 5-10 sq ft | Firm but porous paper exposed | Professional assessment or cautious small-area cleanup | 2-6 hours |
| Bubbling paint | 1-6 sq ft | Damp or delaminated paper | Remove affected drywall after leak repair | 1-2 days |
| Soft or crumbling panel | Any size | Gypsum weakened | Cut out and replace material | 1-3 days |
| Mold behind wall | Any size | Hidden cavity or insulation affected | Open, dry, and assess cavity | 2-5 days |
| Sewage or flood contamination | Any size | Potentially contaminated material | Professional remediation | Variable |
How do you remove mold on drywall in bathroom areas?
Remove small surface mold by correcting the moisture source, isolating the work area, wearing suitable PPE, cleaning with detergent and water, physically wiping the surface, and drying the wall completely. For soft, swollen, crumbling, or concealed growth, remove the affected drywall and contaminated porous materials instead of trying to sterilize them in place.
Before you start
| Requirement | Typical specification | Why it matters |
|---|---|---|
| Work area | Under 10 sq ft, firm drywall | Small, accessible surface contamination |
| PPE | N95 or better respirator, goggles, nitrile gloves, washable clothing | Reduces inhalation and skin or eye contact |
| Cleaning solution | Mild detergent with water, mixed according to label | Removes spores and organic residue physically |
| Equipment | Plastic sheeting, disposable towels, bags, scraper, utility knife | Controls debris and supports removal |
| Drying | Exhaust to outdoors or dehumidifier, 24-72 hours as needed | Prevents immediate recurrence |
| Stop condition | Soft drywall, hidden growth, sewage, HVAC contamination | Requires escalation rather than continued DIY work |
Step 1: Stop the moisture source
Repair the plumbing leak, failed caulk, roof defect, shower enclosure, or ventilation problem before cleaning. Do not close a damp wall behind new drywall or paint, because trapped moisture can continue damaging framing and insulation.
Run the bathroom exhaust fan during normal shower use if it vents outdoors, and verify the exterior damper opens. During dusty removal work, keep central HVAC from pulling contaminated air through the home; do not assume a bathroom fan provides complete containment.
Success checkpoint: The leak is repaired, condensation has stopped, and the wall is no longer gaining moisture.
Common mistake: Cleaning a stain while the shower valve or pipe continues leaking inside the wall.
Step 2: Isolate and protect the area
Close the bathroom door and keep children, pets, and vulnerable occupants away. Cover nearby fixtures with disposable plastic, turn off central air circulation if practical, and avoid actions that create turbulence, such as dry brushing, sanding, or using a household vacuum without HEPA filtration.
If the bathroom has a window, controlled outward airflow can help during removal, but an improvised fan should not blow across the mold or toward another room. Negative pressure is best created and verified by trained remediation personnel.
Success checkpoint: Plastic, waste bags, and cleaning supplies are ready before the contaminated surface is disturbed.
Common mistake: Carrying uncovered moldy drywall through living spaces.
Step 3: Decide whether to clean or cut out the drywall
Press the wall gently with a gloved finger or the blunt handle of a tool. A firm panel with intact paper may support surface cleaning; a soft, spongy, swollen, stained-through, or crumbling panel should be removed.
Do not sand moldy drywall. Sanding releases spores and rarely restores a paper facing that has already delaminated. Probe cautiously around the visible patch and inspect the cavity when water damage suggests growth behind the panel.
Success checkpoint: The entire affected substrate, not only the visible color, has been classified as sound or damaged.
Common mistake: Treating bubbling paint as a paint problem when the drywall core is wet.
Step 4: Clean firm surface growth
Mix mild detergent and water according to the detergent label. Wipe the contaminated area with damp disposable towels, working from the outside toward the center, and change towels when they become visibly soiled.
A registered fungicidal product may be used exactly as its label directs. Vinegar is not a universal disinfectant, and bleach is a poor choice for drywall because the material is porous; never mix bleach with vinegar, ammonia, or acidic cleaners.
Do not saturate the wall. Excess water can migrate into the paper and gypsum, converting a cleanable surface into a replacement project.
Success checkpoint: Visible residue is removed, the surface is intact, and no damp boundary remains around the cleaned area.
Common mistake: Spraying heavily and assuming chemical contact replaces physical removal.
Step 5: Remove damaged drywall
Mark a rectangular cut that extends beyond all visibly damaged and soft material, while checking for wiring and plumbing before cutting. The correct boundary is determined by sound, dry material and cavity findings, not by an arbitrary 12-inch extension in every case.
Cut the panel carefully, place pieces directly into heavy plastic bags, and seal them before carrying them out. Inspect studs, insulation, vapor-control layers, and the back of adjacent drywall for moisture or growth.
Wood framing can often be cleaned and dried when structurally sound. Wet or moldy insulation and porous debris generally require removal.
Success checkpoint: The cavity is accessible, the leak is repaired, and framing moisture is trending downward.
Common mistake: Closing the opening before the wall cavity has dried.
Step 6: Dry, repair, prime, and repaint
Use ventilation, a dehumidifier, or professional air movers to dry the cavity. Drying time varies from approximately 24-72 hours for minor water exposure to several days for saturated framing or insulation; confirm dryness with comparative moisture readings and visual inspection.
Install replacement material appropriate to the location. Tape and finish the joints, apply a stain-blocking primer after the substrate is dry, and use a washable bathroom coating. Antimicrobial paint does not compensate for a leak or permanently protect wet drywall.
Success checkpoint: The repair area is dry, odor-free, firm, and free of active moisture before painting.
Common mistake: Painting over discoloration that still feels cool, damp, soft, or swollen.
Which drywall is best for a humid bathroom?
Fiberglass-faced or other paperless gypsum panels are generally more resistant to mold food sources than standard paper-faced drywall, while cement backer board is preferred behind tile in wet areas. Moisture-resistant “greenboard” is useful in some damp locations, but it is not waterproof and should not replace a properly waterproofed shower assembly.
Material choice must follow exposure. A wall outside the shower has different requirements from a shower niche, ceiling, or tiled wet zone.
| Wall material | Paper content | Water resistance | Suitable location | Typical material cost |
|---|---|---|---|---|
| Standard gypsum board | Paper-faced | Low | Dry bathroom wall away from wet areas | $12-$20 per 4×8 sheet |
| Moisture-resistant greenboard | Paper-faced treated core | Moderate, not waterproof | Damp walls outside direct spray | $15-$30 per 4×8 sheet |
| Fiberglass-faced gypsum | Paperless face | High surface resistance | Humid ceilings and bathroom walls | $25-$45 per 4×8 sheet |
| Cement backer board | No paper face | High, requires waterproofing system | Tiled shower walls and wet zones | $15-$35 per 3×5 sheet |
| Waterproof foam board | Foam-faced | Very high within system | Shower niches and direct wet areas | $40-$100 per panel |
Fiberglass-faced drywall is not a substitute for waterproofing membranes, sealed penetrations, or correct shower-pan construction. Cement board can absorb water through joints and edges unless the complete tile assembly is waterproofed.
How much does bathroom drywall mold remediation cost?
Typical DIY surface cleanup costs $30-$150 for PPE, detergent, plastic, towels, disposal supplies, and primer. Professional remediation commonly costs $500-$3,000 for localized work, while concealed water damage, extensive demolition, structural drying, or reconstruction can raise the total substantially.
Prices vary by region, access, containment requirements, disposal rules, and whether a plumber or rebuilding contractor is needed. The following ranges are planning estimates, not guaranteed quotes.
| Project type | Typical labor and materials | Typical duration | Main cost driver |
|---|---|---|---|
| Firm surface patch under 10 sq ft | $30-$150 DIY | 1-3 hours | PPE and coating supplies |
| Small drywall cutout and patch | $150-$600 | 1-2 days | Drying, finishing, repainting |
| Professional localized remediation | $500-$3,000 | 1-4 days | Containment and disposal |
| Hidden cavity with insulation | $1,000-$5,000+ | 2-7 days | Demolition and structural drying |
| Shower or plumbing rebuild | $2,000-$10,000+ | 3 days to several weeks | Waterproofing and reconstruction |
What determines the repair timeline?
Drying controls the schedule more than scrubbing does. Surface cleaning may take less than one afternoon, but drywall replacement requires moisture-source repair, cavity drying, patching compound cure time, primer, and finish coats.
A practical sequence is one day for controlled demolition and drying setup, 24-72 hours for drying, then one or more days for reconstruction. Hidden leaks can extend the project because the source must be located before cosmetic work begins.
How can you prevent mold from returning?
Prevent recurrence by controlling humidity, exhausting shower moisture outdoors, drying splash-prone surfaces, maintaining caulk and grout, and repairing leaks promptly. A bathroom exhaust fan should run during bathing and for about 20-30 minutes afterward, although the correct duration depends on room size, fan capacity, climate, and duct design.
The U.S. Department of Energy recommends selecting bathroom exhaust equipment according to room size and installing ducts that terminate outdoors, not in an attic or wall cavity. A timer switch improves consistency because occupants often turn fans off too soon.
| Prevention measure | Target or specification | Inspection frequency | Failure sign |
|---|---|---|---|
| Relative humidity | Preferably 30-50%, below 60% | Daily during humid season | Condensation on mirror or wall |
| Fan operation | During shower and 20-30 minutes after | Monthly tissue or airflow check | Weak airflow or silent damper |
| Fan duct termination | Outdoors with insulated, sealed duct | Yearly | Damp attic or blocked exterior flap |
| Caulk and grout | Continuous, uncracked seal | Every 3-6 months | Dark line beside tub or shower |
| Leak checks | Supply valves, trap, toilet, shower | Every 6-12 months | Staining, odor, swollen trim |
| Surface drying | Wipe standing water after use | Each shower | Wet wall or bath mat for hours |
Expert rule: measure humidity at the wall, not only across the room
A room can show 45% RH while a cold exterior corner reaches a dew point that supports condensation. Thermal bridges, poorly insulated plumbing walls, and bathroom ceilings can create localized dampness that a central hygrometer misses.
Expert rule: the exhaust fan needs a complete airflow path
A powerful fan cannot move its rated air volume if the bathroom door is tightly sealed at the threshold. Leave an undercut or transfer path, inspect the duct for kinks, and confirm the exterior damper opens.
Expert rule: “mold-resistant” paint is a finish, not remediation
Mold-resistant coatings can reduce growth on a clean, dry surface, but they cannot penetrate or repair contaminated drywall. Applying paint before drying traps the diagnostic evidence and may cause blistering or renewed odor.
What mistakes make bathroom drywall mold worse?
Several popular cleanup methods increase damage or disguise the source. The most serious errors involve adding water to porous drywall, disturbing colonies without containment, or treating a recurring stain as a cosmetic defect.
- Painting over active growth: Paint may hide the stain temporarily while moisture and fungal material remain underneath. Remove or clean the substrate first.
- Using bleach on drywall: Bleach can whiten the face but does not reliably penetrate porous paper and gypsum. Use physical cleaning or remove unsalvageable material.
- Sanding or dry scraping: These actions aerosolize spores and damage the paper facing. Use damp wiping for firm surfaces and controlled removal for damaged panels.
- Ignoring the cavity: A clean front face can conceal wet insulation, framing, or the back of the drywall.
- Running contaminated air through HVAC: Central circulation can distribute particles to other rooms. Isolate the work area and seek professional containment for larger jobs.
- Using a household vacuum: Standard vacuums can exhaust fine particles back into the room. A properly equipped HEPA vacuum is more appropriate when vacuuming is necessary.
- Relying on a mold test kit: A test cannot establish a universally safe spore level or replace moisture correction and material assessment.
When should you hire a mold professional?
Hire a qualified remediation contractor when visible growth exceeds approximately 10 square feet, mold is inside wall cavities, contaminated water was involved, the HVAC system may be affected, or occupants are medically vulnerable. Professional help is also appropriate when the source remains unknown after basic inspection or when the same patch returns.
A useful contractor should explain containment, removal boundaries, drying verification, waste handling, and reconstruction separately. Ask whether the company performs both remediation and testing, because an independent assessor may provide a less conflicted evaluation for insurance or tenancy disputes.
Special situations that require different handling
- Sewage or floodwater: Porous drywall may contain bacteria and other contaminants. Avoid DIY demolition unless local health guidance supports it.
- Pre-1980 construction: Cutting, sanding, or removing old joint compound, textured ceilings, or flooring may disturb asbestos. Lead paint can also require regulated precautions.
- Mold in ductwork: Do not fog or spray household chemicals into HVAC ducts. Obtain an HVAC and remediation assessment.
- Rental property: Photograph the area, record dates and odors, and notify the landlord or property manager in writing before removing material.
- Repeated ceiling growth: Check the roof, attic insulation, plumbing from the floor above, and duct termination rather than repeatedly repainting.
FAQ
Can I leave moldy drywall in place if the mold is dead?
No. Dead mold can still contain allergens and fragments that irritate occupants, and dead material remains a moisture indicator. If drywall is soft, swollen, delaminated, or contaminated by sewage, removal is usually more reliable than attempting to prove that growth is inactive.
Will a dehumidifier remove bathroom mold?
A dehumidifier reduces humidity and helps prevent recurrence, but it does not remove established mold from drywall. Use a dehumidifier while repairing the moisture source and drying the building, then clean sound surfaces or replace damaged porous material.
Should I open a bathroom window during mold cleanup?
A window can help exhaust air outdoors when airflow is controlled and does not blow spores through the home. Do not direct a fan across the colony, and avoid relying on an open window for large, hidden, or contaminated remediation work.
Can mold grow behind bathroom tiles?
Yes. Failed grout, cracked caulk, plumbing leaks, and inadequate waterproofing can wet the backer board or wall cavity behind tile. Surface tile cleaning cannot correct a saturated substrate, so recurring odor, loose tiles, or staining may require selective demolition.
Do I need a mold inspection before replacing drywall?
Not usually for a small, visible, uncomplicated patch with a known leak. An inspection becomes useful when the source is hidden, the area is extensive, symptoms are disputed, the property is being sold, or multiple rooms show unexplained odor or growth.
Is greenboard enough for a shower wall?
No. Greenboard is moisture-resistant, not waterproof, and it is generally unsuitable as the sole substrate in direct shower wet zones. Use a compatible waterproof backer-board and membrane system that follows the tile and waterproofing manufacturer’s installation requirements.
The bottom line
Mold on drywall in bathroom spaces is primarily a moisture and building-material problem. Clean only small patches on firm, intact surfaces; remove drywall that is soft, swollen, delaminated, repeatedly wet, or contaminated from behind. Correct the leak or humidity source, dry the cavity completely, and use a suitable bathroom wall system so the problem does not return.