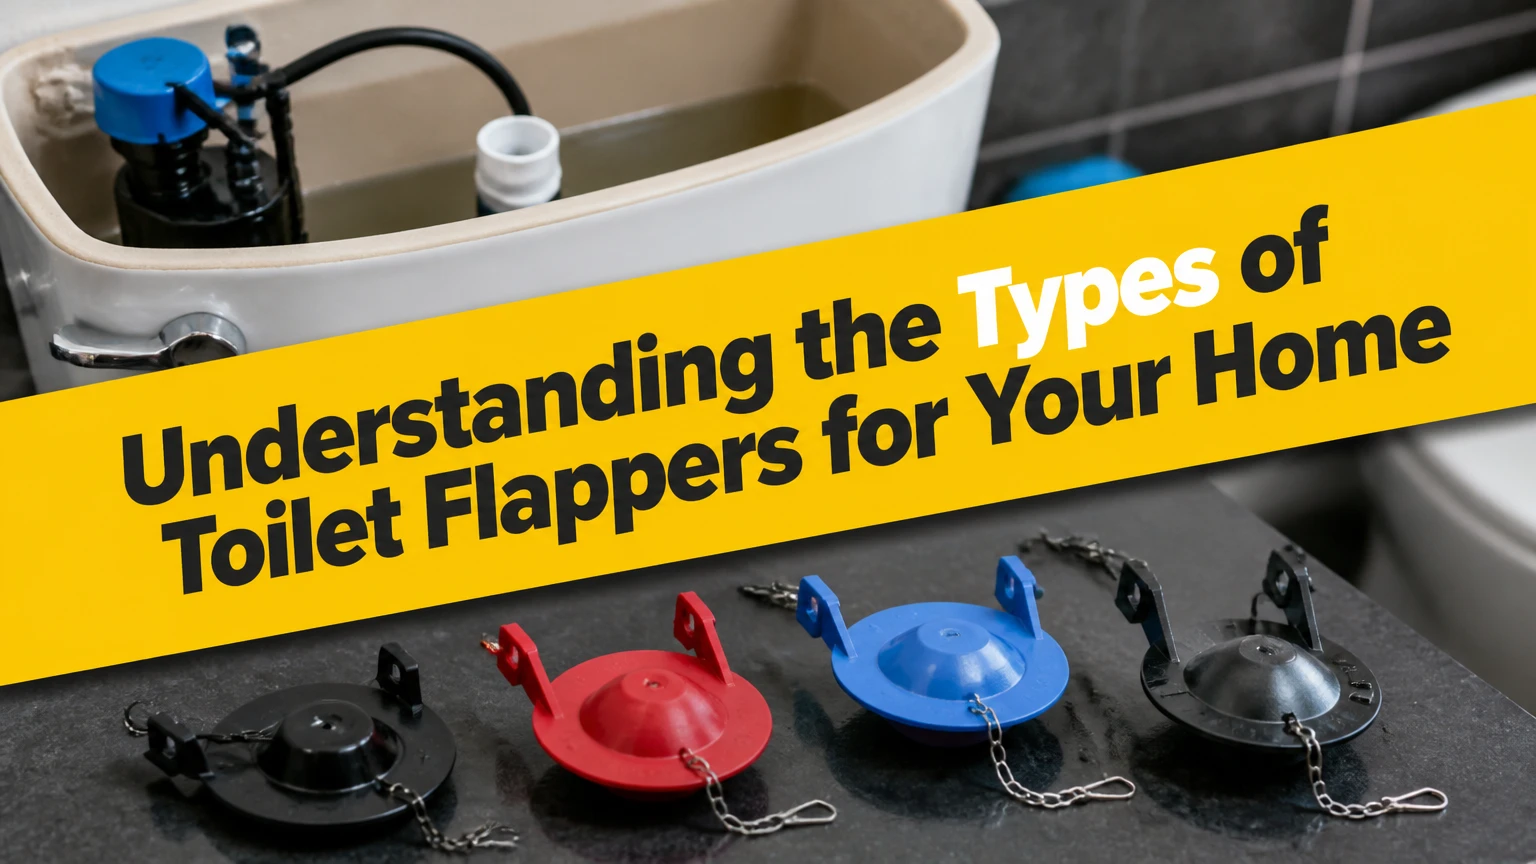
The types of toilet flappers include standard flexible rubber models, solid frame plastic designs, adjustable dial versions, and dual-flush conversion units. A toilet flapper is the internal sealing valve located at the bottom of the toilet tank that controls the flow of water into the bowl. Choosing the correct replacement ensures a watertight seal, stops constant running, and eliminates daily water waste.
Key Facts / At a Glance
- Standard flappers measure 2 inches across and fit toilets manufactured before 2005.
- High-efficiency toilets require 3-inch or 4-inch flappers to release water faster.
- Hard water and chlorine cleaning tablets degrade standard rubber flappers within two years.
- A leaking flush valve can waste 750 liters of water daily, adding massive hidden costs to utility bills.
- Replacing this component requires zero specialized tools and takes under 10 minutes.
How Does a Toilet Flush System Work?
A toilet flush system works by utilizing gravity and a leveraged lifting mechanism to release stored water into the bowl rapidly. The flapper acts as the primary gatekeeper between the upper water tank and the lower porcelain bowl.
When you press the exterior handle, an internal trip lever pulls an attached metal or plastic chain upward. This chain lifts the flapper off the flush valve seat, breaking the watertight seal. Gravity immediately pulls the stored water down through the drain opening to clear the bowl. A hollow air pocket built into the underside of the flapper keeps it floating while the water drains.
As the water level drops to the bottom of the tank, the float loses buoyancy. The valve drops back down onto the drain rim to reestablish the seal. The tank fill valve then activates, pumping fresh water back into the tank until it reaches the designated fill line. If the rubber seal fails to sit perfectly flat on the rim, water will continuously seep into the bowl, forcing the fill valve to run constantly.
The 4 Main Types of Toilet Flappers
Understanding the specific mechanics of your toilet tank is necessary before purchasing replacement parts. We have categorized the four primary variations available on the market based on design, compatibility, and material construction.
1. Standard Flexible Rubber Flappers (Frame-less)
The standard flexible rubber flapper is a frameless design that relies entirely on a soft rubber body to stretch over the overflow tube mounting pegs.
- Best For: Older toilets with 2-inch flush valves and budget-focused repairs.
- Key Specs: 2-inch diameter, 100% rubber construction, Tk. 350 – Tk. 700 ($3 – $6) price range.
- Expected Lifespan: 2-5 years.
This classic design utilizes two flexible side ears that pull securely over the mounting pegs located on the vertical overflow pipe. The frameless construction allows it to shift slightly, adapting to minor imperfections or slightly misaligned mounting posts. Plumbers frequently use these for universal repairs on toilets manufactured before the mid-1990s. The soft rubber forms an excellent seal against brass flush valve seats.
The primary drawback of a frameless rubber design is its susceptibility to warping. Because the entire body is flexible, extreme water pressure or chemical degradation can cause the edges to curl upward over time.
Choose this if you have an older 2-inch flush valve and need a fast, inexpensive replacement part. Skip it if your municipal water supply contains heavy chloramines that rapidly degrade soft black rubber.
2. Solid Frame Plastic Flappers
Solid frame flappers combine a rigid plastic skeleton with a flexible silicone or rubber sealing disk attached to the bottom.
- Best For: Rental properties and high-traffic bathrooms requiring consistent alignment.
- Key Specs: Available in 2-inch and 3-inch diameters, rigid plastic arms, Tk. 600 – Tk. 1,100 ($5 – $10) price range.
- Expected Lifespan: 3-7 years.
The defining feature of this model is the hard plastic hinge arms that connect to the overflow tube. Unlike flexible ears, these rigid arms prevent the flapper from twisting side-to-side during the flush cycle. The unit drops down perfectly square every single time, ensuring the rubber disk lands exactly on the center of the drain opening. This predictable mechanical action greatly reduces the risk of the chain getting caught underneath the seal.
One significant limitation of the solid frame is its lack of adaptability. If the mounting pegs on your overflow tube are unusually thick or positioned at an odd angle, the rigid plastic arms will bind and prevent the valve from closing completely.
Choose this if you want maximum reliability and perfect alignment with every flush. Skip it if your toilet has an irregularly shaped or aftermarket overflow tube that requires a flexible connection.
3. Adjustable Water-Saving Flappers
Adjustable flappers feature a rotating dial or a conical attachment that regulates how quickly the hollow bulb fills with water and loses buoyancy.
- Best For: Eco-conscious households and modern high-efficiency toilets (1.28 to 1.6 GPF).
- Key Specs: Variable timing dial, customized flush volume, Tk. 800 – Tk. 1,600 ($7 – $15) price range.
- Expected Lifespan: 5-8 years.
These models allow homeowners to tune the exact amount of water released during a flush. By rotating the top dial, you open or close small air vents on the bulb. Closing the vents traps air, keeping the valve open longer for a heavier flush. Opening the vents allows water to enter the bulb quickly, forcing the valve to close sooner and saving water. This tuning capability is highly beneficial for households looking to minimize their utility bills without sacrificing bowl-clearing power.
The main drawback is the required trial-and-error setup process. You must manually test multiple dial settings to find the exact balance between water conservation and effective flushing power.
Choose this if you want to optimize your water usage or if you live in a region with high utility costs. Skip it if you prefer a plug-and-play installation without the need for manual calibration.
4. Dual-Flush Conversion Assemblies
Dual-flush assemblies are complete mechanical replacements that convert a standard single-flush toilet into a two-button, water-saving system.
- Best For: Full tank retrofits and maximum long-term water conservation.
- Key Specs: Split-button trigger mechanism, adjustable liquid/solid settings, Tk. 1,600 – Tk. 3,500 ($15 – $30) price range.
- Expected Lifespan: 5-10 years.
Instead of a traditional lifting valve, a dual-flush conversion unit features a heavy-duty central cylinder. The system uses a cable connected to a specialized push-button handle. Pressing the half-flush button lifts a smaller internal gate for liquid waste, using approximately one gallon of water. Pressing the full-flush button lifts the entire assembly for solid waste, utilizing the full tank volume. These units eliminate the traditional chain entirely, removing the most common point of mechanical failure in a toilet tank.
The primary disadvantage is the installation complexity. Many dual-flush conversion kits require you to remove the entire toilet tank from the bowl to unbolt the original flush valve base.
Choose this if you are completely rebuilding your toilet tank and want the highest level of water efficiency. Skip it if you are looking for a quick, five-minute repair.
Flapper Material and Performance Comparison
When selecting a replacement, you must match the mechanical design to your specific plumbing environment. The table below outlines how the primary designs compare across standard performance metrics.
| Flapper Category | Primary Material | Alignment Consistency | Chemical Resistance | Average Cost | Ideal User Profile |
| Flexible Rubber | Soft Black Rubber | Low (Can twist) | Poor | Tk. 500 ($4.50) | Budget repairs |
| Solid Frame | Plastic & Silicone | High (Perfect drops) | Moderate | Tk. 850 ($7.50) | Rental property owners |
| Adjustable Dial | Premium Chlorazone | High | Excellent | Tk. 1,200 ($10) | Eco-conscious households |
| Dual-Flush Unit | ABS Plastic & Silicone | Perfect (Guided drop) | Excellent | Tk. 2,500 ($22) | Full retrofit DIYers |
How Do You Choose the Right Flapper Size?
You must measure the diameter of the flush valve drain hole at the bottom of the tank to determine the correct replacement size. Using the wrong size guarantees an immediate and continuous leak.
Industry standards dictate three distinct sizes based on the manufacturing era of the toilet. Toilets built before the year 2005 almost exclusively use a 2-inch drain opening. These older units required larger volumes of water to clear the bowl, so a smaller drain opening sufficed. High-efficiency toilets manufactured after 2005 utilize a 3-inch opening. Because modern toilets use significantly less water per flush, they require a larger drain hole to dump the water faster and generate necessary suction. Specialty brands, most notably Toto, utilize massive 4-inch drain openings on their premium models.
To find your required size, shut off the water supply and drain the tank. Take a standard tape measure and measure the diameter of the open hole at the bottom of the tank, measuring only the open space, not the outer plastic rim.
Flapper Sizing Specifications
The table below outlines the specific measurements and visual indicators required to identify your current hardware.
| Drain Hole Diameter | Flapper Size Required | Visual Reference Size | Typical Manufacturing Era | Common Brands |
| 2.0 to 2.25 inches | 2-Inch | Size of a baseball | Pre-2005 | Standard, Gerber, Crane |
| 3.0 to 3.25 inches | 3-Inch | Size of a grapefruit | 2005 to Present | Kohler, American Standard |
| 4.0 to 4.25 inches | 4-Inch | Size of a small melon | 2010 to Present | Toto, specialty models |
The Financial Impact of a Leaking Flapper
A degraded flapper represents one of the most expensive hidden maintenance failures in a residential home. A valve that fails to seal properly allows a continuous stream of water to bypass the tank and run directly down the drain.
According to environmental protection data, a silently leaking toilet can waste up to 750 liters of water every 24 hours. At average municipal water rates, this continuous flow translates to roughly Tk. 100 ($1) per day in wasted utility costs. Over the course of a single month, a homeowner could see an artificial spike of Tk. 3,000 ($30) on their water bill.
Purchasing a premium Tk. 1,200 ($10) replacement part offers an immediate return on investment. The repair pays for itself in utility savings within the first two weeks of installation. Identifying the leak quickly is highly profitable. You can detect a silent leak by dropping a few drops of food coloring into the upper tank. If the color appears in the bowl 15 minutes later without flushing, the valve has failed.
Step-by-Step Flapper Replacement Guide
Replacing a toilet flapper requires no plumbing experience and takes approximately five to ten minutes. Follow these precise steps to ensure a watertight seal.
Step 1: Shut Off the Water Supply
Locate the silver oval shut-off valve on the wall behind the toilet base. Turn the valve fully clockwise until it stops tight.
Step 2: Drain the Upper Tank
Press and hold the toilet handle down to flush the system. Hold the handle until all water drains out of the tank. Use a sponge to soak up the remaining half-inch of water at the bottom to prevent slipping during installation.
Step 3: Disconnect the Old Chain
Unhook the small metal clip attaching the lift chain to the horizontal flush lever arm. Let the chain drop into the tank.
Step 4: Remove the Degraded Flapper
Reach down to the overflow tube. Slide the two rubber ears off the side mounting pegs. If you have a solid frame model, gently unclip the plastic arms from the pegs. Pull the entire unit out of the tank.
Step 5: Clean the Valve Seat
Take a rough sponge or a piece of fine emery cloth and wipe the rim of the drain opening. Hard water scale, bacterial slime, and mineral deposits build up on this rim. A new rubber disk cannot form a vacuum seal against a dirty, uneven surface.
Step 6: Install the New Hardware
Slide the ears or snap the plastic arms of the new flapper onto the overflow tube pegs. Ensure the unit pivots freely up and down without binding against the vertical pipe.
Step 7: Attach and Adjust the Chain
Connect the new chain clip to the flush lever arm. You must leave exactly 1/4 inch to 1/2 inch of slack in the chain when the valve rests in the closed position. This translates to roughly two loose chain links.
Step 8: Test the Mechanical Action
Turn the wall valve counter-clockwise to restore the water supply. Allow the tank to fill completely. Flush the toilet to verify the lift action, then watch the flapper drop down. Listen closely for a full stop in water flow once the tank refills.
Common Installation Mistakes to Avoid
Most installation failures stem from improper chain adjustment rather than a defective part. Understanding these mechanical errors will save you from immediate repeat repairs.
Leaving zero slack in the lift chain is the most frequent error. If the chain is pulled perfectly taut while at rest, the weight of the flush lever will constantly pull upward on the flapper. This prevents the rubber from resting fully on the drain seat, causing a constant slow leak.
Conversely, leaving excessive slack creates a tangling hazard. If you leave more than an inch of loose chain, the excess links will float in the water during the flush cycle. As the water drains, the loose chain loops can easily get sucked underneath the dropping flapper, instantly breaking the vacuum seal. Use wire cutters to physically clip off any excess chain length once you establish the correct tension.
Finally, dropping chlorine bleach tablets directly into the upper tank is a critical maintenance mistake. Concentrated bleach destroys soft rubber compounds in less than six months. The chemicals cause the rubber to blister, warp, and eventually dissolve, leading directly to catastrophic leaks.
Why Does the Toilet Keep Running?
Troubleshooting a running toilet requires isolating the failure point between the fill valve mechanism and the flush valve seal. The symptoms below indicate specific hardware failures.
The most common issue is the “phantom flush,” where the toilet sits completely untouched but briefly runs water every ten to twenty minutes. This occurs due to a slow water leak past the flapper seal. The water level in the tank slowly drops until it triggers the fill valve float. The fill valve kicks on for a few seconds to replace the lost water. You must clean the flush valve seat or replace a warped rubber disk to fix this.
Another frequent complaint involves having to hold the handle down manually to get a full flush. This happens when the flapper loses its air buoyancy and closes too quickly, cutting off the water supply before the bowl clears. If you have an adjustable model, turn the timing dial to trap more air in the bulb. If you have a standard rubber model, it has likely become waterlogged and requires immediate replacement.
Flapper Diagnostic Guide
Use this troubleshooting matrix to identify and resolve common tank failures quickly.
| Mechanical Symptom | Root Cause | Required Solution |
| Intermittent phantom flushing | Warped rubber seal or dirty valve seat | Clean the brass seat rim; replace hardware if warped. |
| Must hold handle down to flush | Loss of air buoyancy in the bulb | Adjust the timing dial or replace waterlogged unit. |
| Chain breaks the vacuum seal | Chain length is too long | Cut off excess chain, leaving exactly 1/2 inch of slack. |
| Valve binds and won’t drop | Solid frame arms do not fit angled pegs | Switch to a frameless flexible rubber model. |
Frequently Asked Questions
Are toilet flappers universal?
No, toilet flappers are not universal. While many generic 2-inch models fit a wide variety of older toilets, modern fixtures require specific 3-inch or 4-inch sizes. Furthermore, solid frame models require standard vertical overflow pegs and will not fit angled or proprietary flush valve mounts.
What is the best material for a replacement flapper?
Red rubber formulations, commonly known under trade names like Chlorazone, offer the highest chemical resistance. These specialized polymers resist degradation from heavily chlorinated municipal water and harsh hard water minerals significantly better than standard black rubber.
How do I know if I need a 2-inch or 3-inch replacement?
You can determine the size by visual comparison. A 2-inch drain opening is roughly the size of a baseball, while a 3-inch opening is closer to the size of a grapefruit. You can also verify the size by measuring the open space of the drain hole at the bottom of the tank.
Why is my new flapper still leaking after installation?
If a new unit continues to leak, the problem usually lies with the flush valve seat. Hard water calcium deposits can build up on the rim of the drain. The new rubber cannot form a watertight seal over these bumpy deposits. You must drain the tank and scrub the rim smooth.
Can I replace a standard model with a dual-flush system?
Yes, you can install a dual-flush conversion kit in almost any standard gravity-fed toilet. However, the installation requires removing the entire existing flush valve base, which often involves unbolting the upper tank from the lower bowl to access the mounting nut.
The Bottom Line
Choosing the right components for your bathroom requires matching the hardware dimensions to your specific tank geometry. By understanding the distinct types of toilet flappers, measuring your drain hole accurately, and following precise installation steps, you can eliminate expensive water leaks and upgrade the efficiency of your plumbing system. Whether you select a durable solid frame model or an eco-friendly adjustable dial, maintaining a clean flush valve seat and setting the proper chain tension will ensure years of reliable performance.