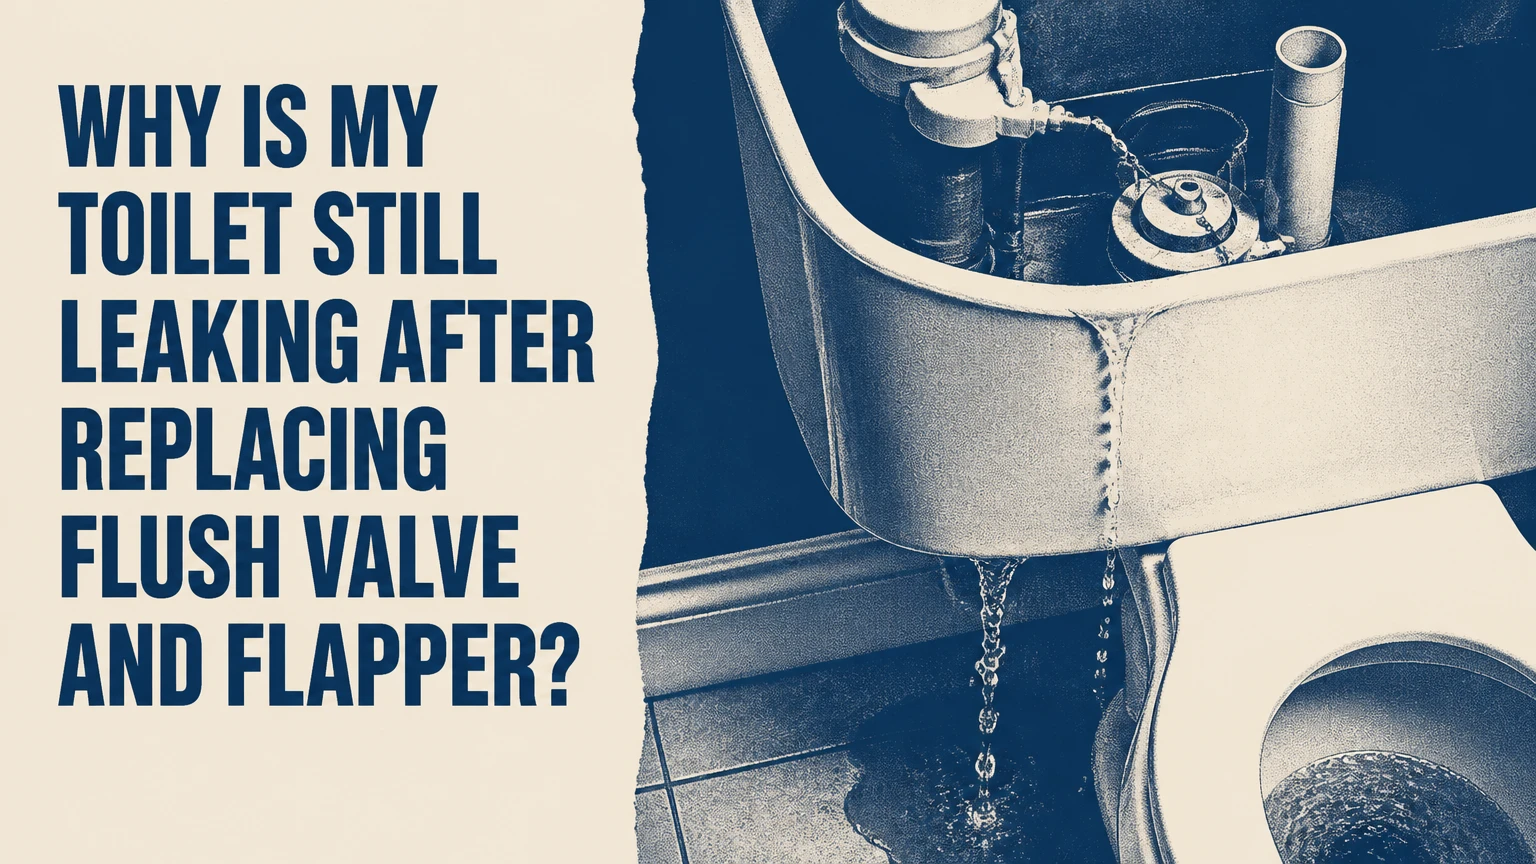
When a toilet continues leaking after a complete overhaul of the flush valve and flapper, the underlying cause is typically a damaged flush valve seat, an incorrectly sized flapper, a faulty tank-to-bowl gasket, or a hidden hairline fracture inside the overflow tube. These components control the water retention boundary inside the tank, and even microscopic irregularities allow water to bypass the primary seals.
At a Glance
- Seat Tolerance: A groove or gap exceeding 1/16 inch in the flush valve seat causes continuous micro-leaks.
- Chain Slack: The flapper chain requires exactly 1/4 inch of slack to prevent accidental opening or snagging.
- Valve Sizing: Installing a 2-inch flapper on a 3-inch high-efficiency toilet causes massive, immediate water loss.
- Tightening Limit: Tank bolts must be torqued to only 15 to 20 inch-pounds to prevent porcelain cracking.
- Chemical Damage: In-tank bleach tablets warp and destroy brand-new rubber flappers within 48 to 72 hours.
How do I know if the leak is internal or external?
Perform a standard food coloring dye test to isolate the failure point before making additional adjustments. Add 10 to 15 drops of dark food coloring directly into the toilet tank and refrain from flushing for 15 to 20 minutes. If the colored liquid migrates into the toilet bowl without any external intervention, the leak is internal, meaning the water is escaping through the flush valve, flapper, or overflow tube. If colored water pools on the bathroom floor surrounding the base of the toilet or beneath the tank, the leak is external, pointing directly to compromised tank bolts, a failing supply line connection, or a degraded wax ring.
What causes a toilet to ghost flush after replacing new parts?
Ghost flushing occurs when a slow, microscopic leak gradually lowers the water level in the tank until the float drops enough to trigger the fill valve automatically. This phenomenon is almost always caused by a flapper chain that lacks proper adjustment, a refill tube pushing too far down into the overflow pipe, or mineral scaling accumulating along the valve seat perimeter. Inspect the flapper chain to ensure it does not catch on the refill tube or hold the rubber seal slightly open. Cleaning the valve seat with fine-grit waterproof sandpaper removes scale deposits that prevent a watertight seal.
Do I need a new toilet if the flush valve seat is scratched?
Replacing the entire toilet is unnecessary when a flush valve seat becomes scratched, pitted, or warped. Instead of tearing apart the entire porcelain tank to change the flush valve assembly, homeowners can install a specialized flush valve repair seat kit manufactured by brands like Fluidmaster or Korky. These repair kits utilize marine-grade waterproof adhesives to overlay a brand-new stainless steel or engineered plastic seat directly on top of the old, damaged surface, restoring a pristine sealing plane for the rubber flapper.
How much slack should the flapper chain actually have?
The flapper chain requires precisely 1/4 inch of slack when the handle is at rest to ensure proper operation. A chain that is pulled too tight maintains continuous upward tension, holding the flapper slightly open and causing a constant stream of running water. Conversely, a chain with excessive slack easily catches underneath the rubber flapper during closure, preventing the seal from seating against the flush valve opening. Adjust the clip position along the chain links until the 1/4 inch tolerance is achieved.
What is the maximum allowable gap in a flush valve seat?
The maximum allowable gap, groove, or irregularity in a flush valve seat is 1/16 inch before it causes a continuous micro-leak. Water molecules easily exploit minute imperfections in plastic or metal surfaces under hydrostatic pressure from the tank. If a fingernail catches on a groove running vertically down the valve seat, the surface is compromised beyond the sealing capability of a standard rubber flapper, requiring either a seat repair kit or a complete valve replacement.
How do in-tank cleaning tablets destroy brand-new flappers?
In-tank chemical cleaning tablets containing concentrated chlorine or bleach chemically degrade modern rubber compounds at an accelerated rate. Chemical warpage occurs when harsh additives cause a brand-new rubber flapper to blister, swell, or lose its elasticity within 48 to 72 hours of exposure. As the rubber deforms, it loses its memory shape and fails to conform evenly to the circular opening of the flush valve, resulting in persistent leakage regardless of how many times parts are replaced.
Why does a refill tube siphon water out of the tank?
A refill tube creates a continuous siphoning action if it pushes too far down into the overflow pipe below the static water line of the tank. This physical positioning acts like a siphon in a fish tank, continuously drawing water out of the storage reservoir and routing it down the drain without stopping. Clip the refill tube to the top rim of the overflow pipe using a snap-on bracket so the discharge end remains securely positioned above the highest possible water level inside the tank.
How do I fix a corroded metal flush valve seat without replacing it?
Older toilets equipped with traditional brass flush valves frequently suffer from metal oxidation and mineral pitting along the contact seat. A new rubber flapper cannot mold itself around rough, pitted metal surfaces. Fix this condition by carefully cleaning the brass seat with a wire brush to remove green oxidation crust, then applying a bead of marine plumbing epoxy or installing a universal stainless steel stick-on repair ring designed to create a smooth, modern sealing platform.
What torque limit cracks a toilet porcelain tank?
Tank bolts require a low torque limit of only 15 to 20 inch-pounds during installation to secure the tank to the bowl safely. Over-tightening these brass bolts exerts uneven pressure on the brittle porcelain mounting tabs, causing invisible hairline fractures that lead to unfixable structural leaks. Always tighten bolts evenly by alternating sides in small increments, stopping the moment the rubber washers compress snugly against the porcelain floor of the tank.
How do I choose between a 2-inch and 3-inch flush valve?
Industry standards designate 2 inches and 3 inches as the two primary flush valve sizes for residential gravity toilets. Installing a standard 2-inch replacement flapper onto a newer 3-inch high-efficiency toilet causes immediate, massive water loss because the undersized seal cannot span the aperture. Measure the outer diameter of the flush valve opening or check the manufacturer specification plate inside the tank before purchasing replacement components to ensure correct matching.
Can a hairline crack in the overflow tube cause silent leaks?
A hairline fracture located inside the overflow tube itself allows water to bypass the closed flapper entirely and drain silently into the bowl. This structural anomaly typically occurs due to manufacturing defects, age-related plastic degradation, or overtightening the tank-to-bowl hardware. Because the water enters the hollow overflow tube internally, external visual inspections of the flapper and valve will appear normal while the tank continues to lose water level.
How do I replace a faulty tank-to-bowl gasket correctly?
- Shut off the water supply to the toilet and flush completely to empty the tank of all standing liquid.
- Disconnect the flexible water supply line from the threaded shank beneath the tank using an adjustable wrench.
- Unscrew the tank mounting bolts from underneath the bowl, supporting the tank as you lift it straight up off the bowl.
- Peel away the old rubber tank-to-bowl gasket from the central flush valve nut on the underside of the tank.
- Install the new sponge-rubber gasket squarely over the large plastic nut, ensuring a tight, flush fit against the porcelain bottom.
- Lower the tank back onto the bowl, aligning the rubber washers and tightening the bolts evenly to the 15 to 20 inch-pound threshold.
Why is my new rubber flapper still not sealing smoothly?
A new rubber flapper fails to seal smoothly when mineral scale deposits, calcium crust, or manufacturing flash lines remain on the contact points. Even brand-new components can feature microscopic rubber burrs left over from the injection molding process. Wipe down the mating surfaces of both the flapper and the valve rim using a clean microfiber cloth to remove debris, and ensure the flapper hinges pivot freely on their mounting ears without binding.
The Bottom Line
When a toilet continues leaking after replacing both the flush valve and the flapper, the root cause is almost always mechanical rather than coincidental. Resolving the issue requires inspecting the valve seat for micro-grooves exceeding 1/16 inch, correcting excessive flapper chain tension, and ensuring chemical tablets have not deformed the rubber seal. Addressing these hidden anomalies restores total water containment and permanently ends persistent running water issues.