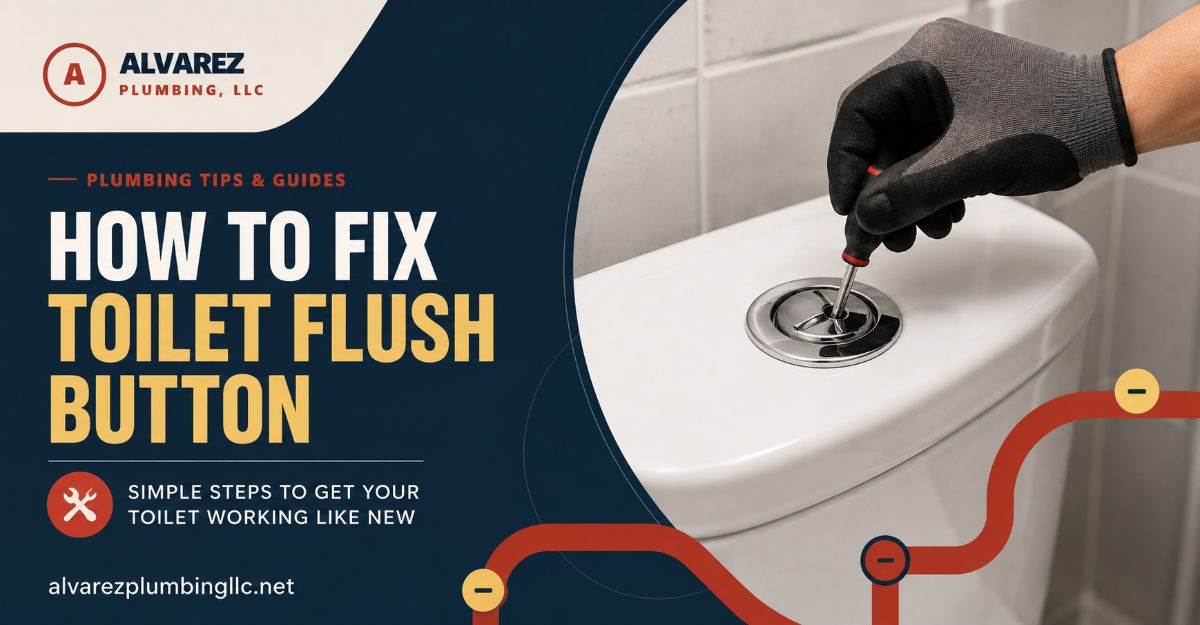
To fix a toilet flush button, you must first identify whether your system uses mechanical push rods, a pneumatic air tube, or a wire cable. Most repairs require unscrewing the button housing, adjusting the length of the internal push rods to ensure they perfectly engage the flush valve, or replacing the degraded rubber seal at the bottom of the central canister.
Key Facts / At a Glance
- Mechanical dual flush buttons require a precise 1 to 2 millimeter gap between the push rod tip and the flush valve pad to function correctly.
- Constant water running into the toilet bowl usually indicates that the push rods are too long or the flush valve washer has blistered.
- Pneumatic button failures frequently stem from stretched plastic air tubes that simply need to be trimmed by 1 centimeter to restore a tight connection.
- Using petroleum based lubricants like WD-40 will permanently degrade the plastic and rubber components inside a toilet tank.
- Replacing the internal rubber seal costs under 10 dollars and solves the vast majority of ghost flushing and continuous leak issues.
What Causes A Toilet Flush Button To Stop Working?
A toilet flush button stops working when the mechanical connection between the external button and the internal flush valve becomes misaligned, degraded, or disconnected. Because the toilet tank environment is constantly submerged in hard water, calcium deposits and degrading rubber are the primary culprits behind most failures. Understanding exactly what the button is doing wrong will tell you exactly which part inside the tank has failed.
Why is the button stuck down?
The button remains stuck in the depressed position because the internal return spring has snapped or the plastic housing is jammed with mineral grime. Hard water leaves behind calcium carbonate scale that binds the plastic cylinders together. When you press the button, the friction overcomes the strength of the return spring, locking the mechanism in place and causing the toilet to run continuously.
Why does the button feel loose or spongy?
A loose button occurs when the internal push rods are too short to make contact with the flush valve below them. You press the plastic, but it hits nothing but empty air. In pneumatic systems, a spongy feel indicates that the air tube connecting the button to the lifting mechanism has disconnected or developed a kink, preventing the air pressure from actuating the valve.
Why is water constantly running into the bowl?
Water constantly running into the bowl happens because the flush valve remains slightly open, allowing water to bypass the tank and enter the drain. This occurs if the push rods attached to the button are too long, which physically holds the valve open even when you are not pressing the button. Alternatively, the large rubber seal at the base of the flush valve may have warped, blistered, or disintegrated, destroying the watertight barrier.
Which Type Of Flush Mechanism Do You Have?
Before you begin removing parts, you must identify your specific button type. The internal mechanics dictate your repair strategy. Modern toilets generally use one of three distinct technologies to transfer the force from your finger to the valve holding the water.
| Button Type | Mechanism of Action | Primary Failure Point | Best Repair Approach |
| Mechanical (Push Rod) | Plastic threaded rods attached to the button push directly downward onto the flush valve pads. | Rods vibrate loose over time; return springs corrode and snap. | Adjust rod length by screwing them in or out; replace button housing. |
| Pneumatic (Air Button) | The button acts as a bellows, pushing a burst of air through a small plastic tube to lift the distant flush valve. | Air tubes stretch and fall off the connection nipples; tubes get pinched. | Trim the ends of the air tubes for a tighter fit; check for splits in the bellows. |
| Cable Operated | A flexible metal wire inside a plastic sheath connects the button to a lever on the flush valve. | The plastic retention clip snaps out of place; the metal cable rusts and snaps. | Reattach the clip; replace the entire cable and button assembly if snapped. |
Before You Start The Repair Process
Fixing a mechanical flush button is an entry level plumbing task that requires no special licensing or heavy tools. The entire process relies on careful observation and gentle adjustments rather than brute force.
- Total Time Required: 15 to 30 minutes.
- Difficulty Level: Beginner.
- Total Cost: 0 dollars for adjustments, 5 to 15 dollars for replacement seals, or 20 to 50 dollars for a complete new valve unit.
- Required Tools: Flathead screwdriver, adjustable pliers, an old toothbrush, white vinegar, a dry towel, and a permanent marker.
- Prerequisites: You must locate the water isolation valve. This is usually a silver or white handle on the wall or floor behind the toilet. Turn this clockwise to shut off the water supply before opening the tank. Flush the toilet once to empty the standing water inside the cistern.
How Do You Fix A Mechanical Dual Flush Button?
Mechanical dual flush buttons represent the most common system in modern ceramic toilets. They feature two half moon shapes or concentric circles, one for liquid waste and one for solid waste. Repairing this system involves calibrating the distance between the button and the valve perfectly.
Step 1: Remove The Button Housing And Ceramic Lid
Removing the lid requires unscrewing the button housing first, as the housing physically clamps the ceramic lid to the internal valve. Press down on the full flush button to reveal the inner edge of the half flush button. You will often see a small slot or screw hole. Insert a flathead screwdriver and gently pry out the button face.
If there is no slot, place your palm flat against the outer chrome ring of the button and rotate it counterclockwise. The entire ring will unscrew from the threaded cylinder below it. Once the ring is completely unscrewed, lift the heavy ceramic lid vertically with both hands and place it safely on a flat towel on the floor. Do not force the lid upward if it resists, as you will crack the porcelain.
Step 2: Inspect And Adjust The Threaded Push Rods
Look at the underside of the button housing you just removed. You will see two plastic rods protruding downward. These rods must bridge the gap between the lid and the valve inside the tank. If they are too long, they hold the valve open and cause a continuous leak. If they are too short, the button will feel loose and trigger a weak flush.
Take a permanent marker and draw a line on the threads of the rods to mark their current position. This serves as your baseline. Press the button mechanism manually to test the action. You need exactly a 1 to 2 millimeter gap between the tip of the rod and the pad on the flush valve when the lid is resting perfectly in place. Turn the rods clockwise to shorten them or counterclockwise to lengthen them. Secure the locking nuts once you find the perfect length.
Step 3: Clean Or Replace The Flush Valve Canister Seal
If your push rods are perfectly calibrated but water still runs into the bowl, the seal at the bottom of the tank has failed. Reach into the empty tank and grasp the central plastic cylinder known as the flush valve canister. Twist the entire canister 90 degrees to the left (counterclockwise). You will hear a click, and the canister will lift straight out, leaving a plastic basket attached to the bottom of the tank.
Turn the canister over and inspect the large rubber washer on the bottom. If the washer has blisters, feels slimy, or shows hard white limescale deposits, remove it. Wash it in a sink with warm water, dish soap, and an old toothbrush. If the rubber is crumbling or leaves black residue on your fingers, it has degraded beyond repair. Purchase a replacement seal matching your brand for under 10 dollars. Slide the new seal onto the groove at the base of the canister.
Step 4: Reassemble And Calibrate The Mechanism
Insert the canister back into the basket inside the tank. Push down gently and twist 90 degrees to the right (clockwise) until it locks securely into place. Turn the water supply valve back on and wait for the tank to fill completely. Watch the water line to ensure it stops about 1 inch below the open overflow tube.
Place the ceramic lid back onto the tank. Thread the button housing back through the hole in the lid and screw it down hand tight. Never use pliers to tighten the button ring. Overtightening warps the plastic housing, which will cause the buttons to stick in the down position immediately. Test both the half and full flush buttons to ensure crisp action and a complete water seal after the tank refills.
How Do You Repair A Pneumatic Air Button?
Pneumatic systems are frequently found in modern bathroom furniture where the cistern is concealed behind a wall or inside a cabinet. Because the button does not sit directly above the valve, mechanical rods cannot reach. Instead, pressing the button forces air through a plastic tube to actuate the valve.
Step 1: Inspect And Trim The Air Tubes
A spongy button that fails to trigger a flush almost always points to an air leak. Locate the small plastic tubes connecting the back of the button plate to the flush valve. Check the connection nipples at both ends. Over time, the plastic tubing stretches from temperature fluctuations and slips off the nipples.
Pull the tube off the nipple completely. Use sharp scissors to cut exactly 1 centimeter off the end of the tube. This removes the stretched portion and exposes fresh, tight plastic. Push this newly cut end firmly over the nipple. Ensure the tube routes smoothly through the tank without any sharp bends or kinks that could block the air pressure.
Step 2: Test The Internal Valve Bellows
If the air tubes are secure and airtight but the toilet still will not flush, the internal bellows have ruptured. The bellows is a small rubber bladder inside the flush valve that expands when you press the button, lifting the water seal. Remove the flush valve from the tank and inspect this rubber bladder. If it has a split or a pinhole leak, the air pressure escapes into the water instead of lifting the valve. You cannot patch this bladder effectively. You must replace the entire pneumatic flush valve unit.
How Do You Fix A Cable Operated Flush Button?
Cable buttons operate like bicycle brakes. The button pulls a braided steel wire inside a flexible plastic sheath, which physically yokes open the flush valve. These are common in high end side flush toilets and tight concealed spaces.
Step 1: Reattach The Actuator Clip
When a cable button fails, it usually feels completely disconnected and offers zero resistance when pressed. Open the cistern and trace the cable from the button down to the valve. At the valve end, the plastic sheath is held in place by a retention clip.
Water turbulence often knocks this clip out of its housing. If the sheath is loose, the inner wire cannot generate leverage to pull the valve up. Snap the retention clip firmly back into its designated slot on the side of the flush valve. Press the button to verify the wire now pulls the valve flap upward smoothly.
Step 2: Replace The Full Cable Assembly
If the retention clip is secure but the button still does nothing, the braided steel wire inside the sheath has rusted and snapped. This is a fatal failure for the component. You cannot thread a new wire through the old sheath. You must purchase a complete replacement button and cable assembly. Unclip the old cable from the valve, unscrew the button from the cistern, and route the new cable exactly along the same path to ensure smooth operation.
What Are The Most Common Mistakes During This Repair?
Many homeowners inadvertently turn a 10 dollar maintenance task into a costly plumbing emergency by making simple mechanical errors. Avoid these specific failure modes to ensure a durable repair.
Cutting Push Rods Too Short
Some replacement kits require you to cut universal push rods to length using a hacksaw. Always measure twice and cut once. You can always file down a rod that is a fraction too long, but if you cut a plastic rod too short, you cannot lengthen it again. If this happens, you must buy a completely new button kit.
Using WD-40 On Toilet Plastics
When a button sticks, people instinctively reach for standard WD-40. This is a catastrophic mistake. Standard WD-40 is a petroleum distillate that aggressively breaks down the specific rubber compounds and plastics used in plumbing. It will cause the flush valve seal to swell, warp, and fail within weeks. If you must lubricate a sticking button, take it apart and wash it in soapy water, or use a 100 percent pure silicone grease.
Misdiagnosing A Fill Valve Leak
Homeowners frequently spend hours adjusting the flush button rods because they hear water running, only to realize the flush button is completely fine. Look at the vertical overflow pipe in the center of the tank. If water is pouring over the top of that pipe and down into the bowl, your flush button is innocent. The fill valve (the tower on the left side of the tank) is set too high and is overfilling the tank. Adjust the float screw on the fill valve to lower the water level 1 inch below the overflow pipe.
Forcing A Limescale Glued Lid
In older bathrooms, the ceramic lid can become cemented to the tank by years of hard water condensation. If you have removed the button housing and the lid still refuses to lift, do not pry it with a screwdriver. You will chip the porcelain instantly. Spray white vinegar around the seam where the lid meets the tank and let it dissolve the calcium for 30 minutes before trying to lift it again.
Frequently Asked Questions
How do you get a stuck flush button unstuck?
A stuck button is usually jammed by hard water deposits or soap residue. First, spray a mild descaler or white vinegar directly into the gaps around the button and let it sit for ten minutes. Press it rapidly to break the calcification. If it remains stuck, unscrew the housing, remove the entire button unit, and soak it in a bowl of warm water and dish soap for an hour to dissolve the grime.
Can you replace just the button without replacing the valve?
Yes, you can replace the button independently of the central valve. Buttons and their connected rods or cables are modular components. As long as you purchase a button mechanism that matches the diameter of the hole in your ceramic lid and utilizes the same connection type (mechanical rods versus pneumatic tubes), it will interface perfectly with your existing flush valve.
Why does the dual flush button flush the same amount of water?
If both the half flush and full flush buttons release the entire tank of water, the push rod for the half flush button is adjusted incorrectly. The half flush rod is likely screwed down too far, forcing the mechanism to bypass the half flush threshold and engage the main full flush release. Shortening the half flush rod by two millimeters usually restores the separate functions.
How much does a plumber charge to fix a flush button?
A licensed plumber will typically charge between 150 and 300 dollars to fix a flush button issue. This cost primarily covers their callout fee and hourly minimum labor rate, as the parts themselves rarely cost more than 25 dollars. Because the repair requires no specialized tools, completing this adjustment yourself yields a very high return on your invested time.
What is the difference between a flush valve and a fill valve?
The flush valve is the large mechanism in the center of the tank connected to your button. Its only job is to drop water rapidly into the bowl to remove waste. The fill valve is the separate tower mechanism, usually located on the left side of the tank, connected to the water supply line. Its job is to detect when the tank is empty and refill it with fresh water.