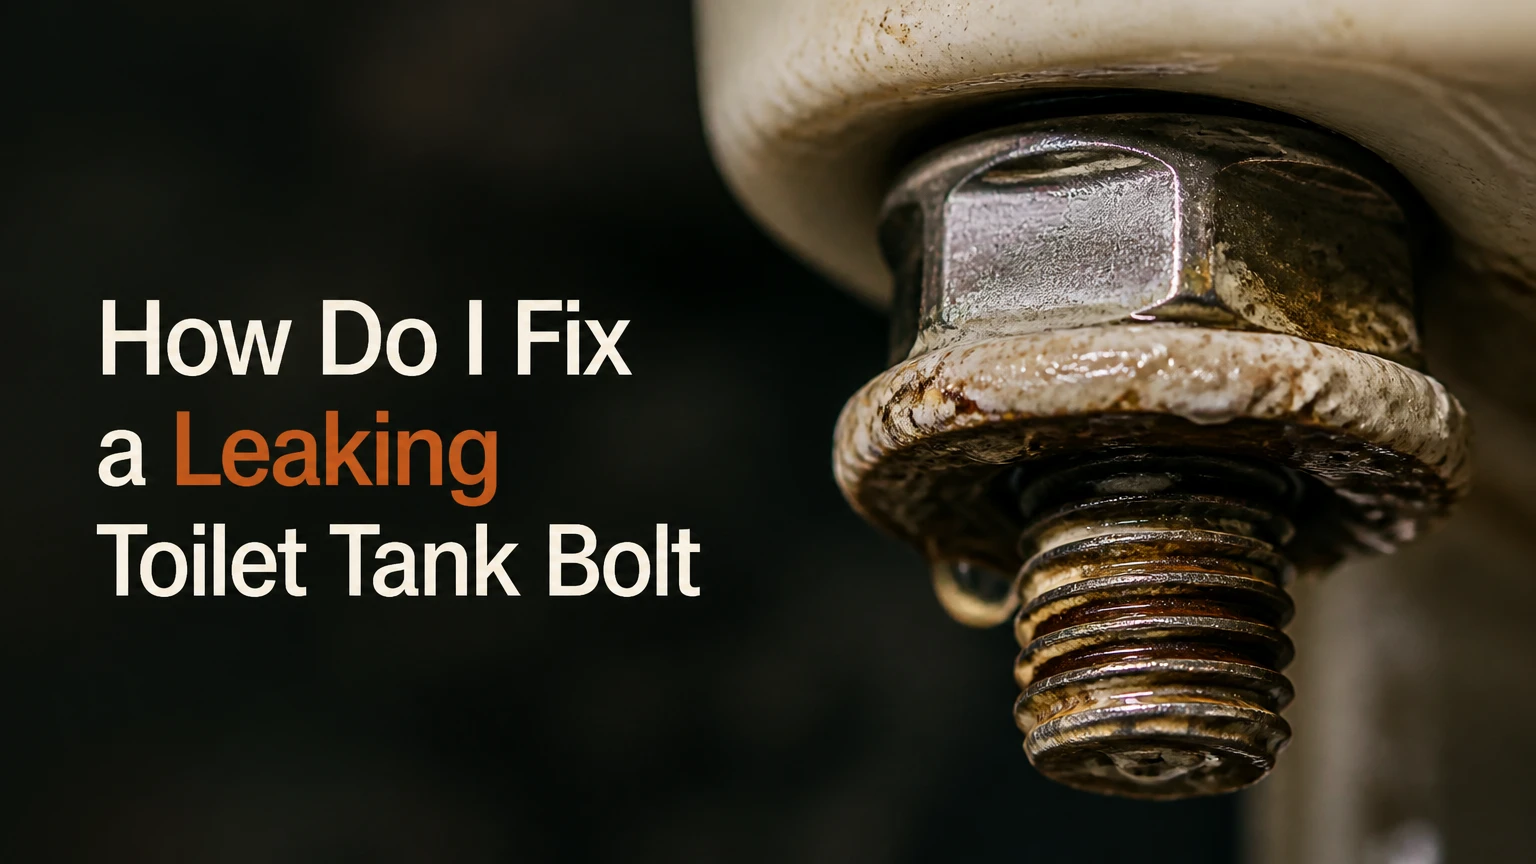
To fix a leaking toilet tank bolt, you must shut off the water supply, drain the tank, unbolt the porcelain tank from the bowl, and replace the deteriorated rubber washers and rusted bolts with a new solid brass hardware kit. Re-seat the tank evenly using precise alternating turns to ensure a watertight seal.
At a Glance: Essential Facts
- Standard Bolt Size: Universal toilet tank bolts measure 5/16 inch by 3 inches and are constructed from solid brass.
- Torque Specification: Tighten hardware to 15 to 20 inch-pounds, or hand-tight plus one full turn with a wrench.
- Porcelain Gap Requirement: Maintain a minimum 0.25-inch gap between the tank and bowl flanks to prevent cracking.
- Repair Cost: A complete replacement hardware kit typically costs between $5 and $12 at local hardware stores.
What Tools and Materials Are Needed to Fix a Leaking Tank Bolt?
Gathering the correct plumbing tools before starting prevents mid-repair delays and potential damage to fragile porcelain fixtures. You will need a standard flathead screwdriver, an adjustable wrench or open-end wrench set, a sponge, a clean towel, a small bucket, and a universal toilet tank-to-bowl hardware kit.
The hardware kit must include two 5/16 inch by 3-inch solid brass bolts, matching metal washers, thick rubber tank washers, heavy-duty brass nuts, and a central sponge gasket. Avoid using power drills or impact drivers, as excessive torque will shatter the toilet porcelain instantly. Having a small utility bucket and towels ready is essential because residual water trapped inside the tank flush valve will spill out once the tank is detached from the bowl.
How Long Does It Take to Replace Toilet Tank Bolts?
Replacing toilet tank bolts takes between 45 minutes and 1 hour for a standard do-it-yourself homeowner working at a steady, cautious pace. First-time DIYers should allocate extra time in case old, corroded bolts require extra effort to cut or unthread.
The process involves roughly 15 minutes of preparation and draining, 20 minutes of hardware removal and cleaning, and 15 to 20 minutes of reinstallation, water testing, and cleanup. Allowing adequate time prevents rushing, which is the primary cause of uneven bolt tightening, pinched rubber washers, and cracked porcelain tanks.
How Do I Know if the Leak is From the Bolt or the Gasket?
You can identify the exact source of a leak by drying the entire underside of the toilet tank with a towel, wrapping dry strips of toilet paper around the bolt heads, and observing where moisture first appears. If the toilet paper directly beneath the left or right bolt turns damp, the leak originates from the tank bolt washers.
If moisture pools exclusively in the dead center around the large flush valve opening or runs down the very middle of the bowl exterior, the central sponge gasket is failing. Many homeowners mistakenly replace the tank bolts when the actual culprit is a degraded central donut gasket or an unevenly seated tank. Performing a targeted paper towel test saves hours of unnecessary labor by confirming the precise failure point before you unbolt the fixture.
Should I buy brass-plated or solid brass bolts?
Always buy solid brass bolts for any toilet tank repair because brass-plated steel bolts degrade rapidly in constant contact with water. Brass-plated steel hardware features a thin outer coating that scratches off easily during installation with a wrench.
Once the protective plating scratches away, the underlying steel core rusts completely through within two to three years. Rusted steel bolts expand, stain your porcelain, and freeze solid in place, often requiring a hacksaw to remove during future repairs. Solid brass hardware resists corrosion indefinitely, ensuring your repair lasts for the lifetime of the toilet.
Do the rubber washers go inside or outside the tank?
The primary sealing rubber washer must always go inside the tank, resting directly against the clean porcelain floor over the bolt hole. Placing a metal washer directly against the porcelain interior will fail to create a water barrier and will crack the tank when tightened.
The correct assembly sequence inside the tank consists of the bolt head, a rubber washer, and the porcelain base. Once the bolt exits the bottom of the tank, you slide on a metal washer and secure it with a brass nut before lowering the tank onto the bowl. Placing the rubber washer inside ensures that water trapped in the tank cannot enter the bolt hole channel and leak onto your bathroom floor.
What is the correct tightening torque for toilet tank bolts?
The correct tightening torque for toilet tank bolts is 15 to 20 inch-pounds, achieved by turning the nuts hand-tight plus one to one-and-a-half extra turns with a wrench. Over-tightening is dangerous because porcelain has zero flex and will crack under excessive pressure.
Professional plumbers use the alternating two-turn method to maintain even pressure across the porcelain flange. Tighten the left nut two full turns, switch to the right nut and tighten it two full turns, and repeat this cycle until the tank feels stable. Stop tightening immediately once the tank-to-bowl sponge gasket compresses sufficiently to leave a uniform 0.25-inch gap between the tank and bowl flanks.
How Do I Remove a Rusted or Spinning Toilet Tank Bolt?
If an old toilet tank bolt is rusted solid, turning the screwdriver inside the tank will simply spin the entire bolt head without loosening the corroded nut underneath. To solve this problem, you must cut the bolt shaft using a mini hacksaw or a hacksaw blade wrapped in protective tape.
Carefully insert the saw blade into the gap between the bottom of the tank and the top of the bowl, then saw directly through the metal bolt shaft. Once the shaft is cut in half, the tank will lift free from the bowl, allowing you to easily unscrew the remaining rusted stub from the underside of the tank. Always wear safety glasses during this step to protect your eyes from falling rust flakes and metal shards.
How Do I Fix a Leaking Three-Bolt Toilet Tank Configuration?
Fixing a leaking three-bolt toilet tank configuration requires purchasing a specialized brand-specific gasket kit designed for manufacturers like Kohler or Gerber. Standard universal kits contain circular donuts and two bolts, which will not fit or seal a triangular three-bolt pattern.
To complete this repair, follow the standard shut-off and draining procedure, but remove all three corroded bolts and the proprietary triangular sponge gasket. Clean the recessed mounting channel thoroughly with a sponge and vinegar solution to remove mineral buildup. Install the three new solid brass bolts with their internal rubber washers, seat the custom manufacturer-approved gasket, and lower the tank, tightening all three nuts in a sequential star pattern to distribute clamping pressure evenly.
Why is my brand new tank still rocking back and forth?
A brand-new toilet tank that rocks back and forth usually indicates that the central sponge gasket is not fully compressed or that the bolts were tightened unevenly. If the tank wobbles, water will stress the hardware and cause a recurring leak within weeks.
To fix a rocking tank, loosen both exterior bolt nuts slightly, press down firmly and evenly on the top rim of the tank, and re-tighten the nuts in alternating increments until the tank makes solid contact with the rubber stabilizing pads on the bowl rim. Ensure you did not accidentally install the sponge gasket upside down, as the tapered edge must always face downward into the bowl opening to seat correctly.
What causes a toilet tank bolt to leak after replacement?
A toilet tank bolt continues to leak after replacement due to overtightened deformed washers, uneven tank leveling, or leftover mineral scale trapped under the new rubber seal. When washers are wrenched down too tightly, the rubber squeezes sideways and splits open, creating a direct channel for water to escape.
If you suspect deformed washers, disassemble the hardware, inspect the rubber for cracks or curling, and replace any compromised seals. Additionally, wipe down the porcelain mounting area with a non-scratch scrub pad before installing new components, as microscopic grit or lime scale deposits can prevent rubber washers from forming a complete, waterproof seal against the tank floor.
When should I replace the entire toilet instead of fixing the bolts?
You should replace the entire toilet rather than fixing the bolts if you discover hairline porcelain spiderweb fractures radiating outward from the tank bolt holes. Porcelain cannot be structurally repaired once fractured, and a stressed bolt hole will eventually rupture completely, flooding your bathroom.
Other indicators that warrant a full toilet replacement include deep structural cracks in the bowl body, persistent leaks originating from hidden internal traps, or an outdated water consumption rate exceeding 3.5 gallons per flush. If your toilet is more than 25 years old and requires frequent hardware overhauls, investing in a modern high-efficiency model is more cost-effective than buying recurring replacement parts.
The Bottom Line
Fixing a leaking toilet tank bolt is a straightforward plumbing repair that requires replacing worn rubber washers and rusted hardware with a reliable solid brass kit. Success depends on following proper assembly sequences, such as placing rubber washers inside the tank and maintaining a safe torque limit of 15 to 20 inch-pounds. By checking for porcelain cracks, avoiding over-tightening, and verifying uniform gap spacing, you can permanently eliminate leaks and restore your toilet to optimal working order.