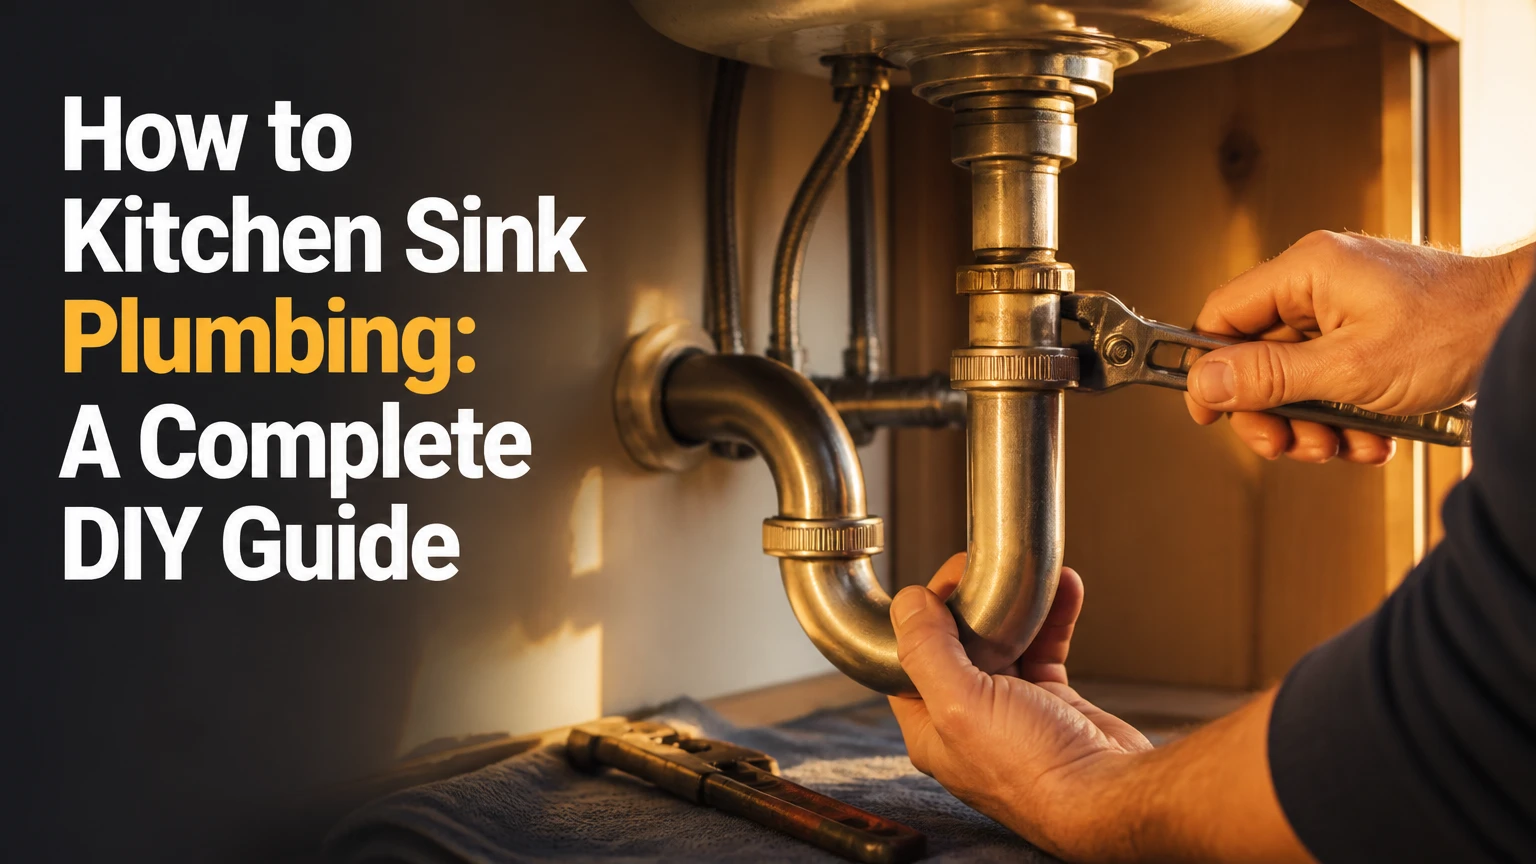
To kitchen sink plumbing correctly, connect the faucet to pressurized hot and cold supply lines, then assemble a gravity-drained waste path through the sink outlet, tailpiece, P-trap, trap arm, and vented wall drain. A straightforward replacement normally involves eight stages and takes a careful beginner about 2-4 hours.
Key Facts at a Glance
- Most under-sink kitchen drain assemblies use 1 1/2-inch tubular pipe.
- Horizontal drainage pipe measuring 2 1/2 inches or less generally needs at least 1/4 inch of fall per foot.
- A P-trap must remain vented and retain water to block sewer gases.
- Plastic slip-joint nuts should be hand-tightened before receiving a small additional turn.
- A dishwasher hose must connect above the disposal or sink-drain inlet through an approved high loop or air gap.
- Every completed installation should pass both a running-water test and a full-basin dump test.
Before You Start Kitchen Sink Plumbing
A standard kitchen sink replacement is a moderate DIY project when the existing wall drain, shutoff valves, vent, and cabinet openings remain in usable positions. Moving the drain inside a wall, adding a new vent, replacing corroded supply piping, or altering an island system usually requires a licensed plumber and, depending on local rules, a permit.
| Planning item | Typical requirement |
| Working time | 2-4 hours for a direct replacement |
| Difficulty | Moderate |
| Basic drain materials | $25-$80 |
| Faucet supply hoses | Two braided connectors |
| Common drain size | 1 1/2-inch tubular assembly |
| Essential tools | Pliers, wrench, tape measure, level, bucket, saw |
| Main success factor | Correct alignment before tightening |
Tools and Materials
Prepare tongue-and-groove pliers, an adjustable wrench, a tape measure, a small level, a bucket, towels, a flashlight, and a fine-tooth saw or tubing cutter. A basin wrench helps when faucet nuts are difficult to reach.
Common materials include:
- Basket strainer or garbage-disposal flange
- Tailpiece or disposal discharge elbow
- 1 1/2-inch P-trap kit
- Trap adapter for the wall connection
- Slip-joint nuts and beveled washers
- Two faucet supply connectors
- Plumber’s putty or manufacturer-approved silicone
- Dishwasher branch tailpiece, when no disposal is installed
Do not purchase every component by appearance alone. Measure the sink outlets, wall stub-out, faucet connections, disposal discharge height, and cabinet clearance first.
How Does Kitchen Sink Plumbing Work?
Kitchen sink plumbing contains two independent systems. The water-supply system delivers pressurized hot and cold water to the faucet, while the drainage system uses gravity, a correctly sloped pipe, a water-sealed trap, and air supplied by a vent to remove wastewater without releasing sewer gas.
The Water-Supply System
Hot and cold branch pipes usually terminate at separate shutoff valves inside the cabinet. Flexible braided supply connectors run from those valves to the faucet shanks.
The valves let you isolate the sink without shutting off the entire house. A worn valve that does not close completely should be replaced before beginning the sink installation, because relying on a partially functional shutoff creates a flooding risk.
The Drainage and Vent System
Wastewater leaves the basket strainer or disposal, travels down a tailpiece, passes through the P-trap, and enters the wall through a horizontal trap arm. The P-trap retains water after each use, creating a physical barrier between the room and the drainage system.
The vent admits air behind moving wastewater. Without adequate venting, drainage can become slow or noisy, and siphoning can reduce the trap’s water seal.
The 2024 International Plumbing Code states that horizontal drainage piping must have a uniform alignment and slope. For pipe measuring 2 1/2 inches or less, the listed minimum is 1/4 inch per foot.
Kitchen Sink Plumbing Parts and Material Choices
The best material depends on whether the component sits visibly below the sink, permanently inside a wall, or between a valve and faucet. Under-sink drain parts must remain accessible because grease, food particles, and small objects eventually require removal.
| Material | Typical application | Joining method | Main advantage | Limitation |
| Polypropylene | Exposed P-trap and tailpiece | Slip-joint nuts | Adjustable and removable | Less rigid than glued pipe |
| PVC | Drain pipe and wall fittings | Primer and solvent cement | Affordable and corrosion-resistant | Glued joints are not adjustable |
| ABS | Drain and vent piping | ABS solvent cement | Lightweight and impact-resistant | Not accepted in every jurisdiction |
| Chrome-plated brass | Exposed drain assembly | Slip joints or threaded joints | Durable, finished appearance | Costs more and may corrode |
| PEX | Hot and cold supply branches | Crimp, clamp, or expansion fittings | Flexible with fewer fittings | Requires a compatible tool system |
| Copper | Permanent supply piping | Soldered or press fittings | Long service life | Higher material and labor cost |
| Braided stainless hose | Valve-to-faucet connection | Threaded compression nuts | Flexible and easy to replace | Must not be twisted or stretched |
Practitioner rule: Use removable slip-joint piping below the sink unless local requirements or the existing system call for another method. A removable trap is far easier to clean and realign than a glued under-cabinet assembly.
Kitchen Sink Plumbing Measurements and Code Rules
Kitchen sink dimensions are not universal. Cabinet height, sink depth, disposal size, countertop thickness, wall-drain elevation, local code adoption, and venting method can change the correct layout.
| Measurement | Common value or rule | Why it matters |
| Tubular sink drain | 1 1/2 inches | Matches common strainers and traps |
| Pipe behind wall | Often 1 1/2 or 2 inches | Depends on system design and code |
| Drain slope | Minimum 1/4 inch per foot for pipe 2 1/2 inches or less under IPC | Maintains gravity flow |
| 1 1/2-inch trap-to-vent distance | Up to 6 feet under cited IPC table | Helps protect trap seal |
| 2-inch trap-to-vent distance | Up to 8 feet under cited IPC table | Applies at 1/4-inch slope |
| Trap seal | Commonly 2-4 inches | Blocks sewer gases |
| Supply branch size | Commonly 1/2 inch | Feeds the shutoff valves |
| Faucet connector | Often 3/8-inch compression at valve | Must match the installed valve |
Under the cited IPC table, a 1 1/2-inch fixture drain at a 1/4-inch-per-foot slope has a maximum trap-to-vent distance of 6 feet, while a 2-inch fixture drain has an 8-foot limit. The code also limits total fall before the vent so the drain cannot drop below the trap-weir relationship needed for protection.
Local rules control the project. Confirm which plumbing-code edition and amendments your city, county, or state has adopted before relocating drains or modifying vents.
Step 1: Inspect and Measure the Existing Layout
Shut off both sink valves, open the faucet to relieve pressure, and place a bucket under the trap. Measure from the cabinet floor to the center of the wall drain, then measure the vertical distance from each sink outlet or disposal discharge to that wall connection.
The disposal outlet must sit high enough to drain downhill into the trap. Installing an extra-deep sink with a large disposal often lowers the discharge below the existing wall stub, making a conventional gravity layout impossible.
Success checkpoint: The sink outlet or disposal discharge is high enough to connect to a P-trap whose trap arm slopes downward toward the wall.
Common mistake: Buying a deeper sink before checking wall-drain height.
Step 2: Install the Basket Strainer
Clean the sink opening and underside until both surfaces are free of old putty, silicone, grease, and debris. Roll plumber’s putty into an even rope and press it beneath the strainer flange, unless the sink or strainer manufacturer specifies silicone.
Insert the strainer from above. From below, install the supplied gasket, friction washer, and locknut in the manufacturer’s order. Hold the strainer still while tightening the locknut, then remove the material squeezed out around the upper flange.
Natural stone, porous composite materials, and some plastic strainers can be stained or damaged by oil-based putty. Use neutral-cure silicone where the product instructions require it.
Success checkpoint: The flange sits flat without rotating or rocking.
Step 3: Attach and Size the Tailpiece
Connect the tailpiece to the strainer outlet with the supplied flanged washer and slip-joint nut. Leave the connection loose enough for adjustment.
Hold the P-trap below the tailpiece and mark the required cut. The tailpiece should enter the trap’s slip-joint socket far enough to seal, but it must not bottom out and obstruct the bend.
Cut the tube squarely. Remove burrs because a jagged edge can damage the beveled washer or prevent the tube from seating concentrically.
Washer orientation: The flat side normally faces the nut, while the tapered side faces the receiving fitting. Confirm the profile supplied with your kit.
Success checkpoint: The tailpiece enters the trap vertically without sideways force.
Step 4: Connect the Disposal and Dishwasher
A garbage disposal replaces the basket-strainer outlet on its sink bowl. Install the sink flange, backup components, mounting ring, and disposal according to the appliance instructions, then rotate the unit so its discharge elbow points toward the planned drain path.
Before connecting a dishwasher to a new disposal, remove the molded knockout plug inside the dishwasher inlet. Use a screwdriver and light hammer taps, retrieve the loose plug, and attach the dishwasher hose with an approved clamp.
Route the dishwasher hose through an air gap when local code requires one. Where a high loop is permitted, secure the hose as high as practical beneath the countertop before it descends to the disposal or branch tailpiece. This routing reduces the chance of sink wastewater flowing back toward the appliance.
Success checkpoint: The hose rises before reaching the drain connection, and the disposal outlet remains above the trap inlet.
Step 5: Assemble the P-Trap
Slide a slip-joint nut and beveled washer over the tailpiece. Push the trap bend upward onto the tailpiece, then connect its outlet to the trap arm.
A P-trap contains one U-shaped bend followed by a horizontal outlet. Do not create an S-trap by adding a second downward bend before the vented branch connection. An S-trap can siphon its own water seal and allow sewer odor into the kitchen.
Dry-fit every component before tightening. A correctly fitted assembly rests in position without being pulled sideways, twisted, or supported by the wall adapter.
Success checkpoint: The trap is vertical, removable, and free from mechanical strain.
Step 6: Set the Trap-Arm Slope
Insert the trap arm into the wall adapter and point it directly toward the P-trap outlet. Trim the arm only after confirming that enough tube remains inside the wall adapter for a full slip-joint seal.
For a typical 1 1/2-inch line, provide 1/4 inch of downward fall for every foot of horizontal run toward the wall drain. A 2-foot trap arm therefore needs approximately 1/2 inch of fall.
More slope is not automatically better. Excessive fall before the vent can place the vent connection below the effective trap-weir level and contribute to siphoning. The 2024 IPC states that the total fall in the fixture drain must not exceed one pipe diameter before the vent connection.
Success checkpoint: A level confirms continuous downward fall toward the wall with no sagging section.
Step 7: Connect the Faucet Supply Lines
Inspect the faucet shanks, shutoff-valve outlets, and supply-hose labels. Many residential valves use 3/8-inch compression outlets, but the faucet end varies by manufacturer.
Thread each connector onto the faucet by hand to avoid cross-threading. Connect the opposite ends to the appropriate hot and cold valves, keeping the hoses in relaxed curves.
Tighten factory-gasketed connectors according to their instructions. Do not apply thread-seal tape to compression fittings or connections that seal with rubber gaskets unless the manufacturer specifically requires it.
Open each valve slowly. Watch the valve stem, valve outlet, hose body, and faucet connection during pressurization.
Success checkpoint: Both valves open fully and all supply connections remain dry.
Step 8: Align, Tighten, and Test
Hand-tighten every plastic slip-joint nut while maintaining alignment. Add approximately one-quarter turn with pliers only where needed. Excessive force can split a nut, deform a washer, or pull thin tubing out of alignment.
Run cold water for one minute, followed by hot water. Dry every joint, then touch each connection with a clean paper towel. A paper towel reveals slow seepage before a visible drop forms.
Next, stop the sink, fill the bowl nearly to the overflow-safe level, and release the water all at once. For a double sink, fill and release both bowls. The sudden high flow tests the basket flange, disposal outlet, continuous waste, trap, and wall connection under a realistic peak load.
Success checkpoint: No joint leaks, the sink drains without backing up, and the trap remains stable.
How Do You Plumb a Double Kitchen Sink?
A double kitchen sink should combine both bowl outlets before one shared P-trap unless an approved local design requires another arrangement. The two common layouts are an end-outlet continuous waste and a center-outlet continuous waste.
| Configuration | Drain path | Cabinet-space effect | Best use |
| Single bowl | One outlet to one trap | Maximum free space | Large workstation sink |
| Double bowl, end outlet | One bowl crosses to the other side | Keeps center open | Disposal installed on one bowl |
| Double bowl, center outlet | Both outlets meet near center | Uses central cabinet space | Symmetrical bowls |
| Disposal plus second bowl | Second bowl joins disposal discharge path | Moderate space use | Food-preparation kitchen |
| Dishwasher without disposal | Hose connects to branch tailpiece | Requires branch fitting | Sink without food disposer |
Pitch horizontal continuous-waste tubing toward the shared outlet. Keep the assembly compact, accessible, and high enough to preserve downhill flow into the wall drain.
What Changes for an Island Kitchen Sink?
An island sink cannot normally use a simple vertical vent rising inside a nearby wall. Depending on local code and system design, it may require an island fixture vent, sometimes called a loop vent, or an approved air-admittance valve.
An air-admittance valve admits air into the drainage system but does not relieve positive pressure. It must remain upright, accessible, and installed at the required elevation. It should never be buried inside a finished wall or placed where cabinet contents can block airflow.
Island venting is code-sensitive and easy to install incorrectly. Professional design is advisable when the original drain and vent are being altered.
Common Mistakes and How to Fix Them
| Symptom | Likely cause | Correction | Prevention |
| Slip joint drips | Washer reversed, damaged, or off-center | Disassemble and reseat or replace washer | Align tubing before tightening |
| Basket flange leaks | Uneven sealant or rotating strainer | Remove, clean, reseal, and retighten | Hold flange stationary |
| Sink drains slowly | Trap obstruction, poor slope, or vent problem | Clean trap and verify pitch | Keep grease and debris out |
| Dishwasher will not drain | Disposal knockout plug remains installed | Disconnect hose and remove plug | Check new disposal before mounting |
| Sewer odor develops | Dry trap, leaking trap, S-trap, or vent fault | Refill trap and inspect configuration | Maintain a vented P-trap |
| Trap pulls apart | Pipes cut short or under tension | Replace with correctly sized tubing | Dry-fit without force |
| Water enters second bowl | Downstream restriction | Clean trap and branch line | Maintain clear shared drainage |
| Disposal vibrates piping | Loose mount or strained assembly | Secure disposal and realign drain | Leave no rigid side-load |
Expert insight: Most new slip-joint leaks are alignment failures, not tightening failures. Applying more wrench force to a crooked washer usually makes the leak worse.
Expert insight: Drain elevation should be checked before sink depth is selected. A low disposal outlet cannot drain uphill to a high wall stub, regardless of how tightly the pipes are assembled.
How Much Does Kitchen Sink Plumbing Cost?
A simple DIY drain replacement may cost $25-$80 in plastic fittings, while a faucet, disposal, upgraded shutoff valves, or wall modifications can raise the total substantially. Professional prices vary by location, access, permit requirements, and whether the existing rough-in can remain unchanged.
| Project | Typical DIY materials | Typical professional range |
| Replace exposed P-trap | $15-$40 | $125-$300 |
| Replace complete drain assembly | $25-$80 | $150-$450 |
| Install sink and faucet | $150-$700 plus fixtures | $300-$900 plus fixtures |
| Install garbage disposal | $100-$350 | $250-$700 |
| Replace shutoff valves | $20-$80 | $150-$400 |
| Relocate drain or supply piping | $100-$500 | $750-$3,000+ |
Published consumer cost guidance places ordinary plumber labor around $45-$200 per hour, with sink installation commonly reported near $420, although local pricing and job complexity can move the final amount considerably.
Treat these figures as planning ranges rather than quotations. Hidden corrosion, inaccessible piping, stone-countertop work, disposal wiring, permits, and wall repairs can materially increase the price.
When Should You Hire a Plumber?
Hire a licensed plumber when the wall drain must be lowered, a vent must be created or relocated, shutoff valves cannot isolate the water, metal piping is severely corroded, wastewater backs up beyond the trap, or local rules require permitted work.
Professional help is also appropriate when:
- The disposal outlet sits below the wall drain.
- An island sink requires a new venting design.
- The cabinet contains old galvanized or lead-containing components.
- Multiple fixtures drain slowly at the same time.
- Opening a wall or floor is necessary.
- A leak continues after correct washer replacement and realignment.
A homeowner can replace accessible tubular piping successfully. Work inside walls is less forgiving because an incorrect slope, concealed leak, or unprotected trap may remain unnoticed until cabinet, wall, or floor damage appears.
Frequently Asked Questions
Does a kitchen sink need a vent?
Yes. A kitchen sink drain needs an approved venting method to admit air and protect the P-trap water seal. The vent may connect to a conventional vent stack, an island-loop system, or an approved air-admittance valve where local rules allow one. A drain can appear functional while still being improperly vented.
Can two kitchen sinks share one P-trap?
Two bowls forming one kitchen-sink fixture commonly share one P-trap after their outlets join through a continuous-waste assembly. The connecting tubes must slope toward the shared outlet, remain accessible, and avoid excessive horizontal length. Separate traps can create venting and alignment complications unless the system is designed for them.
Should kitchen sink drain pipes be glued?
Exposed tubular drain parts beneath a kitchen sink are usually joined with removable slip-joint nuts and beveled washers. Permanent PVC or ABS piping and fittings inside the drainage system may require approved solvent cement. Do not glue a fitting designed for slip-joint assembly, because it complicates maintenance and may not create a reliable seal.
Can I use plumber’s putty on every kitchen sink?
No. Plumber’s putty is suitable for many stainless-steel and enamel sink-strainer flanges, but its oils may stain porous stone or react with some plastics and composite materials. Read the sink and drain manufacturers’ instructions. Use the specified neutral-cure silicone when putty is prohibited.
Why does my new kitchen sink drain slowly?
A newly installed sink usually drains slowly because the trap arm lacks sufficient slope, a tube extends too far into another fitting, the disposal knockout was not removed, debris entered the trap, or the venting arrangement is defective. Inspect the accessible assembly first. Persistent multi-fixture drainage problems point farther downstream.
How tight should plastic drain nuts be?
Plastic slip-joint nuts should first be tightened firmly by hand. When a joint still seeps despite proper alignment and washer placement, apply only a small additional turn with pliers. Tightening cannot compensate for a reversed washer, crooked tube, damaged sealing surface, or pipe under sideways tension.
Conclusion
The correct approach to how to kitchen sink plumbing is to plan the elevations first, assemble every drain component without strain, maintain the required downward slope, protect the P-trap with approved venting, and test the finished work under maximum flow. Careful measurement and dry fitting prevent more failures than extra sealant or wrench force.