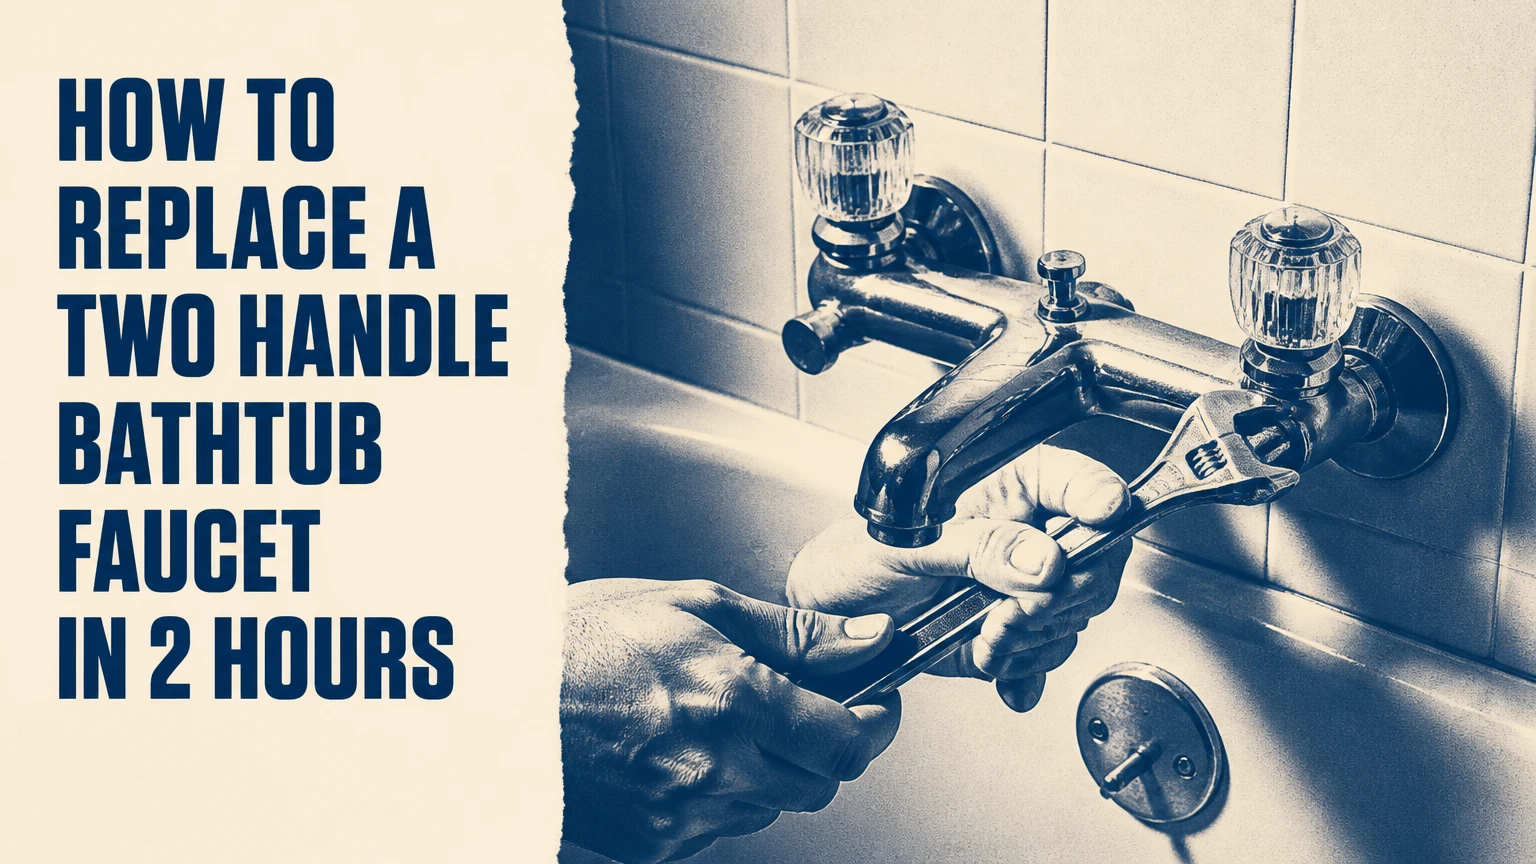
Replacing a two-handle bathtub faucet usually means removing the old handles, escutcheons, cartridges or stems, and tub spout, then installing compatible replacement parts on the existing valve body. A trim-only replacement typically takes 2-4 hours for a careful DIYer. The deciding factor is whether the new faucet matches the old valve, handle spacing, cartridge design, and spout connection.
Key facts at a glance
Measure handle center-to-center spacing before buying; 8 inches is common, but it is not universal.
A trim kit changes visible parts, while a valve-body replacement requires wall or tile access.
Shut off and verify the water supply before removing any stem, cartridge, or spout.
A threaded tub spout uses pipe-thread sealant, while a slip-on spout uses a setscrew.
Typical DIY replacement cost is $80-$210 for a standard fixture and basic supplies.
A new trim kit cannot reliably correct a leaking or incompatible concealed valve.
What You Are Replacing
A two-handle bathtub faucet has separate hot and cold controls connected to a tub spout and, in many installations, a shower riser. The visible assembly includes handles, index caps, escutcheons, stems or cartridges, and the spout. The concealed assembly includes the valve body, supply connections, mixed-water outlet, and sometimes a diverter.
The visible faucet is often called the trim. The valve body is the plumbing component secured behind the wall. A trim-only project is relatively contained because the existing valve remains in place. Replacing the valve body is a different job because the water lines must be disconnected and the wall may require cutting.
The two controls may use compression stems, ceramic-disc cartridges, or other manufacturer-specific cartridges. Appearance alone does not identify the mechanism. Brand markings, handle-screw location, cartridge shape, and valve-body dimensions provide better evidence.
When does trim-only replacement work?
Trim-only replacement works when the replacement parts are designed for the existing valve or when a manufacturer-approved adapter is available. Universal-looking handles and escutcheons may fit the wall opening but still fail to operate the internal stems correctly.
Before ordering, record the faucet brand, photograph the exposed valve, measure the handle spacing, and compare the existing cartridge with the replacement manufacturer’s parts diagram. A Delta, Moen, Kohler, Pfister, or American Standard trim kit is not automatically interchangeable with another brand.
How the Faucet Works
A two-handle bathtub faucet mixes hot and cold water through two independent valves before sending water to the tub spout. Turning a handle moves a stem, cartridge, washer, or ceramic disc that opens an internal water passage. Seals around the moving component prevent water from escaping into the wall or around the handle.
Compression faucets use a threaded stem that moves inward and presses a rubber washer against a valve seat. A worn washer commonly causes a drip from the spout. Ceramic cartridges use closely matched discs or seals, and a damaged cartridge can cause dripping, handle-area leakage, or difficult operation.
The valve body remains pressurized even when the handles are closed. That is why a local shutoff or main shutoff must be verified rather than assumed. A closed handle is not a substitute for an isolated supply.
Practitioner rule: If the faucet drips only when closed, inspect the washer, cartridge, and valve seat. If water appears from behind the escutcheon, inspect the stem seal, cartridge O-ring, and valve-body connection before resealing the wall plate.
Which Faucet Type Do You Have?
Identify the faucet mechanism before selecting replacement parts. The following clues narrow the diagnosis, but the manufacturer’s parts diagram remains the final authority.
| Faucet type | Identifying feature | Common failure | Typical replacement part |
|---|---|---|---|
| Compression stem | Handle turns several revolutions | Rubber washer or valve seat wears | Washer, seat, stem, or packing |
| Ceramic cartridge | Handle turns about a quarter or half turn | Cartridge seal or ceramic disc fails | Brand-specific cartridge |
| Cartridge stem | Removable cylindrical cartridge | O-ring, seal, or cartridge leaks | Matching hot or cold cartridge |
| Deck-mounted faucet | Controls sit on tub rim or deck | Deck gasket or supply connection leaks | Deck faucet kit and gaskets |
A wall-mounted faucet has controls installed through the wall above the tub. A deck-mounted faucet is installed through drilled openings in the tub rim or surrounding deck. The removal process differs because deck-mounted connections are usually reached from below or through an access panel.
Confirm the installation type
Look at the location of the handles and spout, then inspect the opposite side of the wall or tub deck if access exists. Wall-mounted components normally connect to a concealed valve body, while deck-mounted components often use flexible connectors, locknuts, and visible underside fittings.
Do not buy a wall-mounted trim kit for a deck-mounted faucet. The hole pattern, connection depth, and water-supply arrangement will not match.
Before You Start
A standard wall-mounted replacement takes about 2-4 hours when the existing valve and pipework are sound. A valve-body replacement can take 6-12 hours because wall access, pipe reconnection, waterproofing, and finish repair add work.
| Item | Typical requirement | Typical cost |
|---|---|---|
| Compatible trim or faucet kit | 1 kit | $50-$150 |
| Premium solid-brass trim | 1 kit | $200-$600+ |
| Adjustable wrench | 1, 8- or 10-inch | $10-$25 |
| Strap wrench | 1 | $15-$35 |
| Cartridge or stem socket | 1, manufacturer-specific | $10-$30 |
| Plumber’s grease | 1 small tube | $5-$12 |
| Thread seal tape | 1 roll | $2-$6 |
| Replacement washers and O-rings | 1 assorted pack | $5-$15 |
Also gather a Phillips screwdriver, small flathead screwdriver, hex keys, tongue-and-groove pliers, a bucket, clean rags, a flashlight, a drain cover, and a plastic scraper. Use a strap wrench or padded wrench jaws on finished chrome, brushed nickel, brass, or matte black surfaces.
Measure before buying
Measure from the center of the hot handle to the center of the cold handle. Eight inches is a common wall-mounted spacing, but older homes and specialty fixtures may use 6 inches, 7 inches, 10 inches, or a manufacturer-specific dimension.
| Measurement | What to record | Why it matters |
|---|---|---|
| Handle spacing | Center to center, in inches | Determines trim compatibility |
| Valve depth | Finished wall to valve face | Prevents short or proud escutcheons |
| Spout projection | Wall to spout outlet | Prevents water striking the wall |
| Spout connection | Threaded or slip-on | Determines installation method |
| Pipe diameter | Usually 1/2-inch nominal | Determines adapter and spout fit |
Measure from the finished wall surface, not from the backer board. A new tile layer can change the valve depth enough to prevent a rigid trim plate from seating.
Step 1: Shut Off and Verify the Water
Close the bathroom isolation valves if the plumbing system has them. If no local valves exist, close the home’s main shutoff, then open both bathtub handles and confirm that the flow stops completely.
Place a bucket below any accessible connection and cover the drain with a rag or drain stopper. Residual water may remain in the valve and supply lines, even after the main supply is closed.
You’ll know it worked when: both handles produce no continuing stream after the trapped water drains.
Common mistake: relying on the handle position as proof that the supply is off. A closed faucet can conceal a live supply line.
Step 2: Remove the Tub Spout
Inspect underneath the tub spout for a small hex setscrew. If a setscrew exists, loosen it with the correct Allen key and pull the spout straight away from the wall. Do not twist aggressively because the copper stub-out can rotate inside the wall.
If no setscrew exists, the spout is usually threaded onto a male adapter or pipe nipple. Protect the finish with a cloth and use a strap wrench to turn the spout counterclockwise. Hold the pipe or fitting behind the wall if it is accessible.
You’ll know it worked when: the spout comes off without the wall stub moving or the fitting turning behind the wall.
Common mistake: using bare pliers on the finished spout. Deep jaw marks can make an otherwise usable replacement part impossible to reuse.
Step 3: Remove the Handles and Escutcheons
Lift or carefully pry off each decorative index cap with a small flathead screwdriver covered by tape. Remove the handle screw, then pull the handle straight off the stem. If the handle is seized, use a handle puller rather than levering against tile or the wall surface.
Unscrew the escutcheon, or remove its mounting screws if the plate is fixed directly to the valve assembly. Scrape away old caulk with a plastic scraper and keep every screw in a labeled container.
You’ll know it worked when: the valve stems or cartridge retaining nuts are fully visible and the wall finish remains intact.
Common mistake: twisting a stuck handle with pliers. That can bend the stem or crack the handle hub.
Step 4: Inspect the Existing Valve
Photograph the exposed valve before removing internal parts. Record which cartridge or stem is on the hot side, which is on the cold side, and whether the valve uses retaining nuts, clips, or threaded bodies.
Inspect for mineral deposits, corrosion, damaged threads, cracked plastic, and signs of water behind the wall. Mineral buildup around a cartridge is normal in hard-water areas; active corrosion, movement, or a loose valve body indicates a larger repair.
If the new kit does not list the existing valve as compatible, stop before installation. A replacement trim kit cannot correct a different rough-in dimension.
Step 5: Remove the Stems or Cartridges
Remove the retaining clip, packing nut, or cartridge nut according to the faucet manufacturer’s instructions. Use a correctly sized stem or cartridge socket whenever possible because an adjustable wrench can round the hex.
Pull the component straight out. A cartridge puller may be needed when mineral deposits bind it to the valve body. Keep the hot and cold components separate because some cartridges are side-specific.
Clean the valve opening with a soft brush and rag. Do not sand the sealing bore with coarse abrasive material, and do not push debris deeper into the valve.
You’ll know it worked when: the new cartridge seats fully without force and its locating tab or notch aligns with the valve body.
Common mistake: installing the hot cartridge on the cold side. Reversed handles or incorrect temperature direction often result.
Step 6: Install the New Cartridges or Stems
Compare each new component with the removed part before applying grease. Install a thin film of manufacturer-approved silicone plumber’s grease to the O-rings or seals. Do not use petroleum jelly, which can damage some rubber compounds.
Insert the hot and cold cartridges in their specified orientation. Replace retaining clips, nuts, washers, or seats, then tighten until secure. Stop when the component is held firmly; excessive force can crack plastic cartridge bodies or deform seals.
For compression valves, inspect the valve seat with a flashlight. A pitted seat can destroy a new washer quickly, so replace the seat with a seat wrench if the design permits.
You’ll know it worked when: each handle turns smoothly through its intended range and the retaining hardware sits flush.
Step 7: Install the Escutcheons and Handles
Slide the escutcheons over the stems and seat the supplied gasket against the finished wall. Use the gasket supplied with the kit whenever possible. If the manufacturer permits sealant, apply a narrow bead around the upper and side perimeter while leaving a small opening at the bottom for drainage.
Attach the handles in the manufacturer’s hot and cold positions. Tighten the center screws without crushing the handle hub, then install the index caps.
The escutcheon is a trim seal, not a repair for a leaking valve. If water is escaping behind the plate, solve the internal leak before applying caulk.
Step 8: Install the New Tub Spout
Match the spout connection to the stub-out before applying sealant. Threaded spouts require compatible pipe threads and thread sealant. Apply thread seal tape clockwise when facing the male threads, keeping the first thread clear so loose tape cannot enter the valve.
Thread the spout by hand until the gasket or shoulder approaches the wall, then make the final adjustment with a strap wrench. Slip-on spouts require the correct pipe diameter and a clean, round stub-out; slide the spout fully into position and tighten the setscrew.
| Spout connection | Sealant | Installation method | Failure to avoid |
|---|---|---|---|
| Male pipe thread | Thread seal tape or approved sealant | Hand-tighten, then strap wrench | Cross-threading |
| Slip-on copper stub | Usually no tape | Insert fully, tighten setscrew | Incomplete insertion |
| Adapter-based spout | Manufacturer-specified seal | Install adapter, then spout | Wrong adapter length |
| Diverter spout | Supplied gasket or sealant | Align diverter and outlet | Reversed shower flow |
Do not wrap thread tape around a slip-on copper pipe. Tape cannot seal that joint and may prevent the spout from seating correctly.
Step 9: Restore Water and Test
Remove the rag from the drain only after checking that all small parts are accounted for. Open the main or isolation valve slowly to limit pressure shock, then leave the tub handles closed for an initial inspection.
Open the cold handle gradually, followed by the hot handle. Run water through the tub spout for several minutes to flush loose mineral particles. If the faucet supplies a showerhead, remove the showerhead or clean its screen after flushing.
Inspect the cartridge area, escutcheon perimeter, spout connection, and accessible wall or basement side for at least 15 minutes. Check again after the first hot-water cycle because thermal expansion can reveal a marginal connection.
You’ll know it worked when: the spout stops dripping when closed, both handles control the intended temperature, and no moisture appears behind the trim.
Common Mistakes and How to Fix Them
| Failure mode | Likely cause | Recovery |
|---|---|---|
| Spout leaks at wall | Wrong connection or damaged gasket | Remove, inspect stub, install correct spout |
| Handle drips | Damaged O-ring or loose packing nut | Isolate water, replace seal, retest |
| Handles operate backward | Hot and cold cartridges swapped | Reinstall cartridges on correct sides |
| Low flow after installation | Sediment in cartridge or spout | Remove screen, rinse cartridge ports |
| Wall fitting turns | Stub-out or valve body is unsecured | Stop work and open access panel |
| Escutcheon will not seat | Valve depth or tile thickness mismatch | Use approved extension, not excessive caulk |
A drip from the tub spout after cartridge replacement usually indicates an incorrectly seated cartridge, debris on the sealing surface, a damaged cartridge, or a worn valve body. Replacing the visible trim alone will not solve that condition.
What if the stem is seized?
Apply penetrating oil only to the exposed metal stem and allow it to work according to the product label. Protect the wall finish, avoid open flames, and use a stem puller if the manufacturer’s design permits. If the valve body moves while removing the stem, stop and gain access behind the wall.
What if there is no local shutoff?
Use the main house shutoff and open the lowest nearby faucet to reduce residual pressure. Tell other household members not to use water during the repair, and keep the main shutoff accessible in case a new connection leaks.
What if the new faucet does not fit the valve?
Do not force the cartridge, widen the wall opening, or stack random adapters. Return the trim for a compatible model, or replace the concealed valve with a complete manufacturer-matched system.
Should You Keep Two Handles?
Keep a two-handle bathtub faucet when precise independent control, period appearance, existing valve compatibility, and easy stem servicing matter most. Choose a single-handle pressure-balancing or thermostatic system when one-handed operation and scald protection have higher priority.
| Decision factor | Two-handle faucet | Single-handle faucet | Practical consequence |
|---|---|---|---|
| Temperature adjustment | Separate hot and cold controls | One control lever | Two-handle adjustment needs both hands |
| Existing rough-in | Often preserves current valve | Usually requires new valve | Single-handle conversion may require wall access |
| Scald protection | Not inherently pressure-balanced | Many systems use balancing | Verify the actual valve specification |
| Repair access | Stem or cartridge replacement | Cartridge replacement | Both depend on brand parts availability |
| Typical trim cost | $50-$600+ | $75-$700+ | Conversion can add wall-repair cost |
| Installation time | 2-4 hours trim-only | 6-12 hours if valve changes | Access determines the major labor cost |
A two-handle faucet is not automatically unsafe, but separate controls do not provide pressure-balancing protection by themselves. Maximum water temperature should be set at the water heater or anti-scald control according to local requirements and the valve manufacturer’s instructions.
Cost, Time, and DIY Limits
A compatible two-handle trim replacement typically costs $50-$150 for a basic kit, $200-$600 or more for premium fixtures, and $30-$60 for tools and supplies when the homeowner owns nothing. Professional labor commonly adds $200-$500 for an accessible standard replacement, while wall opening and finish repair can increase the total substantially.
| Project scope | DIY time | Typical materials | Professional complexity |
|---|---|---|---|
| Handles and escutcheons only | 1-2 hours | $30-$150 | Low |
| Stems or cartridges plus trim | 2-4 hours | $50-$250 | Moderate |
| Threaded or slip-on spout replacement | 30-90 minutes | $25-$150 | Low |
| Concealed valve replacement | 6-12 hours | $150-$800+ | High |
A faucet’s 15-20-year service life is a reasonable planning range for a quality, maintained fixture, but water chemistry, use frequency, cartridge availability, and installation quality affect actual longevity. Replacing a $10 washer is usually more economical than replacing a sound faucet body.
Call a licensed plumber when the shutoff will not close, the valve body moves, the wall is wet, supply piping is corroded, soldering or crimping is required, or the repair requires cutting waterproofed tile. Local permit and plumbing-code requirements vary by jurisdiction.
The Bottom Line
To replace a two-handle bathtub faucet successfully, identify the existing valve, measure the handle spacing and valve depth, isolate the water, replace compatible stems or cartridges, and match the tub spout connection. The visible trim can usually be changed in 2-4 hours, but a concealed valve replacement is a substantially larger plumbing and wall-repair project.
Do not judge compatibility by finish or handle shape. The valve model, cartridge orientation, spout connection, and rough-in dimensions determine whether the replacement will operate correctly and remain leak-free.
Frequently Asked Questions
Can I replace only the handles on a bathtub faucet?
Yes, if the replacement handles match the stem spline, screw location, and handle depth. Universal handles can work for common splines, but they may not align with the escutcheon or stop at the correct position. Photograph the stem and count or measure the spline before purchasing.
How do I know whether my tub spout is threaded or slip-on?
A slip-on spout usually has a hex setscrew underneath and slides over a smooth copper stub. A threaded spout has no setscrew and turns onto male pipe threads. Remove the spout carefully because rotating a concealed fitting can loosen connections inside the wall.
Can a new faucet stop a leak behind the wall?
A new trim kit cannot stop a leak from a cracked valve body, loose supply connection, failed solder joint, or damaged pipe. Trim replacement can correct a cartridge, washer, stem seal, or spout leak only when the concealed valve and connections remain sound.
Is plumber’s putty appropriate for the escutcheon?
Use the gasket supplied with the faucet first. If the manufacturer permits sealant, use a compatible bathroom-grade silicone bead around the upper and side edges, leaving the bottom open. Plumber’s putty is more commonly used beneath drain flanges and may stain some porous surfaces.
Why does the tub spout drip after the handles are closed?
A dripping spout usually indicates a worn or incorrectly installed washer, cartridge, valve seat, or internal sealing surface. Shut off the water, confirm cartridge orientation and seating, flush debris, and replace the cartridge or valve seat if the drip continues.
Title tag: How to Replace a Two Handle Bathtub Faucet in 2 Hours
Meta description: Replace a two-handle tub faucet safely in 2-4 hours. Match the valve, spacing, cartridge, and spout, then verify leaks before finishing the job.