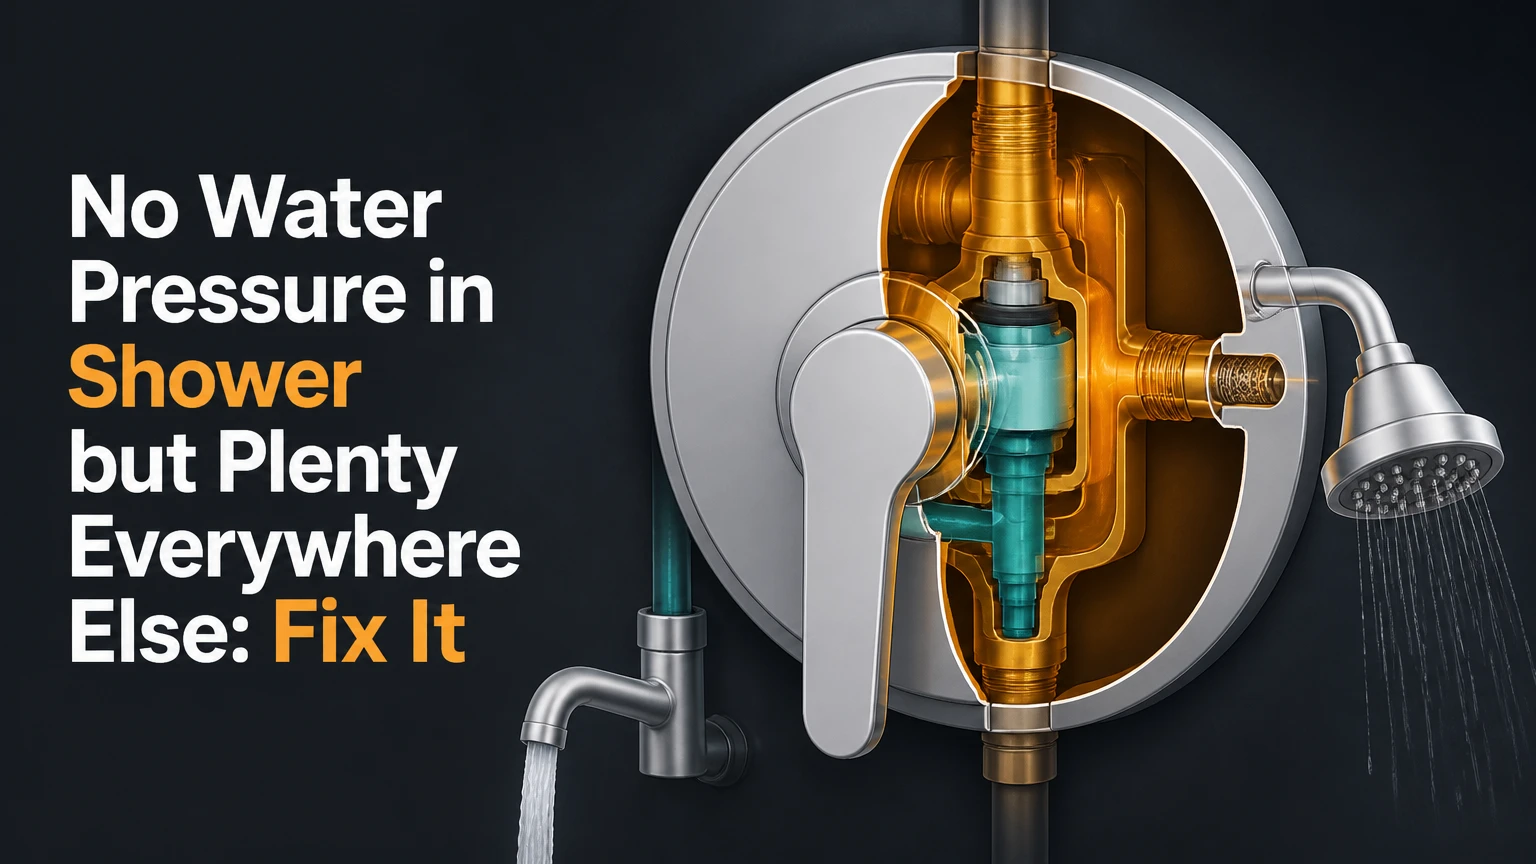
No water pressure in shower but plenty everywhere else usually means the restriction is inside the showerhead, shower arm, diverter, mixing valve, or a local shut-off stop. Remove the showerhead first: strong flow from the bare arm identifies a fixture blockage, while weak flow points to the valve or piping behind the trim.
Key Facts at a Glance
- A showerhead test separates an exposed fixture problem from a concealed valve problem in minutes.
- A clogged showerhead commonly causes low flow, while a failed cartridge can affect hot water, cold water, or both.
- Shower pressure and shower flow are different measurements; a bucket test measures flow, not static pressure.
- Showerheads labeled under the U.S. EPA WaterSense program use no more than 2.0 gallons per minute at standard test conditions.
- Integral stops are not universal; their shape and opening direction depend on the valve manufacturer.
- Do not force a seized cartridge, and do not flush an open valve without controlling the water stream.
Why Does Only the Shower Lose Pressure?
A shower loses pressure independently because its water path contains components that bathroom sinks and toilets do not share. The local path normally runs from the hot and cold supply pipes through isolation screens or stops, the mixing valve, the shower riser, the shower arm, and finally the showerhead.
A restriction anywhere after the branch connection can leave every other fixture normal. Mineral deposits can narrow small passages, construction debris can lodge in an inlet screen, and a cartridge can fail internally without reducing pressure at the sink.
Pressure Versus Flow
A showerhead does not create water pressure. The municipal supply or household pump provides pressure, while the showerhead, valve, and pipe openings determine how much water reaches the user.
The most useful household measurement is flow rate. Place a one-gallon bucket beneath the bare shower arm or showerhead and time the fill. A one-gallon fill in 30 seconds equals 2 gallons per minute, while a one-gallon fill in 60 seconds equals 1 gallon per minute. The test compares components consistently, but it does not replace a pressure-gauge reading.
The U.S. EPA WaterSense specification limits labeled residential showerheads to 2.0 gallons per minute, compared with the federal maximum of 2.5 gallons per minute under typical U.S. conditions. A low-flow showerhead can therefore be working correctly while still feeling weaker than an older unrestricted model.
What Should You Check First?
Check the showerhead before opening trim or ordering a cartridge. The bare-arm test is the highest-value first step because it takes about five minutes, costs nothing, and identifies whether the restriction is visible or concealed.
Step 1: Test the Bare Shower Arm
- Protect the shower drain with a cloth or drain cover.
- Wrap a piece of cloth around the showerhead connection.
- Use an adjustable wrench to loosen the showerhead counterclockwise.
- Leave the shower arm in place and direct its outlet toward the drain.
- Turn the handle fully open, first at a comfortable temperature.
- Observe the stream and, if useful, perform the one-gallon bucket test.
You will know the showerhead is the problem when the bare arm produces a strong, continuous stream that fills a one-gallon container substantially faster than the assembled showerhead. You will know the restriction is upstream when the bare arm still produces a thin stream.
Do not judge the result from splash height alone. A short shower arm can appear forceful even when its measured flow is low, and a wide outlet can spread the same flow into a weaker-looking pattern.
How Should You Interpret the Bare-Arm Test?
Strong bare-arm flow means the showerhead, inlet screen, swivel joint, or flow regulator is restricted. Weak bare-arm flow means the likely locations are the valve cartridge, inlet screen, integral stop, diverter, shower arm, or concealed supply piping.
| Bare-arm result | Most likely restriction | Next action | Typical time |
|---|---|---|---|
| Strong stream, showerhead weak | Nozzle, screen, regulator | Clean or replace showerhead | 15-60 minutes |
| Weak stream on hot and cold | Cartridge, inlet screen, stop | Inspect valve and stops | 30-120 minutes |
| Cold strong, hot weak | Hot inlet, cartridge, heater branch | Test hot-side valve path | 30-120 minutes |
| Hot strong, cold weak | Cold inlet, cartridge, supply branch | Test cold-side valve path | 30-120 minutes |
| Flow changes when tub diverter moves | Diverter valve or spout | Service or replace diverter | 20-90 minutes |
| Flow pulses or stops | Debris, balancing spool, air, supply fault | Isolate valve and supply | 30-180 minutes |
How Do You Fix the Showerhead Restriction?
Clean a scale-blocked showerhead by removing its screen and soaking removable parts in white vinegar for several hours, then rinse every passage before reinstalling. Replace the showerhead when deposits have hardened inside a sealed body, the rubber nozzles have deteriorated, or cleaning does not restore the measured flow.
Step 2: Clean or Replace the Showerhead
- Remove the showerhead and inspect the threaded inlet.
- Look for a small mesh screen, rubber washer, plastic regulator, or debris ring.
- Tap loose sediment into a container rather than pushing it farther into the head.
- Soak removable metal or plastic parts in white vinegar for 4-6 hours.
- Scrub rubber spray nozzles with a soft toothbrush.
- Rinse the head thoroughly and run water through it backward if the design permits.
- Reinstall with the original washer, using only enough thread seal tape to prevent leakage.
You will know the cleaning worked when the spray pattern becomes even and the bucket test approaches the showerhead’s rated flow. A showerhead rated at 1.75 gallons per minute should not be expected to deliver the same volume as a 2.5-gallon-per-minute model.
Do not poke every hole with a needle. Sharp tools can enlarge elastomer nozzles, damage a regulator, or push sediment behind an internal screen. Do not remove a flow restrictor merely to increase flow without checking local plumbing rules, because the restrictor may be part of the product’s certified performance.
Can a Tub Diverter Cause Low Shower Flow?
A tub-spout diverter can cause low shower flow when the diverter fails to seal and allows water to escape through the tub spout while the shower is running. A worn diverter does not usually reduce flow from the tub spout itself; the key symptom is strong tub flow combined with weak diverted shower flow.
Step 3: Test the Tub-Spout Diverter
For a tub-shower combination, turn the water on with the diverter released and confirm that the tub spout has normal flow. Pull or lift the diverter, then watch the spout while water should be traveling to the showerhead.
A small residual stream can occur on some installations while the riser drains. Continuous, forceful flow from the tub spout indicates a leaking diverter. If the spout has a threaded connection, replacement may be straightforward, but soldered or slip-fit designs require different removal methods.
| Diverter symptom | Likely component | Practical repair | Access level |
|---|---|---|---|
| Tub spout runs strongly during shower | Spout diverter seal | Replace spout or diverter | Exposed |
| Tub spout drips briefly after shutoff | Residual riser water | Usually no repair | Exposed |
| No tub flow and weak shower flow | Valve or shared supply | Inspect cartridge and stops | Trim access |
| Diverter handle is stiff | Scale or worn stem | Clean or replace mechanism | Exposed or trim |
| Shower improves when spout is removed | Restricted tub spout | Replace spout | Exposed |
Which Shower Valve Part Could Be Restricting Flow?
The pressure-balancing cartridge is the main concealed suspect when both hot and cold shower flow are weak after the showerhead passes its test. A thermostatic valve, inlet screen, integral stop, anti-scald limit stop, or diverter can produce similar symptoms, so the valve type and symptom pattern determine the next repair.
Step 4: Identify the Valve Type
A single-handle pressure-balancing valve combines temperature and volume control through one cartridge. A two-handle valve may use separate hot and cold stems, while a thermostatic shower often has distinct temperature and volume controls.
Pressure-balancing valves react to changes in hot-versus-cold pressure. Thermostatic valves control temperature through a sensing element and commonly use separate volume controls. Neither design guarantees high flow if a screen, cartridge port, or upstream stop is blocked.
Remove the handle and escutcheon only after shutting off the water or confirming that the valve’s service stops isolate the fixture. Photograph the trim and cartridge orientation before disassembly.
Step 5: Inspect Stops, Screens, and the Cartridge
Some shower valves include integral service stops behind the trim. Those stops may use a flat screwdriver, Allen key, or manufacturer-specific tool, and some valves have no integral stops at all. Do not assume that two slotted screws exist or that counterclockwise means open on every design.
Inspect the accessible inlet screens for rust, sand, solder, or scale. A screen blocked on one side often creates a hot-only or cold-only symptom. A stuck pressure-balancing spool can also limit one inlet and make temperature control erratic.
If the cartridge is damaged or seized, replace the exact manufacturer and model match. Common brands include Moen, Delta, Kohler, Pfister, Hansgrohe, and Grohe, but visually similar cartridges are not interchangeable.
- Shut off the main supply or both verified service stops.
- Open the shower valve to relieve trapped pressure.
- Remove the handle, trim, retaining clip, nut, or sleeve in the manufacturer’s sequence.
- Photograph cartridge orientation and note the hot-side position.
- Pull the cartridge with the correct tool.
- Clean the valve bore and inspect seals for torn rubber or embedded debris.
- Apply a thin film of 100% silicone plumbing grease to compatible O-rings.
- Install the replacement in the recorded orientation.
- Refit the retainer, trim, handle, and temperature limit stop.
- Restore water gradually and inspect every joint for leaks.
You will know the cartridge repair worked when flow is stable at both temperature extremes, the handle moves normally, and no water escapes behind the trim. If the new cartridge produces the same weak flow, stop replacing parts and inspect the valve body, supply piping, and concealed stops.
A Controlled Flush After Cartridge Removal
A brief flush can remove loose debris, but the cartridge should not be absent while an uncontrolled stream can enter the wall cavity. Cover the valve opening with a thick cloth, place a large container or directed hose over the opening, and crack the water on for only a few seconds.
Manufacturers differ on flushing instructions. Follow the valve maker’s service document first. Never flush through an exposed opening when you cannot control splash, when the wall cavity contains vulnerable materials, or when the main shut-off is difficult to close.
Petroleum jelly and WD-40 are poor substitutes for silicone plumbing grease. Petroleum products can swell or degrade some rubber seals, while silicone grease is designed for many plumbing elastomers and wet-service applications.
What If the Shower Has a Thermostatic Valve?
A thermostatic valve can restrict shower flow through a clogged inlet filter, check valve, temperature cartridge, or separate volume control. A thermostatic temperature cartridge does not replace the need to inspect the valve’s volume-control path, because temperature regulation and water volume are often controlled by different components.
Luxury shower panels may contain multiple outlets, check valves, screens, diverters, and electronic controls. Test each outlet separately. If the rain head is weak but the hand shower is normal, the shared valve may be fine and the restriction may be in one hose, outlet, or selector passage.
Do not dismantle a thermostatic cartridge without the service diagram. Small check valves can be installed backward, screens can be damaged by wire tools, and an incorrect temperature calibration can create a scalding hazard even after flow returns.
What Causes Hot-Only or Cold-Only Weak Flow?
Weak hot-only flow usually points to the hot inlet screen, hot-side stop, cartridge port, or a restriction in the branch supplying the shower. Weak cold-only flow suggests the corresponding cold-side screen, stop, cartridge port, or cold branch, not automatically a water-heater failure.
Compare the shower with a nearby sink using the same temperature selection. If hot water is strong at the sink but weak at the shower, the heater is unlikely to be the primary cause. If hot water is weak everywhere, investigate the water heater outlet, house-side valve, recirculation system, or building supply.
A reversed cartridge can also create abnormal temperature behavior after a repair. The valve may deliver water, but the handle’s hot and cold positions can be wrong, and the anti-scald stop may prevent the handle from reaching its expected range.
Why Did Pressure Drop After Plumbing Work?
A sudden loss after plumbing work most often results from debris, a partially closed service stop, a disturbed cartridge, or a clogged screen. Renovations can release copper fragments, solder, pipe scale, joint compound, and sediment that travel directly to a small shower passage.
Ask what changed immediately before the symptom appeared. Recent meter work, water-heater replacement, valve repair, and street-main activity all make debris or a partially closed valve more likely than gradual mineral buildup.
Check exposed shut-off valves without forcing them. A gate valve can break internally, and an old angle stop can leak when disturbed. If a concealed line was cut, pinched, or damaged, continued testing can turn a flow complaint into a wall leak.
How Much Do Shower Pressure Repairs Cost?
Typical U.S. repair costs range from $2-5 for cleaning supplies to $600-1,500 or more for professional whole-valve replacement. Labor, access, brand, region, tile or fiberglass restoration, and whether the valve can be isolated account for most of the variation.
| Repair route | Typical materials | DIY time | Typical professional total |
|---|---|---|---|
| Showerhead cleaning | $2-10 | 30 minutes plus 4-6 hours soaking | Usually below minimum service charge |
| Replacement showerhead | $15-100 | 15-30 minutes | $150-300 |
| Tub-spout replacement | $20-100 | 30-90 minutes | $150-400 |
| Cartridge replacement | $25-120 | 1-3 hours | $200-500 |
| Thermostatic cartridge service | $50-250 | 2-4 hours | $250-700 |
| Whole-valve replacement | $80-350 | 4-8 hours | $600-1,500 or more |
These figures are typical planning ranges, not guaranteed quotes. A cartridge covered by a manufacturer warranty can reduce material cost, but warranty replacement does not eliminate access, diagnosis, or labor charges.
Which Repair Route Is Most Sensible?
| Situation | First choice | Why | Avoid first |
|---|---|---|---|
| Bare arm strong | Clean or replace head | Restriction is exposed | Opening the wall |
| Bare arm weak, recent work | Inspect screens and stops | Debris is plausible | Buying a random cartridge |
| Both tub and shower weak | Valve diagnosis | Shared valve path is suspect | Replacing the showerhead |
| Tub strong, shower weak | Diverter inspection | Water is escaping before riser | Replacing the cartridge blindly |
| Multi-outlet thermostatic panel | Manufacturer service | Several linked components exist | Generic cartridge installation |
| Concealed leak or no shut-off | Licensed plumber | Water damage risk is high | Forcing trim or stops |
Common Mistakes and How to Avoid Them
- Replacing the showerhead without testing the bare arm: The new head cannot fix a restricted cartridge or inlet screen. Perform the five-minute test first.
- Assuming every valve has integral stops: Many do not. Confirm the model before removing the cartridge.
- Using excessive force on a cartridge: A seized cartridge can transfer torque to the valve body or copper connections. Use a cartridge puller and stop if the valve moves.
- Flushing water into an open wall: A short uncontrolled flush can wet insulation, drywall, or framing. Direct the flow into a container.
- Removing the flow regulator with a sharp tool: The regulator may be damaged or legally required for the product’s rated flow. Clean it and replace it with the correct part instead.
- Ignoring the temperature limit stop: A partially closed anti-scald stop can make the shower feel weak because the handle cannot open as expected. Reset it only according to the manufacturer’s instructions.
When Should You Call a Plumber?
Call a plumber when water leaks behind the escutcheon, the valve body moves inside the wall, the main shut-off will not close, the cartridge will not release with appropriate tools, or the shower is installed in a sealed tile or fiberglass enclosure. Professional help is also appropriate when a thermostatic or digital system has multiple outlets and no accessible service documentation.
Stop testing immediately if water appears below the shower, ceiling, or adjacent wall. A pressure problem is inconvenient; an uncontrolled concealed leak can damage framing, insulation, flooring, and electrical components.
A renter should limit work to removing and cleaning the showerhead, checking an exposed tub diverter, and reporting weak bare-arm flow to the landlord. Do not remove trim or shut-off valves when the lease assigns plumbing repairs to the property owner.
What Is the Fastest Diagnostic Sequence?
The fastest reliable sequence is: test the showerhead, test the tub diverter if present, compare hot and cold flow, inspect accessible stops and screens, then service the matching cartridge. The sequence takes about 20-30 minutes for an exposed fixture diagnosis and 1-3 hours when cartridge access is straightforward.
Use this decision path:
- Showerhead removed: strong flow means clean or replace the head.
- Bare arm weak: compare hot and cold separately.
- Tub diverter present: continuous tub-spout flow means a diverter fault.
- Recent repair: inspect debris and partially closed stops before ordering parts.
- Single-handle valve: identify the brand and cartridge model.
- Thermostatic or digital valve: use the service manual or call a specialist.
- Leak, seized component, or no shut-off: stop and escalate.
The diagnostic order protects the wall and avoids unnecessary part replacement. Most wasted repair attempts begin with buying a cartridge before confirming that the restriction is upstream of the showerhead.
FAQ
Can a new showerhead restore low shower flow?
A new showerhead can restore flow only when the old head is blocked, damaged, or internally restricted. A replacement will not correct weak flow from the bare shower arm, a failed cartridge, a closed service stop, or a leaking tub diverter. Test the exposed arm before purchasing a new fixture.
Does a water-saving showerhead cause low pressure?
A water-saving showerhead can deliver less volume than an older unrestricted head, but reduced rated flow is not the same as a plumbing fault. Compare the label’s gallons-per-minute rating with a bucket test. A sudden change in a previously normal head suggests blockage or damage rather than normal WaterSense performance.
Can a clogged shower arm cause weak flow?
A clogged shower arm can cause weak flow when scale or debris blocks the short pipe or its threaded inlet. The bare-arm test does not rule out a restriction inside the arm itself. Remove the arm only if you can support the concealed fitting and avoid twisting the pipe inside the wall.
Why is shower flow weak only at one temperature?
Weak flow at one temperature usually indicates a blocked inlet screen, cartridge port, service stop, or balancing mechanism on that side. A sink comparison helps separate a local shower restriction from a whole-house hot-water or cold-water problem. Do not assume the water heater is faulty when other hot fixtures flow normally.
Will increasing house pressure fix one weak shower?
Increasing house pressure is unlikely to fix a single weak shower when every other fixture performs normally. A local restriction will remain restricted, and raising pressure can stress old connections or violate equipment limits. Diagnose the showerhead, valve, diverter, and local piping before adjusting a pressure-reducing valve or pump.
How long should a shower cartridge last?
A shower cartridge may last many years, but service life varies with water quality, sediment, usage, valve design, and maintenance. Gradual stiffness, temperature swings, leaking at the spout, or simultaneous hot-and-cold flow loss support cartridge diagnosis. Exact service intervals come from the valve manufacturer, not a universal replacement schedule.
The Bottom Line
When there is no water pressure in shower but plenty everywhere else, start with the showerhead and bare-arm flow test, then inspect the diverter, screens, service stops, and correct valve cartridge in that order. The cheapest successful repair is usually an exposed blockage or diverter; concealed cartridge work should follow a confirmed test, not guesswork.