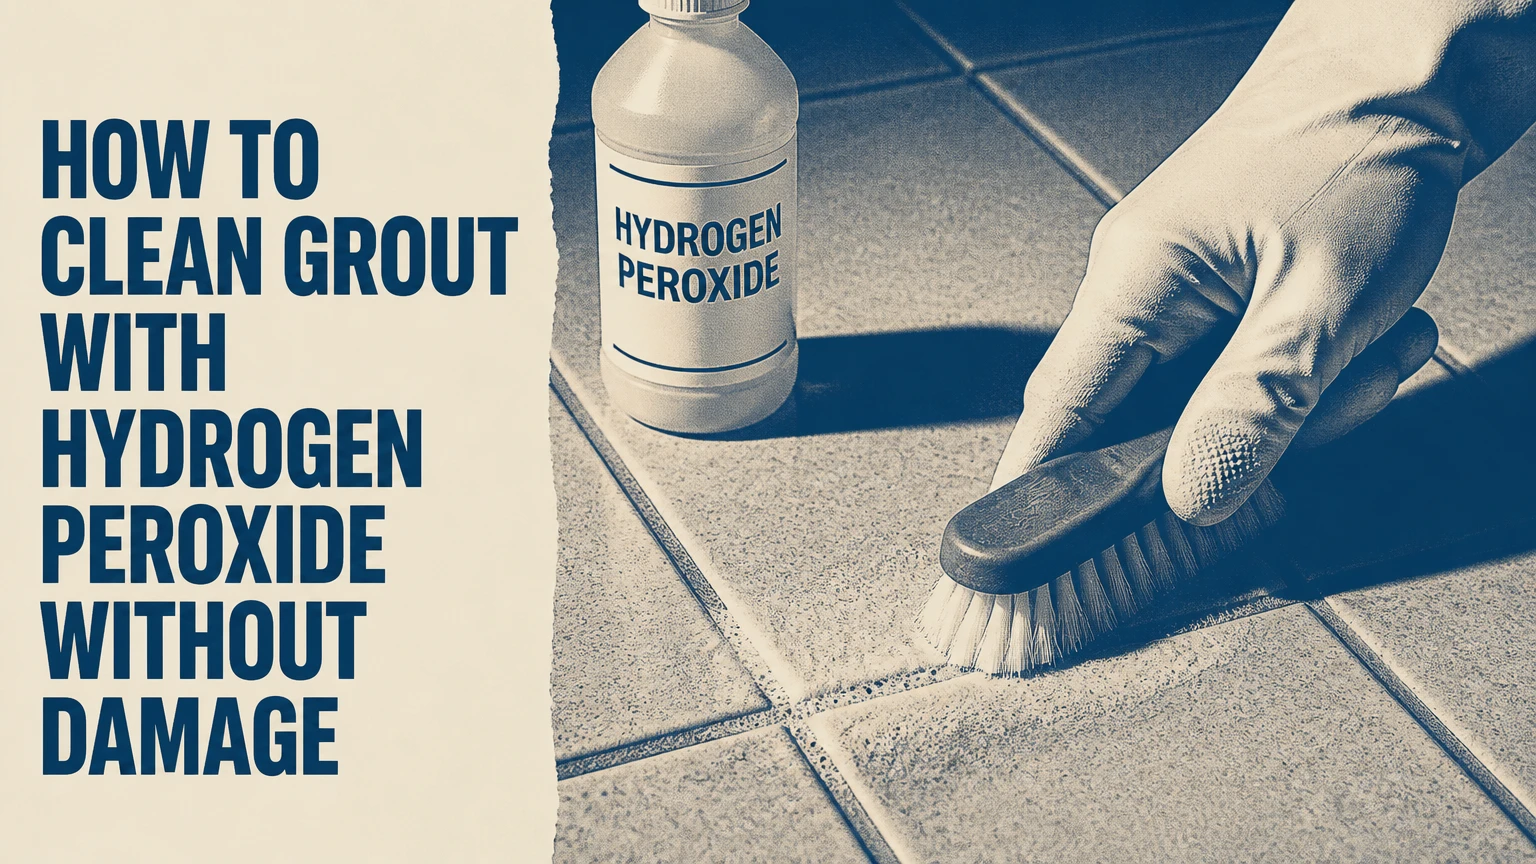
Hydrogen peroxide cleans grout by oxidizing organic soil and light discoloration, while baking soda helps hold the solution against porous grout during scrubbing. Use fresh 3% household hydrogen peroxide, test an inconspicuous area, apply a paste for 5-15 minutes, scrub with nylon, and rinse thoroughly. The process usually takes 30-45 minutes.
Key Facts at a Glance
- 3% household hydrogen peroxide is the appropriate concentration for routine grout cleaning.
- A practical paste starts with 2 parts baking soda and 1 part peroxide by volume.
- Allow 5-10 minutes of contact for routine soil, extending to 15 minutes only after a spot test.
- Nylon bristles clean grout without the scratching risk of wire or brass brushes.
- Hydrogen peroxide can improve surface mildew staining, but it is not a guaranteed mold-remediation treatment.
- Never mix hydrogen peroxide with vinegar, chlorine bleach, ammonia, or other cleaners.
What Hydrogen Peroxide Can and Cannot Do
Hydrogen peroxide is a pale blue compound sold for household use as a dilute, usually 3% solution. When peroxide contacts organic residue, light, enzymes, or metal contaminants, it decomposes into water and oxygen while oxidizing some stain compounds. That reaction can loosen food soil, soap residue, body oils, and superficial mildew discoloration.
The bubbling is oxygen release, not a reliable measurement of cleaning power. A heavily contaminated surface may fizz vigorously while remaining stained, and an old bottle may produce little visible bubbling while still having some cleaning activity. The American Cleaning Institute identifies hydrogen peroxide as an oxidizing bleach used in household cleaning, but oxidation does not restore missing grout or remove every mineral deposit.
Hydrogen peroxide is useful for organic discoloration. It is less effective against hard-water scale, cement haze, rust, and grout that has physically deteriorated. The U.S. Environmental Protection Agency also distinguishes cleaning products from disinfectants: a product should not be treated as a disinfectant unless its label carries an applicable EPA registration and directions.
What Grout Types Are Suitable?
Glazed ceramic and porcelain tile generally tolerate brief contact with 3% peroxide, but the grout itself still requires testing. Cementitious grout is porous and may absorb liquid, whereas epoxy grout is less absorbent and often responds better to a neutral cleaner than to an abrasive paste.
Natural stone changes the risk calculation. Marble, limestone, travertine, and other calcareous stones can etch from acids, although peroxide is not an acid; baking soda and aggressive brushing can still dull a polished surface or lodge powder in texture. Test both the grout and the tile, because the tile face may be more vulnerable than the joint.
How to Clean Grout With Hydrogen Peroxide
Cleaning grout with hydrogen peroxide requires five controlled stages: remove dry soil, prepare a small batch, apply it, agitate the joint, and rinse until no residue remains. A 50-square-foot floor typically needs 30-45 minutes of active and waiting time, depending on joint width and soil load.
Before You Start
| Item | Typical quantity or specification | Purpose |
|---|---|---|
| Household hydrogen peroxide | 3%, 120-240 mL | Oxidizing cleaner |
| Baking soda | 240-480 mL | Paste carrier and mild abrasive |
| Nylon grout brush | 1 brush, 10-20 mm head | Joint agitation |
| Nitrile or rubber gloves | 1 pair | Skin protection |
| Microfiber cloths | 2-4 cloths | Wiping and rinsing |
| Plastic bowl and spoon | 1 each | Nonmetal mixing |
| Warm water | 2-4 liters | Final rinsing |
| Typical project cost | $3-$10 | Materials for approximately 25-50 square feet |
| Typical difficulty | Moderate | Repeated hand scrubbing required |
Use ventilation, eye protection if splashing is likely, and clothing that can tolerate mild bleaching. Remove bath mats, rugs, food, cosmetics, and pet bowls from the area. Do not use a clear spray bottle for storage because light accelerates peroxide decomposition; keep the original opaque brown bottle closed between uses.
Step 1: Remove Loose Soil
Sweep or vacuum the tile and grout, then wipe the surface with warm water if hair, sand, or loose dust remains. Dry standing water from the joints before applying the paste, because excess water dilutes the peroxide and makes the mixture run.
You will know the surface is ready when loose debris no longer collects along the grout edges after wiping. The common mistake is applying peroxide over grit, which turns scrubbing into a grinding action against the tile surface.
Step 2: Mix the Grout Paste
Place 2 parts baking soda in a plastic bowl and add 1 part fresh 3% hydrogen peroxide gradually. For a small shower section, start with 120 mL baking soda and 60 mL peroxide; mix only what you can use within 15-20 minutes.
Aim for a spreadable paste that holds a ridge on a spoon. Add peroxide in small increments if the mixture is dry, because a thin slurry runs off vertical joints and leaves less contact time. A teaspoon of unscented dish detergent can help with kitchen grease, but it increases rinsing effort and is unnecessary for ordinary bathroom soil.
The checkpoint is simple: the paste should cling to a horizontal joint without pooling. The common mistake is adding large amounts of soap, which creates foam that hides the grout line and leaves surfactant residue.
Step 3: Apply and Dwell
Spread the paste directly onto 0.5-1 square meter of grout using a plastic spoon, gloved finger, or soft brush. Keep the layer on the joint rather than coating the entire tile face, especially if the tile is textured or made from natural stone.
Allow 5-10 minutes for routine dirt and up to 15 minutes for tested, stubborn organic staining. Keep the paste visibly damp during the dwell period, but do not let it dry into a hard crust. Peroxide loses strength as it decomposes, so a longer dwell does not automatically produce a cleaner joint.
You will know the application is working when soil softens and the paste becomes gray or brown in high-traffic areas. Bubbling is optional. The common mistake is treating fizz as proof that mold has been eliminated.
Step 4: Scrub With Nylon
Agitate each grout line with a narrow nylon grout brush, using short strokes along the joint. Moderate pressure is more effective than frantic pressure because excessive force can remove the cement surface, widen a joint, or expose aggregate.
A manual brush is suitable for most bathrooms. An electric brush can reduce hand effort, but use a low-to-medium setting and keep the head centered on the grout; a drill brush can damage soft cement grout and caulk at corners.
The checkpoint is an even-looking joint with no soft paste remaining in pinholes. The common mistake is using a wire, brass, or stiff metal brush, which can scratch glazed tile and physically erode grout.
Step 5: Wipe, Rinse, and Dry
Lift the dirty paste with a damp microfiber cloth, rinsing the cloth in clean water after each small section. Follow with at least one clean-water rinse, then dry the tile and joints with a towel.
A chalky white film after drying usually indicates baking soda residue, not a new grout problem. Remove it with repeated warm-water wiping. Do not pour vinegar onto the surface as a “neutralizer,” because combining residual peroxide and vinegar can form corrosive peracetic acid.
You will know rinsing is complete when a dry microfiber cloth passes over the joint without collecting powder. The common mistake is leaving alkaline paste in porous grout, where it attracts soil and makes the next cleaning cycle appear shorter.
Which Grout-Cleaning Method Should You Choose?
The peroxide paste is the most versatile household option for organic soil and light discoloration, while a straight spray suits maintenance and oxygen bleach works better for broader, heavily soiled cement grout. Acidic cleaners are reserved for mineral deposits and require compatibility checks because acids can damage cement grout and natural stone.
| Method | Best target | Contact time | Typical cost | Main limitation |
|---|---|---|---|---|
| 3% peroxide spray | Light soil and fresh mildew marks | 5-10 minutes | $1-$3 | Runs on shower walls |
| Peroxide-baking soda paste | Organic stains and vertical joints | 5-15 minutes | $2-$5 | Requires extensive rinsing |
| Oxygen bleach powder | Large cement-grout floors | 10-20 minutes | $6-$15 | Not ideal for every stone |
| Neutral tile cleaner | Routine sealed grout maintenance | 2-5 minutes | $5-$12 | Does not bleach discoloration |
| Commercial grout cleaner | Formulated heavy soil removal | 3-15 minutes | $8-$25 | Label chemistry varies |
| Steam cleaning | Soil softened by heat and moisture | 5-15 minutes | $0-$300 | Does not repair stains or grout loss |
When Is Straight Peroxide Better?
Use straight 3% peroxide when the grout has light discoloration, the surface is horizontal, and you want to avoid baking-soda residue. Apply enough liquid to wet the joint, wait 5-10 minutes, brush with nylon, and wipe with clean water.
A spray bottle is convenient, but spraying creates airborne droplets and poor control on porous surfaces. A narrow squeeze bottle or small applicator gives better placement. Never decant peroxide into a container that previously held another cleaner unless it has been thoroughly washed and dried.
When Is Oxygen Bleach Better?
Sodium percarbonate, often called oxygen bleach, is a better candidate for a large floor with widespread organic soil because it releases hydrogen peroxide in water and can be mixed at a larger working volume. Follow the product label, since powder concentrations and directions differ.
Oxygen bleach is not chlorine bleach. It still requires gloves, ventilation, and a compatibility test, and it should not be assumed safe for every colored grout, sealant, or natural stone. Rinse the floor thoroughly after use.
Should You Use Chlorine Bleach?
Chlorine bleach can whiten some light grout quickly, but it is a poor default for routine cleaning. Bleach can discolor dyes, irritate the respiratory system, damage fabrics, and weaken some grout or sealant systems with repeated exposure.
The American Society of Home Inspectors has repeatedly advised homeowners to address moisture rather than rely on surface chemicals for recurring mold. For routine soil, 3% peroxide has a narrower risk profile, but it is not a substitute for fixing leaks, improving ventilation, or removing water-damaged materials.
Does Hydrogen Peroxide Remove Mold?
Hydrogen peroxide may lighten or reduce superficial mildew staining on grout, but household 3% peroxide cannot guarantee removal of established mold colonies inside porous grout or behind tile. Mold control depends first on moisture control, containment, and removal of materials that cannot be cleaned effectively.
The Centers for Disease Control and Prevention states, “The key to mold control is moisture control.” That principle matters more than the choice between peroxide and bleach. A recurring black line may result from mold, embedded dirt, failed caulk, or a moisture path behind the tile.
Wear gloves and eye protection, ventilate the room, and avoid dry brushing that disperses contaminated dust. Clean small areas with detergent and water or an appropriate labeled product, then dry completely. If the affected area is extensive, returns quickly, smells musty behind the wall, or follows flooding, consult a qualified remediation professional.
Replace deteriorated caulk rather than painting or bleaching it repeatedly. Remove and replace grout only when the joint is crumbling, hollow, persistently damp, or contaminated below the surface.
How Should You Treat Colored or Unsealed Grout?
Colored and unsealed grout require a hidden-area test, a short initial dwell, and gentle brushing because peroxide can lighten some pigments and baking soda can abrade a weak surface. Apply the test mixture to a concealed joint, wait 5 minutes, rinse, and inspect after the grout dries fully.
Do not judge the result while the joint is wet. Compare the tested section with adjacent grout in daylight after 24 hours, because uneven drying can temporarily change apparent color. Stop immediately if pigment transfers to the cloth, the joint becomes patchy, or the surface feels powdery.
| Surface or condition | Peroxide approach | Test and limit | Better alternative |
|---|---|---|---|
| White cement grout | 3% paste | 10-15 minutes | Oxygen bleach for large areas |
| Dark cement grout | 3% diluted spot application | 3-5 minutes initially | Neutral cleaner |
| Epoxy grout | Small peroxide test | 5 minutes | Manufacturer-approved cleaner |
| Marble tile with grout | Avoid abrasive paste on tile | Test tile and joint separately | pH-neutral stone cleaner |
| Unsealed, crumbling grout | Do not saturate | Inspect joint depth first | Repair or regrout |
| Colored grout with dye transfer | Stop peroxide use | Rinse immediately | Neutral cleaner and soft brush |
Sealing grout after cleaning can reduce future absorption, but sealer cannot correct trapped moisture or make a failing joint structurally sound. Follow the sealer manufacturer’s drying requirement; many products require grout to remain dry for 24-72 hours.
What Chemicals Must You Avoid?
Never mix hydrogen peroxide with vinegar, chlorine bleach, ammonia, drain cleaner, toilet cleaner, or an unknown commercial product. Hydrogen peroxide and vinegar can form peracetic acid, an irritating and corrosive compound; bleach combinations can release hazardous gases or create uncontrolled reactions.
Use one chemical system at a time. If another product was used earlier, rinse the surface thoroughly with water and allow it to dry before applying peroxide. Read the label and safety data sheet for commercial cleaners, especially products containing acids, solvents, quaternary ammonium compounds, or hypochlorite.
“Food-grade” does not mean household-safe. Concentrated 12%-35% peroxide can burn skin and eyes, damage materials, and require chemical-resistant PPE and controlled dilution. Household grout cleaning does not justify buying concentrated peroxide.
Variations for Showers, Kitchens, and Floors
How Do You Clean Shower Grout?
Use a stiff paste on shower walls, work in small sections, and keep the area below the section free of standing water. A 2:1 baking soda-to-peroxide paste clings better than a spray, but limit the section to approximately 0.5 square meter so the paste does not dry before brushing.
Pay special attention to corners and horizontal ledges, where soap and water collect. Clean the grout first, then inspect silicone or acrylic caulk; black discoloration inside failed caulk usually requires replacement rather than repeated peroxide applications.
How Do You Clean Greasy Kitchen Grout?
Remove grease with a small amount of dish detergent before applying peroxide. Let the detergent solution sit for 2-3 minutes, wipe it away, rinse, and then use the peroxide paste if discoloration remains.
Peroxide does not dissolve grease as efficiently as a surfactant. Combining a teaspoon of detergent into a small paste batch can help, but the additional soap demands two or more clear-water rinses.
How Do You Clean a Large Tile Floor?
Vacuum first, divide the floor into 1-2 square-meter sections, and use a mop or cloth for rinse water rather than spreading dirty paste across the entire room. For extensive soil, oxygen bleach may be more efficient than mixing many small peroxide batches.
Keep the floor closed to foot traffic until the joints are dry. Wet grout collects fresh soil easily, especially near exterior doors and kitchen work zones.
Common Mistakes and How to Fix Them
| Problem | Likely cause | Recovery | Prevention |
|---|---|---|---|
| Paste leaves white film | Incomplete rinsing | Wipe with warm water 2-3 times | Use smaller batches |
| Grout looks patchy | Uneven pigment bleaching | Stop peroxide and compare after 24 hours | Spot-test colored grout |
| No visible bubbling | Old or light-degraded peroxide | Replace with fresh 3% peroxide | Store in original brown bottle |
| Stain remains brown or orange | Rust, tannin, or mineral stain | Use a compatible specialist cleaner | Identify stain before repeating |
| Grout feels soft or powdery | Deterioration or over-scrubbing | Stop cleaning and assess repair | Use moderate nylon brushing |
| Mold returns within days | Persistent moisture | Fix leak, ventilation, or failed caulk | Dry shower joints after use |
A weak fizz does not automatically mean the bottle is useless, and strong fizz does not prove the grout is sanitized. Performance depends on concentration, soil chemistry, temperature, contact time, and mechanical agitation.
Rust stains deserve separate treatment. Peroxide may change their appearance without removing iron deposits, while acidic rust removers can damage cement grout and natural stone. Choose a product whose label specifically addresses the stain and substrate.
How Long Does the Process Take and Cost?
A typical 25-square-foot bathroom section takes 20-35 minutes, while a 50-square-foot floor takes 30-60 minutes because application and rinsing scale with joint length. The peroxide paste costs approximately $2-$5 for a small area, and a complete starter kit usually costs $3-$10.
| Project size | Peroxide needed | Baking soda needed | Typical active time | Typical total time |
|---|---|---|---|---|
| 10 square feet | 60 mL | 120 mL | 10-15 minutes | 20-25 minutes |
| 25 square feet | 120 mL | 240 mL | 20-25 minutes | 30-40 minutes |
| 50 square feet | 240 mL | 480 mL | 30-45 minutes | 45-60 minutes |
| 100 square feet | 480 mL | 960 mL | 60-90 minutes | 90-120 minutes |
These are typical practitioner ranges, not guaranteed production rates. Narrow mosaic tile, textured grout, heavy soil, poor ventilation, and hand limitations increase the time.
How Can You Keep Grout Clean Longer?
Drying and routine soil removal prevent faster recurrence than stronger chemicals. After shower use, squeegee tile surfaces, run the exhaust fan for at least 20-30 minutes, and wipe standing water from ledges and corners.
Clean light soil weekly with a pH-neutral tile cleaner and nylon brush. Avoid waxy products that leave a film, because residue traps dust in porous cement grout. Inspect silicone joints, plumbing penetrations, and shower thresholds monthly for gaps or persistent dampness.
Apply a compatible grout sealer only after the grout is clean and completely dry. A sealer reduces absorption; it does not make grout waterproof, repair cracks, or stop moisture entering from behind a failed shower assembly.
Frequently Asked Questions
Can I Use Hydrogen Peroxide on White Grout Every Week?
You can use small amounts of fresh 3% peroxide occasionally on tested white grout, but weekly maintenance is better handled with a pH-neutral cleaner and soft nylon brush. Repeated oxidation, abrasion, and incomplete rinsing can gradually dull surfaces or leave residue. Reserve peroxide for visible organic staining rather than routine soil removal.
Is Baking Soda or Hydrogen Peroxide Better for Grout?
Hydrogen peroxide provides oxidation, while baking soda provides body and mild mechanical abrasion. Neither ingredient replaces brushing and rinsing. Peroxide alone suits light, horizontal soil; the paste is more useful for stubborn organic marks and vertical joints because it remains in contact longer.
Can Hydrogen Peroxide Whiten Black Grout?
Hydrogen peroxide can lighten some organic discoloration, but it may also alter dark grout pigments unevenly. Test a concealed area for 5 minutes, rinse, and inspect after 24 hours. If the grout itself is intentionally black, a neutral cleaner is safer for routine maintenance.
Should I Seal Grout After Cleaning With Peroxide?
Seal grout only after cleaning and allowing it to dry according to the sealer label, commonly 24-72 hours. Sealing can reduce liquid absorption in cement grout, but it cannot fix crumbling joints, recurring leaks, mold behind tile, or failed silicone caulk.
Why Did My Grout Turn White After Cleaning?
A white powdery appearance usually comes from dried baking soda residue or disturbed efflorescence. Rinse repeatedly with warm water and dry the area before diagnosing the grout. Do not use vinegar over residual peroxide, and do not apply an acid cleaner to natural stone or untested cement grout.
The Bottom Line
To clean grout with hydrogen peroxide, use fresh 3% peroxide in a 2:1 baking soda paste, test first, apply for 5-15 minutes, scrub with nylon, and rinse until the joint leaves no residue. The method works best on organic soil and light mildew staining, not rust, mineral scale, crumbling grout, or moisture problems. Fix the water source, protect colored surfaces, and never mix peroxide with vinegar or bleach.