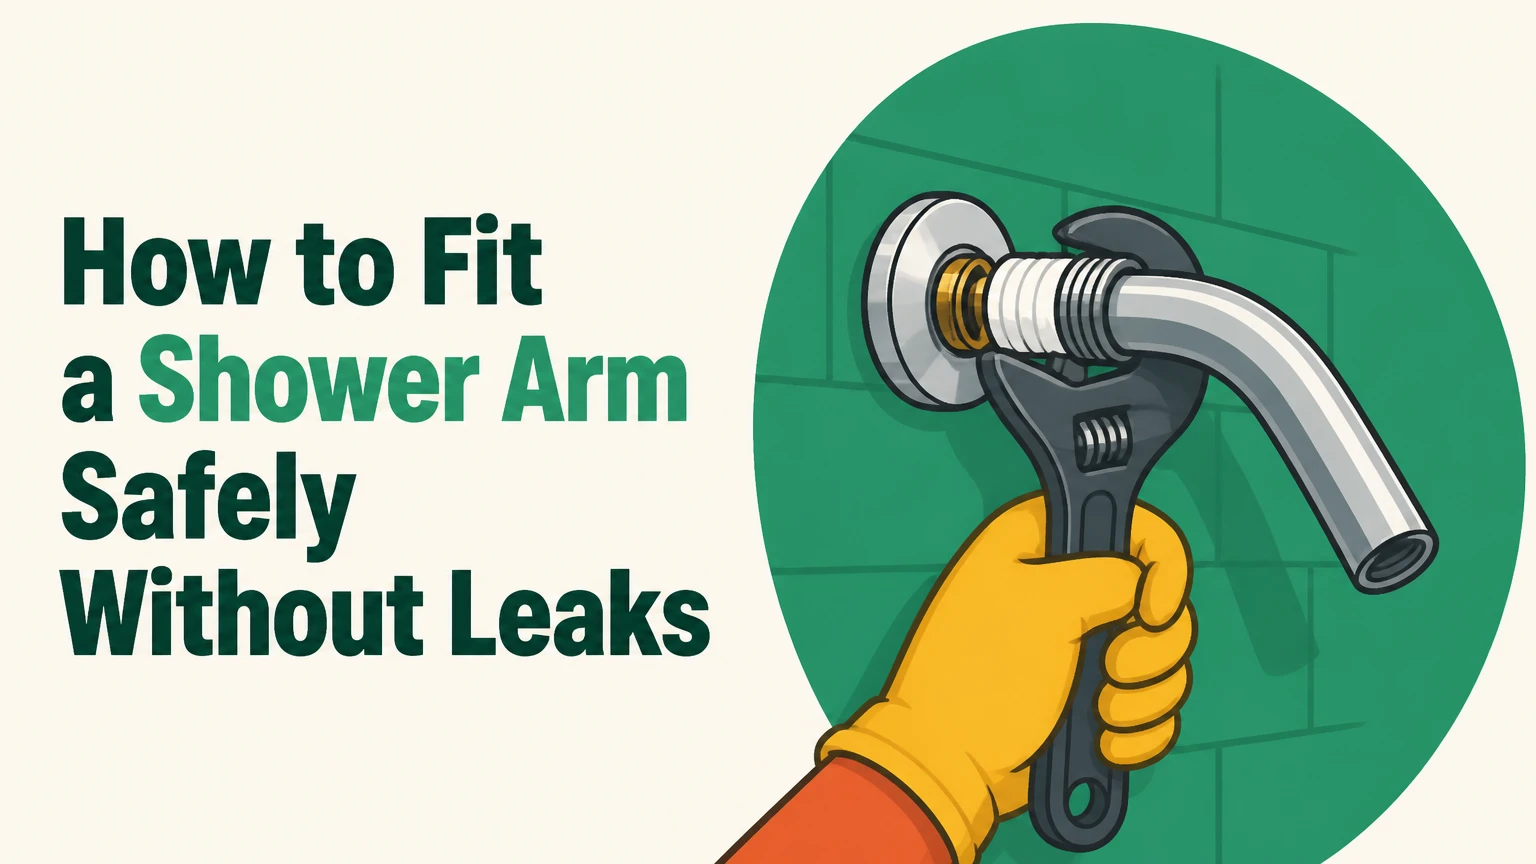
To fit a shower arm, remove the existing arm, clean the concealed female fitting, seal the new arm’s wall-side male threads with PTFE tape, and tighten it until correctly aligned. A standard replacement normally takes 15-30 minutes, but success depends on identifying the thread standard and preventing the concealed drop-ear elbow from moving.
Key facts at a glance
Most North American residential wall shower arms use 1/2-inch NPT male threads.
Many UK, Australian, and European products use 1/2-inch BSP instead, which is not automatically interchangeable with NPT.
Apply PTFE tape clockwise when viewing the threaded end, usually for 4-6 overlapping wraps.
Do not loosen a correctly sealed arm to correct its final position; remove, reseal, and reinstall it.
A strap wrench protects chrome, brushed brass, and matte-black finishes better than bare-jaw pliers.
Apply bathroom silicone around the flange’s top and sides, not across its bottom edge, so trapped water can drain.
What Is a Shower Arm?
A shower arm is the exposed pipe that carries water from a concealed wall outlet to a shower head. The wall-side male thread screws into a female drop-ear elbow, while the outer end receives the shower head or an extension fitting.
The escutcheon, also called a flange, covers the opening around the pipe. It is decorative and helps limit splash entry, but it is not the component that mechanically supports the arm or creates the primary threaded seal.
A typical wall installation contains four functional parts:
| Component | Typical material or size | Function | Failure symptom |
|---|---|---|---|
| Supply pipe | 15 mm copper or 1/2-inch PEX connection | Brings water to outlet | Water movement behind wall |
| Drop-ear elbow | 1/2-inch female outlet | Supports and receives arm | Loose or rotating arm |
| Shower arm | 6-12 inches, brass or stainless steel | Positions water outlet | Corrosion or poor reach |
| Escutcheon flange | 2.5-3.5-inch diameter | Covers wall penetration | Visible gap or splash entry |
The connection inside the wall must be firmly secured to blocking or framing. A threaded shower arm is not a substitute for structural support. If the elbow shifts while you turn the arm, stop before the supply pipe or fitting is damaged.
How Does the Threaded Connection Seal?
A shower arm’s wall connection seals through the threads and a compatible sealing compound, normally PTFE tape or pipe-joint compound. The shower-head connection often seals differently, because many shower heads use a flat rubber washer inside a swivel nut.
That distinction matters. PTFE tape belongs on a tapered pipe-thread connection such as 1/2-inch NPT. Tape is usually unnecessary on a shower-head swivel connection with a gasket, and excess tape can prevent the washer from seating correctly.
Before You Start: Tools, Materials, and Conditions
A standard exposed wall replacement needs approximately 30 minutes, basic hand tools, and an accessible threaded outlet. Typical material cost is $10-$45 for the arm and flange, excluding a new shower head or professional repair.
| Item | Quantity | Typical cost | Specification or purpose |
|---|---|---|---|
| Replacement shower arm | 1 | $10-$45 | Match thread standard, length, shape, and finish |
| Escutcheon flange | 1 | $5-$20 | 2.5-3.5-inch cover, compatible with arm diameter |
| PTFE tape | 1 roll | $2-$6 | Plumbing-rated tape for pipe threads |
| Strap wrench | 1 | $12-$30 | Prevents damage to finished metal |
| Nylon brush | 1 | $2-$8 | Removes old sealant and mineral deposits |
| Adjustable wrench | 1 | $10-$25 | Use with cloth only on protected flats |
| Bathroom silicone | 1 tube | $6-$12 | Seals the flange perimeter where needed |
Before buying, measure the existing arm’s approximate reach from the wall to the shower-head connection. Check whether the replacement has a decorative flange included, whether its bend points downward, and whether the finish matches the shower head.
Do not start if the wall outlet visibly moves, the tile is cracked around the opening, or water continues flowing after the shower valve is closed. Those conditions can indicate concealed plumbing damage rather than a simple arm replacement.
Which Shower Arm Type Should You Choose?
Choose a standard angled arm for a normal wall outlet, a gooseneck arm when extra height is needed without opening the wall, and a ceiling arm only when the water supply is already routed through the ceiling. Adjustable arms provide reach changes but add joints that can loosen or leak.
| Arm type | Typical dimensions | Best application | Main limitation |
|---|---|---|---|
| Standard angled or S-shaped | 6-12-inch reach | Alcove bath or shower | Usually adds little height |
| Gooseneck or high-rise | 6-16-inch rise | Tall users with wall outlet | Long leverage stresses weak fittings |
| Adjustable extension | 8-16-inch reach | Shared bathrooms or handheld heads | Swivel joints add leak points |
| Ceiling drop arm | 3-24-inch drop | Rainfall head with ceiling plumbing | Cannot use a normal wall outlet |
A gooseneck arm can raise the shower head by roughly 6-12 inches, but the extra height also increases leverage on the concealed elbow. Use a solid brass model when the arm supports a large rainfall head or a heavy handheld diverter.
A ceiling arm is not a cosmetic replacement for a wall arm. It requires a vertical supply pipe, a supported ceiling outlet, and a waterproof ceiling penetration. Converting a wall outlet to a ceiling arm generally requires opening finished surfaces.
How High Should a Shower Arm Be?
Set the shower arm high enough for the tallest regular user while keeping the spray inside the enclosure. A common finished shower-head height is about 78-82 inches above the shower floor, but the enclosure size, user height, head diameter, and spray angle matter more than a universal number.
For new construction, position the drop-ear elbow before wall finishing and verify the measurement from the finished floor, not the subfloor. Tile thickness, mortar, backer board, and the arm’s bend can change the final outlet position by several inches.
For replacement work, a gooseneck or extension arm is usually safer than moving concealed plumbing. It is not suitable when the existing elbow is loose, because its increased reach magnifies movement.
How to Fit a Shower Arm, Step by Step
Step 1: Isolate the Water Supply
Close the shower valve and, where practical, close the bathroom isolation valve or main stop. A closed shower valve normally prevents flow during a replacement, but full isolation protects against accidental operation by another person and exposes less water if a concealed fitting fails.
Open the shower briefly after closing the supply to release residual pressure. Place a towel over the drain and below the wall outlet to catch water and protect the finish.
You will know it worked when: no water flows from the outlet after the valve is opened briefly.
Common mistake: treating a closed shower handle as a guarantee that a damaged or faulty valve cannot pass water.
Step 2: Remove the Shower Head
Unscrew the shower head from the outer end of the arm. Hold the arm with a strap wrench or a cloth-wrapped wrench if the arm begins turning inside the wall.
Inspect the shower-head connection for a flat rubber washer. Keep the washer if it remains flexible and undamaged, but replacing a flattened or split washer costs little and prevents a misleading leak after the new arm is fitted.
You will know it worked when: the shower head is removed without twisting the wall-side arm or marking the finish.
Common mistake: gripping a chrome or painted arm with bare pipe-wrench jaws.
Step 3: Remove the Existing Shower Arm
Slide the flange away from the wall and grip the arm close to the wall outlet with a strap wrench. Turn the arm counterclockwise when facing the arm from the shower side.
Apply steady pressure rather than sudden force. If the arm will not move, protect the finish with several layers of cloth and use a second wrench to stabilize a suitable fitting only when you can identify where the concealed elbow is supported.
If the arm is corroded and snaps, stop using force. An internal nipple extractor may remove the remaining threaded section, but drilling or cutting into the concealed elbow can destroy the female threads.
You will know it worked when: the arm backs out while the wall opening and concealed fitting remain stationary.
Common mistake: using the wall tile or plaster as a lever point.
Step 4: Inspect and Clean the Wall Outlet
Use a flashlight to inspect the female threads inside the wall. Remove old PTFE tape, pipe compound, rust flakes, and mineral deposits with a nylon brush, then wipe the opening with a dry cloth.
Check whether the fitting is brass, iron, or plastic, and look for cross-threading, flattened threads, cracks, or movement. A drop-ear elbow that rotates or pulls toward the opening needs support or repair before a new arm is installed.
Do not scrape aggressively with a steel screwdriver. A damaged female thread can leak even when the replacement arm appears tight.
You will know it worked when: the threads are visible, clean, and free of loose debris.
Common mistake: assuming the escutcheon hides a loose elbow safely.
Step 5: Apply PTFE Tape to the New Arm
Identify the wall-side male thread and wrap it clockwise when looking directly at that threaded end. Use 4-6 snug wraps, keeping the first thread partly clear so tape does not enter the water passage.
Stretch the tape slightly as you apply it so it conforms to the thread valleys. Press the end flat and tear it cleanly. If the manufacturer specifies pipe compound, use a compatible product sparingly over the tape rather than filling the passage with sealant.
Do not tape both ends automatically. Tape the shower-head end only if it is a true pipe-thread connection without a rubber washer. A gasketed shower-head nut normally requires the washer, not PTFE tape.
You will know it worked when: the tape follows the thread direction and remains smooth during hand installation.
Common mistake: wrapping counterclockwise, which causes the tape to bunch and unwind as the arm enters the elbow.
Step 6: Thread the Shower Arm into the Wall
Slide the flange onto the arm from the rear before inserting the threaded end. Align the arm carefully with the female outlet and turn it clockwise by hand for several complete turns.
If the arm resists immediately, back it out and restart. Early resistance can indicate cross-threading, and forcing it can permanently damage the drop-ear elbow.
When hand-tightening ends, cover the arm with a thick cloth and use a strap wrench. Tighten only until the arm is secure and reaches its intended final orientation. Do not treat a fixed torque value as universal, because thread condition, sealant, material, and fitting support vary.
You will know it worked when: the arm remains stable and points downward or toward the intended spray area without visible wall movement.
Common mistake: tightening until the fitting cracks because the arm is still slightly misaligned.
Step 7: Test the Connection Before Sealing the Flange
Leave the flange several inches away from the wall so the outlet remains visible. Restore the water supply and run the shower for 60-90 seconds while watching the wall connection.
Dry the joint with tissue or paper towel, then check for fresh moisture. Look behind the flange from several angles because a small leak can track along the arm or tile before appearing below the outlet.
If the connection leaks, isolate the water, remove the arm, clean away all old tape, and reseal it. Adding tape over existing tape rarely fixes a poor seal.
You will know it worked when: the tissue remains dry during operation and for several minutes after the valve closes.
Common mistake: testing only the shower-head connection and failing to inspect the concealed wall joint.
Step 8: Fit the Flange and Shower Head
Slide the flange against the finished wall. Apply a narrow bead of bathroom silicone around the top and sides if the manufacturer or installation conditions require splash protection.
Leave the lower edge open. A continuous bead around the entire flange can trap condensation or leakage inside the wall opening, making a small problem harder to detect.
Install the shower head with its clean rubber washer. Hand-tighten the swivel nut, then add only a small amount of wrench tightening if the manufacturer allows it. Operate the shower again and inspect both threaded connections.
You will know it worked when: the flange is stable, the shower head does not wobble, and both joints remain dry.
Common mistake: using PTFE tape on a gasketed shower-head nut and overtightening the washer.
Thread Standards and Compatibility
The most common North American standard is 1/2-inch NPT, while many UK and Australian shower fittings use 1/2-inch BSP. Both nominal sizes can look similar, but their thread profiles and pitches differ, so forcing one into the other can produce damaged threads and a persistent leak.
| Market or fitting system | Common standard | Typical wall-arm connection | Compatibility action |
|---|---|---|---|
| United States and Canada | 1/2-inch NPT | Male tapered pipe thread | Match with 1/2-inch NPT female elbow |
| United Kingdom | 1/2-inch BSP | Male parallel or tapered BSP variant | Match manufacturer’s BSP specification |
| Australia and New Zealand | 1/2-inch BSP | Common bathroom plumbing thread | Confirm product listing before purchase |
| Metric renovation system | 15 mm pipe with adapter | Adapter to NPT or BSP | Identify adapter, not pipe diameter alone |
Product listings sometimes call an arm “universal” because 1/2-inch shower-head outlets are widespread. That description does not prove NPT and BSP interchangeability. Check the manufacturer’s technical drawing or packaging.
Common Mistakes and How to Fix Them
| Problem | Likely cause | Corrective action | Escalation point |
|---|---|---|---|
| Leak at wall | Damaged threads or poor tape | Remove, clean, and reseal | Leak remains after two careful attempts |
| Arm points sideways | Final tightening stopped early | Remove and reinstall with planned final turn | Elbow moves behind wall |
| Arm rotates in use | Unsupported drop-ear elbow | Stop loading the arm and inspect support | Wall opening must be opened |
| Shower-head nut leaks | Missing or damaged washer | Fit correct flat rubber washer | Housing or swivel is cracked |
| Arm breaks in wall | Corrosion or excessive force | Use internal nipple extractor | Extractor cannot grip fragment |
| Flange traps water | Silicone sealed all around | Remove lower seal or reseal correctly | Wall cavity shows damage |
Why Should You Never Back the Arm Out to Align It?
Backing a shower arm out after tightening can create a leak because the sealing material may no longer fill the thread flanks consistently. The safe correction is to remove the arm completely, clean the threads, apply new sealant, and reinstall it so the final tightening movement produces the desired orientation.
This rule applies most strongly to tapered NPT threads sealed with tape or compound. A fitting that needs half a turn backward to point downward was not installed with the correct final-turn plan.
Variations for Different Installations
Installing a Shower Arm in New Construction
New construction requires a firmly blocked drop-ear elbow at the planned finished-wall height. Secure the elbow to framing or a rated support bracket, connect the supply pipe, pressure-test the system before closing the wall, and measure from the finished floor surface.
Set the elbow’s outlet perpendicular to the wall. A skewed elbow makes the exposed arm appear crooked and can place uneven stress on the threads. Account for tile, adhesive, backer board, and the flange depth before fixing the support.
Fitting a Ceiling Rainfall Arm
A ceiling arm requires a supported vertical outlet and a shower head whose weight the fitting can carry. Do not attach a long ceiling drop to a wall elbow through an improvised bend, because the assembly can pull on concealed pipework and leak above the ceiling.
Use the manufacturer’s ceiling support instructions, keep threaded connections accessible during testing, and seal the finished penetration with a suitable bathroom sealant. Ceiling plumbing is a poor DIY choice when access above the ceiling is unavailable.
Adding a Handheld Shower or Diverter
A handheld shower hose, diverter, or dual-outlet adapter adds weight and leverage to the exposed arm. Use a solid brass arm and ensure the wall elbow has proper blocking before attaching a heavy accessory.
A diverter with swivel joints can also introduce additional gasketed connections. Tighten each joint according to its sealing method, and do not cover a washer-based connection with layers of PTFE tape.
Working in a Rental Bathroom
A renter can usually replace a standard arm without changing concealed plumbing, provided the landlord permits fixture changes. Keep the original arm, flange, and washer, avoid silicone that bonds permanently to the wall finish, and reinstall the original components before moving out.
A basic 6-inch chrome angled arm is typically the lowest-cost reversible choice. A gooseneck or adjustable arm is less suitable if its leverage could loosen an unsupported fitting.
Time, Cost, and Difficulty
A standard replacement normally takes 15-30 minutes for an accessible, undamaged installation. A seized arm can take 45-90 minutes, while a loose concealed elbow or broken fitting may require wall access and professional plumbing work.
| Project condition | DIY time | Typical materials | Likely professional cost |
|---|---|---|---|
| Straight replacement, sound threads | 15-30 minutes | $15-$55 | $100-$200 minimum service visit |
| Seized but removable arm | 45-90 minutes | $20-$80 | $150-$300 |
| Broken thread fragment | 60-120 minutes | $30-$100 extractor and parts | $200-$500 |
| Loose drop-ear elbow | 2-6 hours with access work | $50-$250 | $300-$900 |
| New ceiling outlet | 4-12 hours | $100-$500 | $500-$1,500 or more |
These are typical planning ranges, not fixed prices. Labour varies by region, access, tile type, plumbing material, and whether wall repair is included.
The most expensive mistake is continuing after concealed movement begins. A $20 replacement arm can become a wall-opening and water-damage repair when force is applied to an unsupported elbow.
Expert Installation Rules
Use two points of control. One tool turns the arm while a second tool stabilizes an accessible fitting only when that fitting is designed to be held. Turning a pipe against unsupported tile transfers force into concealed joints.
Plan the final turn. Dry-fit the arm and estimate how much rotation remains after hand-tightening. Select tape thickness and tightening pressure so the arm reaches the correct direction without reverse rotation.
Test before caulking. Silicone hides the flange edge and can make early leak detection harder. Leak-test with the flange pulled forward, then seal only after the wall connection stays dry.
Treat large rainfall heads as structural loads. A wide metal head creates more bending force than a lightweight plastic head, especially on a long extension arm. Support the concealed elbow before choosing extra reach.
Frequently Asked Questions
Can I fit a shower arm without turning off the main water?
Usually, yes, if the shower valve fully isolates the outlet and no pipework is being cut. Closing the local isolation valve or main stop remains safer because another person could operate the valve, and a failed cartridge may allow water through. Never loosen a concealed pressurized connection.
Are all shower arms the same size?
No. Many residential arms use 1/2-inch NPT or 1/2-inch BSP, but those standards are not interchangeable. Arm length, thread type, flange diameter, bend direction, and finish also vary. Confirm the thread specification from the product documentation rather than relying on the nominal 1/2-inch label.
How much PTFE tape should go on a shower arm?
Four to six snug clockwise wraps are typical for a clean 1/2-inch pipe thread. Keep the first thread partly clear, press the tape into the thread valleys, and remove all old tape before reapplying. Use less or more only when the manufacturer’s instructions or thread condition require it.
Should I use silicone around the shower-arm flange?
Use a small bead around the top and sides when splash could enter the wall opening, but leave the bottom edge open for drainage. Silicone does not repair a leaking threaded connection. Test the arm first, because sealing the flange can conceal moisture behind the wall.
Why does my new shower arm keep turning?
A rotating arm commonly indicates an unsupported drop-ear elbow, damaged threads, or a loose connection between the elbow and supply pipe. Stop using the arm if it moves under hand pressure. Continuing to tighten or load it can damage concealed plumbing and create a hidden leak.
Can I raise the shower head without moving the plumbing?
Yes, a gooseneck or extension arm can often raise a wall-mounted head by approximately 6-12 inches. The solution is unsuitable when the concealed elbow is loose or when the longer arm places the head outside the enclosure. Large rainfall heads need stronger support than lightweight heads.
The Bottom Line
To fit a shower arm successfully, match the regional thread standard, isolate the water, remove the old arm without twisting the concealed elbow, clean the female threads, apply clockwise PTFE tape to the wall-side thread, and tighten only until the arm aligns correctly. Test the exposed connection before sealing the flange, and replace rather than back out a crooked arm.