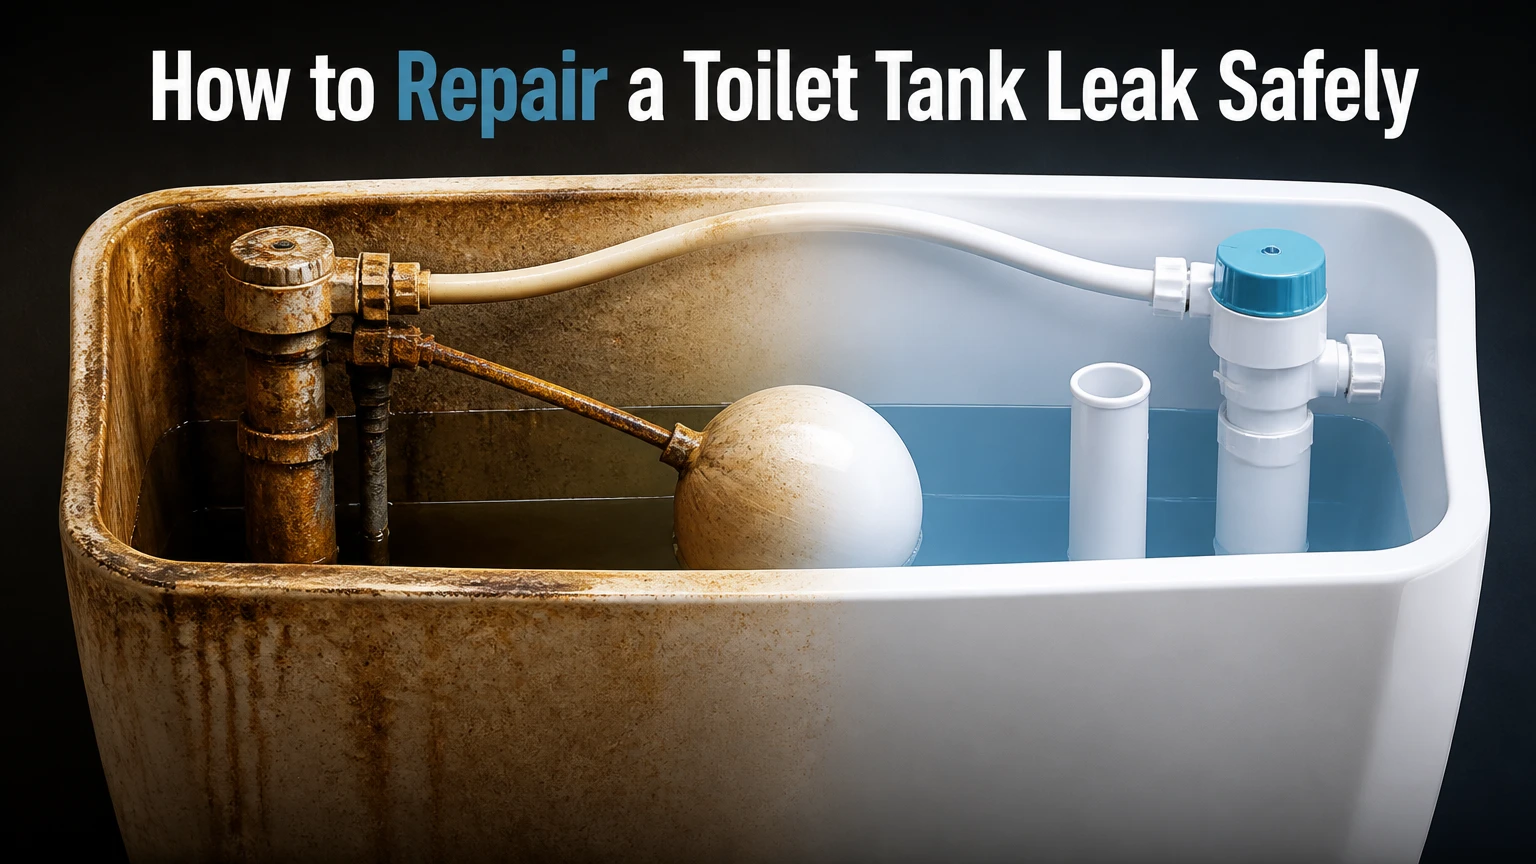
To repair a toilet tank leak, first identify whether water is escaping into the bowl, from the tank exterior, or from the supply connection. Shut off the angle-stop valve, drain the tank, replace the failed flapper, fill valve, gasket, bolt washer, or supply connector, then refill and test the toilet for at least 30 minutes.
Key facts at a glance
A toilet that cycles on by itself usually has a leaking flapper, flush-valve seal, or canister seal.
Water at the tank-to-bowl joint usually indicates a compressed gasket, loose hardware, or cracked porcelain.
A toilet tank water level should remain below the overflow tube opening and follow the manufacturer’s marked fill line.
Toilet tank bolts need even, moderate tightening because excessive force can crack porcelain.
Typical DIY repair cost ranges from $5-$45, while professional service commonly costs $100-$400.
Food coloring in the tank can confirm an internal leak without removing any parts.
Before You Start a Toilet Tank Repair
Toilet tank repair usually takes 10-60 minutes, depending on the failed component and whether the tank must be removed. Flapper and fill-valve repairs are beginner-level jobs, while tank-to-bowl gasket replacement requires controlled lifting, careful alignment, and even tightening.
Tools, materials, and prerequisites
Turn off the water before removing any internal component. Do not begin if the shutoff valve will not close, the porcelain is visibly cracked, or water is reaching an electrical outlet.
| Repair situation | Typical time | Materials | Tools |
|---|---|---|---|
| Flapper or tower seal | 10-20 minutes | $5-$20 replacement seal | Sponge, flashlight |
| Fill valve | 20-30 minutes | $15-$30 fill valve, optional new hose | Adjustable pliers, bucket |
| Tank bolts | 30-45 minutes | $8-$20 bolt set | Screwdriver, wrench, sponge |
| Tank gasket and bolts | 45-60 minutes | $10-$25 gasket and bolt kit | Screwdriver, wrench, towels |
Buy a replacement part by matching the toilet brand, flush-valve shape, seal diameter, and overflow-tube design. A “universal” part may fit many toilets, but brand-specific tower seals and irregular gaskets often require the original model or a documented compatible kit.
Where Is the Toilet Tank Leak Coming From?
The leak location determines the repair. Dry the tank, bowl, floor, supply line, and shutoff valve completely, then flush while watching each joint with a flashlight and a dry strip of toilet paper.
| Observable symptom | Most likely cause | Confirmation method | First repair |
|---|---|---|---|
| Toilet runs every 5-20 minutes | Flapper or tower seal | Add 10 drops of food coloring; wait 20 minutes | Replace seal |
| Water enters the overflow tube | Fill valve or float adjustment | Watch water level during refill | Adjust or replace fill valve |
| Drip from tank bottom center | Tank-to-bowl gasket | Dry joint, flush, inspect immediately | Replace gasket |
| Drip at tank bolt locations | Bolt rubber washers | Blot bolt heads and underside | Replace bolt set |
| Drip at wall or tank inlet | Supply line or fill-valve shank | Dry connection and refill | Tighten or replace connector |
| Water appears only after a shower | Condensation | Wipe tank dry and observe without flushing | Ventilate or insulate tank |
| Porcelain stays wet at one fixed line | Cracked tank or bowl | Mark ends of wet line and inspect closely | Replace damaged ceramic |
Condensation is often mistaken for a tank leak. Cold water inside the tank can make the exterior sweat when bathroom air is warm and humid; condensation generally coats a broad area, while a mechanical leak creates a trail from one fitting or seam.
A crack is different from a failed seal. Epoxy may temporarily slow a non-pressurized hairline crack, but it is not a dependable structural repair for a toilet tank. A crack that grows, reaches a bolt hole, or leaks when the tank is full warrants toilet replacement.
How Does a Toilet Tank Leak?
A toilet tank leak occurs when water leaves the tank through an unintended path. The flush valve normally releases tank water into the bowl, the flapper or tower seal closes afterward, and the fill valve restores the tank level without allowing water to reach the overflow opening.
During a normal cycle, the wall supply line feeds the fill valve. The float rises with the water and closes the valve at the selected level. The flush handle lifts a hinged flapper or opens a canister seal, and gravity sends water through the flush valve into the bowl.
Three failure paths matter:
- Internal leakage: water passes the flapper or tower seal into the bowl.
- Fill-control leakage: a defective fill valve continues feeding water, often into the overflow tube.
- External leakage: water escapes through a gasket, bolt washer, fill-valve shank, supply line, or cracked porcelain.
A three-inch flush valve is common on many newer high-efficiency toilets, but flush-valve diameter is not determined solely by toilet age. Measure the opening or use the toilet model number before buying a flapper or full rebuild kit.
Step 1: Shut Off and Drain the Tank
Turn the toilet’s angle-stop valve clockwise until it stops, then flush while holding the handle down. Sponge out the remaining water so the tank interior and fittings stay dry during repair.
The angle stop is usually on the wall beneath the tank. If the valve spins without stopping flow, close the home’s main water valve and arrange a valve repair before continuing. Never force a corroded stop with pliers because the valve or supply pipe can break.
Remove the tank lid and place it on a towel. Flush once, hold the lever open, and use a sponge or wet vacuum to remove the last layer of water. Keep the sponge separate from bathroom cleaning supplies.
Success checkpoint: the tank is empty, the supply line is no longer pressurized, and the floor around the toilet is dry.
Common mistake: loosening a tank fitting while water remains inside. Even a small amount can run under the toilet and obscure the original leak.
Step 2: Replace a Leaking Flapper or Tower Seal
Replace the flapper when food coloring moves from the tank into the bowl without a flush. Clean the flush-valve seat, install the matching seal, and adjust the chain so the seal closes fully without pulling upward.
For a standard hinged flapper:
- Unhook the chain from the flush lever.
- Lift the old flapper from the overflow-tube mounting ears.
- Wipe the flush-valve seat with a non-abrasive pad.
- Install the new flapper with its hinge ears seated evenly.
- Reconnect the chain and leave slight slack at rest.
Chain slack is not a universal measured value because lever geometry varies. A practical starting point is about 1/4 inch of slack, followed by a test flush. The handle should move the flapper high enough to flush, then allow it to settle without the chain catching underneath.
For a canister or tower toilet, do not install a hinged flapper unless the manufacturer identifies it as compatible. Remove the tower according to its locking tabs or twist mechanism, replace the circular seal or O-ring, and inspect the plastic seat for mineral buildup.
Success checkpoint: the flapper or tower drops flat, the chain does not loop beneath it, and the bowl stops rippling after refill.
Common mistake: using a thick universal flapper on a low-flow toilet. A mismatched buoyancy profile can cause weak flushing or leave the seal partly open.
Step 3: Adjust or Replace the Fill Valve
Adjust the fill valve when water rises above the manufacturer’s fill mark or enters the overflow tube. Replace the valve when the float sticks, the valve hisses after adjustment, or the valve fails to shut off with the water level below the overflow opening.
First check the refill tube. Its end must clip above the overflow tube opening, not extend deep into the tube, because a submerged or poorly positioned tube can siphon water from the tank and cause continuous refilling.
For an adjustment:
- Locate the valve’s adjustment screw, clip, or collar.
- Lower the float in small increments.
- Flush and allow the tank to refill.
- Stop when the level reaches the marked fill line or remains below the overflow opening.
For replacement, shut off and drain the tank, disconnect the supply line, loosen the locknut beneath the tank, and lift out the old valve. Set the new valve height according to its instructions, install the rubber shank washer inside the tank, tighten the external locknut by hand, reconnect the supply line, and check for leaks.
Fluidmaster installation guidance uses the practical rule “Do not overtighten,” because plastic threads and porcelain do not tolerate excessive force. The exact fill height is model-specific, so the marked line and manufacturer’s instructions take priority over a generic 1/2-inch or 1-inch measurement.
Success checkpoint: the valve stops filling cleanly, the water remains below the overflow opening, and no water sprays or beads at the shank.
Common mistake: tightening the plastic locknut with full wrench force. Hand-tight plus a small additional turn is usually sufficient; tighten only enough to stop seepage.
Step 4: Replace Tank Bolts or the Tank-to-Bowl Gasket
Replace tank bolts when water appears around the bolt holes, and replace the tank-to-bowl gasket when water emerges from the center joint between tank and bowl during or immediately after flushing. Both repairs require draining and lifting the tank.
For bolt replacement:
- Remove the old nuts from beneath the bowl.
- Hold each bolt head inside the tank with a screwdriver.
- Remove the bolt, metal washer, and rubber washer.
- Install new bolts with rubber washers inside the tank.
- Lower rubber washers, metal washers, and nuts onto the bowl side.
- Tighten each side alternately until the tank is stable.
The rubber washer belongs between the bolt head and porcelain inside the tank. Metal hardware should not bear directly against the ceramic. Tighten each nut two turns at a time, alternating sides, and stop when the tank no longer rocks.
For the central gasket, disconnect the supply line and remove the tank bolts. Lift the tank straight upward with both hands, place it upside down on a folded towel, remove the old spud gasket, fit the new gasket over the flush-valve outlet, and lower the tank onto the bowl without sliding it sideways.
Do not use plumber’s putty, silicone, or pipe thread tape as a substitute for a tank gasket. The joint requires a correctly shaped compression washer, and sealant can hide movement without correcting poor alignment.
Success checkpoint: the tank sits level, does not rock, and remains dry through five flushes.
Common mistake: tightening until the tank contacts the bowl rim under heavy pressure. A toilet tank needs stable support, not maximum compression.
How Do You Choose the Correct Replacement Part?
Choose a replacement by matching the toilet’s brand, model, seal design, flush-valve diameter, and mounting arrangement. The part number printed on the old component or listed inside the tank lid is more reliable than toilet age or a generic package label.
| Component | Common options | Identification clue | Replacement caution |
|---|---|---|---|
| Flapper | 2-inch, 3-inch, adjustable | Hinged rubber seal on overflow tube | Match buoyancy and hinge shape |
| Tower seal | Circular rubber or silicone ring | Canister rises vertically | Match tower brand and diameter |
| Fill valve | Float cup, float ball, integrated float | Valve connects to tank floor | Confirm shank length and refill clip |
| Tank gasket | 2-inch, 3-inch, brand-specific | Large sponge washer below tank | Measure outlet and compare shape |
| Tank bolts | Brass, stainless steel, rubber washer sets | Two or three tank fasteners | Use rubber washers inside tank |
| Supply connector | Vinyl, braided stainless steel | Flexible line from stop to tank | Match length and connection size |
Silicone seals can last longer than ordinary rubber in some high-mineral or chemically treated water conditions, but material alone does not solve a rough flush-valve seat. Clean the seat first and select the part designed for that toilet.
A complete rebuild kit makes sense when several rubber components are brittle, the toilet is older, and removing the tank would otherwise happen twice. Piece-by-piece repair is cheaper when one flapper or fill valve has failed and the remaining parts are flexible and clean.
What Does Toilet Tank Repair Cost?
Typical DIY toilet tank repairs cost $5-$45 for parts and take 10-60 minutes. Professional service commonly costs $100-$400, with the high end reflecting tank removal, difficult shutoff valves, inaccessible fittings, or porcelain replacement.
| Repair | DIY parts | DIY time | Typical professional range |
|---|---|---|---|
| Flapper replacement | $5-$15 | 10-20 minutes | $100-$200 |
| Fill-valve replacement | $15-$30 | 20-30 minutes | $150-$250 |
| Bolt replacement | $8-$20 | 30-45 minutes | $150-$275 |
| Gasket and bolt rebuild | $10-$25 | 45-60 minutes | $220-$400 |
| Complete internal kit | $25-$45 | 45-75 minutes | $200-$350 |
Prices vary by region, access, brand, and whether the plumber must replace a seized angle stop. A low-cost flapper is usually the best first repair for phantom flushing, while a complete kit is poor value when the ceramic tank itself is cracked.
Common Mistakes and How to Fix Them
Most failed toilet repairs result from misdiagnosis, incompatible parts, or excessive tightening rather than complicated plumbing. Correct the failure path before replacing components.
- Tightening a leaking bolt without drying the area: Dry both sides, flush, and identify the exact wet point. A tank-to-bowl gasket can make a bolt appear to leak.
- Installing a flapper without cleaning the seat: Mineral scale creates a channel under the new seal. Remove deposits with a non-abrasive pad, not a screwdriver.
- Setting the refill tube too deep: Clip the tube above the overflow opening. A submerged tube can siphon tank water into the bowl.
- Using bleach tablets in the tank: Chlorine-based tablets accelerate deterioration of rubber seals and plastic parts. Remove the tablet and replace damaged components.
- Forcing a stuck angle stop: Stop applying force if the stem or body twists. Use the main shutoff and replace the angle stop.
- Reusing a crushed gasket: Compression washers do not reliably reseal after removal. Install a new gasket whenever the tank is lifted.
One practitioner rule is worth remembering: water trails travel. The highest wet point after a flush is usually more informative than the puddle on the floor.
Situational Repairs for Renters and Hard Water
Renters should begin with non-invasive repairs such as a flapper, tower seal, or fill-valve adjustment, then notify the landlord when the shutoff, tank bolts, gasket, or porcelain requires removal. Homeowners in hard-water areas should inspect mineral buildup and consider silicone-compatible seals, but should not assume premium material compensates for poor fit.
If the toilet is in a rental
Turn off the angle stop to prevent continued water loss, photograph the leak, and report the component and location. Do not remove the tank or replace a shutoff valve without permission if the lease assigns plumbing fixtures to the owner.
If the toilet has hard water
Minerals can crust around the flush-valve seat, float mechanism, and refill opening. Clean accessible scale gently, avoid abrasive damage, and choose a seal documented for the toilet model; silicone may resist some chemical and mineral conditions better than basic rubber.
If the toilet has a dual-flush button
A dual-flush toilet often uses a canister seal rather than a hinged flapper. Photograph the mechanism, record the brand and model, and remove only the seal specified for that tower because universal flappers commonly fail to seat correctly.
When Is a Toilet Tank Leak Beyond DIY Repair?
Call a plumber or replace the toilet when porcelain is cracked, the shutoff valve will not close, the supply connection leaks inside the wall, or the tank cannot sit securely on the bowl. A plumber is also appropriate when a failed fitting has caused ceiling damage or persistent subfloor moisture.
A cracked tank is a replacement condition, not a normal seal-replacement job. Toilet tanks hold a substantial water load above finished flooring, and a crack can worsen suddenly after repeated filling and flushing.
Stop using the toilet immediately if water sprays from a pressurized connection, the tank shifts on the bowl, or water reaches nearby electrical equipment. Close the angle stop or main valve, remove standing water, and document the damage before arranging service.
How Do You Verify the Repair?
Verify a toilet tank repair by refilling the tank, flushing five times, inspecting every connection, and performing a 20-minute dye test when the original symptom was phantom flushing. A successful repair leaves the floor, bolt heads, tank joint, supply connection, and bowl water clear of unexplained moisture.
Use this sequence:
- Open the angle stop slowly.
- Watch the fill-valve shank and supply connector.
- Confirm the water stops below the overflow opening.
- Flush while observing the tank-to-bowl joint.
- Dry all exterior surfaces.
- Wait 20-30 minutes without flushing.
- Add food coloring if internal leakage remains suspected.
Do not judge the repair only by sound. A slow flapper leak may be silent, and a tank may remain externally dry while wasting water into the bowl.
FAQ
Can I fix a toilet tank leak without removing the tank?
Yes, most flapper, tower-seal, and fill-valve repairs do not require tank removal. Tank removal becomes necessary for a tank-to-bowl gasket, internal bolt washer, flush-valve replacement, or a repair blocked by the bowl rim. Shut off and drain the tank before disconnecting any fitting.
Why does my toilet run after replacing the flapper?
A toilet can continue running after a new flapper is installed if the chain is too short, the flush-valve seat is scaled, the refill tube siphons, or the fill valve is set too high. Confirm that the flapper closes flat, the chain has slight slack, and the refill tube ends above the overflow opening.
Are toilet repair kits universal?
Toilet repair kits are not universally compatible. Standard two-inch flappers fit many toilets, but three-inch valves, canister seals, brand-specific gaskets, dual-flush mechanisms, and irregular bolt patterns require matching parts. Use the model number, old component, and measurements before purchasing.
Should I replace the supply line during tank repair?
Replace the supply line when it is cracked, swollen, corroded, kinked, or older than its service history suggests. A flexible braided connector in sound condition does not automatically require replacement, although the connection should be inspected and tested after any fill-valve work.
How long should a toilet tank repair last?
A correctly matched flapper or fill valve commonly lasts several years, while service life varies with water chemistry, cleaning products, usage, and component quality. Avoid tank bleach tablets, keep the water level correctly adjusted, and investigate intermittent refilling instead of ignoring it.
Is a leaking toilet tank an emergency?
A silent flapper leak is usually a repair-soon problem, but an external leak, cracked tank, failed shutoff valve, or fast supply-line leak needs immediate water isolation. Close the angle stop, wipe up standing water, and call a plumber if the leak continues with the toilet isolated.
The Bottom Line
The reliable way to repair a toilet tank leak is to trace the water to its highest wet point, isolate the supply, and replace only the failed component. A flapper or tower seal solves most phantom flushing, while a fill valve addresses overflow and running water. Tank bolts, gaskets, and cracked porcelain require greater care. Use the exact toilet model when compatibility is uncertain, avoid over-tightening ceramic fittings, and test the repaired toilet through repeated flushes before returning it to normal use.