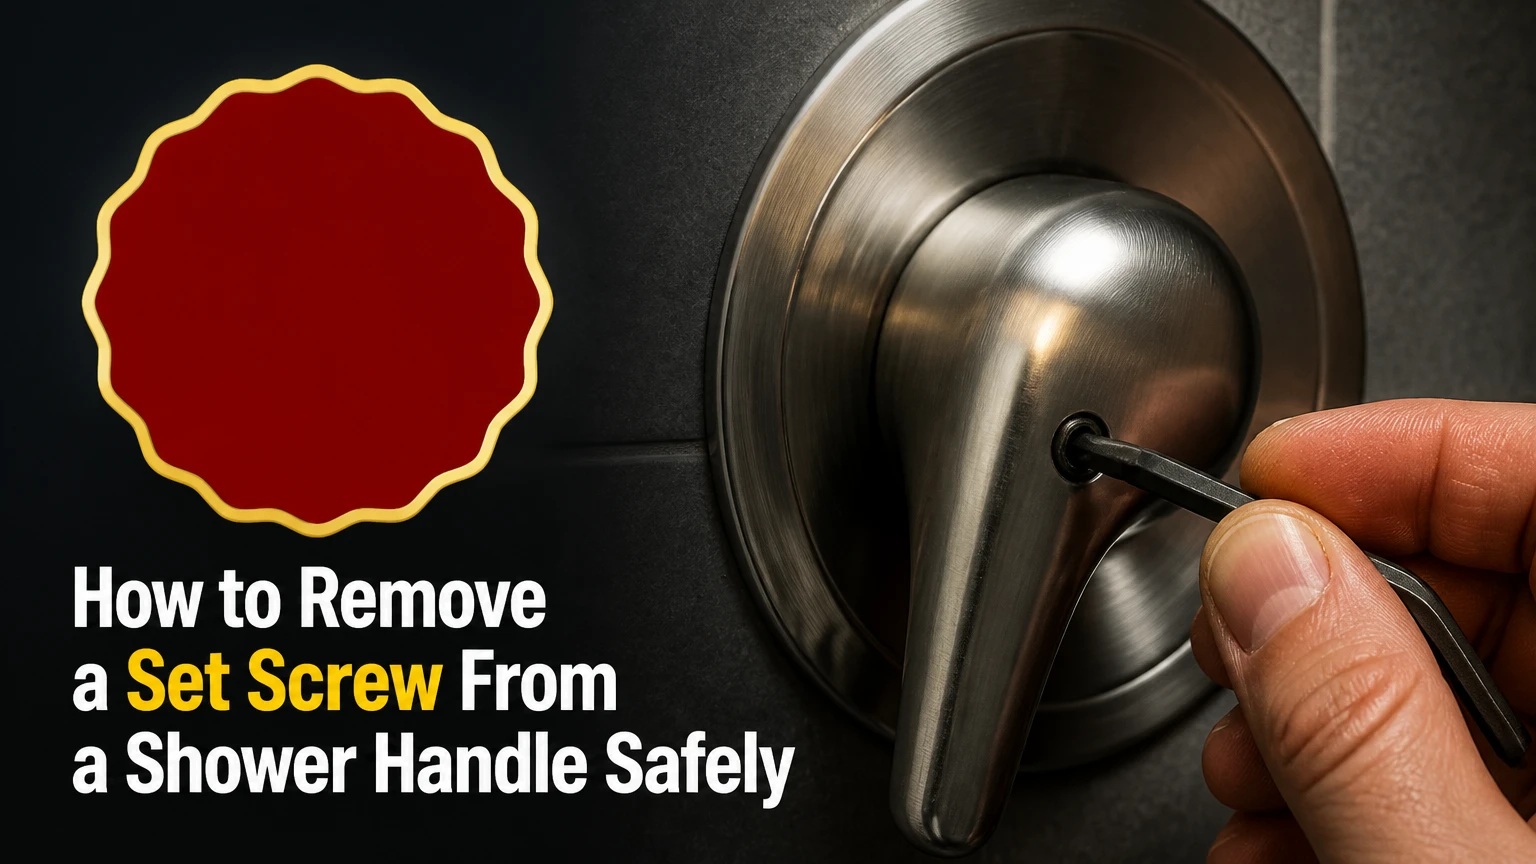
To remove a set screw from a shower handle, cover the drain, clean the screw recess, fit the exact Allen, Torx, or slotted driver, and turn counterclockwise while applying inward pressure. If corrosion prevents movement, use penetrating oil and wait 15-30 minutes before trying again; escalate to an extractor only after protecting the handle and valve stem.
Key Facts
Most shower-handle set screws use an internal hex, Torx, or slotted drive.
Common hex sizes include 3/32 inch, 1/8 inch, 5/32 inch, 2.5 mm, and 3 mm.
A correctly fitted driver should enter fully with no visible side-to-side movement.
Penetrating oil usually needs 15-30 minutes, while severe corrosion may require an overnight soak.
A handle that remains stuck after screw removal usually has mineral buildup on the valve stem.
Drilling is a last resort because it can destroy the handle’s threads and finish.
Before You Start
A shower-handle set screw can usually be removed in 5-30 minutes, but severe corrosion, a stripped recess, or a broken screw can extend the job to several hours. The main factor determining success is not brute force. It is preserving the internal drive corners so the tool can still transfer torque.
Tools and Materials
| Item | Typical specification | Typical cost |
|---|---|---|
| Hex-key set | 3/32 inch, 1/8 inch, 5/32 inch, 2.5 mm, 3 mm | $5-$20 |
| Torx-bit set | T10-T30 range | $8-$25 |
| Penetrating oil | Liquid Wrench or PB Blaster, 4-11 oz | $6-$15 |
| Nylon brush or pick | 1 brush plus 1 blunt pick | $3-$10 |
| Screw extractor | Micro extractor, #1 or #2 | $10-$35 |
| Replacement set screw | Stainless or manufacturer-specific size | $1-$8 |
Turn off the shower control and keep the handle in a neutral position. Closing the main water supply is usually unnecessary because the set screw is outside the pressurized water passage, but shut off the local isolation valves if the installation has them and you expect to disturb the cartridge or valve stem.
Place a cloth over the drain. Put a second towel around the trim plate to catch penetrating oil and prevent a loose tool from scratching chrome. Wear eye protection before using a drill, extractor, or compressed air.
What a Shower-Handle Set Screw Does
A shower-handle set screw is a small headless threaded fastener that clamps the handle to the valve stem. The screw normally enters through the underside, side, or rear of the handle and presses against a flat, splined, or recessed section of the stem.
The screw is different from a visible trim-plate screw. A trim screw has an exposed head and commonly holds the escutcheon against the wall. A set screw sits flush inside the handle, which explains why it may look like a dark hole rather than a conventional fastener.
Hard-water deposits can obstruct the drive recess, while corrosion can bind the screw threads to the handle. Chrome-plated brass, stainless steel, and zinc-alloy handles also expand and contract at different rates, so a screw may become tight without visible rust.
Which Tool Fits the Set Screw?
The correct tool is the one that fills the drive recess completely without rocking. Shower handles commonly use an internal hex key, Torx bit, or slotted screwdriver, and the visible shape of the recess matters more than the faucet brand alone.
Use a flashlight and inspect the hole from several angles. A six-sided recess indicates hex, a six-point star indicates Torx, and a single straight groove indicates a slotted drive. Remove soap residue with a nylon brush or blunt pick before testing the tool.
| Drive appearance | Likely tool | Common examples | Fit standard |
|---|---|---|---|
| Six flat sides | Hex key | 3/32 inch, 1/8 inch, 2.5 mm, 3 mm | No corner movement |
| Six-point star | Torx bit | T10, T15, T20, T25 | Star points fully engaged |
| Single straight slot | Slotted driver | 3-5 mm blade | Blade fills slot width |
| Rounded or packed recess | Cleaning tool first | Pick, brush, solvent | Reinspect before torque |
Test both nearby SAE and metric sizes if the first choice feels uncertain. A 3 mm hex key is smaller than a 1/8-inch key, which measures approximately 3.175 mm; that small difference can make a corroded screw slip under load.
Do not hammer an oversized key into the recess. That tactic may deform the handle or wedge the tool so tightly that removal creates a second problem.
How Do You Remove the Set Screw?
Remove the screw in four controlled stages: expose the drive, loosen the corrosion, apply aligned torque, and extract the fastener without damaging the handle. Stop after the driver slips once, because repeated slipping rounds the internal corners and sharply reduces the chance of manual removal.
Step 1: Expose and Clean the Recess
Insert a blunt pick or stiff nylon bristle into the recess and remove packed mineral scale, hair, soap, and old threadlocker. Use a dry cloth around the opening, then shine the flashlight directly into the hole.
Avoid using a sharp steel needle aggressively against a plated handle. A scratch at the hole can spread beneath the finish, and a broken needle can block the drive more firmly than the original debris.
You will know it worked when: the full geometric shape of the drive is visible and the selected key reaches the bottom.
Common mistake: applying torque while calcium deposits still prevent full engagement.
Step 2: Protect the Handle and Valve
Wrap the handle near the screw with painter’s tape, leaving the recess exposed. Keep the handle stationary with one hand while the other hand controls the driver; do not use the wall, trim plate, or valve body as a lever.
The valve stem behind the handle is usually durable, but excessive twisting can damage a cartridge or loosen internal components. A shower valve is not designed to absorb unlimited side load through the handle.
You will know it worked when: the handle remains steady without flexing the trim plate.
Common mistake: gripping a thin decorative handle with locking pliers, which can crush the casting or mark the finish.
Step 3: Soak the Threads
Apply a small amount of penetrating oil into the set-screw opening, then wait 15-30 minutes. For heavy oxidation, repeat the application and wait several hours or overnight, keeping the area ventilated and the drain covered.
Penetrating oil is designed to creep into tight metal interfaces. Standard water-displacing spray may help clean or lubricate, but a product specifically labeled as penetrating oil is the better choice for a corroded threaded fastener.
Mineral scale is not always dissolved by oil. If white crust remains, remove what you can mechanically first; a manufacturer-approved lime remover may help on exposed deposits, but keep acidic descaler away from natural stone, plated surfaces, rubber seals, and the valve opening.
You will know it worked when: the screw recess looks wet and the fastener responds to light tapping.
Common mistake: flooding the trim area, allowing solvent to run behind the escutcheon or onto an incompatible stone surface.
Step 4: Turn the Driver Counterclockwise
Insert the correct key or bit fully, push firmly inward, and turn counterclockwise with smooth hand pressure. Use the short end of an Allen key in the screw first, because the shorter lever limits torque and reduces the chance of stripping the recess.
If the screw moves, continue with small quarter-turns until it releases. If the screw resists, tighten it a few degrees first, then reverse direction; this can break a corrosion bond without requiring a sudden high load.
You will know it worked when: the screw turns through multiple rotations and begins backing out from the handle.
Common mistake: using pliers or a cheater bar on the Allen key. High torque can snap the key, round the recess, or transfer damaging force to the valve stem.
What If the Set Screw Is Stripped?
A stripped shower-handle set screw requires progressively more aggressive methods. Try cleaning and a fresh exact-size bit first, then use a rubber band only for minor rounding, followed by a micro extractor or controlled drilling for a fully damaged recess.
Rubber Band for Minor Rounding
Place a thin, wide rubber band over the recess and press the correctly sized key through it. Turn slowly while maintaining strong inward pressure.
This method can fill small gaps between the driver and screw. It cannot restore a completely circular hole, remove a screw bonded by severe corrosion, or provide enough grip for a high-torque fastener.
Drive a Larger Bit Carefully
For a hex screw with slightly damaged corners, a Torx bit one size larger may bite into the soft screw metal. Tap the bit gently with a small hammer, keeping the handle supported and the bit square.
This method permanently damages the original screw. Use it only when replacement is available and when the bit can be driven without contacting the handle finish.
Use a Micro Screw Extractor
Select a small extractor designed for the screw diameter and place the drill in reverse at low speed. Apply firm axial pressure and let the extractor’s cutting edges bite instead of forcing the drill into the handle.
| Condition | Recommended next method | Typical time | Handle risk |
|---|---|---|---|
| Drive dirty but intact | Clean and exact driver | 5-10 minutes | Very low |
| Drive mildly rounded | Rubber band or larger Torx | 10-20 minutes | Low |
| Drive fully stripped | Micro extractor | 15-40 minutes | Medium |
| Screw snapped flush | Left-hand bit or pilot hole | 30-90 minutes | High |
| Screw fused in place | Professional extraction | 1-3 hours | Medium-high |
Stop drilling if the bit begins walking across the chrome or if the extractor starts enlarging the handle hole rather than cutting the screw. A damaged handle is often cheaper to replace than a damaged valve body, but a damaged in-wall valve can require tile removal.
When Should You Drill the Screw Out?
Drill out a shower-handle set screw only when the recess is unusable and cleaning, penetrating oil, and extraction have failed. Use a small cobalt or high-speed-steel bit, low speed, light pressure, and a centered pilot hole; drilling directly with a large bit is the fastest way to damage the handle.
Cover the surrounding finish with several layers of tape. Center-punch the screw, if accessible, without striking the valve stem. Begin with a bit smaller than the screw’s minor diameter and drill a shallow pilot hole.
A left-hand drill bit is preferable because reverse rotation may loosen the screw while creating the hole. If the screw does not come out, enlarge the hole gradually until the screw wall collapses, then remove fragments with a pick.
Do not drill deeply into the valve stem. The set screw is normally only a short distance inside the handle, and the stem behind it may be brass, stainless steel, or a cartridge component that is not replaceable through the handle opening.
Can Heat Loosen a Corroded Screw?
Localized heat can loosen some corrosion bonds, but a hair dryer is safer than a heat gun and often less effective. Use heat only when the handle is metal, the finish is protected, no plastic cartridge parts are nearby, and the manufacturer does not prohibit heating the fixture.
A heat gun can discolor chrome, damage acrylic trim, soften adhesives, and distort plastic components behind the handle. It can also ignite solvent residue from penetrating oil. Never heat a surface that still has wet flammable spray on it.
If heat is appropriate, remove all solvent residue, use the lowest effective setting, keep the tool moving, and warm the metal around the screw for short intervals. Let the area cool slightly, then try the correctly fitted driver.
Heat is a controlled secondary method, not a guaranteed shortcut. Thermal expansion varies by material and geometry, so the common claim that the handle always expands faster than the screw is not universally reliable.
Why Won’t the Handle Come Off After the Screw Is Removed?
A shower handle that remains stuck after the set screw is removed usually has mineral deposits, corrosion, or a compressed seal binding it to the valve stem. Confirm that the screw is completely out, then pull the handle straight forward while gently rocking it side to side.
Do not pry against the tile or escutcheon with a screwdriver. Use a faucet-handle puller when hand pressure fails; the tool pushes against the valve stem while its jaws pull the handle evenly, reducing the chance of cracked trim or bent components.
Spray a small amount of suitable lubricant around the stem opening, wait 10-15 minutes, and try again. A cloth between the puller and finish can protect decorative surfaces, but never allow the puller’s center screw to bear against a fragile cartridge end.
A practical rule: if the handle does not move after moderate hand force and a puller cannot grip it securely, stop before the stem bends. Replacing a handle is less expensive than repairing a valve body behind finished tile.
What If the Screw Breaks Inside the Handle?
A broken set screw requires center access to the remaining metal. Start with a left-hand drill bit smaller than the screw, maintain a straight axis, and enlarge the hole only as needed to remove the fragment.
If the broken piece sits above the handle surface, locking pliers may remove it after penetrating oil and gentle back-and-forth movement. If it is flush or recessed, use a punch and pilot hole rather than trying to weld a nut in a confined shower space.
The replacement screw must match diameter, thread pitch, length, and drive style. Set-screw sizes vary widely by manufacturer, so claims that shower handles normally use one universal 10-24 or 1/4-20 size are unreliable. Take the old screw to a hardware store or identify the faucet model through the manufacturer’s parts diagram.
When the Handle Has No Visible Set Screw
A handle with no visible set screw may use a decorative cap, a hidden retaining screw, a front-access screw, a pin, or a pull-off design. Inspect the underside, rear, face cap, and perimeter before applying force.
Common concealment points include a small logo cap that pries out with a plastic pick, a temperature-limit cover, or a trim button that hides a Phillips screw. Do not assume a handle is secured by a set screw merely because it looks like one-piece metal.
| Handle appearance | Possible retention method | Safe inspection action |
|---|---|---|
| Round knob with center cap | Concealed Phillips screw | Lift cap with plastic pick |
| Lever with underside hole | Hex or Torx set screw | Inspect with flashlight |
| Front temperature handle | Cap or retaining screw | Check manufacturer diagram |
| Pull-only cylindrical handle | Friction fit or clip | Pull straight, avoid twisting |
Model-specific instructions from Moen, Delta, Kohler, GROHE, and other manufacturers take priority over generic procedures. A cartridge handle can look similar across brands while using different clips, screws, or removal directions.
Which Removal Method Should You Choose?
The best removal method is the least aggressive method that matches the screw’s actual condition. Use a hand driver for an intact recess, penetrating oil for corrosion, an extractor for a stripped recess, and drilling only when the fastener cannot be mechanically engaged.
| Method | Best condition | Typical duration | Cost | Damage risk |
|---|---|---|---|---|
| Exact hex, Torx, or slot driver | Intact drive | 5-15 minutes | $0-$20 | Very low |
| Penetrating oil and retry | Corroded threads | 30 minutes to overnight | $6-$15 | Low |
| Rubber band or larger Torx | Mildly stripped recess | 10-20 minutes | $0-$15 | Low-medium |
| Micro extractor | Fully stripped screw | 15-40 minutes | $10-$35 | Medium |
| Drilling with pilot hole | Broken or fused screw | 30-90 minutes | $5-$30 | High |
| Plumber or fixture specialist | Inaccessible or high-risk valve | 1-3 hours | $100-$300 typical | Medium |
A rubber band is inexpensive but has a narrow success range. A screw extractor is more effective on a rounded recess, yet it demands alignment and can enlarge the handle opening if the drill slips.
How Do You Replace and Protect the Set Screw?
Replace the set screw with the original manufacturer part whenever possible, or match its diameter, thread pitch, length, point style, and drive. Apply a small amount of plumbing-compatible anti-seize to the threads, keeping compound off the visible finish and valve cartridge.
Stainless steel resists bathroom corrosion, but stainless fasteners can gall in compatible metal threads when installed dry and overtightened. Anti-seize reduces that risk. Do not use threadlocker unless the manufacturer specifies it, because permanent-strength products can make the next removal unnecessarily difficult.
Tighten the screw until the handle has no wobble, then add only a small amount of additional torque. The screw needs to clamp the handle to the stem, not deform the stem or cut a new groove into it.
Rotate the handle through its normal range after installation. Confirm that the handle is aligned, the control operates smoothly, and the set screw remains below or flush with the handle surface.
Common Mistakes and How to Fix Them
- Using a nearly correct metric or SAE key: Replace the slipping key with the exact size and clean the recess before testing again.
- Turning without inward pressure: Seat the driver fully, keep it square, and use the shorter lever for the first attempt.
- Applying oil to mineral scale without cleaning: Remove crust mechanically, then apply penetrant to the exposed metal.
- Using a heat gun near plastic: Stop heating, allow the fixture to cool, and switch to extraction or professional service.
- Prying the handle against tile: Use a faucet-handle puller that applies axial force instead of levering against the wall.
- Drilling without protecting chrome: Tape the finish, center the bit, and use a small pilot hole at low speed.
The most counterintuitive mistake is increasing force after the first slip. A set screw that has slipped once has lost part of its drive geometry, so additional torque usually converts a recoverable problem into an extraction job.
Time, Cost, and Difficulty
A clean, intact set screw is a beginner-level repair costing nothing beyond an existing key set. A corroded screw generally requires a $6-$15 penetrant and 30 minutes of waiting, while a stripped fastener may require a $10-$35 extractor and a drill.
Professional pricing varies by region, access, brand, and whether the handle or cartridge also needs replacement. A typical service visit may cost $100-$300 before parts, while a concealed valve repair behind tile can cost substantially more.
Call a plumber before drilling when the handle is part of a discontinued faucet, the valve stem is visibly bent, the trim is embedded in natural stone, or the screw opening points directly toward a cartridge component. The cost of preserving a working valve often outweighs the cost of a new set screw.
FAQ
Do I need to shut off the water to remove a shower-handle set screw?
Usually, no. The set screw is an external fastener and does not open the water passage. Close local isolation valves if available when the valve stem is fragile, the cartridge may be disturbed, or you are removing more than the handle. Cover the drain because the small screw is easy to lose.
What size Allen key is most common for a shower handle?
Common sizes include 3/32 inch, 1/8 inch, 5/32 inch, 2.5 mm, and 3 mm. No single size fits every brand. Test the key for full insertion and zero wobble, because a nearly matching metric or SAE key can round the recess under moderate torque.
Can vinegar loosen a stuck shower-handle screw?
Vinegar may soften mineral scale on exposed surfaces, but it is not a reliable penetrating treatment for a screw bonded inside a handle. Acid can damage natural stone, plated finishes, rubber, and nearby metals. Remove deposits mechanically and use a purpose-made penetrating oil on the threaded fastener.
How do you remove a shower handle when the Allen screw spins?
A freely spinning Allen key usually indicates a stripped recess, debris, or an incorrectly sized key. Clean the hole and test the exact drive type again. If the key still spins, try a larger Torx bit for mild damage, then use a micro extractor before drilling.
Should the set screw be tight when reinstalling the shower handle?
The screw should eliminate handle wobble without requiring extreme force. Tighten it with the correctly sized hand tool until the handle is secure, then apply only slight additional torque. Match the original thread and length, and use a small amount of compatible anti-seize to ease future removal.
The Bottom Line
To remove a set screw from a shower handle, clean the recess, identify the exact drive, apply inward pressure, and turn counterclockwise with controlled force. Use penetrating oil for corrosion, an extractor for a stripped recess, and drilling only as a final option. After removal, match the replacement screw precisely and protect its threads so the repair remains serviceable. Knowing how to remove set screw from shower handle safely means stopping before torque damages the handle, valve stem, or finished wall.