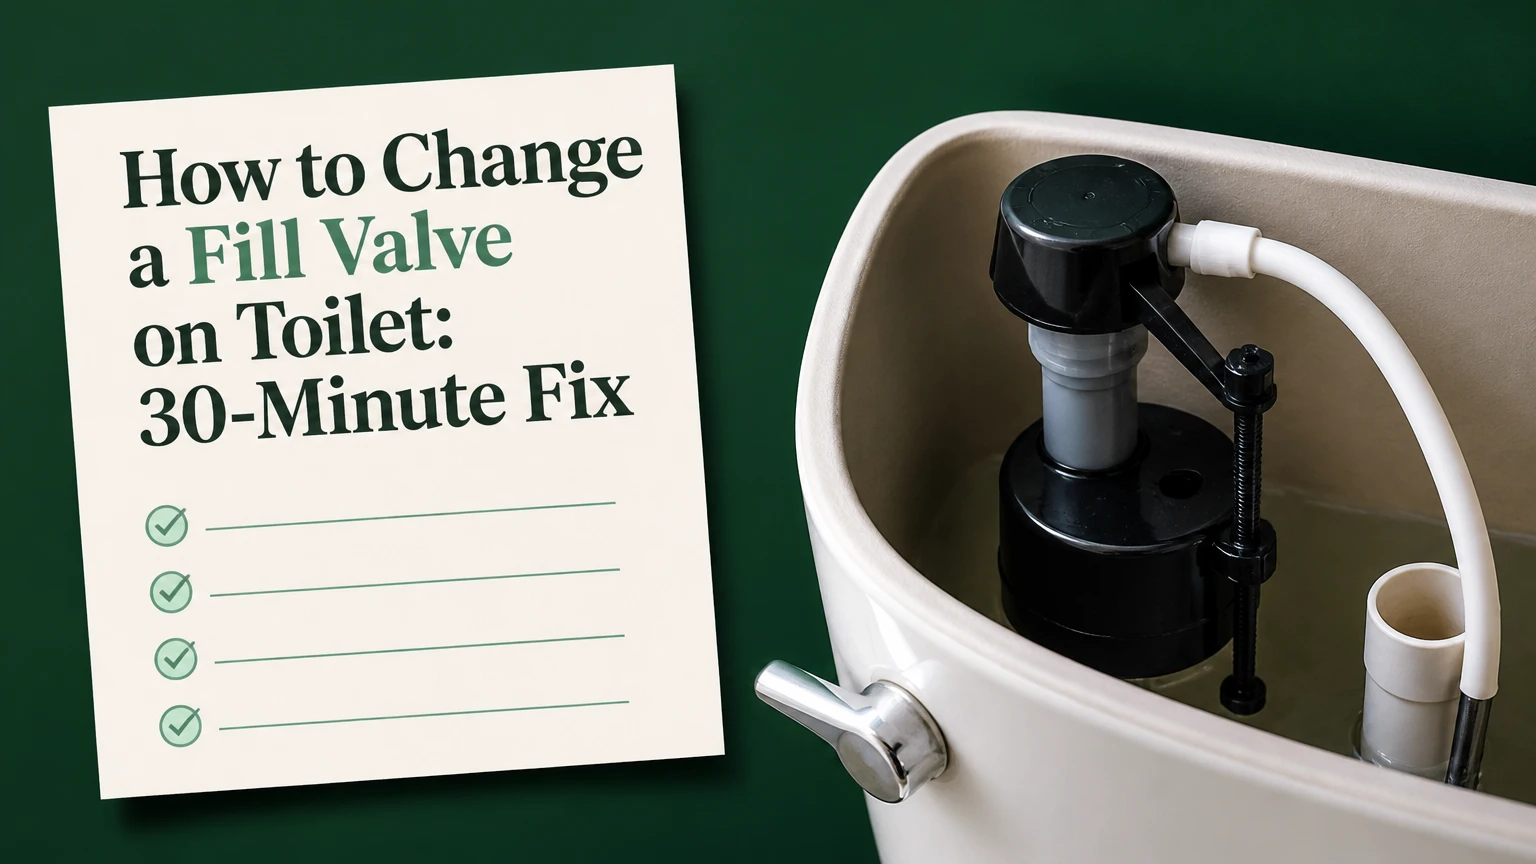
To change a fill valve on a toilet, shut off and drain the tank, disconnect the water supply, remove the old valve, install an adjustable replacement with its rubber washer inside the tank, reconnect the refill tube, and set the water level. Most standard toilets take 20-45 minutes when the shut-off valve and supply line work normally.
Key Facts
A standard toilet fill valve usually connects through a 7/8-inch tank opening.
A universal float-cup valve normally fits most conventional residential toilets.
The rubber sealing washer belongs inside the tank, beneath the new valve body.
The tank water should normally stop below the overflow tube opening, often about 1 inch below it.
Hand-tighten the plastic locknut, then use only a small additional turn.
A continuously running toilet may have a leaking flapper rather than a failed fill valve.
Before You Start
A toilet fill-valve replacement typically requires 20-45 minutes, basic hand tools, and a replacement valve costing about $10-$35 in the United States. The work is suitable for many homeowners, but success depends more on a functioning shut-off valve and an undamaged tank connection than on advanced plumbing skill.
Tools and materials
| Item | Typical quantity | Purpose | Replacement detail |
|---|---|---|---|
| Universal fill valve | 1 | Replaces the tank inlet mechanism | Float-cup model for most standard toilets |
| Adjustable wrench | 1 | Loosens the supply connection | 6-10 inch wrench is usually sufficient |
| Sponge or absorbent cloth | 1-2 | Removes residual tank water | Use one that fits under the valve |
| Small bucket | 1 | Catches water from the supply line | 1-2 gallon capacity is adequate |
| Replacement supply line | 1 optional | Renews the tank connection | Use a braided line with a 7/8-inch tank nut |
| Flashlight | 1 optional | Inspects the underside connection | Useful in cramped cabinets or dark bathrooms |
Turn the wall shut-off valve clockwise until it stops. If the handle spins without closing the water, do not force it with pliers, because a failed valve can begin leaking at the stem or wall connection. Shut off the home’s main water supply and arrange repair before removing the toilet valve.
What a fill valve does
The fill valve refills the tank after the flush and sends a controlled amount of water through a refill tube into the overflow pipe. The overflow pipe then restores the bowl’s trap water. A float, either a cup or a ball, rises with the tank water and closes the inlet when the selected level is reached.
The fill valve is different from the flush valve. The flush valve releases tank water into the bowl, while the fill valve admits fresh water afterward. Replacing the wrong component will not solve the problem.
Should you replace or repair the valve?
Replace the entire fill valve when the valve hisses, fails to shut off, refills slowly after the supply is open, or has a cracked body or deteriorated seal. Cleaning a removable valve cap can restore operation when sediment is the only obstruction, but a new universal valve is often faster and more dependable for a worn five-year-old assembly.
Use a dye test before buying parts if the toilet runs intermittently. Add a few drops of food coloring to the tank, wait 10 minutes without flushing, and check the bowl. Colored bowl water indicates a flapper or flush-valve leak, not necessarily a fill-valve failure.
Which Replacement Valve Fits Your Toilet?
A float-cup replacement valve is the best default for most standard two-piece residential toilets because its height adjusts, its parts are widely available, and its integrated float requires little tank space. Compatibility is not universal, however: low-profile, dual-flush, pressure-assist, and proprietary one-piece toilets may require a model-specific part.
Compare the common valve types
| Valve type | Typical cost | Typical service life | Best application | Main limitation |
|---|---|---|---|---|
| Float-cup valve | $10-$35 | 5-7 years | Standard two-piece toilet | Plastic threads can strip |
| Diaphragm ballcock | $12-$40 | 3-7 years | Older conventional tank | Internal parts are less common |
| Brass ballcock | $30-$80 | 10-15 years | Vintage or commercial-style tank | Bulky and often noisy |
| Floatless valve | $20-$50 | 4-8 years | Compact specialty tank | Diagnosis is less visual |
| Model-specific inlet valve | $20-$90 | 4-10 years | Dual-flush or one-piece toilet | Universal fit may be impossible |
Check the old valve before purchasing. Measure the opening only if the replacement instructions require it, and confirm that the valve includes an anti-siphon design, a tank washer, a locknut, a refill tube, and an overflow-pipe clip.
Most residential tank inlet connections use a 7/8-inch ballcock thread, but the external supply-line connection may differ on older installations or nonstandard fixtures. The 7/8-inch measurement describes the tank-side shank connection, not every thread on the water supply system.
When is a universal valve the wrong choice?
A universal valve is a poor choice when the tank has a concealed inlet, an unusually narrow lid, a manufacturer-specific float assembly, a dual-flush mechanism, or a pressure-assist system. A valve that physically fits may still fail to provide the correct bowl refill volume or may interfere with the flush button.
Record the toilet brand and model printed inside the tank or on the rear porcelain before shopping. Kohler, American Standard, TOTO, and other manufacturers may specify different inlet assemblies for toilets that look externally similar.
How to Change a Fill Valve on Toilet
Follow these ten steps to remove the old inlet valve, install the replacement, and calibrate the tank. Keep the tank lid on a towel during the work, and never use a wrench to force a porcelain nut or tank fitting that has begun to crack.
Step 1: Shut off the water supply
Turn the toilet’s shut-off valve clockwise until the water stops. Flush the toilet once, then hold the handle down for several seconds to empty as much water as possible.
Success checkpoint: The tank stops refilling after the flush.
Common mistake: Treating a stiff shut-off valve as fully closed without checking; a small continuing stream can flood the floor after disconnection.
Step 2: Remove the tank water
Sponge the remaining water from the bottom of the tank into a bucket. Place a towel beneath the supply-line connection and the tank’s underside locknut.
Success checkpoint: Less than about 1 inch of water remains around the valve base.
Common mistake: Leaving enough water in the tank to spill through the valve opening when the old assembly is lifted out.
Step 3: Disconnect the refill tube
Inside the tank, detach the small refill tube from the overflow pipe clip and from the fill valve’s outlet nipple. Keep the tube if it remains flexible and clean, although many replacement kits include a new tube.
The refill tube must discharge above the overflow pipe opening. Inserting the tube deeply into the pipe can create a siphon, allowing tank water to drain continuously through the tube.
Success checkpoint: The tube separates without pulling the overflow pipe or flush mechanism.
Common mistake: Confusing the narrow refill tube with the larger water-supply connection below the tank.
Step 4: Remove the supply line and old valve
Hold the supply-line nut beneath the tank with an adjustable wrench and turn it counterclockwise. If the line is old, replace it rather than bending, twisting, or reusing a damaged compression fitting.
Next, remove the locknut directly beneath the tank. Lift the old fill valve straight upward from inside the tank, then wipe mineral deposits from the tank opening and surrounding porcelain.
Success checkpoint: The tank opening is clean, round, and free of fragments from the old rubber washer.
Common mistake: Turning the valve body inside the tank while loosening the locknut, which can damage the porcelain or twist the supply line.
Step 5: Adjust the new valve height
Compare the new valve with the tank and overflow pipe. Adjust the telescoping shaft or threaded body according to the manufacturer’s markings, ensuring the valve’s critical-level mark remains above the overflow pipe opening.
Do not rely on a generic “three inches higher” rule for every model. The valve’s molded critical-level mark and the installation sheet take priority because anti-siphon clearance varies by design.
Success checkpoint: The adjusted valve fits under the tank lid and does not touch the float, flush handle, or overflow pipe.
Common mistake: Making the valve too tall, causing the lid to press on the cap or the float to bind against the tank wall.
Step 6: Install the sealing washer and valve
Place the thick rubber shank washer on the valve’s threaded shank on the tank side. On many universal valves, the flat or tapered sealing surface faces the porcelain opening according to the kit’s instructions; use the supplied diagram rather than guessing when the washer is asymmetrical.
Insert the valve vertically through the tank opening. Press the valve downward while aligning the float away from the flush lever and overflow pipe.
Success checkpoint: The rubber washer sits evenly against the inside of the tank, with no visible fold or gap.
Common mistake: Installing the washer beneath the tank, where it cannot seal the tank-to-valve interface correctly.
Step 7: Secure the locknut
Thread the new locknut onto the shank from beneath the tank. Hold the valve in its desired position and tighten the nut by hand until the valve no longer rotates.
Add approximately one-quarter turn with an adjustable wrench only if the kit requires it. Plastic locknuts do not need heavy force, and excessive tightening can crack the tank or distort the washer.
Success checkpoint: The valve remains upright when lightly touched, and the washer stays evenly compressed.
Common mistake: Using channel-lock pliers aggressively on a plastic nut, which can strip its threads before the seal improves.
Step 8: Connect the refill tube and supply line
Attach the new refill tube to the fill valve outlet. Clip its other end to the top of the overflow pipe so the tube points into the pipe without extending below the waterline.
Thread the supply line onto the valve shank. Tighten the tank-side nut by hand, then add a small wrench turn if needed. Do not apply pipe thread tape to the rubber-washer tank connection, because the washer creates the seal.
Success checkpoint: The refill tube discharges into the overflow pipe, and the supply-line nut sits squarely on the shank.
Common mistake: Cross-threading the plastic shank by starting the nut at an angle.
Step 9: Restore water and inspect for leaks
Open the shut-off valve slowly by turning it counterclockwise. Watch the connection beneath the tank, the valve cap, and the wall-side supply connection while the tank fills.
Run a dry tissue around each joint. A tissue detects a slow seep that may not produce a visible drop. If water appears, close the shut-off valve, dry the joint, and realign or gently retighten the connection.
Success checkpoint: The tank fills without water appearing on the tissue after two complete refill cycles.
Common mistake: Tightening a leaking joint repeatedly without first closing the valve and checking whether the washer or nut is misaligned.
Step 10: Set the tank and bowl water levels
Use the fill valve’s adjustment screw, clip, or collar to change the float height. Lower the float if water rises into the overflow pipe; raise it if the tank stops far below the manufacturer’s marked fill line.
Flush twice and observe both tank and bowl levels. The tank should stop below the overflow opening, while the bowl should retain enough water to cover the trapway without splashing or surging.
Success checkpoint: The valve stops cleanly, the bowl refills, and no water flows into the overflow pipe after shutoff.
Common mistake: Adjusting the fill valve to compensate for a leaking flapper, which leaves the toilet running and wastes water.
How Do You Set the Correct Water Level?
Set the water level using the fill line marked inside the tank or the toilet manufacturer’s specification, then verify that the water remains below the overflow opening. Many standard toilets operate with the water approximately 1 inch below the top of the overflow tube, but the internal mark is the more reliable target.
| Observation after adjustment | Likely meaning | Corrective action |
|---|---|---|
| Water reaches overflow opening | Float is too high or flapper leaks | Lower float, then perform dye test |
| Water stops 2-3 inches below fill mark | Float is too low | Raise float in small increments |
| Bowl level remains low | Refill tube is misrouted or restricted | Clip tube above overflow opening |
| Tank water is correct but bowl runs | Flapper or flush-seat leak | Inspect flush valve separately |
| Valve never shuts off | Sediment, damaged seal, or excess pressure | Clean cap or replace valve |
Water pressure affects valve behavior. Residential pressure commonly falls within roughly 40-80 psi, while pressure above 80 psi can require a pressure-reducing valve; the toilet manufacturer’s valve rating and local plumbing requirements control the final decision.
Common Mistakes and How to Fix Them
Installation errors usually involve sealing surfaces, water routing, or excessive force rather than complicated plumbing. The following failures are recoverable if the water is shut off before the connection is disturbed.
| Failure mode | Diagnostic sign | Recovery |
|---|---|---|
| Tank-side leak | Water drips from the valve shank | Drain tank, reseat washer, hand-tighten locknut |
| Supply-line leak | Tissue becomes wet below tank | Replace line or square the nut |
| Constant refill | Water enters overflow pipe | Lower float, then test flapper |
| Refill tube siphon | Water continuously moves through tube | Clip tube above overflow opening |
| Slow refill | Tank takes over 2 minutes | Open shut-off, clean screen, check line |
| Whistling refill | Noise occurs only while filling | Clean valve screen or replace valve |
Expert installation rules
A plastic locknut should not be tightened until it feels immovable. The purpose of the nut is to compress a rubber washer evenly, not to clamp porcelain under high force. If a quarter-turn does not improve a seep, disassemble and inspect the washer instead of adding force.
A new fill valve cannot repair every running-toilet complaint. The flapper controls the tank’s stored water, so a deteriorated flapper can make a perfectly functional fill valve cycle repeatedly. The food-coloring test separates those faults before parts are replaced.
The refill tube position controls bowl performance. The tank can reach its correct level while the bowl remains too low if the tube is disconnected, kinked, or aimed outside the overflow pipe. Bowl refill is part of calibration, not an optional final detail.
What If the Shut-Off Valve or Supply Line Is Stuck?
A stuck shut-off valve should be treated as a separate plumbing repair, not forced during fill-valve replacement. Close the home’s main water supply if possible, place a bucket beneath the connection, and replace a corroded or rigid supply line rather than attempting to bend it away from the tank.
Older toilets may have a copper, chrome-plated, or brittle plastic supply tube. These connections can shear at the wall or tank when twisted. A braided stainless-steel replacement line is typically easier to align, but confirm the wall-side connection size before buying.
If the tank locknut is seized, support the valve inside the tank and use a suitable wrench beneath it. Stop if the tank flexes, the porcelain cracks, or the valve spins with the nut. A plumber is safer than turning a small valve replacement into a full toilet or wall repair.
Does a Fill Valve Fit a One-Piece or Dual-Flush Toilet?
A universal fill valve may fit some one-piece toilets, but dual-flush and low-profile designs often require model-specific parts. Check the brand and model number inside the tank or under the lid, compare the replacement’s height range, and confirm that the float will clear the flush mechanism before installation.
Situational variations
One-piece toilet: The tank and bowl share one porcelain body, so access beneath the tank is often restricted. Use a compact wrench, protect the finish, and confirm that the replacement cap clears the lid.
Dual-flush toilet: The push-button flush tower can occupy the center of the tank and may require a narrow inlet valve. Do not remove the flush tower unless the manufacturer’s instructions require it.
Low water pressure: A fill valve may fill slowly when pressure is weak, the shut-off is partly closed, or the supply screen contains sediment. Replacing the valve will not correct a restricted household supply.
Apartment rental: Obtain permission before replacing a valve if the shut-off valve, wall connection, or concealed plumbing appears damaged. A tenant may be responsible for the valve but not for a failed building-side stop.
How Much Does Replacement Cost and How Long Does It Take?
A typical DIY fill-valve replacement costs $10-$35 for the valve and $8-$25 for a new braided supply line, with a total working time of 20-45 minutes. A plumber commonly charges a service minimum plus parts, so the final price varies substantially by region, access, shut-off condition, and whether a supply-line repair is needed.
| Scenario | Parts cost | Typical time | Main cost variable |
|---|---|---|---|
| Standard DIY replacement | $10-$35 | 20-45 minutes | Valve brand and adjustment range |
| DIY with new supply line | $18-$60 | 30-60 minutes | Line length and wall fitting |
| Plumber, accessible toilet | $100-$250 | 30-90 minutes | Local service minimum |
| Seized valve or damaged stop | $150-$400+ | 1-3 hours | Wall-side repair and water shutoff |
| Model-specific one-piece valve | $20-$90 | 30-75 minutes | Manufacturer part availability |
These are typical consumer and trade ranges, not a fixed quote. Local labor rates, emergency timing, regional taxes, and concealed plumbing can move the price well outside the table.
When Should You Call a Plumber?
Call a plumber when the shut-off valve will not close, the tank or wall connection is cracked, the supply line is corroded, the toilet rocks, or water leaks into the floor or wall. Professional help is also appropriate when the replacement valve cannot clear a dual-flush mechanism or when the home’s main shutoff is inaccessible.
Stop the work immediately if porcelain begins cracking. Porcelain can fail suddenly under tightening force, and a tank replacement may cost more than the original valve repair. A plumber can also test excessive household pressure, which may damage new toilet components repeatedly.
FAQ
Are toilet fill valves universal?
Many float-cup valves are designed as universal replacements for standard two-piece toilets with a conventional tank opening and adequate internal clearance. Fill valves are not universally interchangeable with dual-flush, pressure-assist, concealed, or manufacturer-specific toilets. Check the toilet model, valve height range, critical-level mark, and float clearance before purchase.
Can I change the fill valve without removing the toilet?
Yes, a standard fill valve can normally be changed without removing the toilet. The valve is accessible through the tank, while the locknut and supply connection are beneath it. Removal becomes relevant only when the toilet’s design conceals the connection, the bowl blocks access, or a wall-side supply fitting needs repair.
Why is my new fill valve still running?
A new fill valve may continue running because the float is set too high, the valve contains sediment, the refill tube is siphoning, or the flapper is leaking. Lower the float first, confirm that the tube ends above the overflow opening, and perform a food-coloring dye test to identify a flush-valve leak.
Why does the toilet fill slowly after replacement?
Slow filling usually results from a partly closed shut-off valve, blocked inlet screen, kinked supply line, low household pressure, or sediment in the valve. Confirm that the shut-off is fully open, inspect the line, and clean the valve screen according to the manufacturer’s instructions. A replacement will not fix a restricted wall supply.
Should I replace the supply line with the fill valve?
Replace the supply line when it is corroded, kinked, rigid, stained, or more than several years old and its sealing surfaces look worn. Reusing a sound flexible line is possible, but a new braided line reduces the chance that disturbing an old connection will create a separate leak beneath the tank.
How often should a toilet fill valve be replaced?
A fill valve commonly lasts about 5-7 years in ordinary residential service, although hard water, sediment, chemical tank cleaners, pressure spikes, and frequent use can shorten its life. Replace it based on symptoms and condition rather than age alone. Avoid in-tank chlorine tablets because their chemicals can degrade rubber seals.
The Bottom Line
Changing a fill valve on toilet plumbing is a controlled replacement job: shut off the water, drain the tank, remove the old inlet, seat the new washer inside the tank, secure the locknut without force, route the refill tube above the overflow opening, and test every connection. A standard float-cup valve usually completes the work in 20-45 minutes. If the toilet still runs, test the flapper before replacing another fill valve.