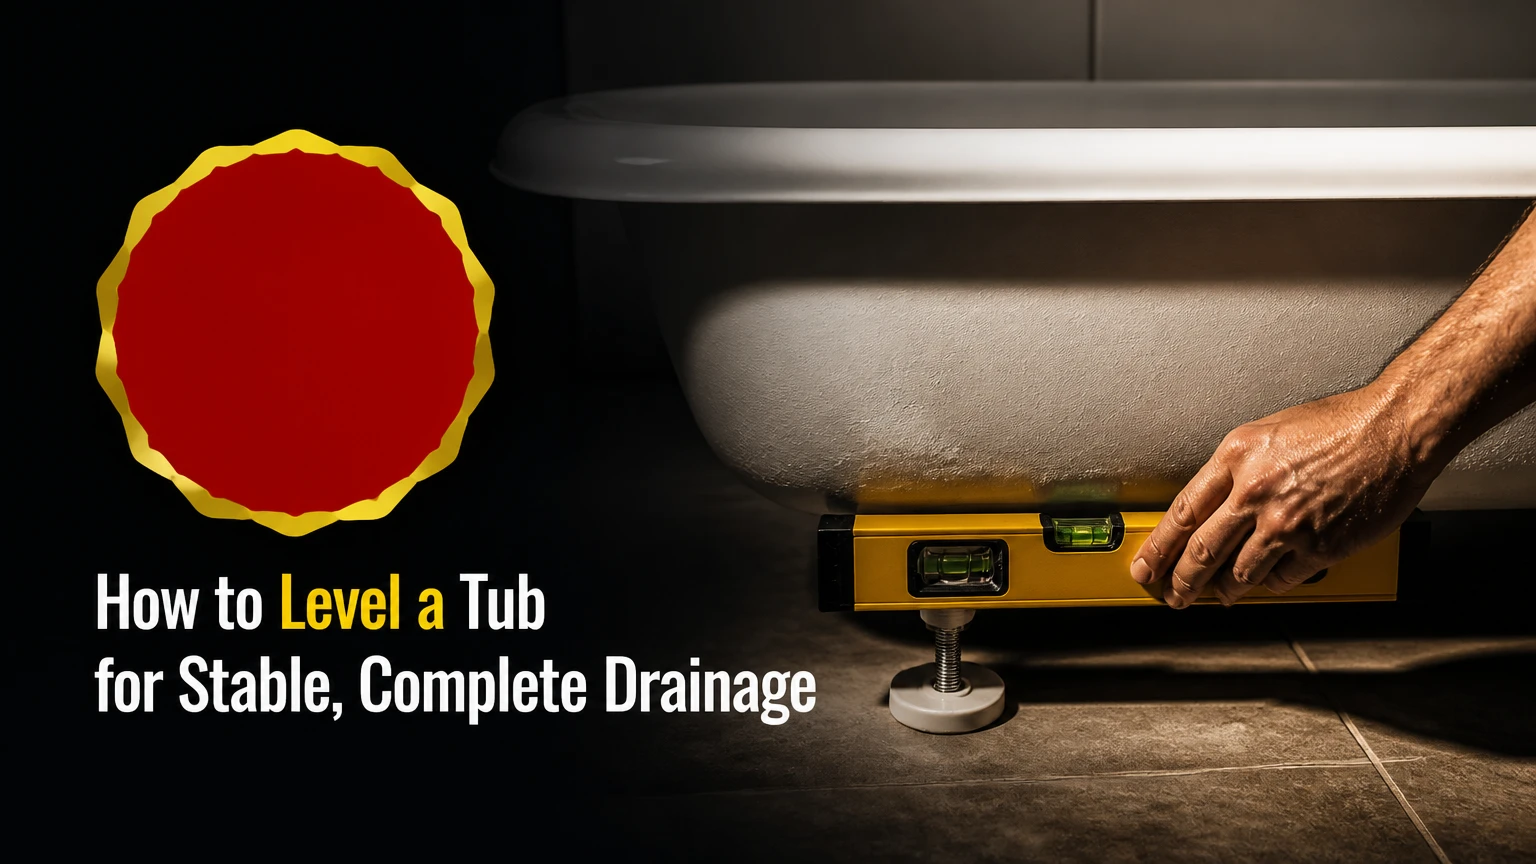
To level a tub, support the bathtub on a sound, flat base, adjust its feet or shims where the design permits, and verify the rim in both directions with a spirit level. Keep the tub’s built-in basin slope intact, align the drain, secure the flange without crushing it, and allow support materials to cure before use.
Key Facts at a Glance
- The bathtub rim, not the sloped basin floor, is the correct surface to check for level.
- A practical installation target is approximately 1.5 mm per meter or better, unless the manufacturer specifies another tolerance.
- Acrylic and fiberglass tubs commonly need a ledger board plus a continuous mortar or approved support base.
- Freestanding and clawfoot tubs are normally leveled with their threaded adjustable feet, not a random pile of shims.
- A typical mortar support layer is 25-50 mm thick, but the tub manufacturer’s support diagram controls the final thickness.
- DIY materials commonly cost BDT 1,500-5,000, while professional work may cost BDT 15,000-45,000 before major plumbing or structural repairs.
What Does Leveling a Tub Actually Mean?
Leveling a tub means aligning the bathtub rim horizontally while preserving the basin’s engineered fall toward the waste outlet. A level rim helps the wall flange, sealant joints, overflow trim, and surrounding tile meet consistently, but the inside bottom should not read perfectly level because manufacturers form it with a drainage slope.
Water pooling at a corner usually indicates that the tub shell is tilted, the waste outlet is obstructed, or the floor is moving. A level rim alone cannot correct a blocked trap or a drain installed too high.
Why the tub rim matters
Place a spirit level across the front rim, back rim, and each side rim. Check in two directions at corners, because a tub can appear level from the front while still falling toward one side.
Do not use the basin floor as your reference. The molded floor may have ridges, textured anti-slip areas, or a deliberate gradient. Leveling that surface with shims would create an incorrect tub position.
What tolerance should you aim for?
A practical target is within about 1.5 mm per meter, but the installation manual has priority. A 1.2-meter spirit level can reveal a deviation of roughly 1.8 mm across its length, although a longer level, laser, or straightedge can expose gradual floor variation more clearly.
Which Support Method Should You Use?
The correct leveling method depends on the tub’s material, frame, base design, and manufacturer instructions. Use a mortar or approved support base for many acrylic and fiberglass tubs, adjustable feet for designed freestanding units, and structural floor reinforcement for heavy cast iron models.
| Tub type | Primary leveling method | Typical support requirement | Do not rely on |
|---|---|---|---|
| Acrylic alcove | Ledger plus mortar or approved base | 25-50 mm support layer, model-specific | Unsupported plywood |
| Fiberglass drop-in | Continuous base or mortar | Full contact below the designated base | Four isolated blocks |
| Cast iron | Flat reinforced floor or mortar bed | Reinforced joists or concrete slab | Lightweight plastic shims |
| Clawfoot | Threaded adjustable feet | Four or more feet, locking nuts | Loose wedges under feet |
| Stone or solid-surface | Adjustable frame or engineered base | Manufacturer-designed load distribution | Unverified wood packing |
When does an alcove tub need a ledger board?
An alcove tub usually needs a level ledger board when the wall flange is designed to rest against the framing. The ledger supports the back edge at the specified height, while the floor support carries the basin load; the ledger is not a substitute for support underneath the tub.
A typical ledger is a straight 50×100 mm, or 2×4, board fastened into wall studs with structural screws. Measure the tub lip and installation height carefully. A ledger installed too high can force the tub upward, disconnect the drain, or bow the flange.
When is a mortar bed appropriate?
A mortar bed is appropriate when the manufacturer calls for solid support beneath an acrylic, fiberglass, or cast-iron tub. Mortar fills small gaps between the subfloor and the molded base, reducing flexing, creaking, and stress on the drain connection.
Some manufacturers specify mortar; others specify foam, leveling compound, a framed platform, or a proprietary support kit. Follow the supplied installation document rather than assuming every plastic tub requires mortar. Expanding foam is not automatically an acceptable structural substitute.
What Tools and Materials Do You Need?
A typical alcove installation requires a 1.2-meter spirit level, tape measure, drill, driver, stud finder, pencil, straightedge, structural screws, ledger lumber, plastic sheeting, mortar or the approved support product, and a compatible bathroom sealant. A drain wrench, adjustable wrench, utility knife, and access-panel tools are also useful.
| Item | Typical quantity or specification | Purpose | Typical cost range |
|---|---|---|---|
| Spirit level | 1 unit, 1.2 m | Check rim and floor | BDT 500-2,000 |
| Ledger board | 1, 50×100 mm board | Support wall flange | BDT 300-800 |
| Structural screws | 6-12, corrosion-resistant | Fasten ledger to studs | BDT 200-600 |
| Mortar | 1-3 bags, model-dependent | Support tub base | BDT 600-2,000 |
| 6-mil plastic sheet | 1 sheet | Separate mortar from wood | BDT 100-300 |
| Washers and screws | 6-12 sets | Secure flange safely | BDT 200-700 |
| Bathroom silicone | 1 cartridge | Seal finished joints | BDT 300-900 |
Before starting, confirm that the waste and overflow kit matches the tub outlet, the drain can be tightened from an accessible position, and the finished rim height works with the planned wallboard or waterproofing system. Dry fitting is faster than dismantling a cured support bed.
How Do You Level an Alcove or Drop-In Tub?
Level an alcove or drop-in tub in eight stages: inspect the floor, dry-fit the shell, mark the rim, install the ledger, prepare the support base, set the tub, verify the rim and drain, then secure and cure the installation. The factor that determines success is full, stable support beneath the manufacturer-designated load points.
Before You Start
| Planning item | Typical requirement |
|---|---|
| Working time | 3-6 hours for preparation and setting |
| Cure time | About 24 hours, or the product label’s stated period |
| Difficulty | Moderate for replacement, high when plumbing or framing changes |
| DIY material budget | BDT 1,500-5,000 |
| Required access | Drain connection, overflow connection, and future service panel |
| Main prerequisite | Sound subfloor and confirmed tub installation manual |
Step 1: Inspect and correct the subfloor
Remove debris, loose adhesive, damaged plywood, and high mortar spots. Check the floor with a long level or straightedge in several directions, then inspect joists for rot, excessive bounce, or water damage.
A tub filled with water and occupied by a person can impose several hundred kilograms on the supporting floor. The exact load depends on tub volume, occupant weight, and tub construction, so a visibly sagging or damaged floor requires a carpenter’s assessment.
Success checkpoint: the floor is firm, clean, and free from a measurable structural dip at the tub footprint.
Common mistake: leveling over soft plywood instead of replacing the damaged section.
Step 2: Dry-fit the tub and drain assembly
Place the empty tub in its final position without sealant or mortar. Confirm that the waste outlet lines up with the trap, the overflow reaches its connection, the wall flange meets the intended studs, and the tub does not contact a high tile edge.
Use an access panel or unfinished floor opening to make the drain connection serviceable. Do not set the tub permanently when the trap must be forced sideways to connect.
Success checkpoint: the tub reaches its final location without pressure on the waste pipe.
Common mistake: measuring the drain from the room walls instead of from the actual tub outlet.
Step 3: Establish the level reference
Hold the tub at the intended height, or place it temporarily on stable blocks, and adjust it until the rim reads level front-to-back and side-to-side. Transfer the rim height to the wall studs with a pencil or laser line.
Measure from that reference to the bottom of the wall flange or lip. The result determines the ledger position. Mark the ledger location on every supporting wall, not only on the back wall.
Success checkpoint: the reference marks represent the tub’s actual level position, not a nominal catalog dimension.
Common mistake: using the floor or a crooked existing tile line as the height reference.
Step 4: Install the ledger board
Cut a straight 50×100 mm ledger to the required wall length. Position its top edge according to the tub manual and the measured flange dimension, then fasten it directly into studs with structural screws.
Predrill near board ends to reduce splitting, and verify the board with the level before tightening every screw. A ledger should support the flange continuously without lifting the tub or forcing the shell against the wall.
Success checkpoint: the ledger remains level after fastening and supports the flange at the marked height.
Common mistake: fastening only into drywall or cement board, which cannot carry the intended structural load.
Step 5: Build the support base
Protect a wood subfloor with 6-mil plastic sheeting if the selected mortar system permits it. Mix the mortar to a stiff, workable consistency, then place mounds or a continuous bed where the tub’s molded support surface will contact it, leaving the drain area clear.
A typical bed is 25-50 mm thick, but the tub’s support ribs and manual determine the actual amount. Too little mortar leaves voids; too much can raise the rim above the ledger and compress the shell.
Success checkpoint: the planned mortar footprint supports the designated base without blocking the drain or access opening.
Common mistake: spreading mortar under areas that the manufacturer says must remain free.
Step 6: Set the tub without shifting the plumbing
Lower the tub vertically onto the ledger and support base. Press evenly across the rim so the support material contacts the molded underside, but do not hammer, twist, or force the tub into position.
Immediately reconnect the waste and overflow fittings while the tub remains accessible. Use the correct gasket orientation and tighten fittings according to the drain-kit instructions, because excessive force can distort plastic outlets.
Success checkpoint: the flange meets the ledger, the rim matches the reference line, and the drain connects without pipe stress.
Common mistake: dragging the tub across wet mortar, which creates voids and changes the level.
Step 7: Verify all four rim directions
Place the spirit level across the front, back, left, and right rim sections. Check diagonally if the rim has a wide ledge, then recheck after pressing gently near each corner.
If the rim is high on one side, correct the support before the mortar sets. Do not compensate by bending the flange or tightening a wall screw harder.
Success checkpoint: every rim direction meets the chosen tolerance, typically about 1.5 mm per meter or better.
Common mistake: checking only the front edge because it is the most visible side.
Step 8: Secure the flange and allow curing
Fasten the tub flange to the studs using the manufacturer-specified screws, nails, clips, or washers. Predrill acrylic or fiberglass where required, keep fasteners centered, and tighten only until the flange is held firmly.
Place evenly distributed weight in the basin if the support-product instructions permit it. Water-filled buckets or sandbags can keep the tub seated, but concentrated loads can deform acrylic. Wait at least 24 hours for many mortar and sealant systems, then follow the exact product label before filling the tub.
Success checkpoint: the flange is secure, the shell does not move, and the drain remains watertight during a controlled test.
Common mistake: driving a fastener tight enough to crack the flange.
How Do You Level a Freestanding or Clawfoot Tub?
Level a freestanding or clawfoot tub by adjusting its built-in threaded feet on a firm floor, then locking the feet and testing the rim after the drain is connected. Adjust each corner in small increments, protect tile with approved pads, and confirm that the filled tub remains stable.
| Floor condition | Correct adjustment | Additional requirement | Unsafe approach |
|---|---|---|---|
| Flat concrete | Threaded feet | Locking nuts tightened | Loose timber wedges |
| Ceramic tile | Feet plus rubber pads | Protect grout and tile | Metal feet directly on tile |
| Uneven wood floor | Feet within adjustment range | Repair bounce or sag first | Compensating for structural flex |
| Thick floor transition | Approved platform or frame | Confirm drain height | Excessively extended feet |
| Stone slab | Feet or supplied frame | Verify point-load limits | Unsupported concentrated loads |
Place the level on the rim in two perpendicular directions. Adjust the lowest corner upward or the opposite corner downward, depending on the foot design. Keep enough thread engaged for stability; a foot extended near its maximum can become a rocking point.
After leveling, tighten each locking nut against its bracket. Connect the drain with the tub in its final position, then fill the basin partway and test movement. The added water weight can expose a loose foot or a flexible floor that was not apparent when the tub was empty.
How Does the Floor Type Change the Method?
Wood subfloors require a check for joist movement, damaged plywood, and concentrated loads, while concrete slabs usually provide a rigid base but may contain high spots, tile ridges, or drainage conflicts. Floor material changes the preparation, not the requirement for a level rim and supported tub base.
Wood subfloor
Replace water-damaged plywood and reinforce joists when the floor deflects under load. Use a solid, dry support system approved for the tub, and keep plumbing penetrations from weakening joists or creating leaks.
Concrete slab
Grind isolated high spots or use a compatible leveling compound after cleaning and priming the slab. Confirm that the compound can support the tub and that the drain trap has sufficient depth and access.
Finished tile
Do not assume grout lines indicate a level floor. Measure the tile surface under each foot or base rib, and use manufacturer-approved rubber pads or a support frame rather than soft, compressible household materials.
What Are the Alternatives to a Mortar Bed?
Mortar, adjustable feet, rigid shims, leveling compound, and manufacturer-supplied foam are viable alternatives only in the situations their designs support. Loose wood shims are suitable for minor adjustment under approved feet or a rigid base, but they are a poor permanent substitute for full support under an acrylic shell.
| Method | Best use | Adjustment range | Main limitation |
|---|---|---|---|
| Mortar bed | Acrylic or fiberglass base | 25-50 mm typical | Permanent after curing |
| Adjustable feet | Freestanding tub | Model-specific, often 10-30 mm | Requires built-in threaded hardware |
| Composite shims | Minor foot correction | Usually 1-10 mm | Must remain dry and fully seated |
| Floor leveling compound | Broad slab irregularity | Product-specific, often 3-20 mm | Requires cure and compatible primer |
| Approved low-expansion foam | Specific manufacturer systems | Model-specific | Ordinary foam may lack structural approval |
Do not place ordinary expanding foam under a tub merely because the shell creaks. Foam can fail to fill the intended void, resist the wrong loads, or interfere with future removal. Use it only when the tub manufacturer identifies that product and application as acceptable.
What Does Tub Leveling Cost and How Long Does It Take?
Typical DIY tub-leveling materials cost BDT 1,500-5,000, while professional installation commonly costs BDT 15,000-45,000 before major structural or plumbing work. Initial setting usually takes 3-6 hours, followed by approximately 24 hours of curing when mortar or silicone requires it.
| Work scope | Typical labor time | Typical material or service cost | Main cost driver |
|---|---|---|---|
| Relevel adjustable feet | 1-2 hours | BDT 500-3,000 | Access and floor protection |
| Replace a small ledger | 2-4 hours | BDT 1,500-5,000 | Wall access and fasteners |
| Set acrylic tub on mortar | 3-6 hours | BDT 1,500-5,000 DIY | Support product and drain access |
| Replace tub with plumbing changes | 1-2 days | BDT 15,000-45,000 labor typical | Waste, overflow, and wall repairs |
| Repair joists or subfloor | 4 hours to several days | Site-specific | Rot, sag, and access complexity |
These Bangladesh taka ranges are typical planning figures, not fixed national rates. A concealed drain relocation, waterproofing repair, tiled-wall removal, or structural sistering can exceed the base installation price.
Common Mistakes and How Do You Fix Them?
Most failed tub installations result from unsupported shell areas, incorrect rim references, stressed drain fittings, or fasteners that damage the flange. Diagnose the cause before adding sealant, because caulk can hide movement while the subfloor or support remains defective.
| Symptom | Likely cause | Corrective action | When removal is needed |
|---|---|---|---|
| Creaking underfoot | Void beneath base | Inspect support and add approved material | When the void is broad or inaccessible |
| Pooling in corner | Tub tilted or drain blocked | Recheck rim and test waste flow | When cured support holds the wrong angle |
| Tub shifts when filled | Flexible floor or loose feet | Repair floor or lock feet | When the base moves under load |
| Cracked flange | Overtightened fastener | Replace damaged part and predrill | When the shell or flange is split |
| Leaking waste | Misaligned gasket or stressed pipe | Refit drain and test before sealing | When outlet is distorted |
| High rim against wall | Ledger or support set too high | Reset support height | Usually before mortar cures |
Why does a level tub still creak?
A level tub can creak when the shell moves against an unsupported subfloor, when a molded support rib contacts a high spot, or when a wooden floor flexes under the filled load. Remove the access panel and inspect for movement while someone applies controlled weight inside the basin.
A repair may involve resetting the tub, correcting the floor, or using an approved support product through the access opening. Do not inject foam blindly into a sealed cavity, because it can lift the tub, block plumbing access, or push the shell out of alignment.
How do you fix a tub that drains poorly?
First pour water into the basin and observe whether the water is slow to leave or simply collects in one corner. Slow drainage suggests a trap, stopper, gasket, or vent problem; corner pooling suggests tub tilt or an incorrectly shaped basin.
If the rim is out of level before the mortar cures, reset the tub. If the mortar has cured and the deviation is visible or causes persistent pooling, removal and reinstallation is normally more reliable than adding a thick bead of sealant.
Can small shims correct a crooked tub?
Small composite shims can correct a minor height difference under a manufacturer-approved foot or rigid support point. Shims should not carry an unsupported acrylic or fiberglass basin at only two or four isolated locations, because compression and shell flex can reopen leaks.
Cut shims flush, keep them dry, stack only products designed for stacking, and verify that the tub cannot rock. Replace a shim solution with a continuous support base when the gap extends across the tub footprint.
When Should You Stop and Hire a Professional?
Hire a plumber or carpenter when the floor is soft, joists sag, a cast-iron tub requires structural handling, the drain must move, or the installation has no service access. Professional help is also appropriate when the tub’s support instructions conflict with the existing floor or when waterproofing must be rebuilt.
Cast iron tubs commonly weigh about 130-220 kg before water and occupant loads are added. Moving one across a finished floor can injure people, damage tile, or overload an inadequately reinforced structure.
A professional cannot make a defective floor safe with silicone. Structural repairs, drain relocation, and waterproofing corrections must occur before final leveling and sealing.
FAQ
Should the tub drain side be lower than the faucet side?
No. The bathtub rim should be level unless the manufacturer specifies a different installation requirement. The basin itself already contains a molded slope toward the drain, so deliberately lowering the drain-side rim can make the tub unstable and distort wall connections.
Can I level a bathtub after the mortar has cured?
Usually, not without loosening or removing the tub. Cured mortar is a fixed support, so correcting a meaningful tilt requires breaking the support, reconnecting the drain, and resetting the shell. Minor cosmetic gaps may be sealed, but sealant cannot correct structural movement or poor drainage.
How long should I wait before using a newly set tub?
Wait at least 24 hours when the mortar or sealant label specifies a 24-hour cure, and wait longer in cool or humid conditions if the product requires it. Do not fill or load the tub until the support material has hardened sufficiently to prevent shell movement.
Does a drop-in tub need a ledger board?
A drop-in tub may not need a wall ledger if its deck, frame, legs, or platform carries the load. The installation manual identifies the required support points. A ledger is appropriate only when the tub design transfers wall-edge loads to framing.
Can I use construction adhesive under a bathtub?
Use construction adhesive only when the tub manufacturer approves the product and application. Adhesive may bond the wrong surfaces, prevent future removal, react with acrylic, or provide incomplete support. A specified mortar bed, leveling compound, foam system, or framed base is safer than an unapproved substitute.
Why does water sit around the tub rim?
Water around the rim usually results from an uneven flange, missing sealant, a wall surface that is out of plane, or tub movement. Dry the area, identify whether the water comes from the rim joint or plumbing, and correct movement before applying new bathroom silicone.
The Bottom Line
To level a tub, establish a true wall and floor reference, support the tub according to its material and manufacturer, adjust the shell or feet until the rim is level, and test the drain before sealing. An acrylic alcove tub usually needs a ledger and approved base, while a freestanding tub normally uses adjustable feet. Fix structural floor movement first. A correct installation keeps the bathtub stable, preserves its designed basin slope, and prevents recurring leaks, creaks, and corner pooling.