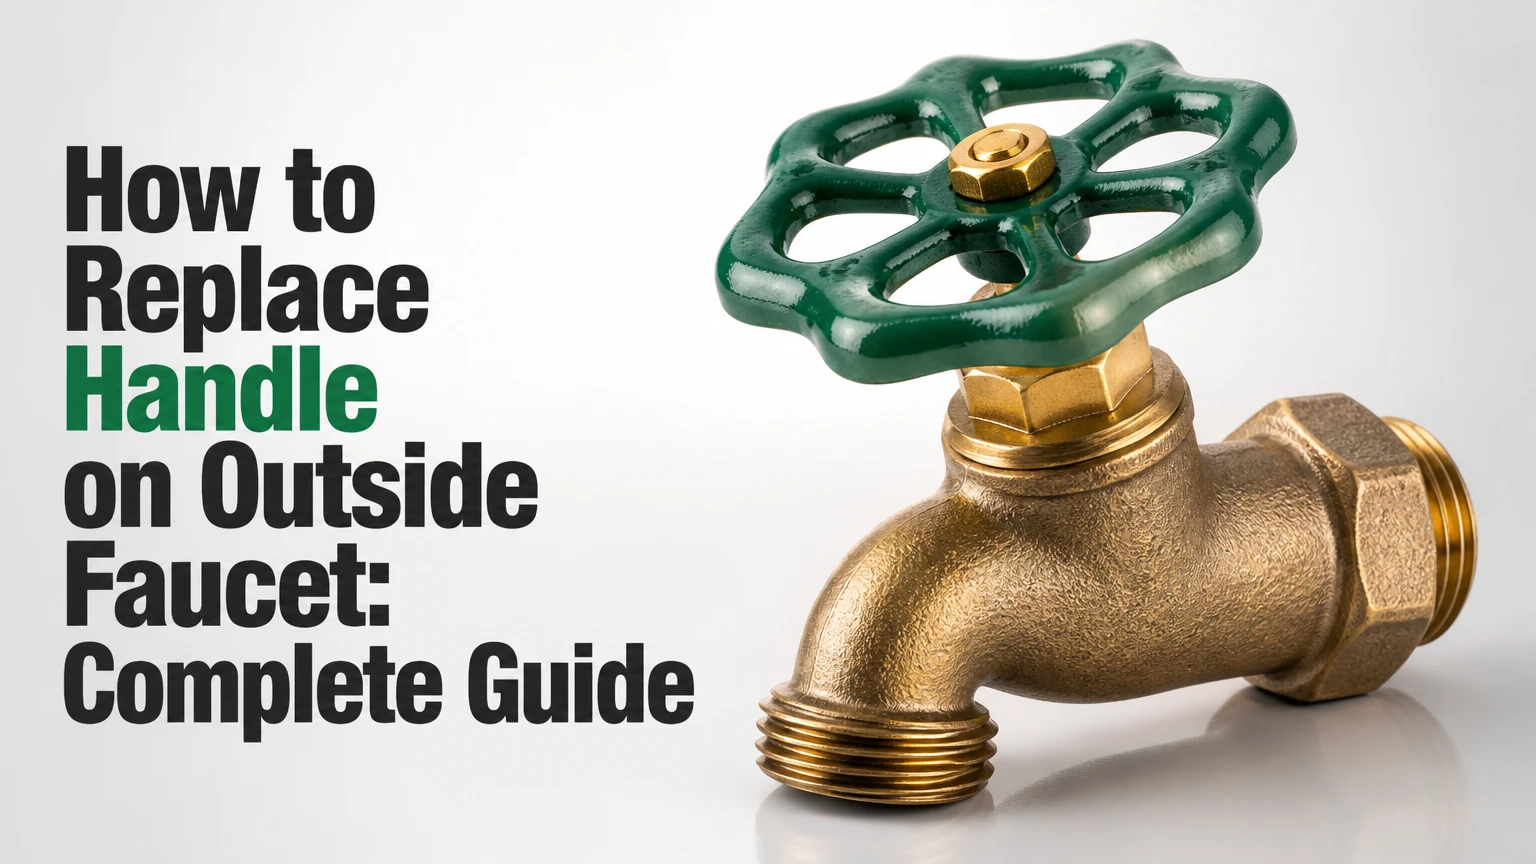
To replace a handle on an outside faucet, shut off the water if possible, remove the center screw, pull the old handle from the valve stem, clean the stem, and install a matching replacement. The repair usually takes 5-15 minutes, but correct stem or spline matching determines whether the new handle turns the valve securely.
Key Facts
An outside faucet handle operates a valve stem, not the water supply itself.
A replacement handle must match the stem’s spline, square broach, diameter, or manufacturer-specific fitting.
Handle-only replacement typically costs $3-$15; universal kits commonly cost $8-$20.
Shut off the local or main water supply before working if the stem is corroded or the faucet may break.
A seized handle should be removed with penetrating oil and a handle puller, not excessive twisting.
A broken stem, wall-side leak, or frost-damage symptom usually requires more than a new handle.
What Is the Outside Faucet Handle?
The outside faucet handle is the removable control attached to an outdoor hose bibb, sillcock, spigot, or frost-free faucet. The handle transfers hand force to a valve stem, which opens or closes the water passage inside the faucet body.
Most traditional hose bibbs use a multi-turn wheel or T-handle. The stem moves inward or outward as the handle rotates, and a rubber washer at the stem end presses against a valve seat to stop water. Quarter-turn outdoor faucets use a ball or cartridge mechanism instead, so their lever handle has a different fitting and operating range.
How Does the Handle Operate the Valve?
A multi-turn hose bibb opens by rotating counterclockwise and closes by rotating clockwise, usually over several turns. A quarter-turn ball-valve faucet opens or closes with approximately 90 degrees of lever movement, and forcing either design beyond its intended travel can damage the stem or internal cartridge.
The handle may attach with a center screw, a screw hidden beneath a cap, or one or more side set-screws. Frost-free sillcocks can also use a manufacturer-specific handle and stem arrangement, especially when the handle is part of an anti-siphon or freeze-resistant assembly.
Why Do Outside Faucet Handles Fail?
Outdoor faucet handles commonly fail because of corrosion, stripped internal splines, ultraviolet exposure, repeated over-tightening, and freezing-related stress. A broken handle does not always mean the faucet valve has failed, but a handle that spins without moving the stem indicates a poor connection or damaged stem.
Inspect the faucet before buying parts. If the metal stem turns normally with pliers but the handle is cracked or stripped, replace the handle. If the stem will not turn, turns indefinitely, or leaks around the packing nut, the valve may need a stem repair or complete faucet replacement.
Which Replacement Handle Fits Your Faucet?
The correct replacement handle fits the stem’s shape and dimensions, not merely the faucet’s color or general appearance. Match the handle type, internal broach or spline pattern, stem diameter, center-screw size, and available seating depth before applying force.
Take a photograph of the faucet and bring the old handle to a hardware or plumbing-supply store when possible. For an unknown faucet, measure the exposed stem and count the internal teeth after removing the handle.
| Existing faucet or handle | Common connection | Typical identifying feature | Suitable replacement |
|---|---|---|---|
| Traditional round wheel | 12 or 16 splines, or square broach | Multi-turn operation, center screw | Exact wheel or universal kit |
| T-handle hose bibb | Square or splined stem | Narrow grip, several turns | Matching T-handle |
| Quarter-turn lever | Flat-sided stem or proprietary adapter | Approximately 90-degree operation | Matching lever handle |
| Frost-free sillcock | Brand-specific splines or stem assembly | Long body, interior shutoff location | Manufacturer-specific handle |
| Anti-siphon sillcock | Spline, square, or proprietary stem | Vacuum-breaker cap near outlet | Compatible OEM or verified universal handle |
What Should You Measure?
Measure the stem diameter with calipers if the fit is uncertain, then count every tooth around the spline. Also record the center-screw thread and length if the original screw is reusable, because a screw that is too long can interfere with the valve mechanism.
A universal replacement is useful when the faucet is old or unbranded, but a universal handle is not literally compatible with every stem. Adapter inserts and side set-screws must still grip the stem securely.
| Measurement or attribute | How to check it | Why it matters | Typical replacement consequence |
|---|---|---|---|
| Spline count | Count internal teeth around handle hole | Determines mechanical engagement | A 12-spline handle may not fit a 16-spline stem |
| Stem shape | Inspect for square, D-shaped, flat, or round profile | Identifies broach or clamp style | Choose an adapter or matching broach |
| Stem diameter | Measure exposed metal with calipers | Prevents loose or forced fit | Incorrect diameter causes slipping |
| Seating depth | Compare old handle and stem length | Ensures full engagement | Shallow seating strips the first teeth |
| Screw arrangement | Center screw, cap screw, or set-screw | Determines installation method | A missing screw may require a kit |
| Brand and model | Read markings on faucet body | Helps identify proprietary parts | Woodford and other brands may require OEM parts |
OEM or Universal Handle: Which Should You Buy?
Buy an exact OEM handle when the faucet brand and model are known, the stem is proprietary, or the faucet requires high operating torque. Buy a universal kit when the faucet is old, the original part is unavailable, or fast local replacement matters more than an exact finish match.
| Replacement choice | Typical price | Installation method | Main advantage | Main limitation |
|---|---|---|---|---|
| Exact OEM handle | $8-$25 | Matching spline or broach | Best fit and lowest slip risk | Model-specific availability |
| Basic round handle | $3-$8 | Common spline or square hole | Lowest material cost | Limited compatibility |
| Universal kit | $8-$20 | Adapter inserts and set-screws | Covers several stem patterns | Set-screws can loosen |
| Complete hose bibb | $15-$60 for common units | Threaded or soldered replacement | Solves damaged valve problems | Requires plumbing work |
| Frost-free OEM handle | $10-$35 | Brand-specific stem connection | Preserves freeze-resistant design | Wrong part may damage assembly |
A universal handle is not a cure for a badly damaged stem. If the stem’s splines are rounded, a set-screw may hold temporarily but can slip under the torque required to close the valve.
What Do You Need Before Starting?
A handle-only replacement requires a screwdriver, replacement handle, penetrating oil, rag, and adjustable pliers or wrench. Add a wire brush, hex key, locking pliers, and faucet-handle puller when corrosion or a seized screw is present.
Before You Start
Time: 5-15 minutes for a loose handle, 20-30 minutes for a seized handle
Difficulty: Easy for a removable handle; moderate if corrosion is severe
Typical cost: $3-$15 for a single handle, $8-$20 for a universal kit
Tools: Correct screwdriver, adjustable wrench, rag, wire brush, penetrating oil
Optional tools: Handle puller, hex keys, locking pliers, screw extractor
Safety prerequisite: Know the local shutoff or main water-shutoff location
Materials: Matching handle, replacement center screw, adapter inserts if required
Do not begin by twisting the handle aggressively. First determine whether the center screw is removable and whether the faucet body is firmly supported by the wall connection.
How Do You Replace a Handle on an Outside Faucet?
Replacing an outside faucet handle involves six actions: isolate water, remove the retaining screw, extract the old handle, clean and inspect the stem, fit the new handle, and test the valve. The handle’s original connection pattern is the factor that most determines success.
Step 1: Shut Off the Water Supply
Close the local shutoff valve if one exists, or close the home’s main water valve when the outdoor faucet has no accessible branch shutoff. Open the outside faucet afterward to release pressure, then leave it open while preparing the repair.
Handle-only removal normally does not release pressurized water because the valve stem remains installed. Water isolation is still the safer practice when corrosion is visible, the stem is bent, or the faucet body could crack while removing the handle.
You will know it worked when: water stops flowing and the faucet no longer holds noticeable pressure.
Common mistake: Assuming the outdoor faucet has an interior shutoff when the actual valve is elsewhere. Trace the pipe inside the basement, crawlspace, garage, or utility room.
Step 2: Identify and Loosen the Retaining Screw
Find the screw in the handle’s center. Some faucets hide it under a decorative cap, which can be lifted carefully with a thin flathead screwdriver; others use a side set-screw that requires a hex key.
Use the exact screwdriver size that fills the screw head. Press firmly downward while turning counterclockwise. If the screw is rusted, apply penetrating oil to the threads, wait 10-15 minutes, and try again with controlled pressure.
You will know it worked when: the screw rises from the handle without the screwdriver camming out.
Common mistake: Using an oversized flathead or a worn Phillips driver. A damaged screw head makes removal slower and may require drilling or extraction.
Step 3: Remove the Old Handle
Pull the handle straight away from the faucet body after removing the screw. Rock it gently from side to side, but do not twist the exposed stem with excessive force because a brass stem can bend or snap.
For a seized handle, apply penetrating oil around the stem opening and wait again. Tap the handle’s underside lightly with a small hammer, alternating sides, or use a faucet-handle puller that presses against the stem while lifting the handle evenly.
You will know it worked when: the handle separates while the stem remains straight and attached to the valve.
Common mistake: Prying against the wall or copper pipe. Support the faucet body with one hand and stop if the entire valve moves in the wall.
Step 4: Clean and Inspect the Valve Stem
Wipe the exposed stem with a rag, then remove surface corrosion and mineral deposits with a small wire brush. Do not grind away metal or reshape the splines, since the stem needs its original profile to transmit torque.
Inspect the stem for rounded teeth, cracks, severe pitting, bending, or unusual side-to-side movement. A small amount of surface rust is acceptable; missing splines or a stem that turns without moving the valve requires a deeper repair.
You will know it worked when: the stem profile is visible and the replacement handle can slide over it without force.
Common mistake: Installing a new handle over debris. Dirt can prevent full seating and leave only the outermost teeth carrying the closing force.
Step 5: Install the Matching Replacement Handle
Align the internal splines, square opening, or adapter insert with the stem. Push the replacement handle fully onto the stem, then install the center screw or tighten the side set-screws evenly.
Do not force a mismatched handle onto the stem. A handle that appears to fit but engages only partially can strip during the first firm shutoff. If the kit includes several adapters, compare each opening to the stem and choose the insert with minimal side-to-side movement.
You will know it worked when: the handle sits squarely against the faucet and turns the stem immediately without wobbling.
Common mistake: Tightening a universal set-screw against a rounded section rather than a flat or solid portion of the stem. Reposition the handle or use the correct adapter.
Step 6: Restore Water and Test the Faucet
Close the outside faucet, reopen the local or main water supply, and turn the handle slowly. Check operation through the entire range, then inspect the screw, packing nut, faucet body, and wall connection for leaks.
A multi-turn handle should close firmly without excessive force. A quarter-turn lever should stop at its designed endpoints; forcing it beyond those stops can damage the cartridge or ball assembly.
You will know it worked when: water starts and stops predictably, the handle does not spin independently, and no water appears around the stem or pipe connection.
Common mistake: Testing only with the hose attached. Remove the hose during testing so a damaged washer or trapped water does not hide a leak.
What If the Handle Is Stuck or the Screw Is Stripped?
A stuck outside faucet handle should be released with penetrating oil, light tapping, or a handle puller before more force is applied. A stripped retaining screw should be removed with a driver that fits tightly, upward pressure under the screw head, locking pliers, or a screw extractor as a final step.
Work in this order:
- Apply penetrating oil and wait 10-15 minutes.
- Clean corrosion from the screw head and handle opening.
- Use firm downward pressure with the correct driver.
- Lift gently under the screw head with a thin screwdriver while turning.
- Grip an exposed screw head with locking pliers.
- Drill or extract the screw only after protecting the faucet body.
Stop if the faucet body rotates, the stem bends, or the wall-side pipe moves. A handle puller is safer than a large pry bar because it applies centered force instead of levering against the plumbing connection.
Why Does the New Handle Spin Without Opening Water?
A new handle spins freely because the spline or broach does not match, the handle is not fully seated, the universal adapter is wrong, or the stem itself has stripped. Remove the handle and inspect both mating surfaces before tightening anything further.
| Symptom | Most likely cause | Corrective action | Escalation point |
|---|---|---|---|
| Handle spins, stem stays still | Wrong spline or loose set-screw | Install correct adapter and tighten evenly | Replace damaged stem |
| Handle wobbles | Incomplete seating or oversized opening | Push fully down or choose smaller insert | Replace universal kit |
| Handle turns but water remains on | Broken stem or failed valve internals | Test stem movement with pliers | Repair or replace faucet |
| Screw tightens but handle slips | Stripped handle threads or splines | Replace handle and screw | Inspect stem teeth |
| Handle will not fit | Wrong broach, diameter, or depth | Compare measurements and model | Obtain OEM part |
Do not compensate for a mismatched handle by over-tightening the center screw. The screw secures the handle axially; it does not create a reliable substitute for correct spline engagement.
Why Is the Faucet Leaking Around the Handle?
A leak around the handle usually comes from the packing nut, stem packing, or a damaged valve stem rather than from the replacement handle itself. Tighten the packing nut only slightly, usually one-eighth to one-quarter turn clockwise, then retest.
Place an adjustable wrench on the packing nut directly behind the handle. Hold the faucet body steady with a second wrench if necessary, because twisting the entire valve can stress the pipe inside the wall.
If the leak continues, the packing may be worn and require replacement. If water leaks from the faucet outlet while the valve is closed, the problem is more likely a worn stem washer, valve seat, cartridge, or ball, which a new handle cannot correct.
How Do Frost-Free and Quarter-Turn Faucets Differ?
Frost-free sillcock handles often require brand-specific parts because the handle connects to a longer stem assembly and the faucet shuts water off inside the heated portion of the building. Quarter-turn faucets use a short operating range and may need a proprietary lever, adapter, cartridge, or ball-valve component.
Frost-Free Sillcock
Identify the manufacturer from markings on the faucet body or vacuum-breaker cap. Do not substitute a generic wheel handle solely because the opening looks similar, since an incorrect handle can interfere with the stem’s travel or freeze-resistant operation.
Quarter-Turn Ball Valve
Use the original lever shape, stem orientation, and screw arrangement as references. A quarter-turn handle should move from fully closed to fully open in approximately 90 degrees, not several rotations.
Anti-Siphon Faucet
The vacuum-breaker assembly may sit above the outlet and can contain small parts that are unrelated to the handle. Do not remove the vacuum-breaker cap to access a handle screw unless the manufacturer’s instructions require it.
When Is a Handle Replacement Not Enough?
Replace or repair the complete outside faucet when the valve stem is broken, the faucet body is cracked, the wall connection leaks, the valve cannot stop water, or freeze damage has split the pipe. A new handle cannot restore a damaged internal washer, valve seat, cartridge, or ball.
Call a licensed plumber when water is leaking inside a wall, the shutoff valve will not close, soldered piping must be cut, or the faucet is connected to a pressurized line that cannot be safely isolated. In freezing climates, inspect the interior pipe after suspected freeze damage because a split may remain hidden until the line is pressurized.
A handle-only repair is appropriate when the valve operates normally and the removable control is the failed component. It is not a substitute for diagnosing the entire hose bibb.
What Are Typical Time and Cost Ranges?
A basic outside faucet handle replacement usually costs $3-$15 and takes 5-15 minutes when the retaining screw and handle come off normally. Corrosion, proprietary parts, or a damaged stem can raise the DIY cost to $20-$60 or require professional plumbing labor.
| Repair situation | Parts cost | DIY time | Main variable |
|---|---|---|---|
| Basic round replacement | $3-$8 | 5-10 minutes | Common spline pattern |
| Universal handle kit | $8-$20 | 10-20 minutes | Adapter selection |
| Frost-free OEM handle | $10-$35 | 10-25 minutes | Brand and model |
| Handle plus stem repair | $10-$30 | 30-60 minutes | Packing and washer condition |
| Complete hose bibb replacement | $15-$60 | 1-3 hours | Threaded, soldered, or PEX connection |
| Plumber service call | $100-$300 typical | 1-2 hours | Region, access, and pipe work |
These are typical retail and service ranges, not guaranteed quotes. A plumbing-supply counter may identify an obsolete handle more accurately than a general hardware aisle when spline dimensions are unusual.
Common Mistakes and How to Fix Them
The most damaging mistakes are forcing an incompatible handle, twisting the valve body, using the wrong screwdriver, and ignoring a leak after testing. Correct the failure before restoring full water pressure.
- Forcing a 12-spline handle onto a 16-spline stem: Remove it immediately and match the spline count.
- Pulling a seized handle sideways: Apply oil and use a centered handle puller.
- Using the center screw to clamp a loose fit: Replace the handle or adapter instead of over-tightening.
- Holding the pipe instead of the faucet body: Support the valve body to prevent wall-side pipe movement.
- Leaving the hose attached during testing: Remove the hose so outlet leaks and trapped pressure cannot obscure results.
- Replacing a handle when the stem is broken: Test the stem separately and replace the valve assembly if it does not control flow.
A practical rule is to stop applying force when the required torque rises suddenly. Outdoor faucet stems are often brass, and a handle that resists removal can transfer damaging force directly into the valve body.
How Should You Choose the Replacement for Your Situation?
Choose a basic matching handle for a common, lightly corroded hose bibb, a universal kit for an unknown low-cost faucet, and an OEM handle for a frost-free or proprietary faucet. Replace the full faucet when the stem, body, or wall connection is damaged.
| Situation | Best choice | Expected cost | Reason |
|---|---|---|---|
| Handle cracked, stem healthy | Exact replacement | $3-$15 | Fastest and most secure repair |
| Faucet brand unknown | Universal kit | $8-$20 | Multiple adapters cover common patterns |
| Woodford or similar frost-free unit | OEM handle | $10-$35 | Preserves model-specific fit |
| Stem splines worn | Stem repair or faucet replacement | $10-$60 | New handle alone will slip |
| Faucet body cracked after freeze | Complete faucet replacement | $15-$60 in parts | Structural damage cannot be repaired with a handle |
| Limited hand strength | Large wheel or lever match | $8-$25 | Provides more usable grip without forcing the valve |
Do not choose a universal handle solely because it is available. Exact fit, stem condition, and faucet design matter more than handle shape or finish.
FAQ
Can You Replace an Outside Faucet Handle Without Shutting Off Water?
Yes, a handle can often be replaced without shutting off water because the valve stem remains installed and the handle is external. Shut off the water anyway when the stem is corroded, the screw is seized, the faucet body moves, or accidental breakage could cause flooding.
How Do You Remove an Outside Faucet Handle Without a Screw?
Look for a hidden cap, side set-screw, retaining clip, or threaded handle design. If no fastener is visible, identify the faucet brand before prying; some handles require a specific removal method, and force can damage the stem or anti-siphon assembly.
Can You Use Any Handle on an Outdoor Faucet?
No. An outdoor faucet handle must match the stem’s spline count, broach shape, diameter, seating depth, or proprietary manufacturer connection. Universal kits cover several common patterns, but they still require the correct adapter and secure set-screw contact.
Why Does an Outdoor Faucet Handle Keep Breaking?
Repeated handle breakage usually indicates excessive closing torque, a stiff valve, corrosion, or a partially mismatched handle. Repair the stiff stem or internal washer instead of installing progressively stronger handles, because excessive force can damage the valve body or supply pipe.
Should the Handle Be Tightened All the Way?
The retaining screw should hold the handle firmly without crushing plastic or binding the stem. Close a multi-turn faucet until flow stops, then stop; excessive force damages washers, seats, splines, and sometimes the faucet’s wall-side connection.
How Do You Prevent the New Handle From Corroding?
Use a weather-resistant brass, stainless-steel, or UV-stable replacement, keep the center screw clean, and avoid overtightening. Remove the hose before freezing weather, drain exposed piping when appropriate, and repair packing or outlet leaks before corrosion spreads.
The Bottom Line
To replace a handle on outside faucet plumbing, isolate the water when practical, remove the correct retaining screw, extract the old handle without twisting the valve, match the stem precisely, and test for both operation and leaks. A $3-$20 handle solves a broken grip, but a stripped stem, cracked body, or freeze-damaged pipe requires a deeper repair.