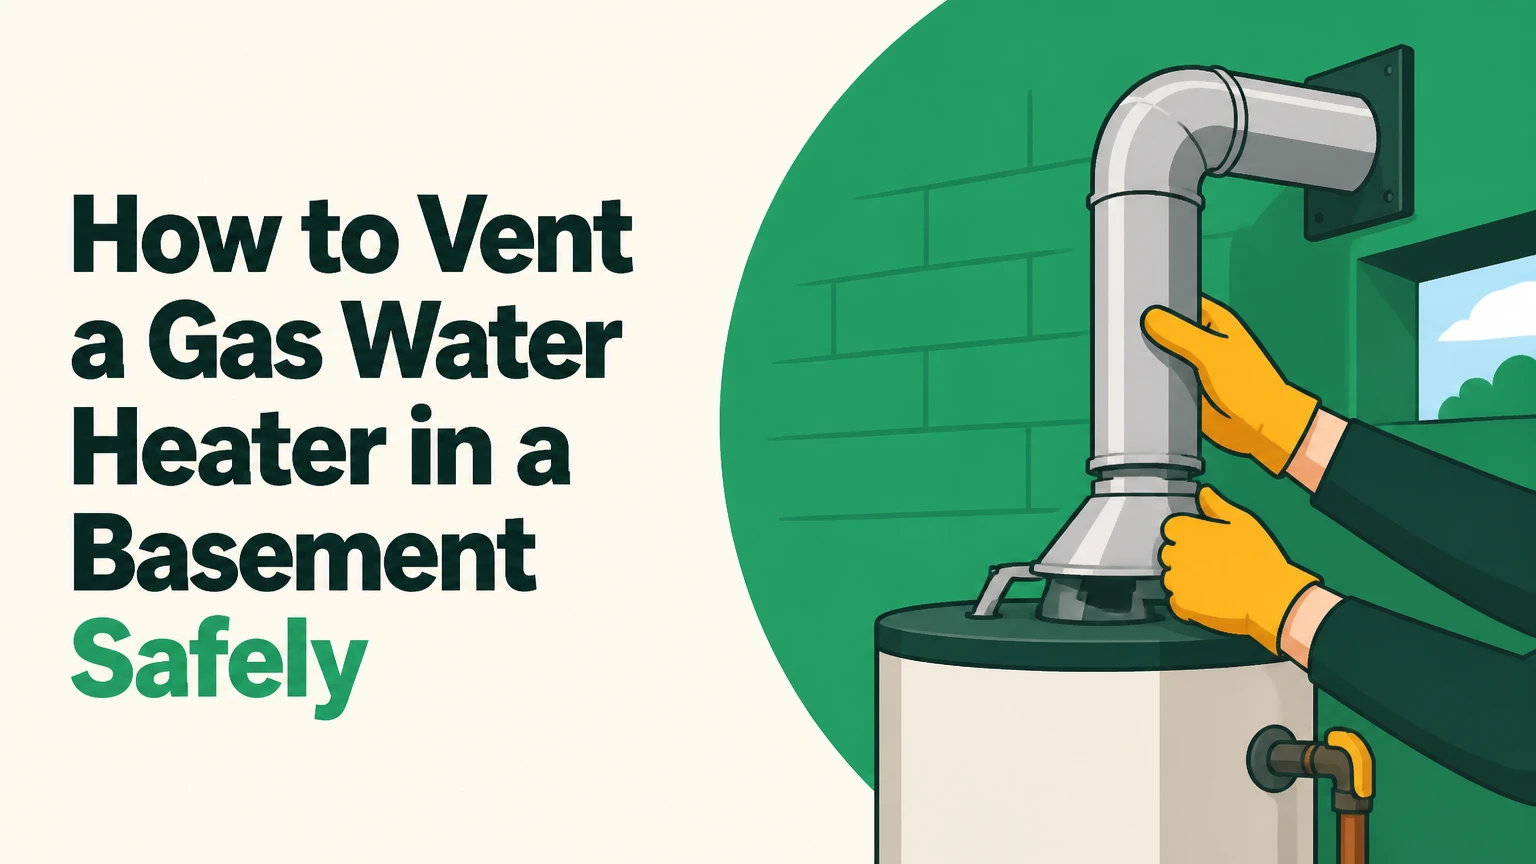
To vent a gas water heater in a basement, use the venting system specified for that exact appliance and route combustion gases to an approved roof or side-wall termination. A licensed plumber or HVAC professional must verify draft, combustion air, clearances, termination distances, gas operation, and carbon-monoxide safety before the heater operates.
Key facts at a glance
An atmospheric gas water heater normally uses a listed Type B gas vent connected to a properly sized vertical vent system.
A power-vent water heater can usually terminate through an exterior wall, but its blower, pipe material, length, slope, and termination must match the manufacturer’s instructions.
A direct-vent or power-direct-vent water heater draws combustion air outdoors through a sealed system, reducing basement backdraft risk.
Vent diameter, slope, clearance, and termination distance are model-specific and code-specific; no single 3-inch pipe rule applies to every heater.
A blocked, disconnected, or backdrafting flue can expose occupants to carbon monoxide without producing a noticeable smell.
Typical licensed installation costs range from $600-$1,500 for labor, with difficult masonry or chimney work costing more.
Why Basement Gas-Water-Heater Venting Is Hazardous
Basement venting is hazardous because combustion appliances operate in a space that can develop negative air pressure. Exhaust fans, clothes dryers, sealed windows, furnaces, and fireplaces can remove air faster than replacement air enters, reversing the intended flow in an atmospheric vent.
Natural-gas and propane combustion produces carbon monoxide, nitrogen oxides, heat, and water vapor. The U.S. Centers for Disease Control and Prevention describes carbon monoxide as “an odorless, colorless gas that can kill you,” which is why smell is not a reliable warning. A carbon-monoxide alarm is essential, but an alarm does not correct defective venting.
Backdrafting can pull flue gases through a draft hood, loose connector, failed chimney liner, or open appliance cabinet. Warning signs include soot, rust around the draft hood, melted plastic components, unusual condensation, scorch marks, unexplained headaches, and a flame that behaves erratically.
If a carbon-monoxide alarm sounds, people develop symptoms, or flue gas enters the room, leave the building and call emergency services or the gas utility from outside. Do not operate the water heater until a qualified technician has inspected it.
How Gas Water-Heater Venting Works
A gas water heater needs a continuous route for combustion products and enough air for the burner. Atmospheric units depend on buoyancy, while power-vent units use a fan to move exhaust through a designed pressure system.
An atmospheric water heater sends hot gases into a draft hood and then into a vertical vent. Cooler surrounding air mixes at the hood, and the warm exhaust rises through a listed vent or chimney. A power-vent heater uses a motorized blower and a pressure switch to prove that the exhaust path is open before ignition.
Direct-vent equipment separates combustion air from indoor air. A concentric vent may place the intake around the exhaust pipe, while a two-pipe power-direct-vent design uses one pipe for outdoor air and another for exhaust. These arrangements are particularly useful in tight basements, but they still require exact listed components.
What is the difference between vent categories?
The appliance rating determines whether the vent operates under negative pressure, positive pressure, or condensing conditions. “Category I,” “Category III,” and “Category IV” describe venting characteristics, not interchangeable pipe choices.
| Appliance arrangement | Typical pressure and temperature | Common vent material | Usual termination |
|---|---|---|---|
| Atmospheric tank | Negative pressure, hot flue gas | Type B gas vent, listed metal connector | Roof or listed chimney |
| Power-vent tank | Positive pressure, cooler noncondensing exhaust | Manufacturer-approved PVC, CPVC, polypropylene, or metal | Exterior wall |
| Direct-vent tank | Sealed combustion, gravity or induced draft | Listed concentric metal or plastic kit | Exterior wall |
| Power-direct-vent tank | Positive pressure, sealed combustion | Two approved intake and exhaust pipes | Exterior wall |
The table shows typical arrangements, not permission to substitute materials. A vent kit approved for one manufacturer or model may be unsafe on another appliance, even when the pipe diameter appears identical.
Which Venting System Does a Basement Water Heater Need?
The nameplate, installation manual, and existing vent connection determine the acceptable system. A standard atmospheric heater cannot become a side-wall power-vent installation by adding generic PVC or an aftermarket blower.
Atmospheric venting through a roof or chimney
An atmospheric water heater is suitable when a code-compliant vertical vent already exists and the appliance is compatible with that vent. The connector rises from the draft hood into a listed Type B vent or an approved chimney liner, with required upward pitch and support.
Atmospheric venting has the lowest equipment cost and can operate during a power outage. Its weakness is dependence on adequate combustion air and reliable natural draft, especially in a basement with negative pressure.
A masonry chimney is not automatically an acceptable flue. The chimney may need a properly sized liner, a sound cap, correct clearances, and compatibility with every connected appliance. A large, cold, or unlined chimney can produce condensation and weak draft.
Power venting through an exterior wall
A power-vent water heater uses a listed blower to push exhaust through a side wall. The manufacturer specifies maximum equivalent vent length, elbow allowances, pipe diameter, termination kit, pipe joining method, condensate handling, and electrical requirements.
Power venting suits a basement without a usable chimney. It requires electricity, creates blower noise, and may stop producing hot water during an outage unless the appliance has an approved backup arrangement.
Direct vent and power-direct venting
Direct-vent equipment uses sealed combustion, so the burner does not consume basement air. Power-direct-vent equipment adds a blower and normally uses separate intake and exhaust pipes.
Sealed combustion reduces, but does not eliminate, risk. Ice, snow, insects, damaged seals, or an incorrectly assembled termination can still obstruct the system or permit exhaust recirculation.
What Materials and Clearances Are Required?
Use only vent components listed for the water heater model and fuel type. Natural gas and propane appliances may have different input ratings, orifice requirements, and installation instructions, even when the tank size is the same.
| Component | Typical permitted example | What controls the final choice |
|---|---|---|
| Atmospheric connector | Listed single-wall galvanized steel | Appliance manual, vent listing, clearance table |
| Atmospheric vertical vent | Type B double-wall gas vent | Diameter, height, input rating, chimney design |
| Power-vent exhaust | Schedule 40 PVC, CPVC, polypropylene, or listed metal | Appliance category and manufacturer listing |
| Direct-vent system | Manufacturer-supplied concentric kit | Model number, wall thickness, termination design |
| Pipe joints | Listed locking joints or solvent-cemented joints | Pipe manufacturer and appliance manual |
| Wall penetration | Thimble, sleeve, and approved sealant | Wall assembly, fire-resistance rating, local code |
Single-wall metal vent connectors generally need a larger clearance from combustible materials than Type B vent, but the exact clearance comes from the vent’s listing. A commonly cited 6-inch single-wall clearance and 1-inch Type B clearance cannot be applied when the product label or local code requires a different value.
Plastic vent pipe is not automatically safe because it is heat-resistant plumbing pipe. Some appliances require cellular-core PVC, some prohibit it, and some require CPVC or polypropylene. Ordinary drain, waste, and vent fittings are not acceptable substitutes for a listed combustion vent system.
How to Plan a Basement Side-Wall Termination
A side-wall termination requires more than drilling through the nearest rim joist. The outlet must remain clear of openings, mechanical-air intakes, walkways, snow accumulation, property lines, and combustible construction according to the appliance manual and local code.
Before installation, record the water heater model, input rating in British thermal units per hour, fuel type, proposed pipe diameter, equivalent vent length, number of elbows, wall thickness, and outdoor grade. Check the authority having jurisdiction before purchasing materials because local amendments can be stricter than the model code.
| Site feature | Why the measurement matters | Verification method |
|---|---|---|
| Window or door | Prevents exhaust entering occupied areas | Manufacturer termination diagram and local code |
| Furnace or dryer intake | Prevents combustion-air contamination | Measure every nearby intake |
| Outdoor grade and snow | Prevents burial or blockage | Use local snow depth, not a universal 12-inch number |
| Gas meter and regulator | Prevents exhaust exposure and service interference | Utility and code clearance rules |
| Property line | Limits termination location | Local building or plumbing official |
| Wall construction | Determines sleeve, firestop, and sealing needs | Inspect framing, siding, masonry, and insulation |
A horizontal vent does not automatically need a universal 1/4-inch-per-foot slope. Some systems slope toward the appliance for condensate drainage, while others specify level installation or a different pitch. Follow the manual exactly, and install a condensate drain or trap when the listed system requires one.
What Does a Professional Installation Involve?
Gas-water-heater vent installation typically takes 3-6 hours for a straightforward replacement, but chimney liners, masonry walls, relocation, electrical work, and permit delays can extend the project to a full day or longer. The following sequence describes the work a licensed installer plans and verifies.
Step 1: Identify the appliance and vent design
Confirm the model, input rating, fuel, vent category, and approved vent kit. Never design the vent from tank capacity alone because two 50-gallon heaters can have different exhaust requirements.
Success checkpoint: The manual shows the proposed vent arrangement and every component is listed for that model.
Common mistake: Treating a generic power-vent conversion kit as compatible with an atmospheric heater.
Step 2: Confirm combustion air and appliance location
Measure the basement or mechanical-room volume and identify communicating openings. Where natural infiltration is insufficient, the code may require permanent openings, engineered ductwork, or a sealed-combustion appliance.
Success checkpoint: The installer documents the combustion-air method and keeps required service clearances around the tank.
Common mistake: Closing a louvered door or sealing a utility room without reassessing combustion air.
Step 3: Calculate the vent route
Measure straight pipe and assign the manufacturer’s equivalent length for every elbow, termination, and transition. Keep the route within the maximum length and elevation limits.
Success checkpoint: The route fits the manual’s length, diameter, slope, and elbow limits.
Common mistake: Using a larger pipe to “improve airflow.” Oversizing can reduce velocity and disrupt draft.
Step 4: Prepare the roof or wall termination
For roof venting, the installer uses listed flashing, storm collar, cap, and required termination height. The often-repeated “2 feet above anything within 10 feet” rule applies in specific roof-termination contexts, not every vent configuration.
For side-wall venting, the installer uses the approved terminal and maintains the diagram’s distances from windows, doors, grade, intakes, and corners.
Success checkpoint: The terminal cannot be blocked by expected snow, landscaping, or a nearby opening.
Common mistake: Placing the outlet below a deck or beneath a window because that location is convenient.
Step 5: Assemble, support, and protect the vent
Metal vent sections use listed locking connections and metal supports. Plastic systems use the specified primer, cement, cure time, supports, and expansion allowances. Supports prevent sagging, which can create water pockets or stress joints.
Success checkpoint: The pipe remains supported, unobstructed, and free from contact with combustible materials.
Common mistake: Using plumbing straps, zip ties, or unlisted fittings near a hot metal vent.
Step 6: Seal penetrations and complete connections
A wall sleeve, firestop, exterior seal, and approved termination protect the building envelope. The installer connects the draft hood or blower exactly as shown, without reducing the vent size or mixing incompatible systems.
Success checkpoint: The penetration is weather-tight and the vent connection has no visible gap, unsupported joint, or unauthorized transition.
Common mistake: Filling a rated wall opening with an unapproved sealant without preserving the assembly’s fire rating.
Step 7: Commission the appliance
Commissioning includes leak testing, draft or pressure verification, burner observation, combustion testing where applicable, safety-control checks, and carbon-monoxide testing in nearby areas. The installer should document the permit, model, vent materials, and test results.
Success checkpoint: The appliance starts reliably, the vent pressure meets the manual, combustion is stable, and no flue gas enters the basement.
Common mistake: Declaring success because the burner ignites, without testing the exhaust path under worst-case house pressure.
Which Basement Venting Option Is Best?
The best option is the least complex listed system that fits the building and the homeowner’s priorities. An existing compliant chimney favors atmospheric replacement, while a chimney-free exterior wall favors power venting or direct venting.
| Decision factor | Atmospheric | Power vent | Direct vent | Power-direct vent |
|---|---|---|---|---|
| Typical equipment premium | $0-$500 | $400-$1,200 | $500-$1,500 | $800-$2,000 |
| Electricity required | 0 volts | 120 volts | Usually 0 volts | 120 volts |
| Combustion air source | Basement or approved openings | Usually basement air | Outdoors | Outdoors |
| Typical termination direction | Vertical roof | Horizontal wall | Horizontal wall | Horizontal wall |
| Outage operation | Yes | No | Usually yes | No |
| Main design constraint | Draft and chimney | Power, length, noise | Kit and wall location | Two-pipe routing |
Costs are typical North American planning ranges, not quotes. A licensed labor charge often falls between $600 and $1,500, while a complete replacement with permits, vent materials, electrical work, and a new tank commonly totals $1,200-$3,500. A chimney liner, concrete wall penetration, relocation, or difficult access can exceed those figures.
When should an existing chimney be retained?
Retain an existing chimney when inspection confirms a correctly sized liner, adequate draft, proper termination, compatible connected appliances, and code-compliant clearances. Reusing a chimney is not automatically cheaper if the liner, cap, or masonry needs repair.
When is sealed combustion worth considering?
Sealed combustion is valuable in an airtight home, a finished basement, or a small mechanical room where combustion-air openings would be difficult. It is not necessarily the best choice when a sound vertical vent already exists and electricity reliability is a priority.
What Common Venting Problems Mean
Condensation inside the vent
Condensation indicates that exhaust is cooling, the route is incorrect, the vent is oversized, or a condensing appliance lacks proper drainage. Water at joints can corrode metal, damage masonry, and interfere with pressure switches.
Do not correct condensation by adding insulation or changing slope at random. Verify the appliance category and follow the listed condensate arrangement.
A power-vent blower runs but the burner will not ignite
A running blower with no ignition commonly indicates an airflow-proving fault. A blocked terminal, frozen intake, disconnected hose, sagging pipe, water-filled low point, failed pressure switch, or incorrect vent length can prevent ignition.
A homeowner may visually check the exterior terminal for leaves, ice, or animal nests after turning the appliance off. Do not bypass the pressure switch or repeatedly reset the heater.
Soot, scorching, or melted plastic near the draft hood
Soot and scorching suggest combustion or venting failure, including backdrafting. Turn off the appliance if safe, avoid using it, ventilate only if doing so does not expose occupants, and arrange professional inspection.
A match test is not a substitute for a draft instrument or combustion analyzer. Air movement from a basement door, fan, or furnace can make a flame or smoke test misleading, while carbon monoxide may remain present even when smoke appears to move upward.
The exterior terminal becomes blocked
Snow, ice, leaves, insects, and bird nests can stop a vent system. Maintain the clearance required by the manual throughout winter, but never install an improvised screen because a fine mesh can restrict airflow.
Can a Basement Water Heater Share a Flue?
A gas water heater can share a chimney or vent only when the fuel appliances, connector arrangement, sizing, and code provisions permit common venting. A power-vent or direct-vent appliance generally must not be connected to a natural-draft flue unless the manufacturer specifically lists that arrangement.
Common-venting problems arise when a new low-temperature appliance is connected to an old oversized chimney. The cooler exhaust can condense inside masonry, damaging mortar and releasing gases through cracks. A furnace and water heater also require correct connector order and spacing at a common draft hood.
Have a qualified professional inspect every appliance connected to the chimney. Capping one branch without evaluating the remaining vent can change draft behavior.
Common Installation Errors to Avoid
- Choosing pipe before choosing the appliance. The heater’s listing controls vent material, diameter, length, and termination.
- Assuming every basement needs a chimney. Listed power-vent and direct-vent appliances can use side-wall systems when the site meets termination rules.
- Applying universal numbers. The 3-inch diameter, 12-inch vertical rise, 1/4-inch-per-foot pitch, 6-inch clearance, and 12-inch snow clearance figures are not valid for every model or jurisdiction.
- Using ordinary PVC fittings. Plumbing fittings may lack the temperature, pressure, joint, and listing requirements of a combustion vent.
- Ignoring house pressure. A basement can backdraft even when the chimney looks clean if exhaust fans and sealed construction depressurize the room.
- Installing a carbon-monoxide alarm as the only fix. The alarm detects danger; it does not provide combustion air or repair a failed vent.
How to Maintain a Basement Gas-Water-Heater Vent
Inspect the vent termination at least seasonally and after major snow or wind events. Look for blockage, loose joints, corrosion, staining, water, damaged seals, and changes in burner operation.
Keep storage, insulation, paint, and cardboard away from the appliance and vent. Test carbon-monoxide alarms according to the manufacturer’s schedule, replace batteries as specified, and replace alarms at their listed end-of-life date.
A licensed technician should inspect atmospheric draft and combustion whenever the water heater is replaced, the chimney changes, the basement is air-sealed, a powerful exhaust fan is installed, or occupants report symptoms.
Frequently Asked Questions
Can I vent a gas water heater horizontally through a basement wall?
Only a listed power-vent, direct-vent, or power-direct-vent appliance designed for side-wall termination can normally vent horizontally. A standard atmospheric heater usually requires an upward natural-draft vent. The appliance manual must specify the termination kit, pipe, maximum length, clearances, and slope.
How far should a gas water-heater vent be from a window?
The required distance varies by appliance, vent category, fuel, terminal design, window type, and local code. Do not rely on a generic 4-foot or 12-inch rule. Use the manufacturer’s termination diagram and have the authority having jurisdiction approve the location before drilling.
Does a propane water heater vent differently from a natural-gas heater?
Propane and natural-gas water heaters use similar venting principles, but the fuel, input rating, burner setup, and installation instructions differ. A heater converted for propane must use the correct conversion kit and regulator settings. Vent sizing still comes from the appliance listing and local code.
Can I install a gas-water-heater vent myself?
A homeowner may be allowed to perform some work in some jurisdictions, but gas piping, combustion venting, electrical connections, permits, and commissioning create serious safety and liability issues. A licensed professional should install and test the system, especially when the route changes or a chimney is involved.
How often should a basement water-heater vent be inspected?
Inspect the visible termination and vent condition seasonally, and arrange professional inspection when symptoms, corrosion, condensation, appliance changes, or building-pressure changes occur. Atmospheric chimney systems deserve particular attention because hidden liner damage and draft problems may not be visible from the basement.
What is the safest vent for a finished basement?
A correctly installed direct-vent or power-direct-vent water heater usually offers the strongest protection against room-air backdrafting because combustion air comes from outdoors. The safest system still depends on proper termination, clearances, seals, maintenance, and commissioning rather than appliance type alone.
The Bottom Line
To determine how to vent a gas water heater in a basement, identify the exact appliance, select only its listed vent system, verify combustion air and termination clearances, and obtain the required permit. Atmospheric units normally use a compliant vertical vent, while power-vent and direct-vent models may terminate through an exterior wall. Do not apply universal pipe sizes or slopes, modify a vent kit, share a flue, or operate a heater showing backdrafting symptoms. Professional testing is the final safety step.