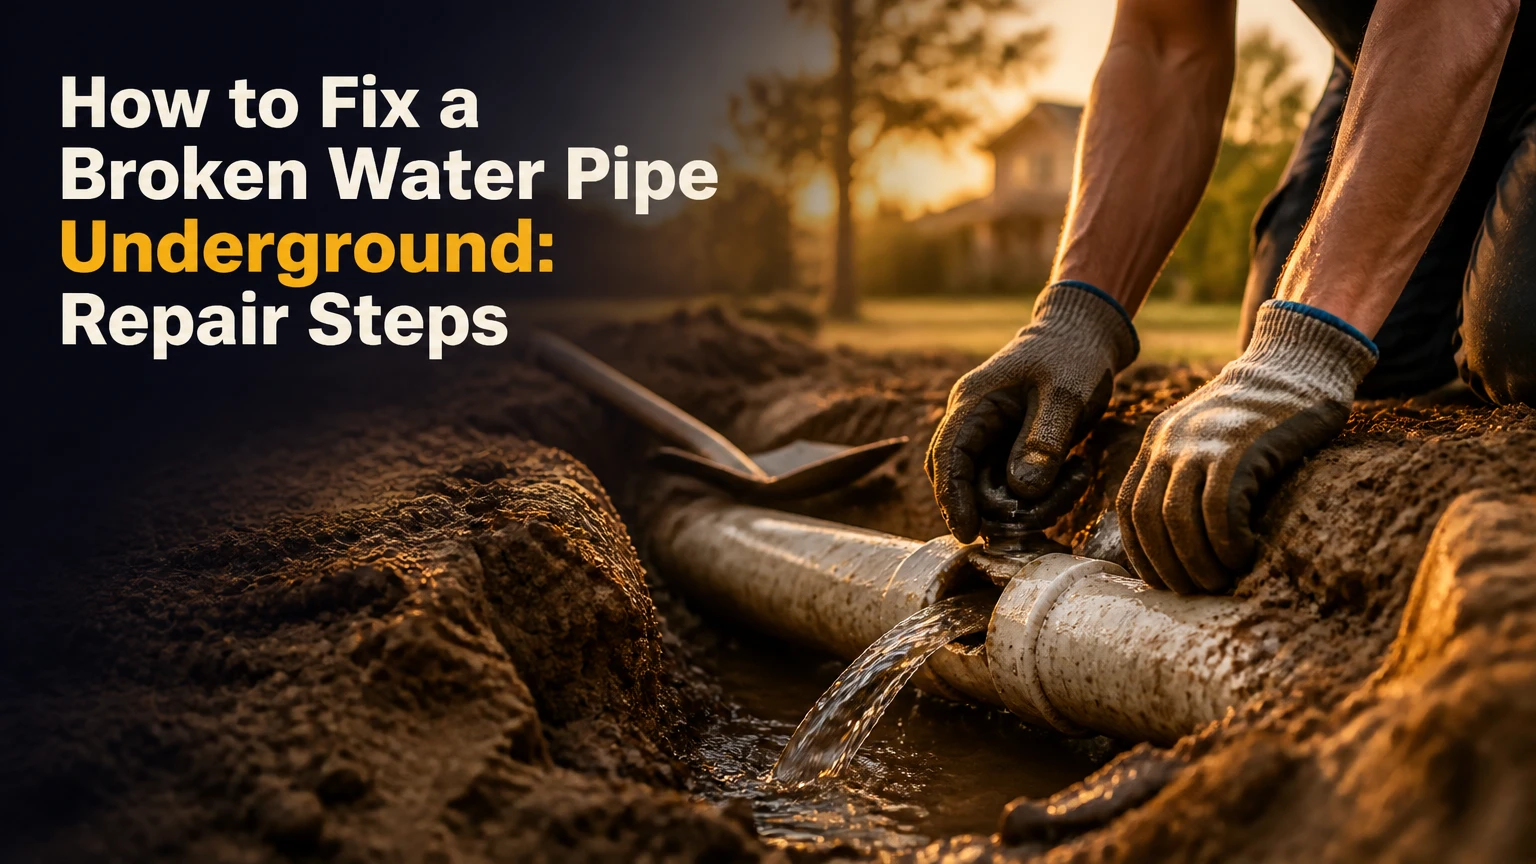
To fix a broken water pipe underground, shut off and drain the supply, confirm the leak, expose the damaged section safely, cut back to sound pipe, install a compatible direct-burial repair, pressure-test it, flush the line, and backfill with approved bedding. A localized grass-area repair often takes 3-8 hours, but deep, inaccessible, or repeatedly failed lines usually need a plumber.
Key Facts at a Glance
- A spinning water-meter flow indicator with all fixtures closed usually indicates water use downstream of the meter, including a buried leak.
- Call 811 before digging in the United States, and separately locate private lines such as irrigation, propane, septic, or outdoor lighting.
- Use only fittings, pipe, solvent cement, and sealants rated for the pipe material, operating pressure, potable water, and direct burial.
- Do not enter an unsupported trench. A narrow excavation deeper than about 5 feet can require protective systems under OSHA excavation rules.
- PVC solvent-cement cure time depends on pipe diameter, temperature, humidity, and manufacturer instructions, so a fixed two-hour rule is unreliable.
- Cured-in-place lining is not automatically appropriate for a potable pressurized service line; confirm the product’s drinking-water certification and pressure rating first.
What Counts as an Underground Water-Pipe Break?
An underground water-pipe break is a failure in a buried pressurized supply line, usually between the municipal meter and the house, or between a well pressure tank and the building. Common failures include a split, puncture, separated joint, corrosion hole, freeze rupture, or damaged service connection.
Supply lines behave differently from underground drains. A pressurized line can discharge continuously whenever its upstream valve is open, while a drain generally carries water only when a fixture releases it. Typical residential pressure is approximately 40-80 psi, although well systems, pressure-reducing valves, and municipal conditions vary.
A leak may produce a wet depression, soil washout, low pressure, or an unexpectedly high bill. Sandy soil can carry water downward without creating a visible puddle, while clay soil often pushes water toward the surface. The visible wet spot may therefore be beside, rather than directly above, the failed pipe.
The first decision is whether the defect is isolated. One break in otherwise sound pipe favors a spot repair; several repairs, severe corrosion, or a line installed with incompatible material favors replacement.
How Do You Confirm the Buried Leak?
Confirm an underground water-line leak by isolating fixtures, observing the meter, checking pressure, and comparing the house-side and street-side sections of the system. A professional plumber can then use acoustic equipment, pressure testing, or tracer methods to locate the failure before excavation begins.
1. Check the Water Meter
Close faucets, toilets, washing machines, ice makers, water softeners, irrigation controls, and any automatic fill device. Wait for toilets to stop refilling, then observe the meter’s low-flow indicator for 5-10 minutes.
A moving indicator strongly suggests flow. However, the test does not prove that the leak is underground because a running toilet or concealed indoor leak can create the same result. Close the property-side main valve, if accessible, and repeat the observation:
- Indicator stops: the leak is probably between the meter and the house.
- Indicator continues: investigate indoor plumbing, irrigation, a bypass, or a defective valve.
- Well pump cycles with no water use: suspect a leak between the pressure tank and fixtures.
2. Inspect the Property
Look for unusually green grass, saturated soil, sinkholes, bubbling water, foundation dampness, eroded soil, or water appearing near a driveway or sidewalk. A pressure leak can travel along the pipe trench, so the wettest surface does not always identify the break.
Turn off irrigation before testing. Irrigation valves and sprinkler heads can mimic a service-line leak and often use smaller PVC or polyethylene pipe.
3. Measure Pressure and Narrow the Location
A hose-bib pressure gauge provides useful evidence. Record static pressure with no fixtures open, then compare it after closing the main valve or isolating zones. A sudden pressure loss during a controlled test supports a supply-line defect, but a licensed plumber should interpret the result when a backflow preventer, pressure regulator, or well tank is present.
Electronic acoustic leak detection is most useful when the pipe is deep, the surface is paved, or several buried services cross the area. Leak-detection contractors may also use correlators, ground microphones, thermal methods, or tracer gas, depending on pipe material and access.
Before You Dig: Safety and Planning
A safe underground water-line repair requires utility marking, a verified shutoff, a known pipe material, and a stable excavation plan. The most dangerous assumption is that a shallow-looking wet spot permits immediate digging.
Utility and Permit Checklist
Call 811 in the United States several business days before excavation, because marking timelines differ by state and emergency procedures do not authorize unmarked digging. Utility locators generally mark public facilities, not every privately installed line on the property.
Identify these separately:
- Private electric lines to sheds, pumps, or landscape lighting
- Irrigation supply and control wires
- Propane, septic, geothermal, and low-voltage systems
- Older abandoned lines that may not appear on current drawings
- Water-meter ownership and the utility’s repair boundary
Many utilities own the meter and street-side service, while the property owner maintains the line from the meter to the building. Confirm the boundary before cutting anything.
Excavation Safety
Hand-dig near marked utilities and follow the local tolerance-zone rules. Never use a mechanical excavator directly over a marked gas or electrical line.
Do not enter a trench that can collapse. OSHA’s excavation rules apply to covered U.S. workplaces, and local requirements may be stricter for homeowners or contractors. A professional should handle deep, wet, unstable, or foundation-adjacent excavations. Keep spoil piles and equipment away from the edge, because added weight can trigger a cave-in.
Tools and Materials
| Item | Typical quantity | Purpose or specification |
|---|---|---|
| Water-meter key or shutoff wrench | 1 | Operate a meter or curb stop when authorized |
| Hand shovel and trenching shovel | 1 each | Controlled excavation near utilities |
| Tubing or pipe cutter | 1 | Square cuts matched to pipe material |
| Replacement pipe | 1-5 feet | Same nominal size and approved material |
| Repair couplings | 2 | Direct-burial, pressure-rated fittings |
| Pressure gauge | 1 | Verify static and test pressure |
| Clean sand or fine pipe bedding | 4-8 cubic feet | Protective envelope around the pipe |
| Approved solvent cement or joining tools | 1 set | Material-specific connection method |
Measure the outside diameter before buying fittings. Nominal sizes are not interchangeable across copper, PVC, polyethylene, PEX, and multilayer products.
How to Fix a Broken Water Pipe Underground
A localized buried water-line repair follows seven stages: isolate, mark, excavate, cut, join, test, and backfill. The repair succeeds only when the replacement fitting matches the pipe’s outside diameter, pressure class, joining method, and burial approval.
Step 1: Shut Off and Drain the Line
Close the property main valve, meter-side valve, or well-system isolation valve. For a well, turn off electrical power to the pump before working on the pressure system, then close the tank outlet valve if one exists.
Open a low exterior hose bib or indoor faucet downstream of the shutoff. Drain until flow stops, then verify that the damaged section is no longer pressurized. A pressure gauge reading of zero is preferable when the system has a gauge.
You will know the line is isolated when the meter stops registering flow and no water continues entering the excavation. The common mistake is closing the wrong valve, which leaves the pipe pressurized and can flood the pit when cut.
Step 2: Expose the Pipe Carefully
Excavate a working area large enough to see the pipe and operate the cutter, usually at least 12 inches around the repair and 6 inches below it. Do not set those dimensions blindly; unstable soil, depth, and fitting length may require a larger excavation or shoring.
Pump standing water only if the pit can remain safely occupied and the water source is controlled. A sump pump does not stabilize collapsing walls or make contaminated floodwater safe.
Remove soil by hand as the pipe approaches. Support exposed pipe that connects to rigid structures, because its weight can pull a new coupling out of alignment.
Step 3: Identify the Pipe and Damage
Clean the pipe and identify its material, diameter, wall type, and failure mode. PVC is usually white, gray, or blue plastic; copper is metallic and reddish; galvanized steel is threaded, heavy, and often corroded; polyethylene is flexible and commonly black or blue.
Cut out all visibly damaged material, including distorted pipe near a split. If corrosion appears along the surrounding pipe, expose additional length and inspect for pitting rather than installing a short patch over a systemic failure.
The repair boundary should be sound, round, and free from deep scratches. A coupling installed over oval, cracked, or heavily corroded pipe is a temporary failure waiting to happen.
Step 4: Cut Back to Sound Pipe
Make two square cuts far enough from the defect to reach undamaged pipe and accommodate the selected fittings. Remove burrs from plastic and copper, then wipe the pipe dry and clean.
For PVC, use a ratcheting PVC cutter or fine-tooth saw, followed by deburring. For copper, use a rotary tubing cutter and remove the internal ridge. For polyethylene, use the manufacturer’s approved cutter and stiffener system.
Do not mix joining methods casually. A PVC coupling cannot repair polyethylene, and a standard indoor push fitting should not be buried unless its manufacturer specifically approves direct burial for that exact application.
Step 5: Install a Compatible Repair
Select the joining method by material, pressure, location, and local plumbing code.
| Existing pipe | Suitable repair approach | Important requirement |
|---|---|---|
| PVC pressure pipe | PVC repair coupling or telescoping slip-fix fitting | Match schedule, diameter, primer, cement, and cure time |
| Copper Type K or L | Sweated copper repair or approved mechanical coupling | Use lead-free materials and protect against soil corrosion |
| Polyethylene service pipe | Barbed insert or electrofusion fitting | Use manufacturer clamps, stiffeners, and rated components |
| PEX service line | Approved PEX insert or expansion fitting | Confirm direct-burial and service-line approval |
| Galvanized steel | Threaded replacement or full service-line replacement | Inspect for widespread corrosion before spot repair |
| Mixed materials | Transition fitting | Use an approved dielectric or transition assembly where required |
PVC Repair
Dry-fit the replacement section and fittings before applying cement. A telescoping repair coupling can simplify a fixed gap, but follow the product’s insertion-depth markings.
Apply primer and solvent cement exactly as directed by the product label. Push the joint fully home with a slight twist, then hold it stationary for the specified time. Wipe away excess cement without disturbing alignment.
PVC cure time is not universally two hours. Temperature, pipe diameter, cement type, humidity, and pressure affect the manufacturer’s schedule. At low temperatures or with larger pipe, full cure can take substantially longer. Never pressurize before the label’s minimum cure time.
Copper Repair
Clean the pipe and fitting until bright, apply compatible lead-free flux, heat the joint evenly, and feed solder around the entire circumference. Water remaining inside the pipe can prevent the joint from reaching soldering temperature.
Keep flames away from dry grass, plastic utilities, and combustible trench materials. A compression or direct-burial mechanical fitting may be safer in a wet excavation, but only when the fitting is pressure-rated and listed for buried use.
Step 6: Pressure-Test, Flush, and Inspect
Close the downstream fixtures, open the supply valve slowly, and let air escape through a faucet or hose bib. Pressurize the line while the repair remains visible.
| Check | Typical target | Failure indication |
|---|---|---|
| Static household pressure | 40-80 psi | Abnormal regulator, supply, or well setting |
| Repair observation | 15-30 minutes | Drip, movement, bulging, or soil wetting |
| Pressure drop with no use | Near zero after stabilization | Leak or trapped air requiring diagnosis |
| Flush duration | 5-15 minutes | Cloudy water, odor, or debris remaining |
| PVC cure | Product label value | Joint movement or blowout after early pressurization |
A 15-minute visual inspection is a practical field checkpoint, not a universal code-mandated pressure-test standard. New construction, municipal work, and permitted replacements may require a specified test pressure, duration, disinfectant concentration, or inspector witness.
Flush the line until water is clear and free of solvent odor or construction debris. If the line was open to soil, ask the water utility or plumber whether disinfection is required, especially for a shared or private-water system.
Step 7: Protect and Backfill the Pipe
Leave the repair exposed until it remains dry under operating pressure. Photograph the pipe location and record the depth, fitting type, and repair date before covering it.
Place clean, fine-grained bedding beneath and around the pipe so sharp stones cannot create point loads. A commonly used field practice is a 4-6 inch protective envelope, but the required bedding and cover depend on local code, soil, pipe material, and traffic loads.
Compact backfill in lifts rather than dumping a full trench at once. Keep large rocks, construction debris, frozen soil, and organic material away from the pipe. Restore concrete, asphalt, turf, and drainage only after the soil has settled or has been mechanically compacted as appropriate.
Which Underground Water-Line Repair Method Is Best?
Spot repair is usually the best value for one accessible break in sound pipe. Full replacement is more reliable for recurring failures, while pipe bursting is useful where a long line must be replaced with limited surface excavation; lining requires separate confirmation that the system is suitable for potable pressure service.
| Method | Typical cost range | Typical duration | Surface disruption | Best application |
|---|---|---|---|---|
| Spot repair | $350-$1,700 | 3-8 hours | 5-20 square feet | One shallow, isolated break |
| Full open-trench replacement | $1,500-$7,500+ | 1-4 days | Most of the route | Corroded or repeatedly leaking line |
| Pipe bursting | $4,000-$15,000+ | 1-2 days | Two access pits | Long replacement beneath paving |
| Pressure-rated trenchless renewal | $3,000-$10,000+ | 1-3 days | Small access areas | Approved system with suitable host pipe |
| Professional leak locating | $250-$1,000 | 1-4 hours | Minimal | Deep or concealed leak |
Costs are typical U.S. residential ranges, not quotes. Excavation depth, regional labor, permits, emergency scheduling, traffic control, concrete replacement, landscaping, contaminated soil, and utility conflicts can change the final price substantially.
Spot Repair Versus Full Replacement
Choose spot repair when the pipe is structurally sound on both sides of the failure and the defect has a clear cause, such as accidental impact or one freeze split. Choose replacement when the line has several patches, longitudinal cracking, widespread corrosion, root intrusion, or repeated failures within a short period.
Older galvanized steel commonly fails through progressive internal and external corrosion. Replacing one hole may restore pressure briefly while leaving the next weak section intact.
Is Pipe Lining Suitable for a Pressurized Water Service?
Pipe lining is not automatically suitable for a buried potable water service. Many cured-in-place products are designed for gravity sewer pipes, where wastewater flows through a host pipe, rather than for small-diameter drinking-water lines operating continuously under pressure.
Before considering lining, require written confirmation of:
- Potable-water certification, such as NSF/ANSI/CAN 61 where applicable
- Maximum working pressure and test pressure
- Minimum and maximum host-pipe diameter
- Resin cure and water-contact requirements
- Access, service connections, and warranty conditions
Pipe bursting can replace a long service line beneath a driveway, but the method needs entry and exit pits, adequate soil conditions, accurate utility locating, and a replacement pipe selected for potable service.
What Can Cause a Repair to Fail?
Most underground water-line repair failures come from incompatible fittings, poor pipe preparation, movement during curing, inadequate support, or backfilling before testing. The visible leak may stop while a hidden installation defect creates a second failure months later.
Common Failure Modes and Recovery
- The wrong fitting size was installed.
Outside diameters vary among nominally similar products. Remove the fitting and measure the pipe with calipers or manufacturer tables; do not force a loose coupling to seal with tape. - PVC was pressurized too soon.
Relieve pressure, excavate the joint again, and replace any coupling that moved or shows a partial bond. Follow the cement label’s temperature-specific cure schedule. - A standard indoor push fitting was buried.
Replace it with a fitting explicitly approved for direct burial and the application’s pressure. Taping the fitting does not convert an indoor connector into a buried connector. - The pipe was not cut back far enough.
A crack can extend beyond the visible opening. Re-expose the line and cut until the pipe is round, clean, and structurally sound. - Rocks were placed against the pipe.
Remove sharp fill around the repair and install approved bedding. Point loading can damage plastic even when the pressure test initially passes. - The leak was misidentified.
Retest the meter, isolate irrigation, inspect indoor fixtures, and compare pressure zones. A wet lawn alone does not prove a domestic service-line break.
Situational Repair Decisions
What If the Leak Is Under Concrete?
Do not automatically excavate through a driveway or patio. First obtain accurate leak location and compare the total cost of a small access opening, rerouting, pipe bursting, and full replacement.
A trenchless method may reduce surface restoration, but the access pits still require excavation and the route must be suitable. A new line routed around the slab can be cheaper than specialized trenchless work when the path is short and accessible.
What If the Pipe Is Deeper Than 5 Feet?
Hire a qualified excavation contractor or plumber for a deep repair. Increased depth raises cave-in risk, groundwater management, access difficulty, and the need for shoring or a trench box.
A deep spot repair may cost more than replacing the entire route because mobilization and excavation dominate the labor. Never enter a water-filled or unsupported deep trench.
What If the Pipe Has Frozen?
Shut off the supply and inspect the full exposed route, because a freeze event can create several cracks rather than one visible split. Thaw frozen pipe gradually with warm air, not an open flame, and replace sections that have bulged, split, or separated.
Prevent recurrence by burying the line below the local frost depth, improving insulation where allowed, sealing cold-air pathways, and protecting exposed valves.
What If the Water Is Discolored After Repair?
Brown water usually indicates disturbed iron sediment, while a solvent odor suggests inadequate flushing or a product problem. Stop drinking the water if odor, unusual taste, or persistent discoloration remains, and contact the water utility or a licensed plumber.
Private wells may require sampling after a line was open to contaminated soil. A pressure repair does not by itself establish microbiological safety.
Expert Rules That Prevent Repeat Leaks
A short patch is not always the cheapest repair. If a 60-year-old galvanized service has already failed twice, a third coupling can cost more than replacement after excavation, restoration, and emergency labor are counted.
The fitting controls the repair envelope. Cut length, insertion depth, pipe stiffness, and movement must be planned from the fitting manufacturer’s dimensions, not from an arbitrary one-foot patch.
A passing pressure test does not prove correct burial. A joint can remain watertight while unsupported pipe bends, rocks press against the wall, or settlement pulls the connection sideways. Bedding and controlled compaction protect the repair after testing.
Water-line ownership changes the correct first call. A leak before the municipal meter may belong to the utility, while a leak after the meter may belong to the property owner. Confirm responsibility before paying for excavation.
When Should You Call a Professional?
Call a licensed plumber or excavation specialist when the leak is beneath a foundation, road, slab, mature tree, or utility corridor; when the pipe is deeper than about 5 feet; when the material is unknown; or when the line has failed repeatedly.
Professional service is also appropriate for municipal connections, well pressure systems, backflow assemblies, potable-water disinfection, permits, and any repair requiring a torch in a confined or combustible area.
A qualified contractor should provide the leak location, repair method, pipe and fitting specifications, pressure-test procedure, restoration scope, warranty, and responsibility for utility damage in writing. Compare those details rather than choosing solely on the lowest excavation price.
How Much Does an Underground Water-Pipe Repair Cost?
A typical U.S. spot repair costs approximately $350-$1,700 before major concrete or landscape restoration. A full replacement commonly costs $1,500-$7,500 or more, while pipe bursting or specialized trenchless replacement often ranges from $4,000-$15,000 or more.
| Cost factor | Typical added range | Why it changes the quote |
|---|---|---|
| Leak detection | $250-$1,000 | Required when the break location is uncertain |
| Concrete removal and replacement | $500-$3,000+ | Includes cutting, hauling, forming, and curing |
| Deep excavation | $500-$2,500+ | Adds shoring, pumping, and equipment time |
| Landscape restoration | $200-$2,000+ | Depends on sod, irrigation, trees, and grading |
| Permit and inspection | $50-$500 | Varies by municipality and project scope |
| Emergency or after-hours labor | 25%-100% surcharge | Reflects immediate mobilization |
The most useful quote separates plumbing, excavation, disposal, testing, permits, and restoration. A low plumbing price can conceal substantial restoration or dewatering charges.
FAQ
Can I Repair an Underground Water Pipe Without Digging?
Usually not for a small, localized residential service-line break. Trenchless replacement or lining can reduce excavation, but both require access, specialized equipment, and a pipe system that meets the method’s pressure and potable-water requirements. Accurate leak location is still necessary before selecting a trenchless approach.
How Long Does a Buried Water-Pipe Repair Last?
A properly installed spot repair can last for decades when the surrounding pipe is sound and the fitting is rated for direct burial. Longevity decreases when corrosion, ground movement, freeze exposure, poor bedding, or repeated pressure surges affects the entire line rather than one isolated location.
Can I Use Flex Seal, Epoxy, or Pipe Tape Underground?
Do not rely on surface sealants, pipe tape, or general-purpose epoxy for a buried pressurized water-line break. Those products rarely restore the pipe’s structural strength or provide a code-approved potable-water connection. Cut out the failure and install a compatible pressure-rated repair fitting or replacement section.
Does Homeowners Insurance Pay for a Broken Underground Water Pipe?
Policies often distinguish between sudden water damage inside the home and the cost of repairing the buried service line itself. Some policies include optional service-line coverage, while exclusions may apply to wear, corrosion, neglected maintenance, and landscaping. Review the policy and photograph damage before excavation when safe.
Should I Replace a Water Line With PVC or PEX?
The correct material depends on local code, soil, pressure, climate, diameter, and the existing connection. Pressure-rated PVC is common in many residential underground installations, while polyethylene and PEX service tubing can offer flexibility. Use the material approved by the utility or local plumbing authority, not merely the cheapest pipe available.
Can a Water Leak Underground Damage the Foundation?
Yes, a sustained leak can erode soil, saturate expansive clay, enter a foundation crack, or undermine a slab, although the effect depends on duration, flow, soil, drainage, and foundation design. Shut off the supply promptly and seek foundation assessment when water appears beside the footing or the structure develops new movement.
The Bottom Line
To fix a broken water pipe underground, verify the leak at the meter, shut off and drain the line, call 811, excavate safely, replace all damaged pipe with compatible direct-burial components, and keep the repair exposed during pressure testing. Spot repair is best for one accessible failure; repeated leaks, deep corrosion, or damaged hardscape may justify full replacement or a properly qualified trenchless method. Include the exact keyword in your decision process: how to fix a broken water pipe underground depends chiefly on pipe material, failure extent, depth, access, and local code.