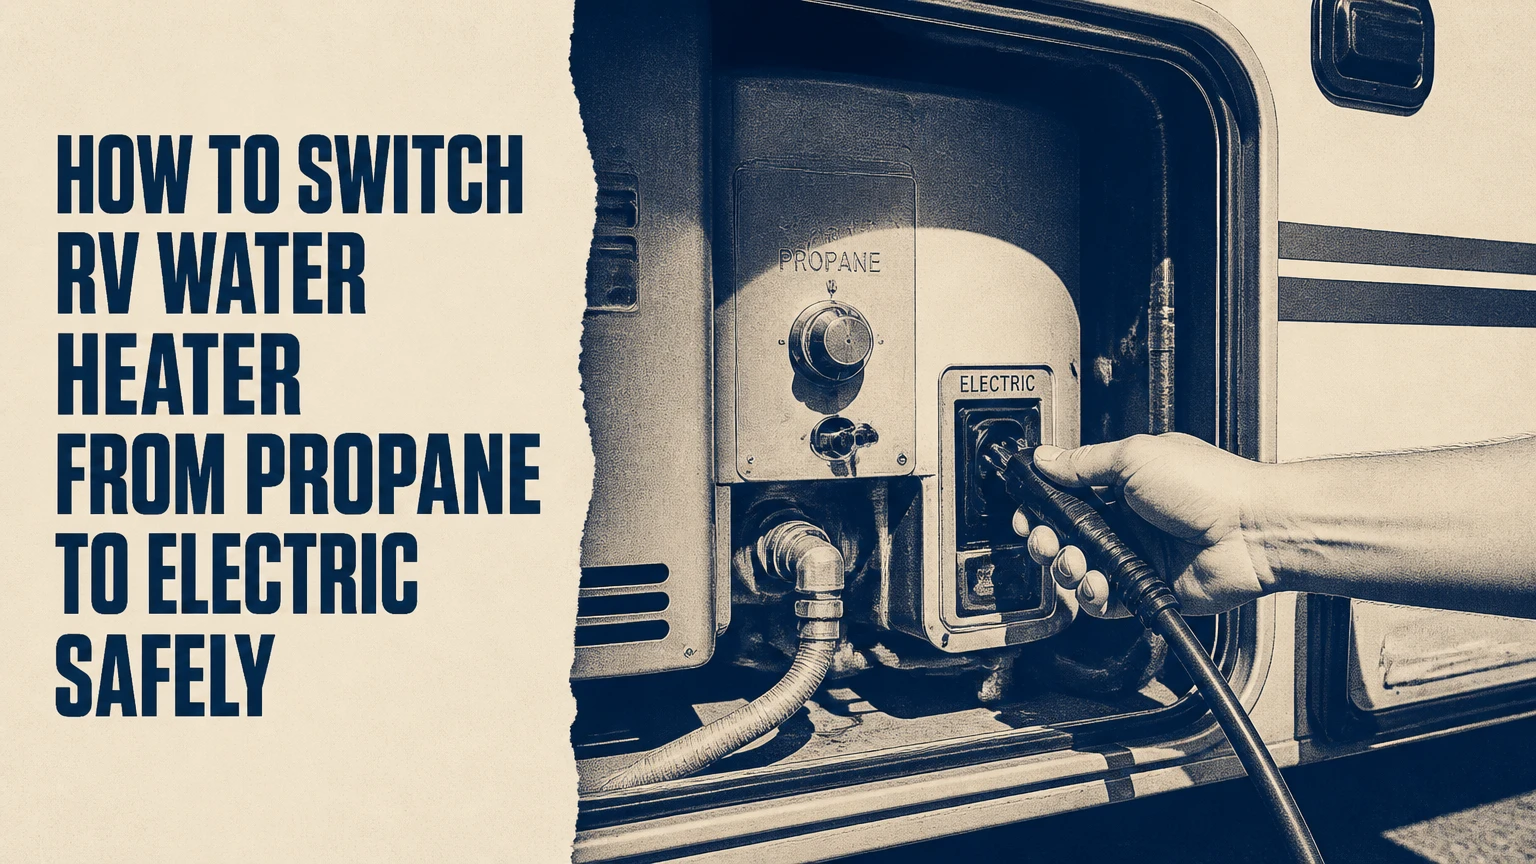
To switch an RV water heater from propane to electric, fill the tank completely, connect to stable 120-volt AC power, turn on the water-heater circuit breaker, disable propane mode, and activate the electric switch for your model. The most important condition is a full tank, because an energized heating element can burn out rapidly without surrounding water.
Key Facts at a Glance
- A standard RV electric heating element normally operates from 120-volt AC power and commonly draws about 10-12.5 amps.
- The water heater tank must be full before electric mode is turned on; opening a hot faucet until water flows steadily verifies that condition.
- Suburban heaters commonly use a concealed electric switch behind the exterior access door, while control locations vary on Atwood and Dometic models.
- Electric-only recovery commonly takes 45-90 minutes for a cold 6-gallon tank, depending on element wattage, water temperature, and tank insulation.
- Propane mode usually heats faster and remains available without shore power, while electric mode reduces LP consumption when campground electricity is included.
- A 30-amp RV electrical service has approximately 3,600 watts available at 120 volts, so an electric water heater can compete with an air conditioner, microwave, or coffee maker.
How RV Water Heater Modes Work
An RV water heater with dual-fuel capability uses two separate heat sources connected to the same storage tank. Propane mode burns LP gas in a burner tube, while electric mode sends 120-volt AC current through an immersion element installed inside the tank.
The propane control circuit generally uses 12-volt DC power for the thermostat, ignition board, gas valve, and flame-sensing system. Electric mode uses a heating element, thermostat, and high-temperature limit control on a separate AC circuit. Some appliances allow both modes to operate together, but the manufacturer must specifically permit simultaneous operation.
Electric heating does not automatically make a propane-only appliance dual-fuel. A factory electric element, compatible control system, correct wiring, and suitable overcurrent protection are required. A plug-in conversion kit changes the appliance physically, but it does not make every installation electrically equivalent to a factory-built hybrid heater.
Does electric mode use the RV battery?
Electric mode normally does not run from the RV battery because the heating element requires 120-volt AC power. Shore power or a generator supplies that power directly, while an inverter can supply it only by converting battery energy and may drain the battery quickly.
A 1,440-watt element draws about 12 amps at 120 volts. An inverter would need to deliver roughly 1,600 watts after accounting for conversion losses, and the battery-side current could exceed 130 amps from a 12-volt bank. That makes propane the practical choice for most boondocking trips.
Before You Start
| Item | Typical requirement | Why it matters |
|---|---|---|
| Total operating time | 5 minutes to switch, 45-90 minutes to heat | Electric recovery is slower than the switch operation |
| Difficulty | Basic owner task if switches are accessible | Electrical diagnosis requires greater skill |
| Cost for factory dual-fuel unit | $0 | The electric hardware is already installed |
| Required power | 120V AC, typically 10-12.5A | The heating element cannot use ordinary 12V battery power |
| Basic materials | Water supply, flashlight, model manual | The exterior switch and breaker may be difficult to identify |
| Safety equipment | Dry hands, insulated work light | Prevents shock and improves access-panel visibility |
Before switching modes, identify the heater brand and model from the data plate or owner’s manual. Locate the RV’s main AC breaker panel, the exterior water-heater access door, and the interior water-heater controls.
Do not remove the access panel while energized wiring is exposed. Turn off shore power and the generator before testing terminals, removing wires, resetting controls, or replacing an element.
Step 1: Fill the Water Heater Tank
Turn on the RV water pump or connect the trailer to city water, then open a hot-water faucet until water flows in a steady stream without air sputtering. Close the faucet after the stream becomes continuous.
A full stream confirms that water has reached the hot-water outlet, but it does not prove every plumbing configuration is correct. If the RV has been winterized, check that the water-heater bypass valves are in the normal operating position. A bypassed tank can remain empty while water still appears at some faucets.
You will know Step 1 worked when the hot faucet produces a stable flow and the tank has no active leak around the drain plug, anode rod, pressure-relief valve, or fittings.
Common mistake: Turning on electric mode immediately after de-winterizing, before opening a hot faucet. Air trapped in the tank can leave the element partially uncovered.
Step 2: Establish 120-Volt AC Power
Plug the RV into a properly wired shore-power pedestal or start the onboard generator. Confirm that the RV’s AC distribution panel has power, then locate the breaker labeled “Water Heater,” “WH,” or a similar abbreviation.
Switch the water-heater breaker fully off and back on if its position is uncertain. A tripped breaker can look nearly identical to an on breaker because the handle may move only slightly.
Check the electrical load before energizing the heater. A typical 1,440-watt element uses about 12 amps, leaving approximately 18 amps on a 30-amp service for all other appliances before nuisance tripping becomes likely.
| RV power source | Nominal voltage | Typical available current | Electric-heater implication |
|---|---|---|---|
| 15A household receptacle | 120V AC | 15A | A 12A element leaves little capacity |
| 30A RV pedestal | 120V AC | 30A | Avoid simultaneous high-draw appliances |
| 50A RV service | 120/240V split phase | 50A per hot leg | More operating margin, depending on circuit |
| 2,000W generator | 120V AC | About 16.7A | Heater may use most continuous capacity |
| 3,000W generator | 120V AC | About 25A | Heater and selected smaller loads may coexist |
The 30-amp figures are planning values, not permission to exceed the generator, pedestal, breaker, or RV wiring rating. A 13,500-Btu air conditioner can draw roughly 12-15 amps while running and more during compressor startup, so it may trip the main breaker when combined with the water heater.
Step 3: Turn Off Propane Mode
Turn off the interior switch labeled “Water Heater Gas,” “LP,” “Gas,” or a flame symbol. On some RVs, that switch controls only the propane ignition circuit and does not affect the electric element.
The propane burner should stop operating after its current cycle. You do not need to disconnect the LP line or close the tank valve for a normal mode change, but closing the appliance valve is sensible when troubleshooting an ignition or gas-leak problem.
Never operate the propane burner with the exterior access door closed if the appliance manual requires an open vent path. Keep the burner tube, exhaust outlet, and intake area free of insects, soot, leaves, and nesting material.
Step 4: Turn On the Electric Mode
Activate the electric switch only after the tank is full and 120-volt power is available. The switch location depends on the appliance and the RV builder, so use the model-specific guidance below rather than assuming every brand uses the same control layout.
You will know electric mode is operating when the breaker remains set, the element area becomes warm after several minutes, and hot water appears after the expected recovery period. Do not touch energized terminals to check temperature. Use water temperature at the faucet and the appliance’s indicator light instead.
Where is the electric switch?
| Heater family | Common electric-switch location | Control voltage | Important identification detail |
|---|---|---|---|
| Suburban SW series | Behind exterior access door | 120V AC at local switch | Small rocker switch often sits near the lower burner area |
| Dometic WH series | Interior panel or exterior service area | Model-dependent | Control layout differs across replacement generations |
| Atwood legacy models | Interior switch, exterior switch, or relay system | Model-dependent | Confirm the wiring diagram before assuming location |
| Truma AquaGo or Combi | Dedicated control panel or digital controller | Model-dependent | Operating logic differs from a conventional tank heater |
Suburban electric switch
Open the exterior water-heater door and look near the lower portion of the compartment, often close to the burner assembly. Many Suburban installations have a small rocker switch protected by a cover or held off during vehicle delivery with a retaining pin.
Remove a shipping pin only if the switch and manual identify it as a temporary lockout. Some RV floor plans add an interior switch in series with the exterior switch, so both switches must be on.
Keep the access door closed during normal operation if the Suburban manual requires it. The compartment door is not a substitute for the appliance’s burner ventilation design.
Atwood and Dometic controls
Atwood and Dometic installations are not uniform enough for a universal switch-location rule. Some RVs place gas and electric controls together on a wall panel, while others use an exterior switch, a relay, or a combined coach-management display.
Read the label on the water-heater data plate and follow the wiring diagram for that exact model. A switch labeled “electric” may control a relay rather than carry the element’s full current, and a missing switch may indicate that the appliance is propane-only.
How Long Does Electric Heating Take?
A factory electric element typically heats a cold 6-gallon RV water heater in about 45-90 minutes. Propane may recover the same tank in roughly 20-45 minutes, while both approved heat sources together can reduce recovery time substantially.
Actual results depend on the element’s wattage, incoming water temperature, thermostat setting, mineral buildup, and whether another faucet is drawing water. A 1,440-watt element supplies less heat per minute than many propane burners, so electric mode is slower even when both systems have the same tank size.
| Operating mode | Typical electrical or fuel input | Cold 6-gallon recovery | Best use |
|---|---|---|---|
| Electric only | 1,200-1,440W, 10-12.5A | 45-90 minutes | Full-hookup camping |
| Propane only | Burner commonly 8,800-12,000 Btu/h | 20-45 minutes | Boondocking and rapid recovery |
| Dual mode, if approved | AC element plus LP burner | About 20-35 minutes | Consecutive showers |
| Small inverter setup | 1,500-2,000W AC output | Variable, battery-limited | Usually impractical for routine use |
These are typical field ranges, not guaranteed manufacturer specifications. The appliance manual takes priority, especially for dual-mode operation and thermostat settings.
Should both propane and electric run together?
Both modes may run together on compatible dual-source RV water heaters, and combined operation can improve recovery after multiple showers. Do not assume simultaneous operation is allowed simply because the RV has both switches; some control systems restrict it or use one mode as a backup.
The practical rule is simple: use the manual for the exact model. If combined operation is permitted, watch the AC load because the electric element still consumes its full current while the burner operates independently.
Electric Versus Propane: Which Mode Should You Use?
Electric mode is usually the better choice at a full-hookup campground when the site power is included and other high-wattage appliances are off. Propane is the better choice without shore power, during heavy generator loading, or when fast recovery matters more than LP consumption.
| Decision factor | Electric mode | Propane mode | Practical winner |
|---|---|---|---|
| Energy source | 120V AC, 1,200-1,440W typical | LP gas, 8,800-12,000 Btu/h typical | Electric on included shore power |
| Cold-tank recovery | 45-90 minutes typical | 20-45 minutes typical | Propane |
| Shore-power requirement | Yes | No | Propane for off-grid use |
| Operating noise | Quiet element and thermostat | Audible burner and ignition | Electric |
| 30-amp load | About 10-12.5A | Minimal AC draw after ignition | Propane during appliance-heavy periods |
| Inverter suitability | High battery drain | Works from LP supply | Propane |
| Emissions at heater | No combustion at appliance | Combustion exhaust outdoors | Electric |
| Maintenance concern | Element, thermostat, scale | Burner, orifice, electrode, exhaust | Depends on failure type |
Electric mode is not automatically cheaper in every situation. At a metered campsite, compare the electricity charge with the cost of the LP consumed, and remember that a conversion kit has an installation cost that factory electric mode does not.
Can a Propane-Only Heater Be Converted?
A propane-only tank can sometimes receive an aftermarket electric conversion element, but conversion is not equivalent to switching a factory dual-fuel appliance. The kit must match the tank opening, voltage, wattage, thermostat arrangement, cord routing, and manufacturer’s installation requirements.
Common kits replace a drain plug or anode-rod opening with a low-wattage heating element. Some use an external plug, while others require a permanently installed switch and properly protected branch circuit.
| Conversion approach | Typical purchase range | Electrical demand | Main limitation |
|---|---|---|---|
| Plug-in low-wattage element | $80-$150 | About 4-8A | Cord and outlet must be safely routed |
| Factory-style element replacement | $30-$100 for part | About 10-12.5A | Requires compatible tank and wiring |
| New dual-fuel water heater | $500-$1,500 plus labor | Model-specific | Highest cost, cleanest integration |
| Portable electric water heater | $100-$300 | Often 10-15A | Usually unsuitable for existing RV plumbing |
Before installing a kit, verify that the tank manufacturer permits the modification and that the kit does not eliminate the sacrificial anode rod or pressure-relief protection. An RV technician should perform any new branch-circuit wiring, receptacle installation, or hardwired control work.
A conversion kit is a poor choice when the tank is corroded, leaking, out of warranty, or missing a usable drain opening. Replacing an aging heater may cost more initially but avoids placing a new electrical element in an unsafe tank.
What Maintenance and Seasonal Checks Matter?
Turn off electric power before draining the water heater, and allow the water to cool first. Dometic installation guidance includes the direct warning, “Turn off electric switch before draining water heater,” because an energized element can fail when the tank level falls.
For Suburban tanks with a replaceable anode rod, inspect the rod at least annually or according to the manual. Replace it when the sacrificial material is substantially consumed. Atwood aluminum tanks may use different maintenance requirements, so do not install a Suburban-style anode rod without confirming compatibility.
After winterization, close the bypass, refill the tank, open a hot faucet, and verify steady water flow before restoring electric power. During storage, switch off both heating modes and leave the tank drained if freezing conditions require it.
Common Mistakes and How to Fix Them
Dry firing the heating element
Symptom: The electric mode was turned on, but water remains cold after a short cycle.
Cause: The tank was empty, bypassed, or partially filled.
Fix: Turn off AC power, let the element cool, refill the tank, and test again. A dry-fired element often requires replacement rather than resetting.
Assuming every exterior switch is electric
Symptom: A switch behind the access door changes nothing.
Cause: The switch may control gas ignition, a second interlock, or a different appliance.
Fix: Match wire labels and the model diagram. Do not bridge unknown terminals.
Overloading the campground pedestal
Symptom: The RV main breaker trips when the air conditioner or microwave starts.
Cause: A 10-12.5A heating element consumes much of a 30-amp service.
Fix: Turn off electric water heating before using the microwave, toaster, hair dryer, or air conditioner.
Leaving electric mode on during travel
Symptom: The heater is energized unexpectedly after disconnecting shore power.
Cause: The electric switch remained on, and the RV was later connected to a generator or inverter.
Fix: Turn off electric mode before departure. Do not use an inverter unless its continuous rating, wiring, battery bank, and ventilation are designed for the load.
Pressing reset buttons repeatedly
Symptom: The high-limit reset trips again after one reset.
Cause: Overheating, a failed thermostat, restricted water flow, loose wiring, or an element fault.
Fix: Turn off power and investigate. Repeated resets can mask a dangerous control failure.
Why Is the Electric Mode Not Heating?
When an RV water heater does not heat electrically, check the water level, AC breaker, switches, high-limit controls, wiring, and heating element in that order. The sequence starts with no-tools checks and ends with electrical testing only after all power sources are disconnected.
- Confirm water in the tank. Open a hot faucet and verify steady flow.
- Check the AC breaker. Turn the water-heater breaker fully off, then on.
- Check every electric switch. Inspect the interior control and, on many Suburban installations, the exterior rocker.
- Reset the high-limit control. With power off and the appliance cool, press the designated reset buttons only as the manual specifies.
- Inspect visible wiring. Look for melted insulation, loose spade connectors, corrosion, or insect damage.
- Test the heating element. A qualified person can disconnect power and measure resistance across the element terminals. A 1,440-watt element at 120 volts calculates to about 10 ohms, while an open circuit suggests a failed element.
- Stop if voltage is present unexpectedly. Shore power, generator power, inverter output, and stored control energy can create hazards.
Do not perform live-voltage testing unless you are trained and equipped for it. A breaker that trips immediately, melted wiring, repeated high-limit trips, or a burning odor requires RV electrical service.
Variations for Common RV Situations
Full-hookup camping
Use electric mode as the default and monitor the AC load when the air conditioner cycles. Turn on propane temporarily when several people need consecutive showers, provided the heater manual permits dual operation.
Dry camping
Use propane mode rather than standard electric mode. A conventional heating element can deplete a modest lithium battery bank quickly, even when solar panels eventually replace some of the energy.
Generator use
Check the generator’s continuous output, not only its advertised surge rating. A 2,000-watt generator may have enough capacity for the element alone but not for the element, refrigerator, battery charger, and air conditioner together.
50-amp RV service
Electric heating is easier to accommodate on 50-amp service, but the element still occupies a branch circuit and adds to total energy use. Keep the water-heater breaker off when the appliance is drained or winterized.
Cost and Operating Trade-Offs
Factory electric mode costs nothing to activate because the element, thermostat, and wiring are already installed. Typical aftermarket conversion kits cost approximately $80-$150, while a new dual-fuel heater can cost roughly $500-$1,500 before professional installation.
Actual operating cost depends on local utility and LP prices. At a campground with unlimited electricity, electric mode may reduce LP consumption without a separate energy charge. At a metered site, calculate the element’s consumption as approximately 1.2-1.44 kilowatt-hours for each hour it runs, then compare that cost with propane use.
The apparent free-electricity advantage disappears if the element causes repeated breaker trips, prevents air-conditioner use, or requires an expensive conversion on an old tank.
FAQ
Can I turn on RV electric heat without water in the tank?
No. An RV electric heating element must remain submerged before it is energized. Open a hot faucet until water flows steadily, confirm the bypass valves are set for normal operation, and inspect the tank for leaks before turning on the AC breaker or electric switch.
Is RV electric water heating safer than propane?
Electric mode avoids combustion at the burner, but it still presents shock, overheating, and fire risks. Proper grounding, intact insulation, correct breaker protection, and a full tank are required. Propane mode adds gas, flame, exhaust, and burner-maintenance hazards that electric mode does not remove from the RV.
How do I know whether my RV water heater is electric-capable?
Read the model number and data plate, then check the owner’s manual for an electric-element rating, AC breaker requirement, or electric switch. A propane burner alone does not prove electric capability. If no factory element or wiring appears in the documentation, treat the appliance as propane-only until verified.
Can I leave the RV water heater on all night?
You can leave an electric-capable heater operating overnight when the tank is full, the RV has stable power, and the manual permits continuous standby operation. Many owners switch it off during sleep to reduce cycling and electrical load. Never leave either mode on when the tank is drained or winterized.
Why does my RV water heater work on propane but not electric?
Propane operation can continue when the AC breaker is off, the electric switch is hidden or disabled, the high-limit control has tripped, or the heating element has failed. Check the breaker and switches first, then inspect the reset controls and element only with power disconnected.
Does switching to electric save propane while boondocking?
Only if another suitable AC source supplies the element. Shore power and a generator can replace LP consumption, but an inverter draws substantial battery current. For most boondocking setups, propane heats water with far less battery demand and provides faster recovery.
The Bottom Line
To switch an RV water heater from propane to electric, fill the tank, confirm the bypass valves are open to the tank, establish 120-volt AC power, turn on the correct breaker and electric switch, and turn propane mode off if you want electric-only operation. The exact switch location varies by Suburban, Atwood, Dometic, and other models.
Electric mode is most practical on full hookups, where it conserves LP without draining the battery. Propane remains the better option for boondocking and rapid recovery. Whatever the brand, never energize the element with an empty tank, and use the model manual before attempting wiring, conversion, or live electrical diagnosis.